Building Eureka Yurts and Cabins

Roof Insulation – Open Cell Spray Foam

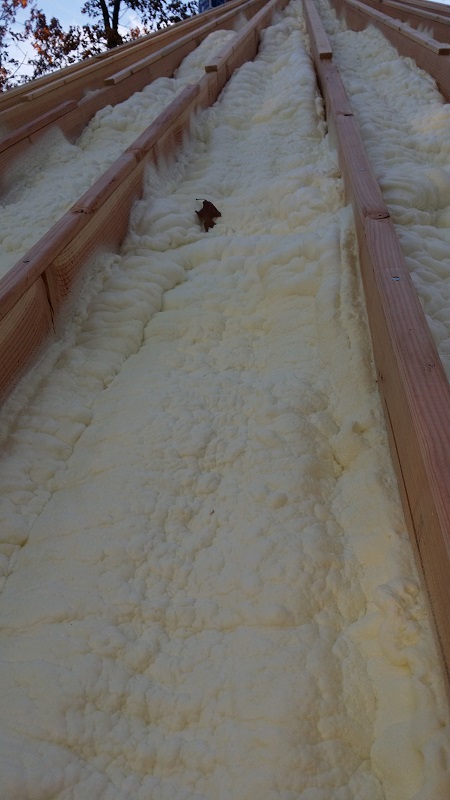
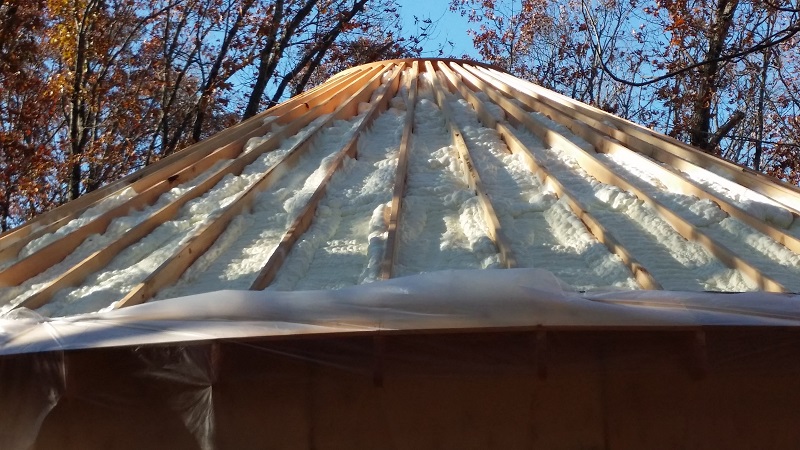
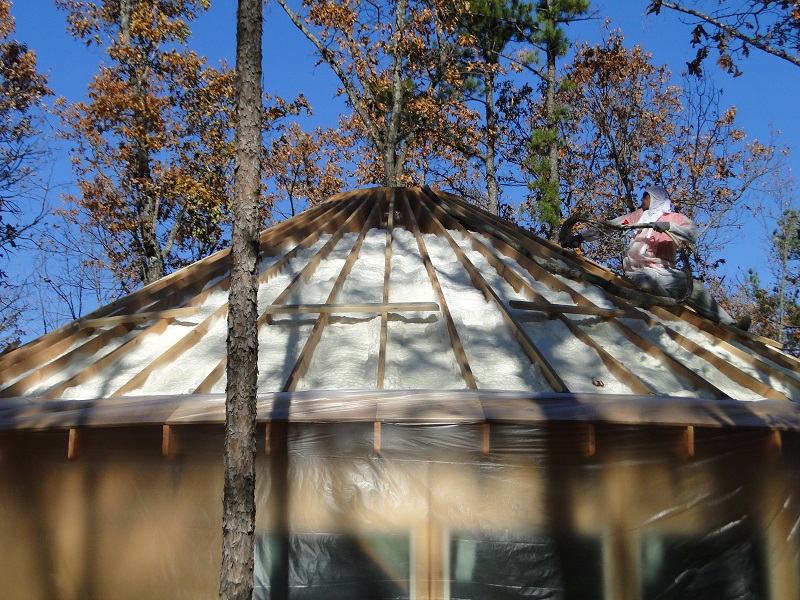
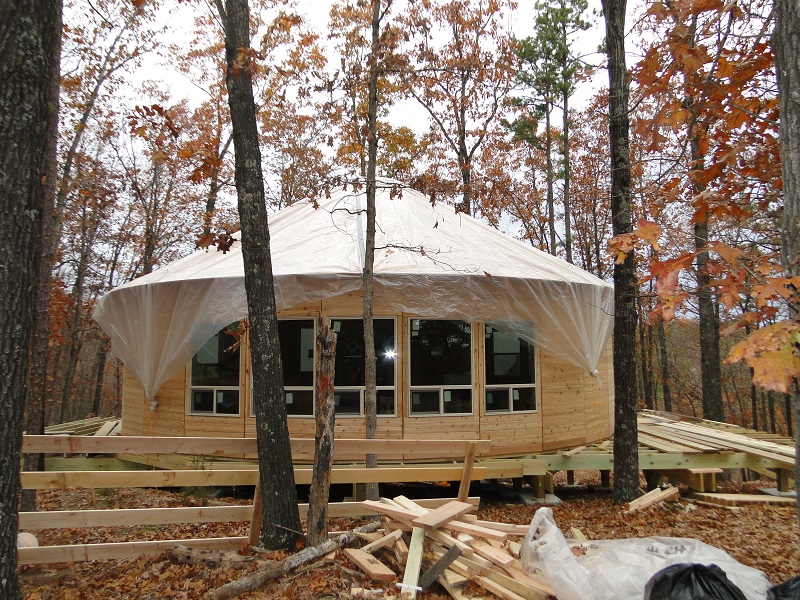
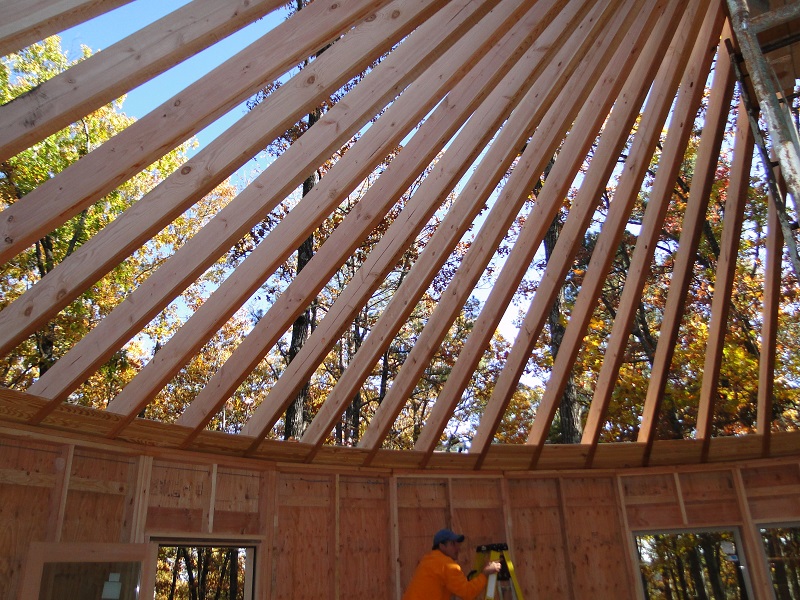
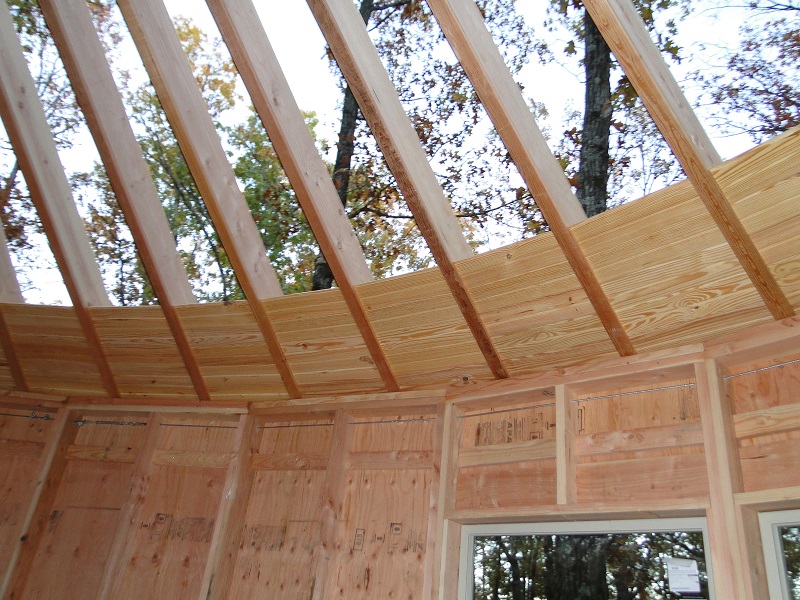
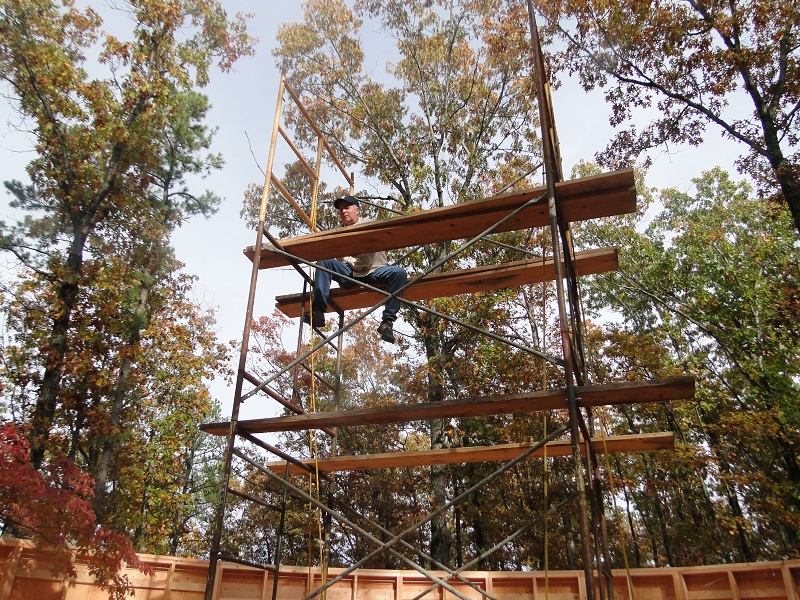
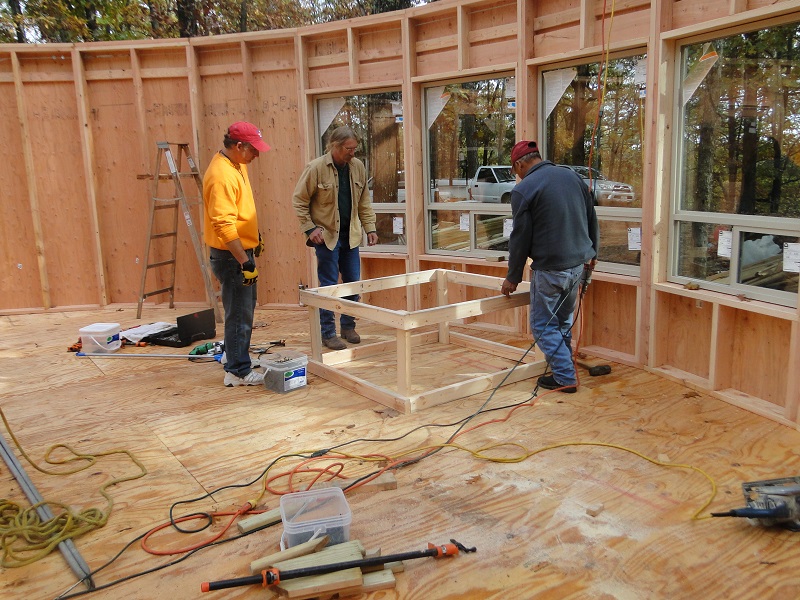
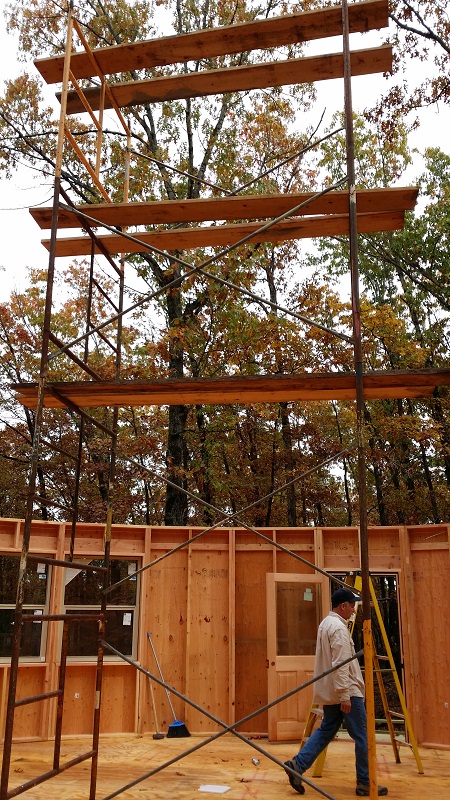
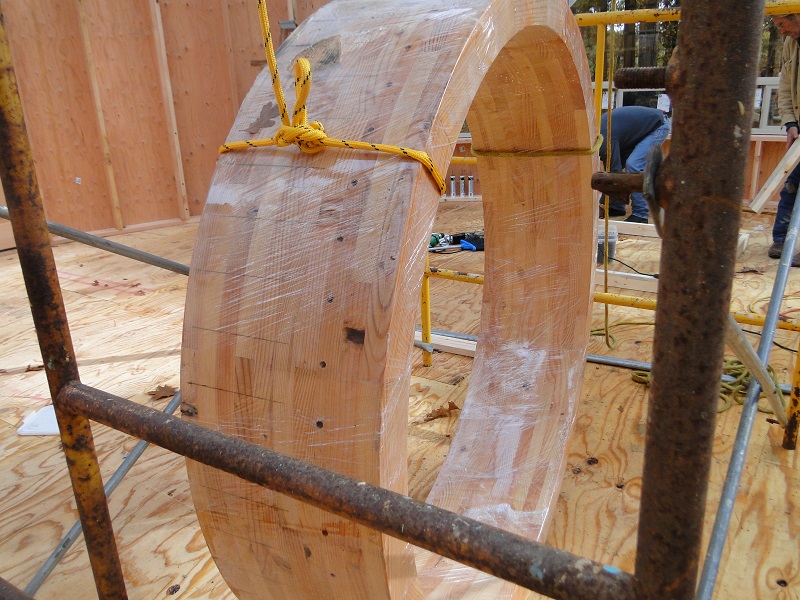
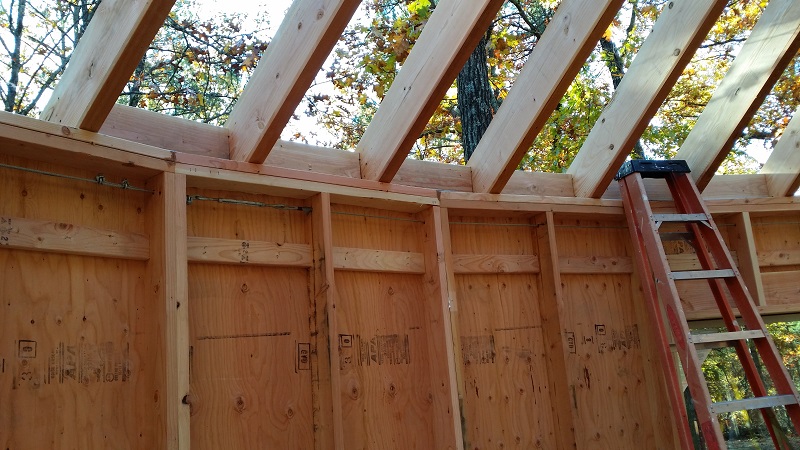
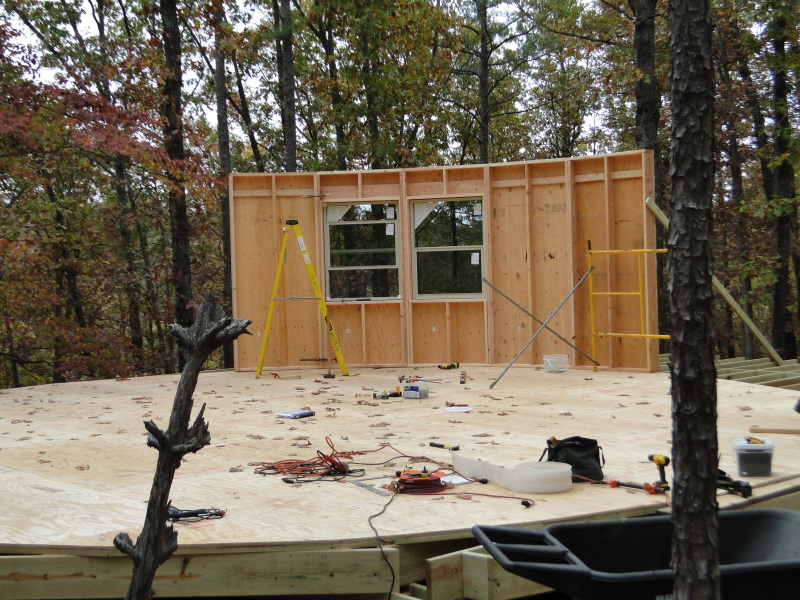
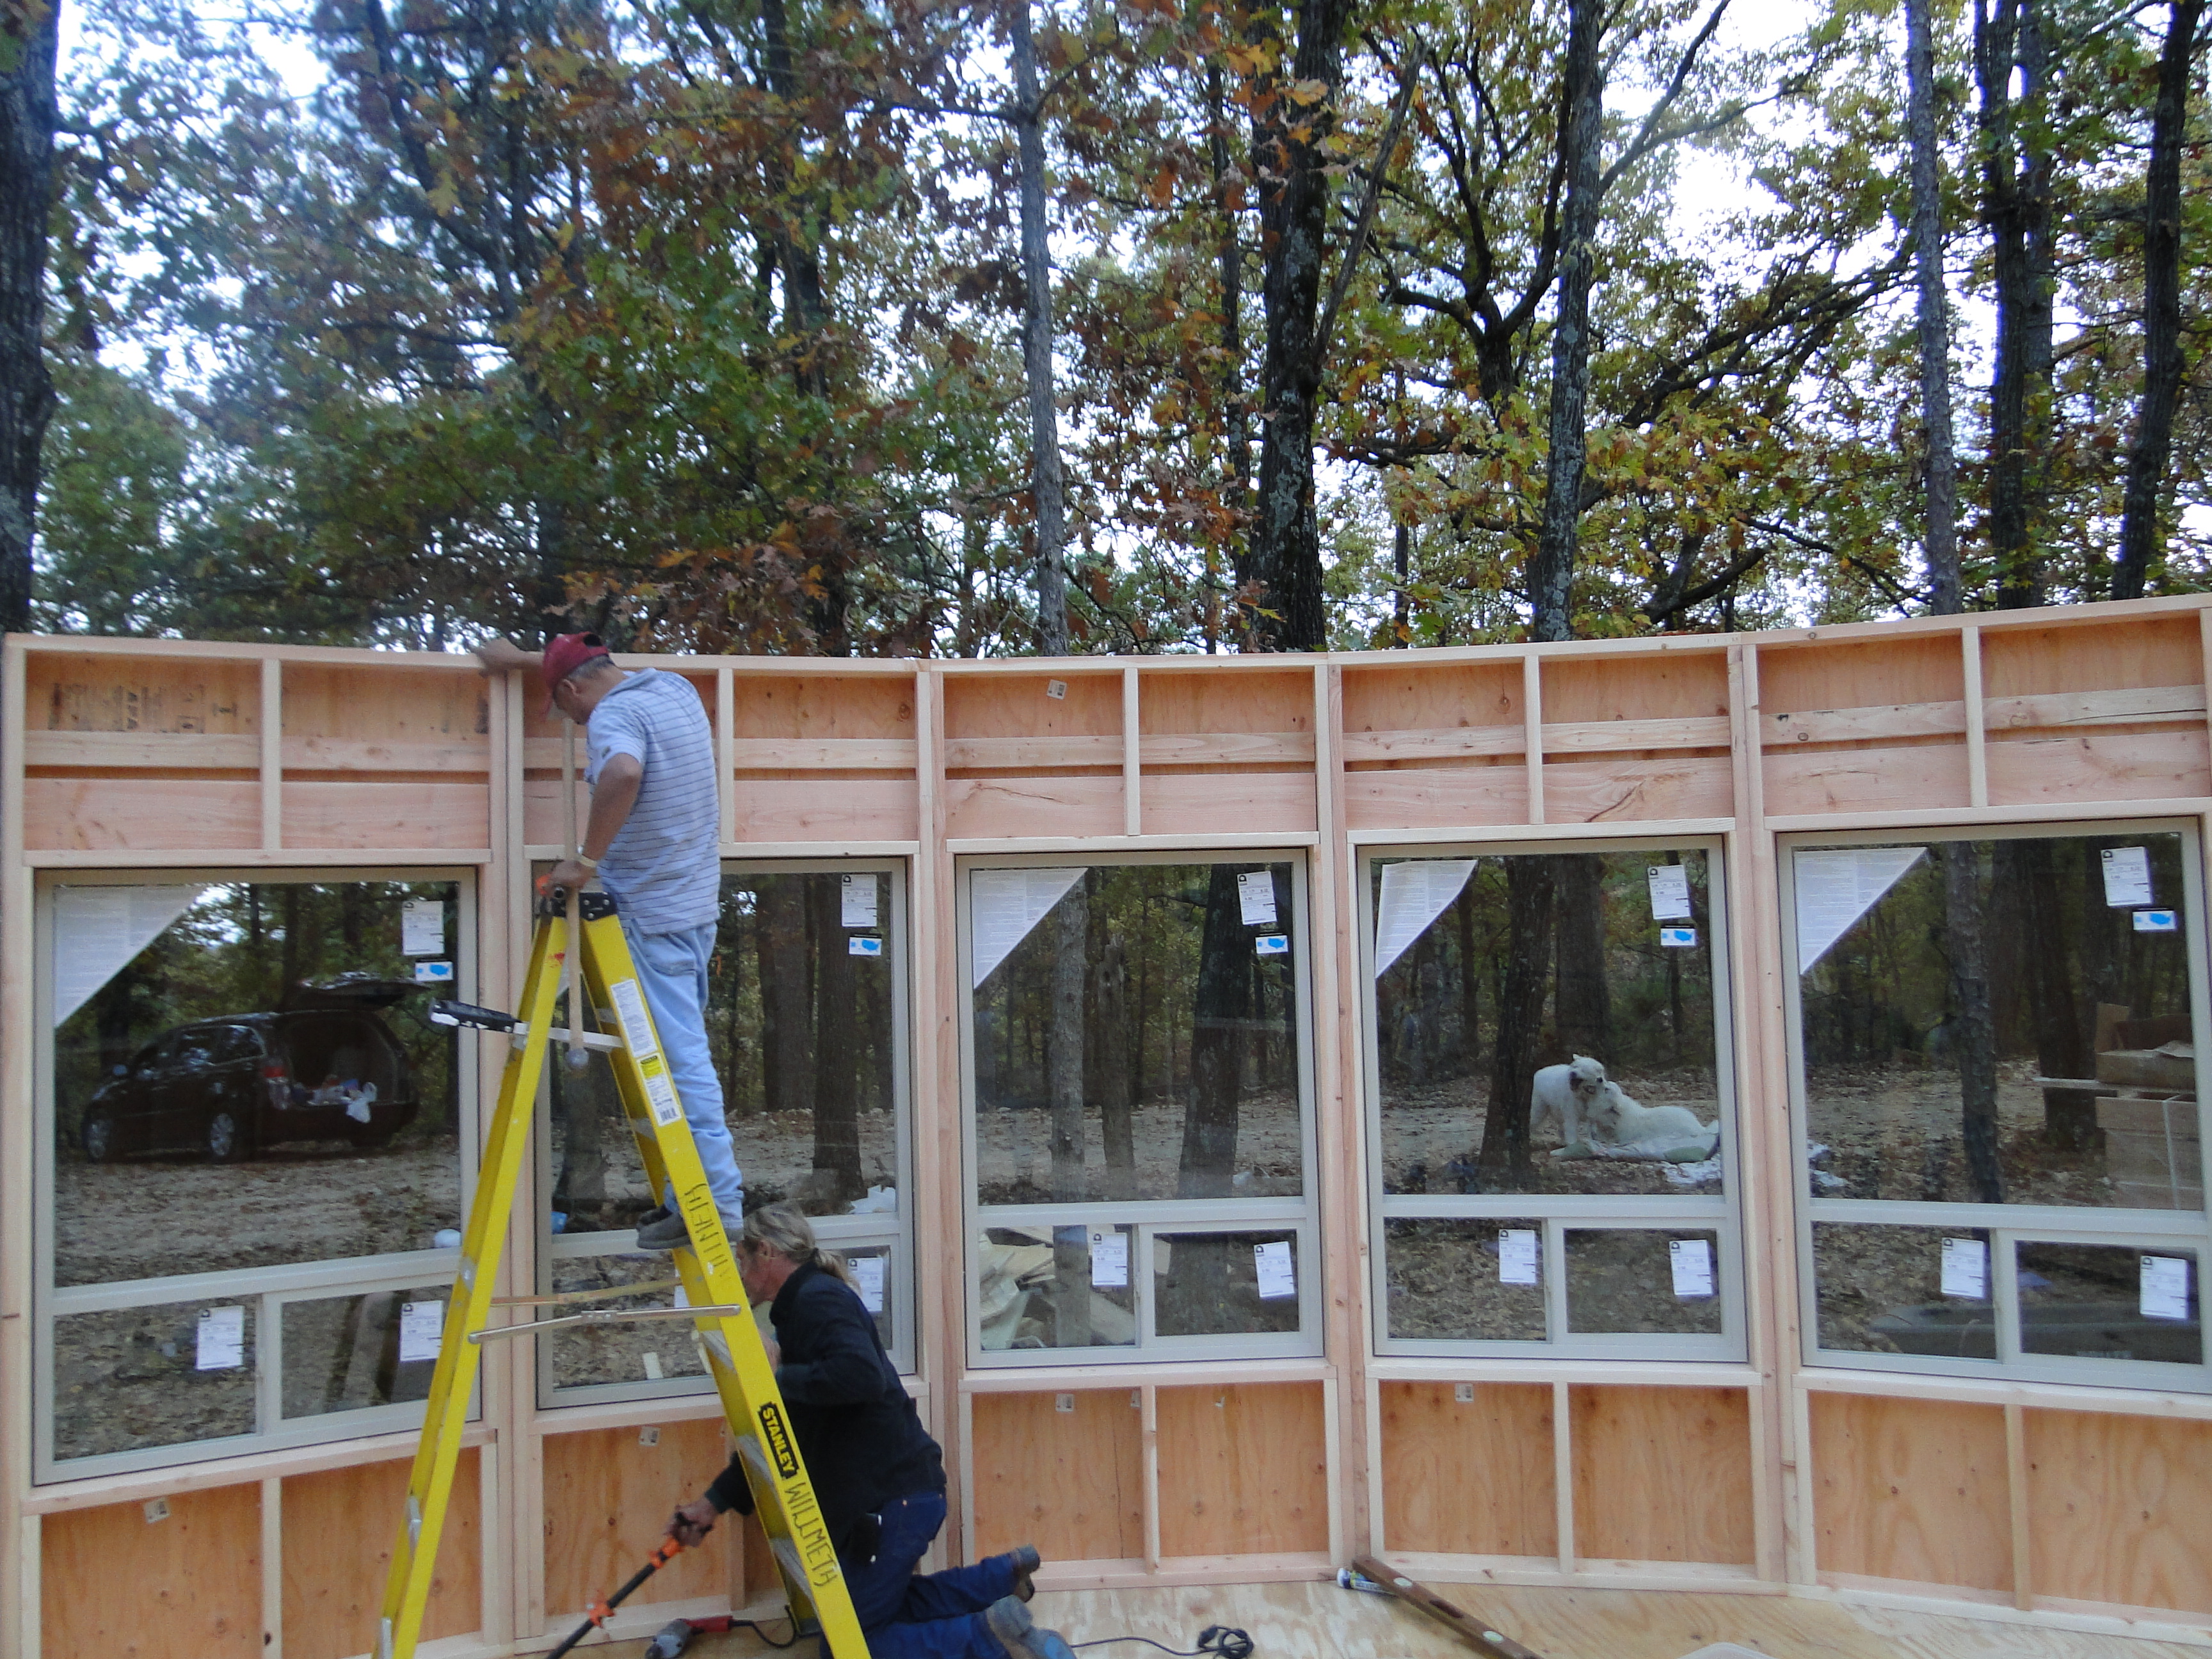
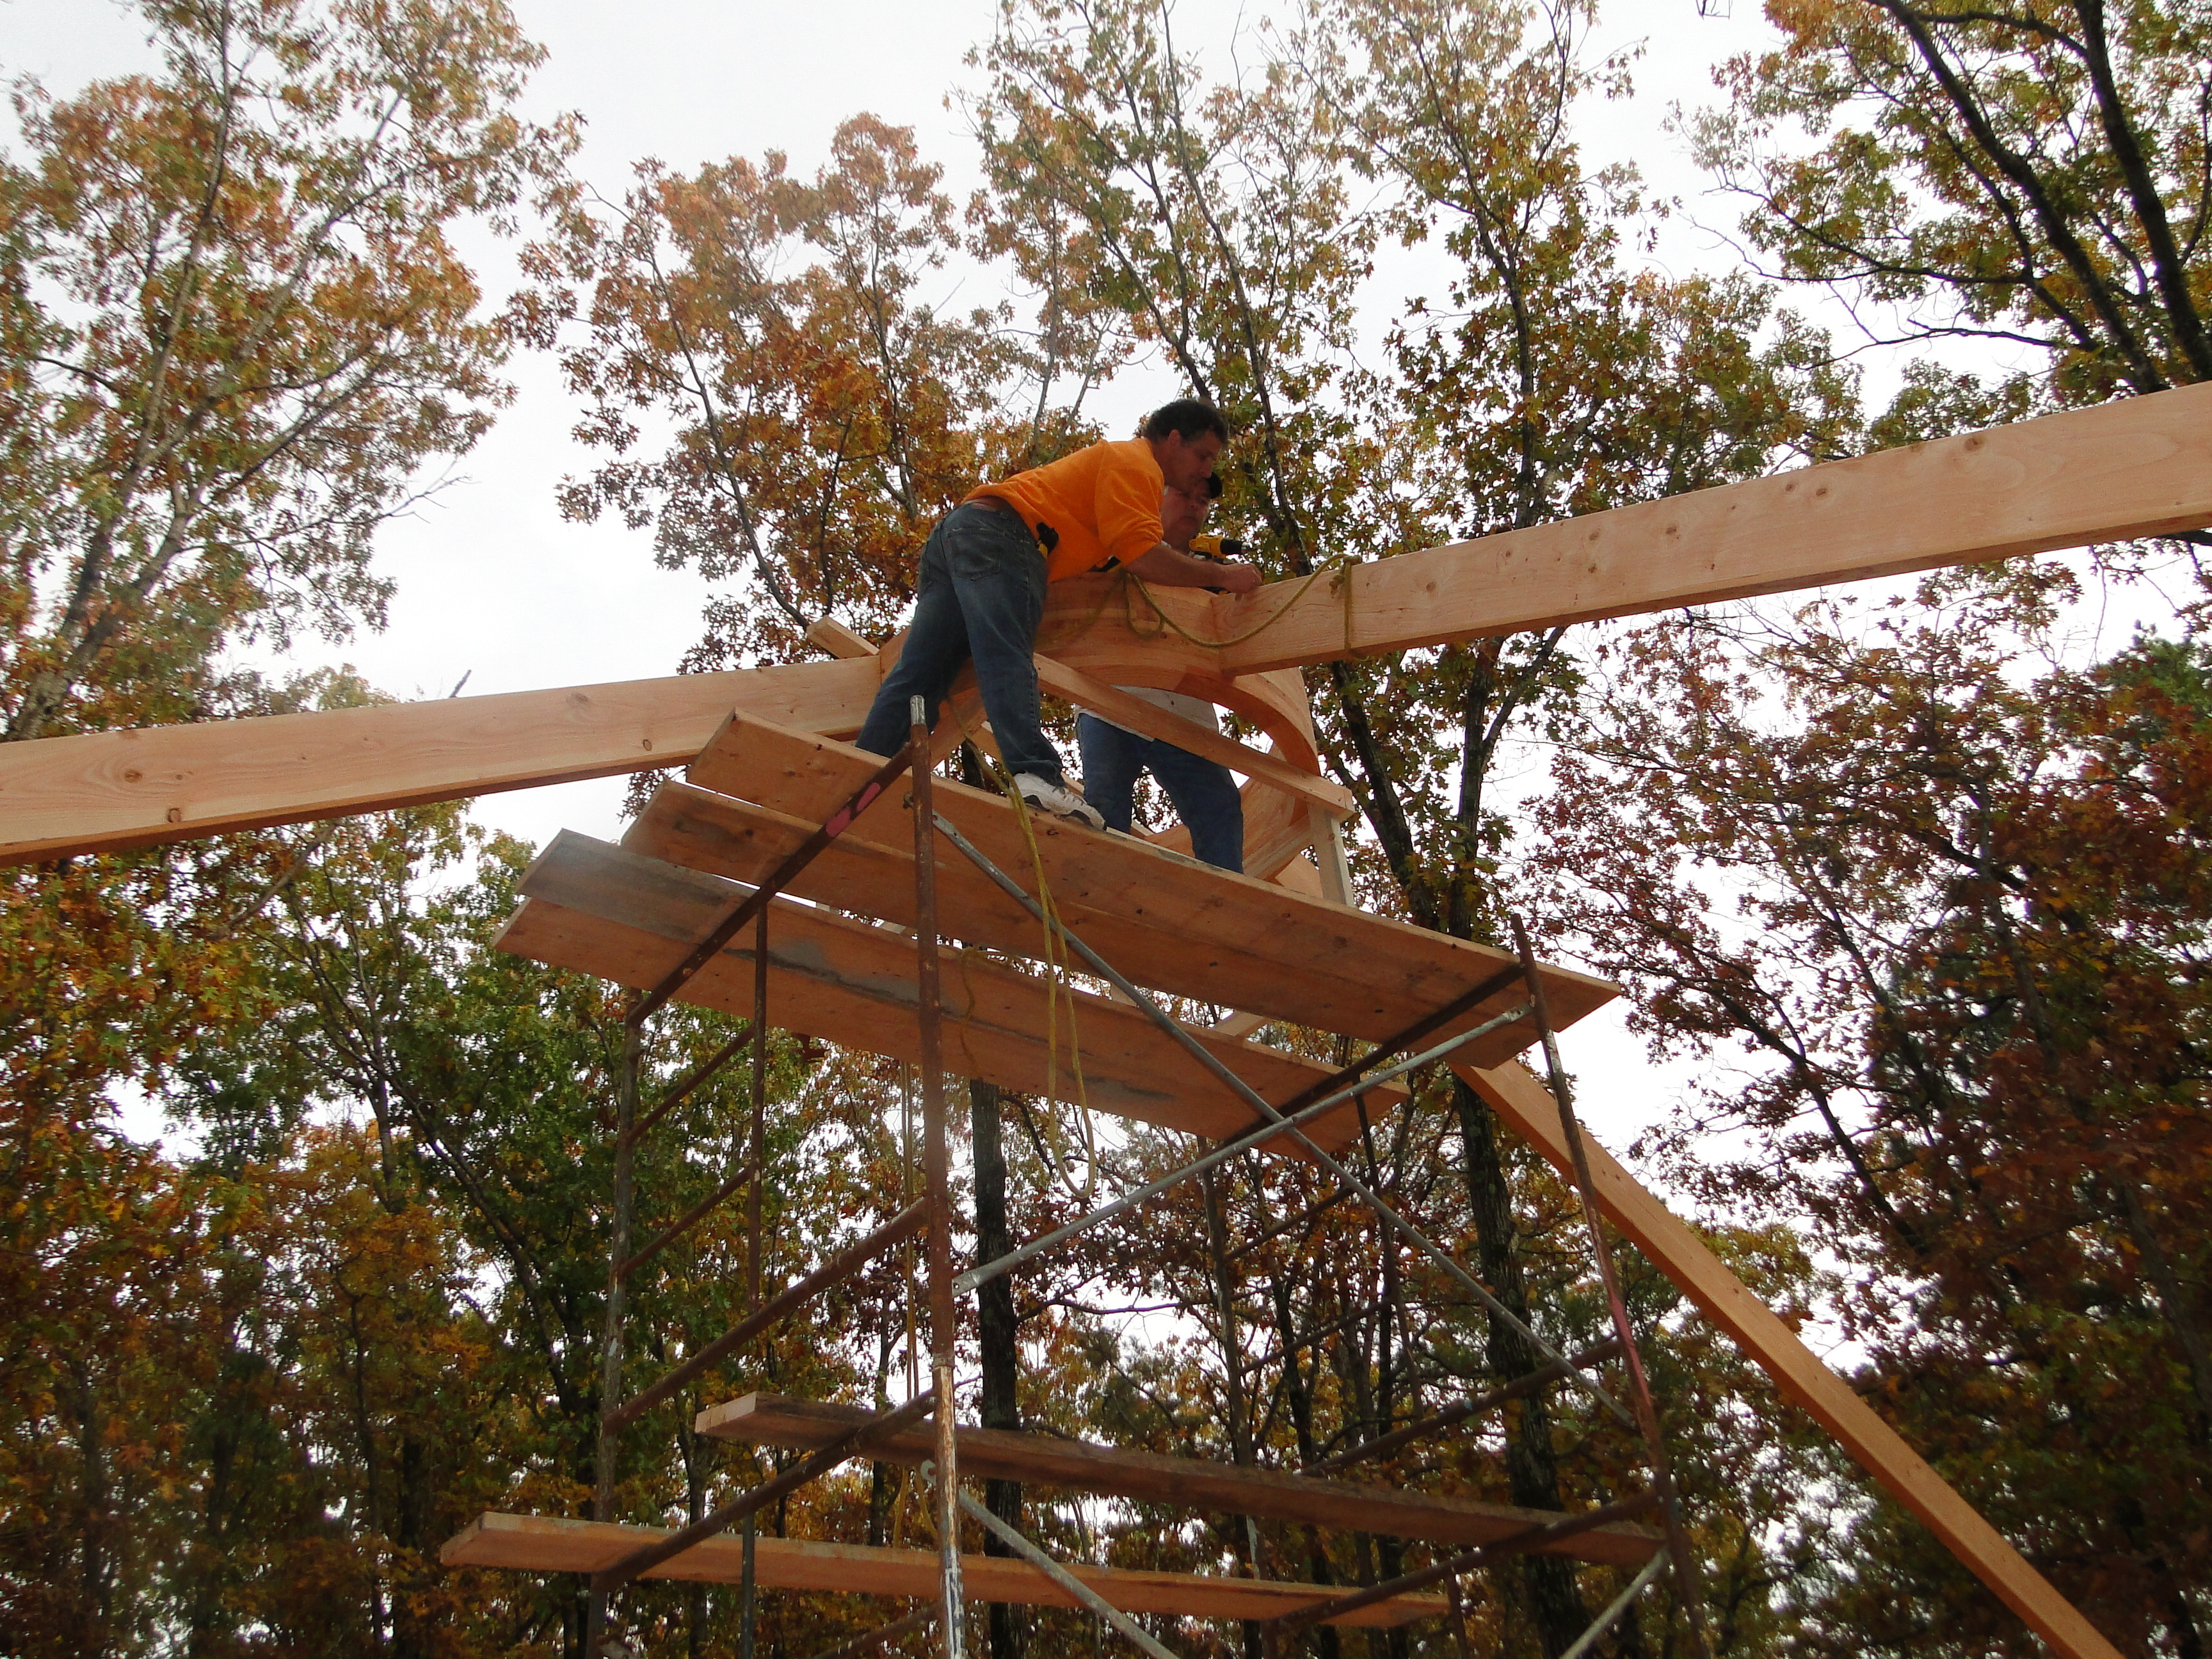
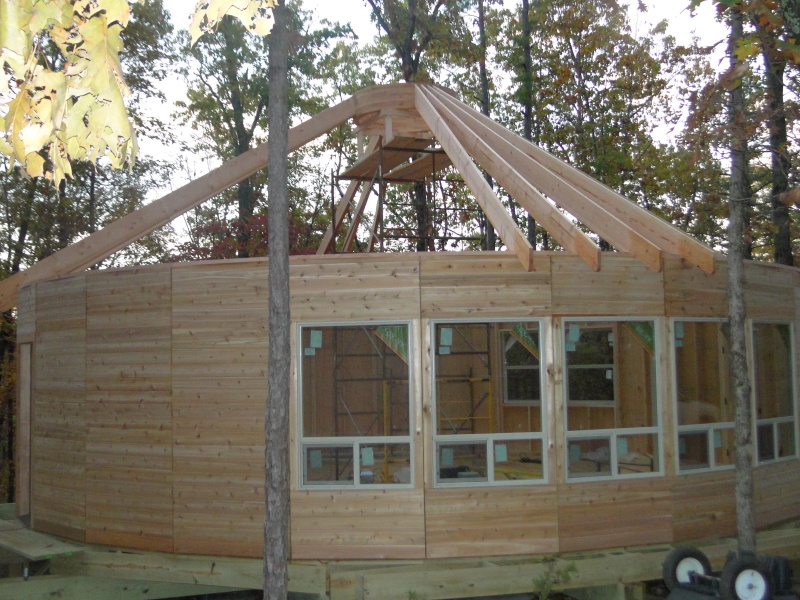
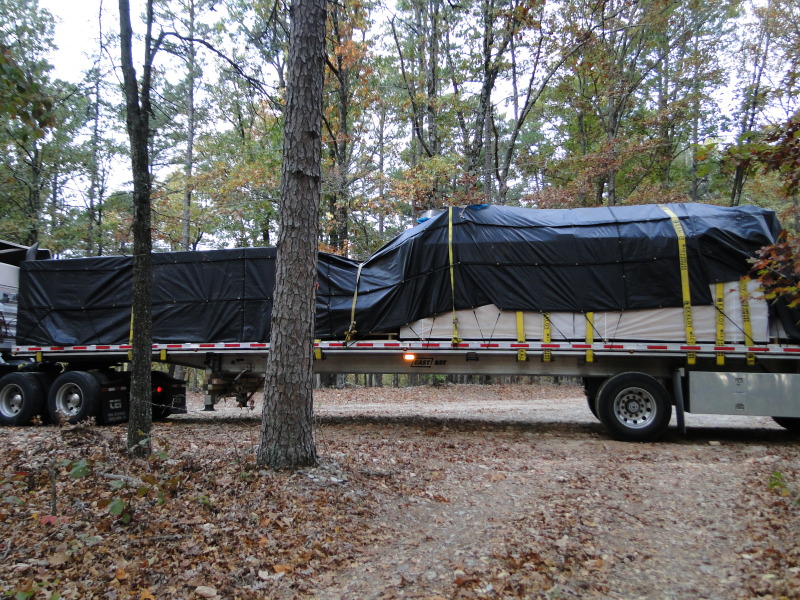
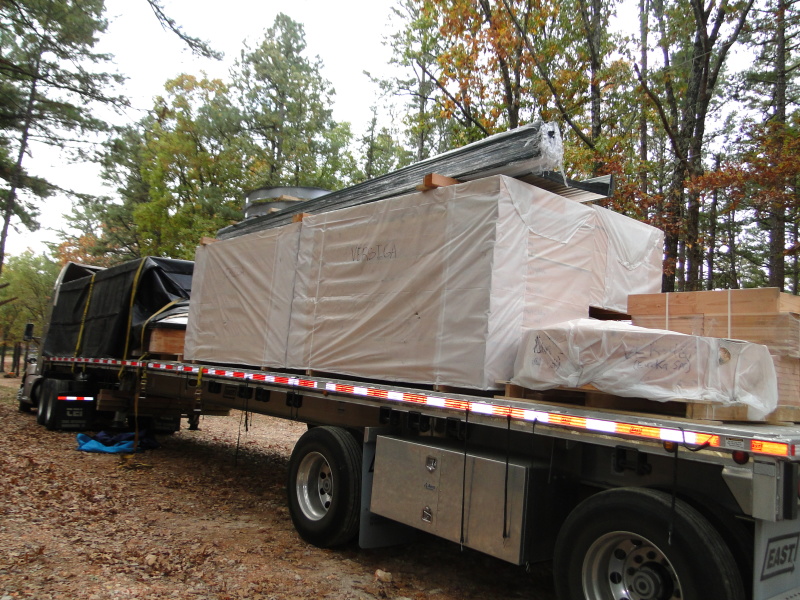
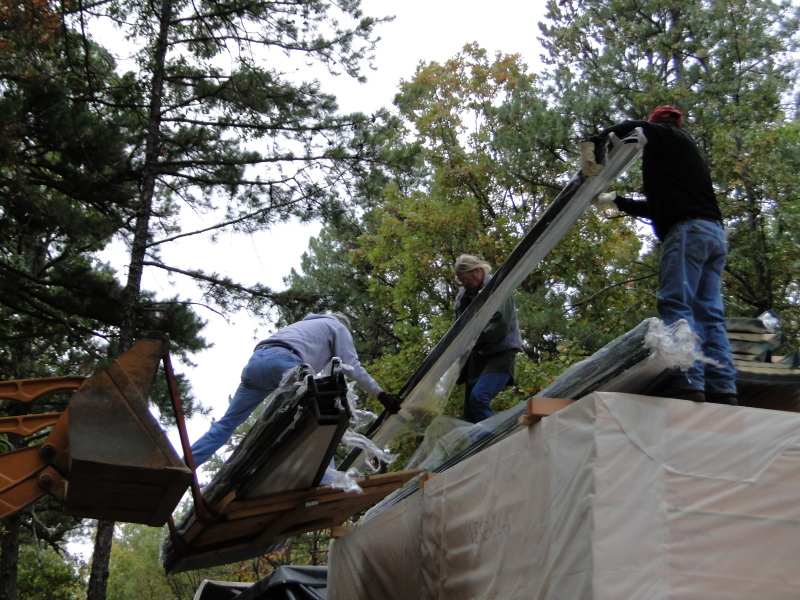
The day has come.  After acquiring bids, meeting with salesmen, comparing schedules, waiting on the arctic cold front to back off.  The Insulator is coming.  We have decided to do the insulation in 2 phases.  First, we will spray the insulation directly on the outside of the ceiling.  This required caulking all the edge joints in each piece of tongue and groove and putting metal air conditioning tape over the knots to prevent bleeding of the insulation through the ceiling.  We went over the ceiling twice to try to make sure there were no leaks.  But, In the end the foam show us where we missed…   We had about 6 or 7 bleeds.  But overall, the guy doing the spraying said it was remarkably prep-ed.

Foam Close up
Foam Close up
Fully Foamed
Fully Foamed
Foaming the Ceiling
Foaming the Ceiling

Ceiling Done

Well, the ceiling is finally done.  This week  has been absolutely UNBEARABLE.  14 degrees and a 7 – 10 MPH wind.  There was no flex in the schedule due to a very small window of temperate weather with no rain.  This was needed to schedule the foam insulation.  They can not work if the temperature is below 40 degrees.  Note to self, build in September, not in November.  In any case we got it done with the help of Jose and Vincente.  The Yurt was tarped Friday 1 hour before the rain and snow began to fall.  Now we wait for Wednesday when the forecast is for 0% chance of rain and a high of 55…..


Fully Complete Roof
Fully Complete Roof
Fully Tarped Yurt
Fully Tarped Yurt


Ceiling (Not Included)

Starting the 5th of 40 rings between 54 rafters

One teensy weensy over site on my part was the fact that the beautiful ceilings on most of the yurts in the gallery on smiling woods yurts is not included.  On further inspection, it is stated on the website and in the manual… I have no idea how I could have missed that.  As a result, we were scrambling to come up with suitable wood for the ceiling.  After about 2 days we found a hardware store that had enough supply and would deliver.  Once the wood is delivered, we have the joy of making about 5000 cuts and painstakingly fitting, tacking and caulking each piece.

End Of Day one (of 6)

Construction Continues – Rafters and Eves

Well, the walls are up.  It took a full day, but they are up, and I am feeling good about the progress and the quality.  Next step, the most intimidating step so far, float the compression ring and install the rafters.  In order to “float” the compression ring, we had to make some calculations for the height of the compression  ring.  Once done, we used several stories of scaffolding and built a stand for the compression ring to rest.  Then we used a rope to hoist the extremely heavy ring to the top of the scaffolding.  Once the ring was in place, we started attaching the rafters one at a time in opposing locations to compress the ring in opposite directions.

Terry Preping the Scaffold
Completing The Ring Stand
Scaffolding Erection
Preparing to lift the compression ring
After Ring Hoist. Positioning the Ring Stand


End Of First Day Of Rafters
Bob Attaching The Rafters
Most of the Rafters
Most of the Rafters
Adding The Bird-Block
Adding the Eves
Adding the Eves
Rafter Tention Cable
Rafters Bird-Block and Eves Complete

Initial Construction

Over the weekend, two of my life-long friends (J.B. Conant and Terry “T-Man” Wilson) joined me, Bob (GC) and Luis (Bob’s Assistant) in Eureka Springs to help on the initial contruction phase.  Over the next 5 days we poured over the construction manual and pictures.  Below is a progression of the build.

Adding the decking
Adding the decking
Attaching the first wall
5 Walls
More Walls
More Walls
Finishing The 5 Windows In The Living RoomFinishing The 5 Windows In The Living Room
Finishing The 5 Windows In The Living Room
Taking A Break In The Skylight
All 27 Walls
All 27 Walls
First Rafters Going Up
More Rafters
More Rafters

Yurt Delivery

Finally, the yurt was delivered. Yay!  The unloading was a nightmare! grrr.  The problem started when the shipping company put the second customers roof on our crates.  To make matters worse, the others customers roof had some light damage.  After an hour of deliberation, I decided not to move the roof and have the second customer remove their own roof.  The delivery truck would have to return for us to get the crates off once the roof was off-loaded.  Two and a half hours later the delivery truck returned.  After a little under 2 hours the yurt contents was on the ground.  Smiling Woods Yurts had told us when the yurt was shipped there was a problem with the skylight and it would arrive in about a week.

DSC04892
Delivery Truck Pulling On Site


Uncovered
Yurt Uncovered
Delivery Truck Pulling On Site
Hand Unloading the Roof Panels So They Not Damaged By The Forklift
Delivery Truck Pulling On Site
Unloading the Wall Crate.

Footings Prepared, Yurt Delivery Scheduled

We have been working hard to get the footings in place and ready for the delivery from the cement company.  We are anticipating pouring the footings Wednesday the 22nd of October.  Bob, our general contractor, has done an excellent job of making progress with out water and electricity.  Both of which are our top priority.

MeterBase
Meter Base


We have been blessed again with news from our Yurt builder (SmilingWoodsYurts.com not to be confused with my good friend Frank Smiley).  It turns out that another customer, who lives in our area is scheduled for delivery at the same time.  Thereby, saving us roughly half of the delivery cost of about $4000.  This will help offset some of the last minute upgrades which include a forest green colored external roof and a electric remote controlled skylight opener.  Currently, we are expecting shipment of the Yurt between the 21st and 24th of October.

We will heading to Eureka Springs October 22nd and are planning to go to Topeka Kansas for the Mother Earth News Fair the weekend of the 25th.  We will then head back to Eureka Springs for the next full week.

Well Pump
Well Pump
Yurt Footings
Yurt Footings

Working to get the construction order approved

We have been working toward getting site approval for the local electric company to initiate a construction order for the power lines.  The meter base has been purchased and we have the dimensional plans for the well house and the yurt base.  We are planning to build the well house using Cord Wood construction.  Here are some samples of some of the construction.

Many of these pictures are credited to Richard Flatau and can be seen at his awesome blog and Cordwood Construction Best Practices

http://CordwoodConstruction.wordpress.com


This is a picture of the timber frame with about 4 inches of a mortar mixture on the exterior and interior walls with the center being a insect resistant insulating material.

cordwood-construction-1


DC_construction0001

kish-3

paul-harney-cordwood-wall-5 luke-and-amy-metzger-spartanburg-sc-a-2012 Cordwood Education Center interior Richard Flatau blog

Moving Along With Water and Electrical Infrastructure

Update:
So as it stands we have the roads roughed in, 5 sites opened up for a view, Well drilled and state approved.  We have 2 building sites perked and approved by the state.

And on this trip we have gotten approval for the easement for the underground electrical installation, the trenches were dug half the length of the top ridge (1000 ft), junctions put in for potential expansion to the bottom area and the rest of the top ridge, pads built for the transformers for the well house, the first and second cabin.  We also installed all the conduit for the primary run of the electrical and buried it with a 1/4″ rope for use by the electric company to actually pull the electrical wire.

To Do:
1. Need to get written authorization to actually run the physical line across the easement for Carroll County Electrical.
2. Finalize the selection of the well company to purchase and install the commercial well equipment.
3. Research and design the well house.
4. Build the well house.
5. Install pump equipment
6. Trench and install water lines to the first 2 cabin locations.
7. Build the pad and deck for the first cabin (Scheduled to be delivered week of Oct 1)

Buck Prepares the Land for Electricity to be Ran to Property


Ready to dig our electrical line trenches.


Buck started digging trenches from the easement, close to where our entrance will be, to our upper ridge road.


Laying out the pipe for electrical.


Buck is in the trenches laying pipe. Blake is meeting with well company.
 
This is where the electrical company will put our junction box.This is where the electrical company will put our junction box.
We ran 1000 feet of pipe from the easement down to the location of our 2nd build site.  Buck ran rope in the pipes so the electric company could use it to pull their electric lines through the pipes. We sure are glad Buck is working with us, he really knows the best ways to do things.Now we have to get our water trench dug.  Too bad we couldn’t do it all in one trench!  We are thinking about doing 3′ wide trenches for the water lines from the well to our cabins.  Then we would have the option of going with geothermal for climate control in the cabins.We are trying to get things done every month to prepare for our cabin construction.  The kit is being delivered the first part of October and time is flying!
Eureka Yurts and Cabins