Category: Building Eureka Yurts Decisions & Plans
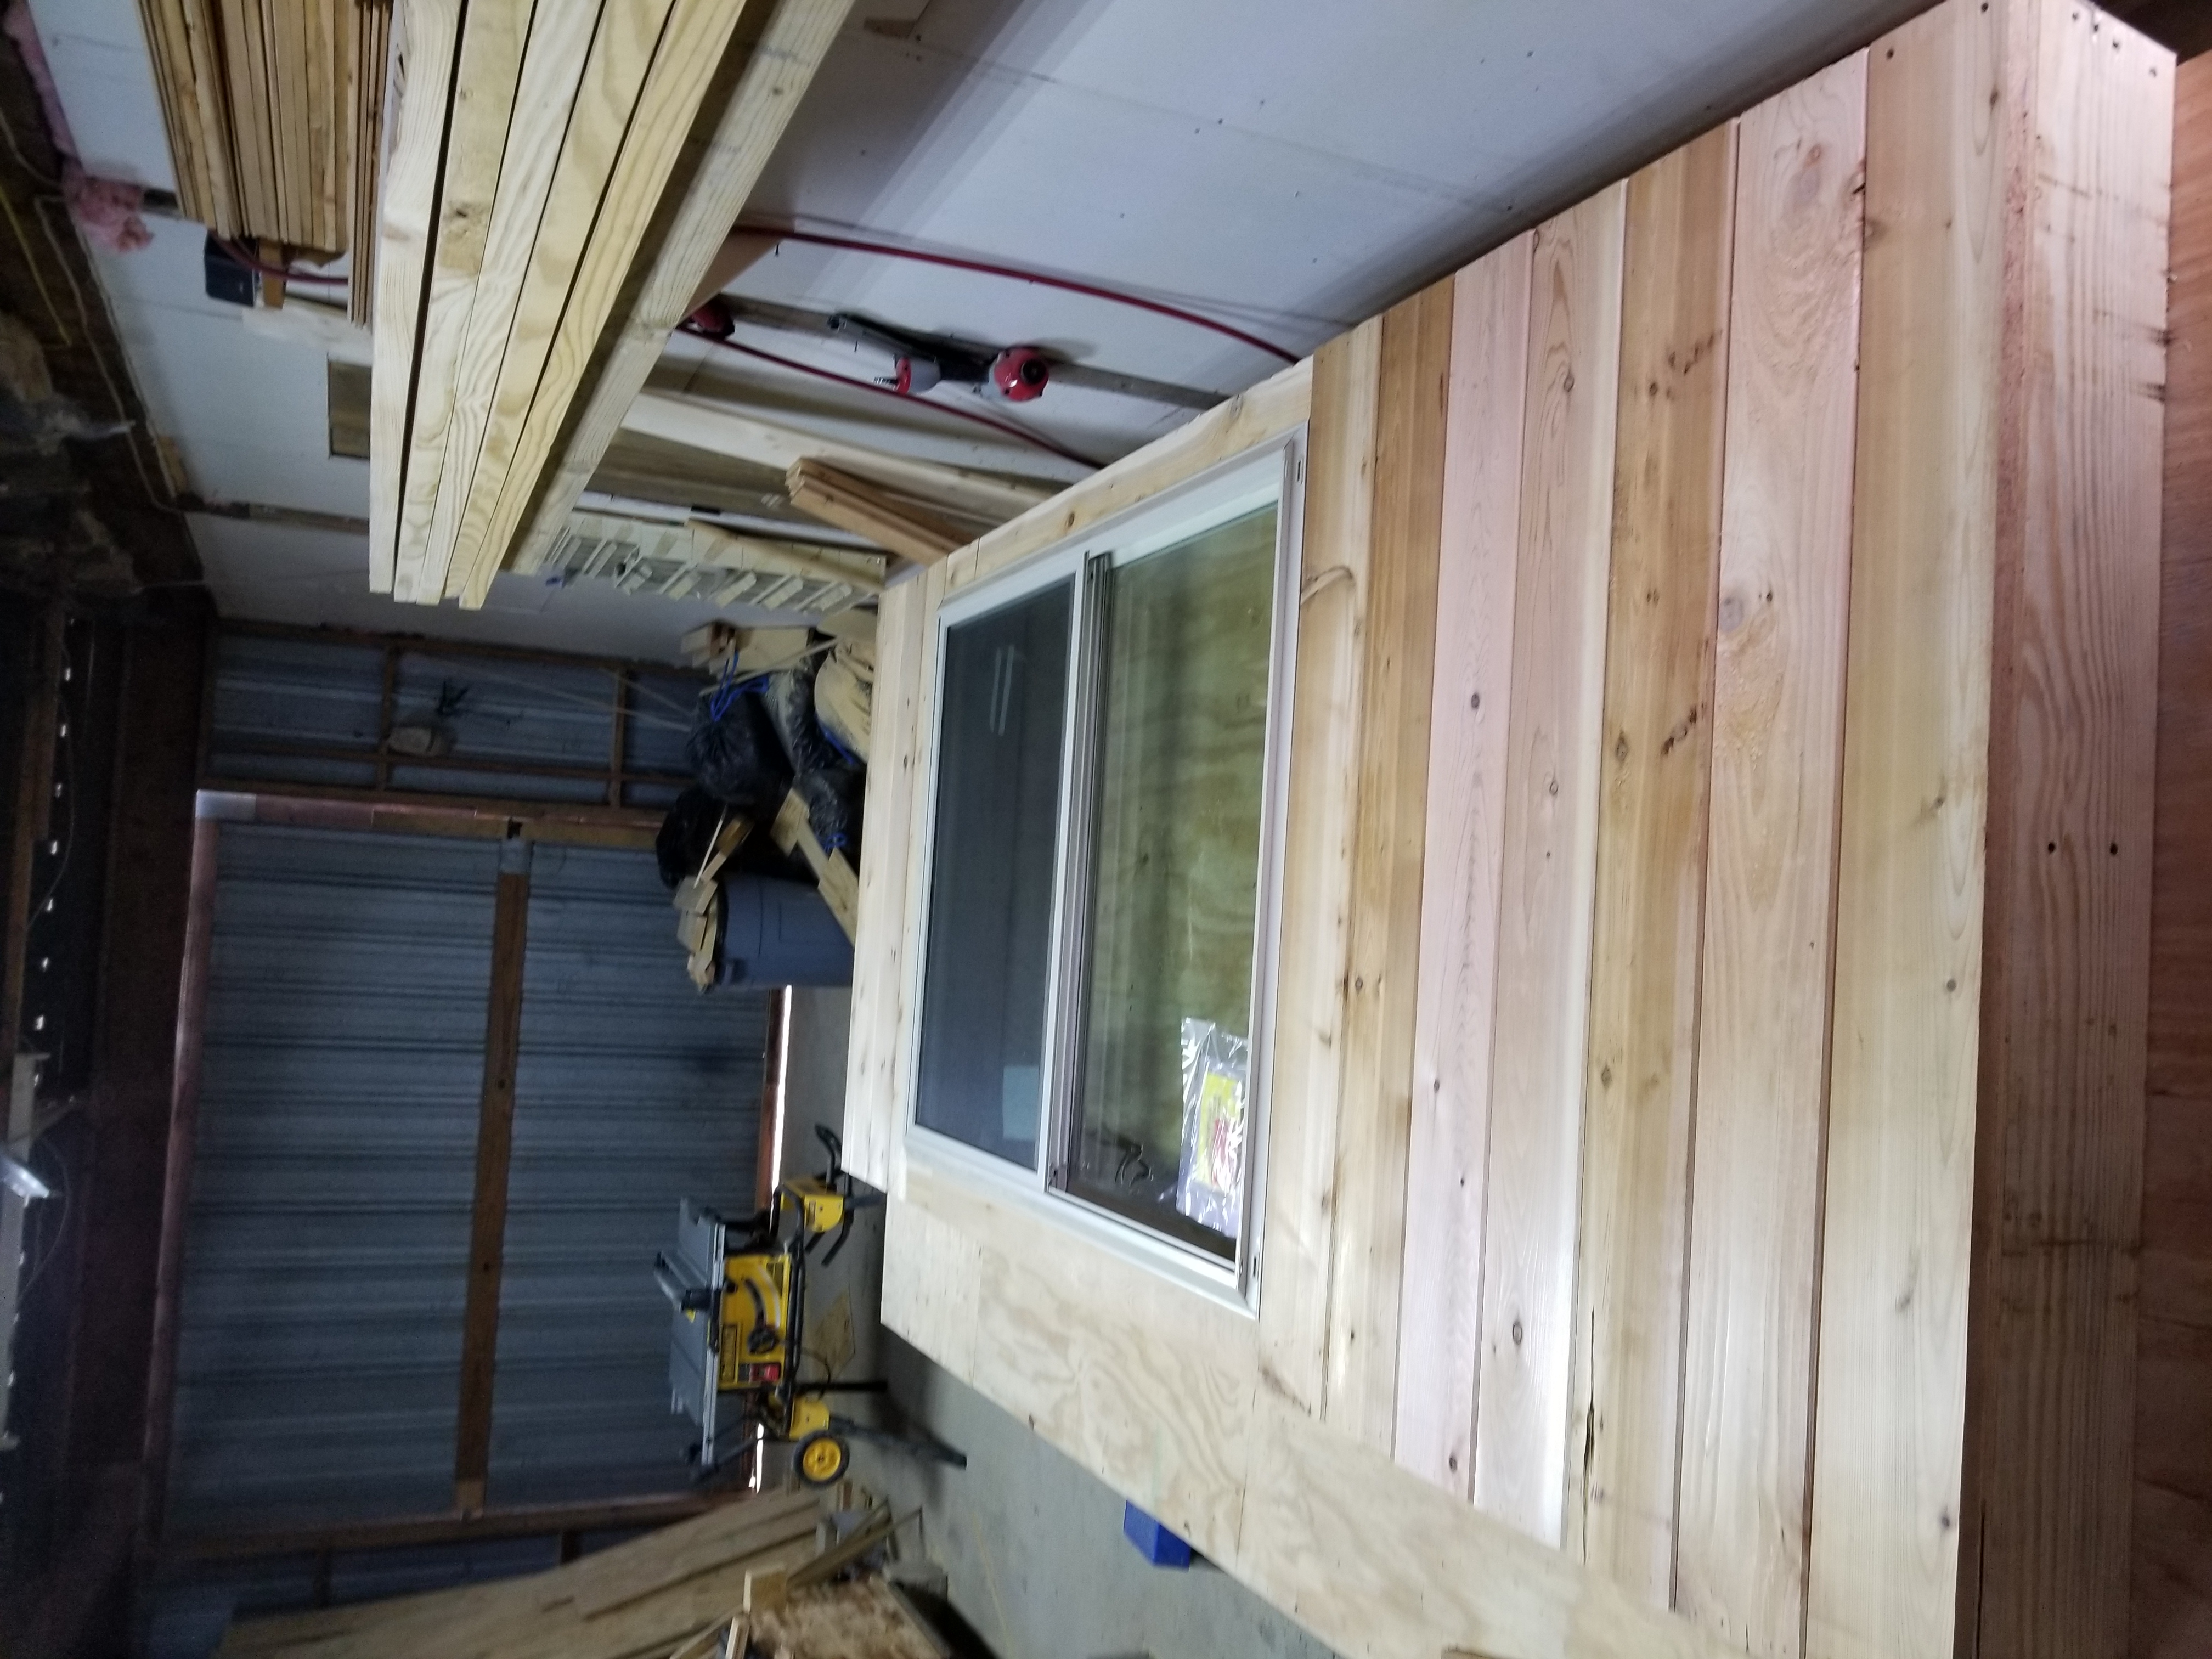
During the inclement days the 20 wall panels are being fabricated. The sides of each panel is cut at a 9 degree angle to account for the curvature of the yurt. We are doing 4 picture windows (3.5 feet by 6 feet tall) and a double hung window in the bedroom, bathroom and the kitchen. So we have 7 window panels, 1 door panel and 12 solid panels.


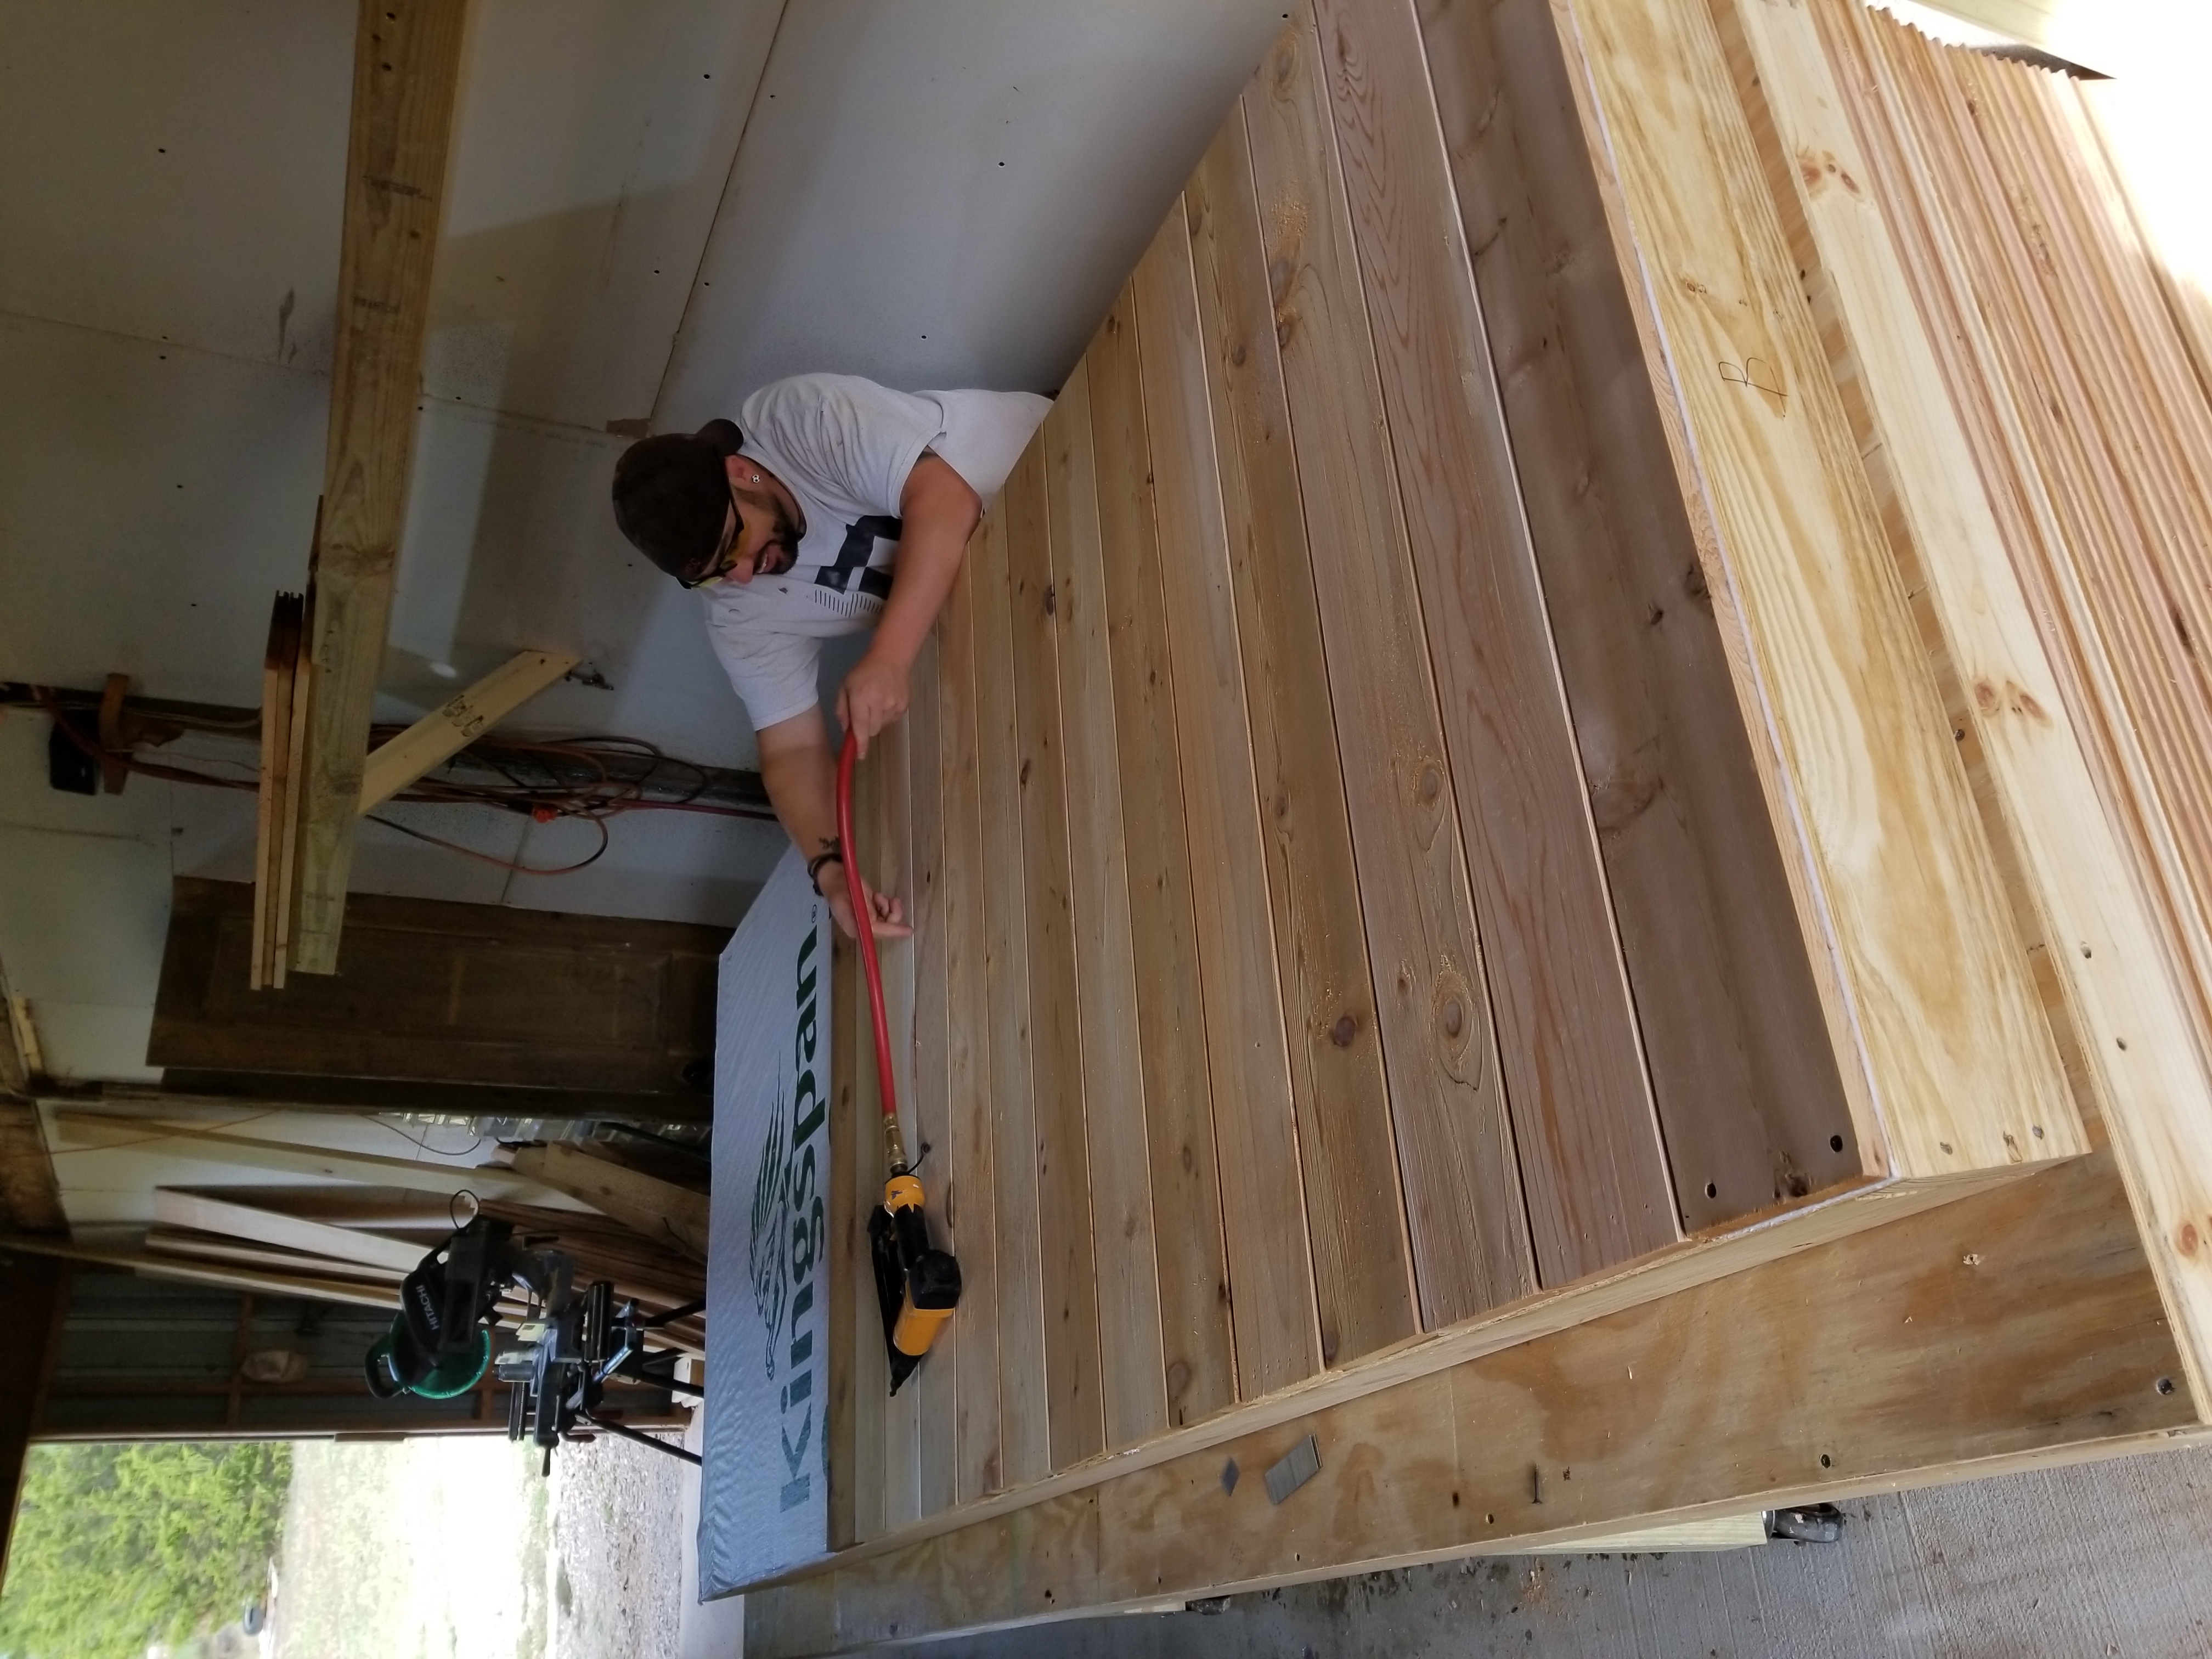
Notice the bottom cedar sheathing has 2 finish screws on each side. This is so that after the panels are set, the piece can be removed so flashing can be installed so water will not wick up the panels.


After the pads were poured and cured. An 8″ double galvanized pin was countersunk into the pad and the bottom of the treated 8×8 pier. These were plumbed and braced. Dual 2×12 runners were attached to the piers from front to back. Then the 2×10 floor joists were attached to the runners on 16 in centers.
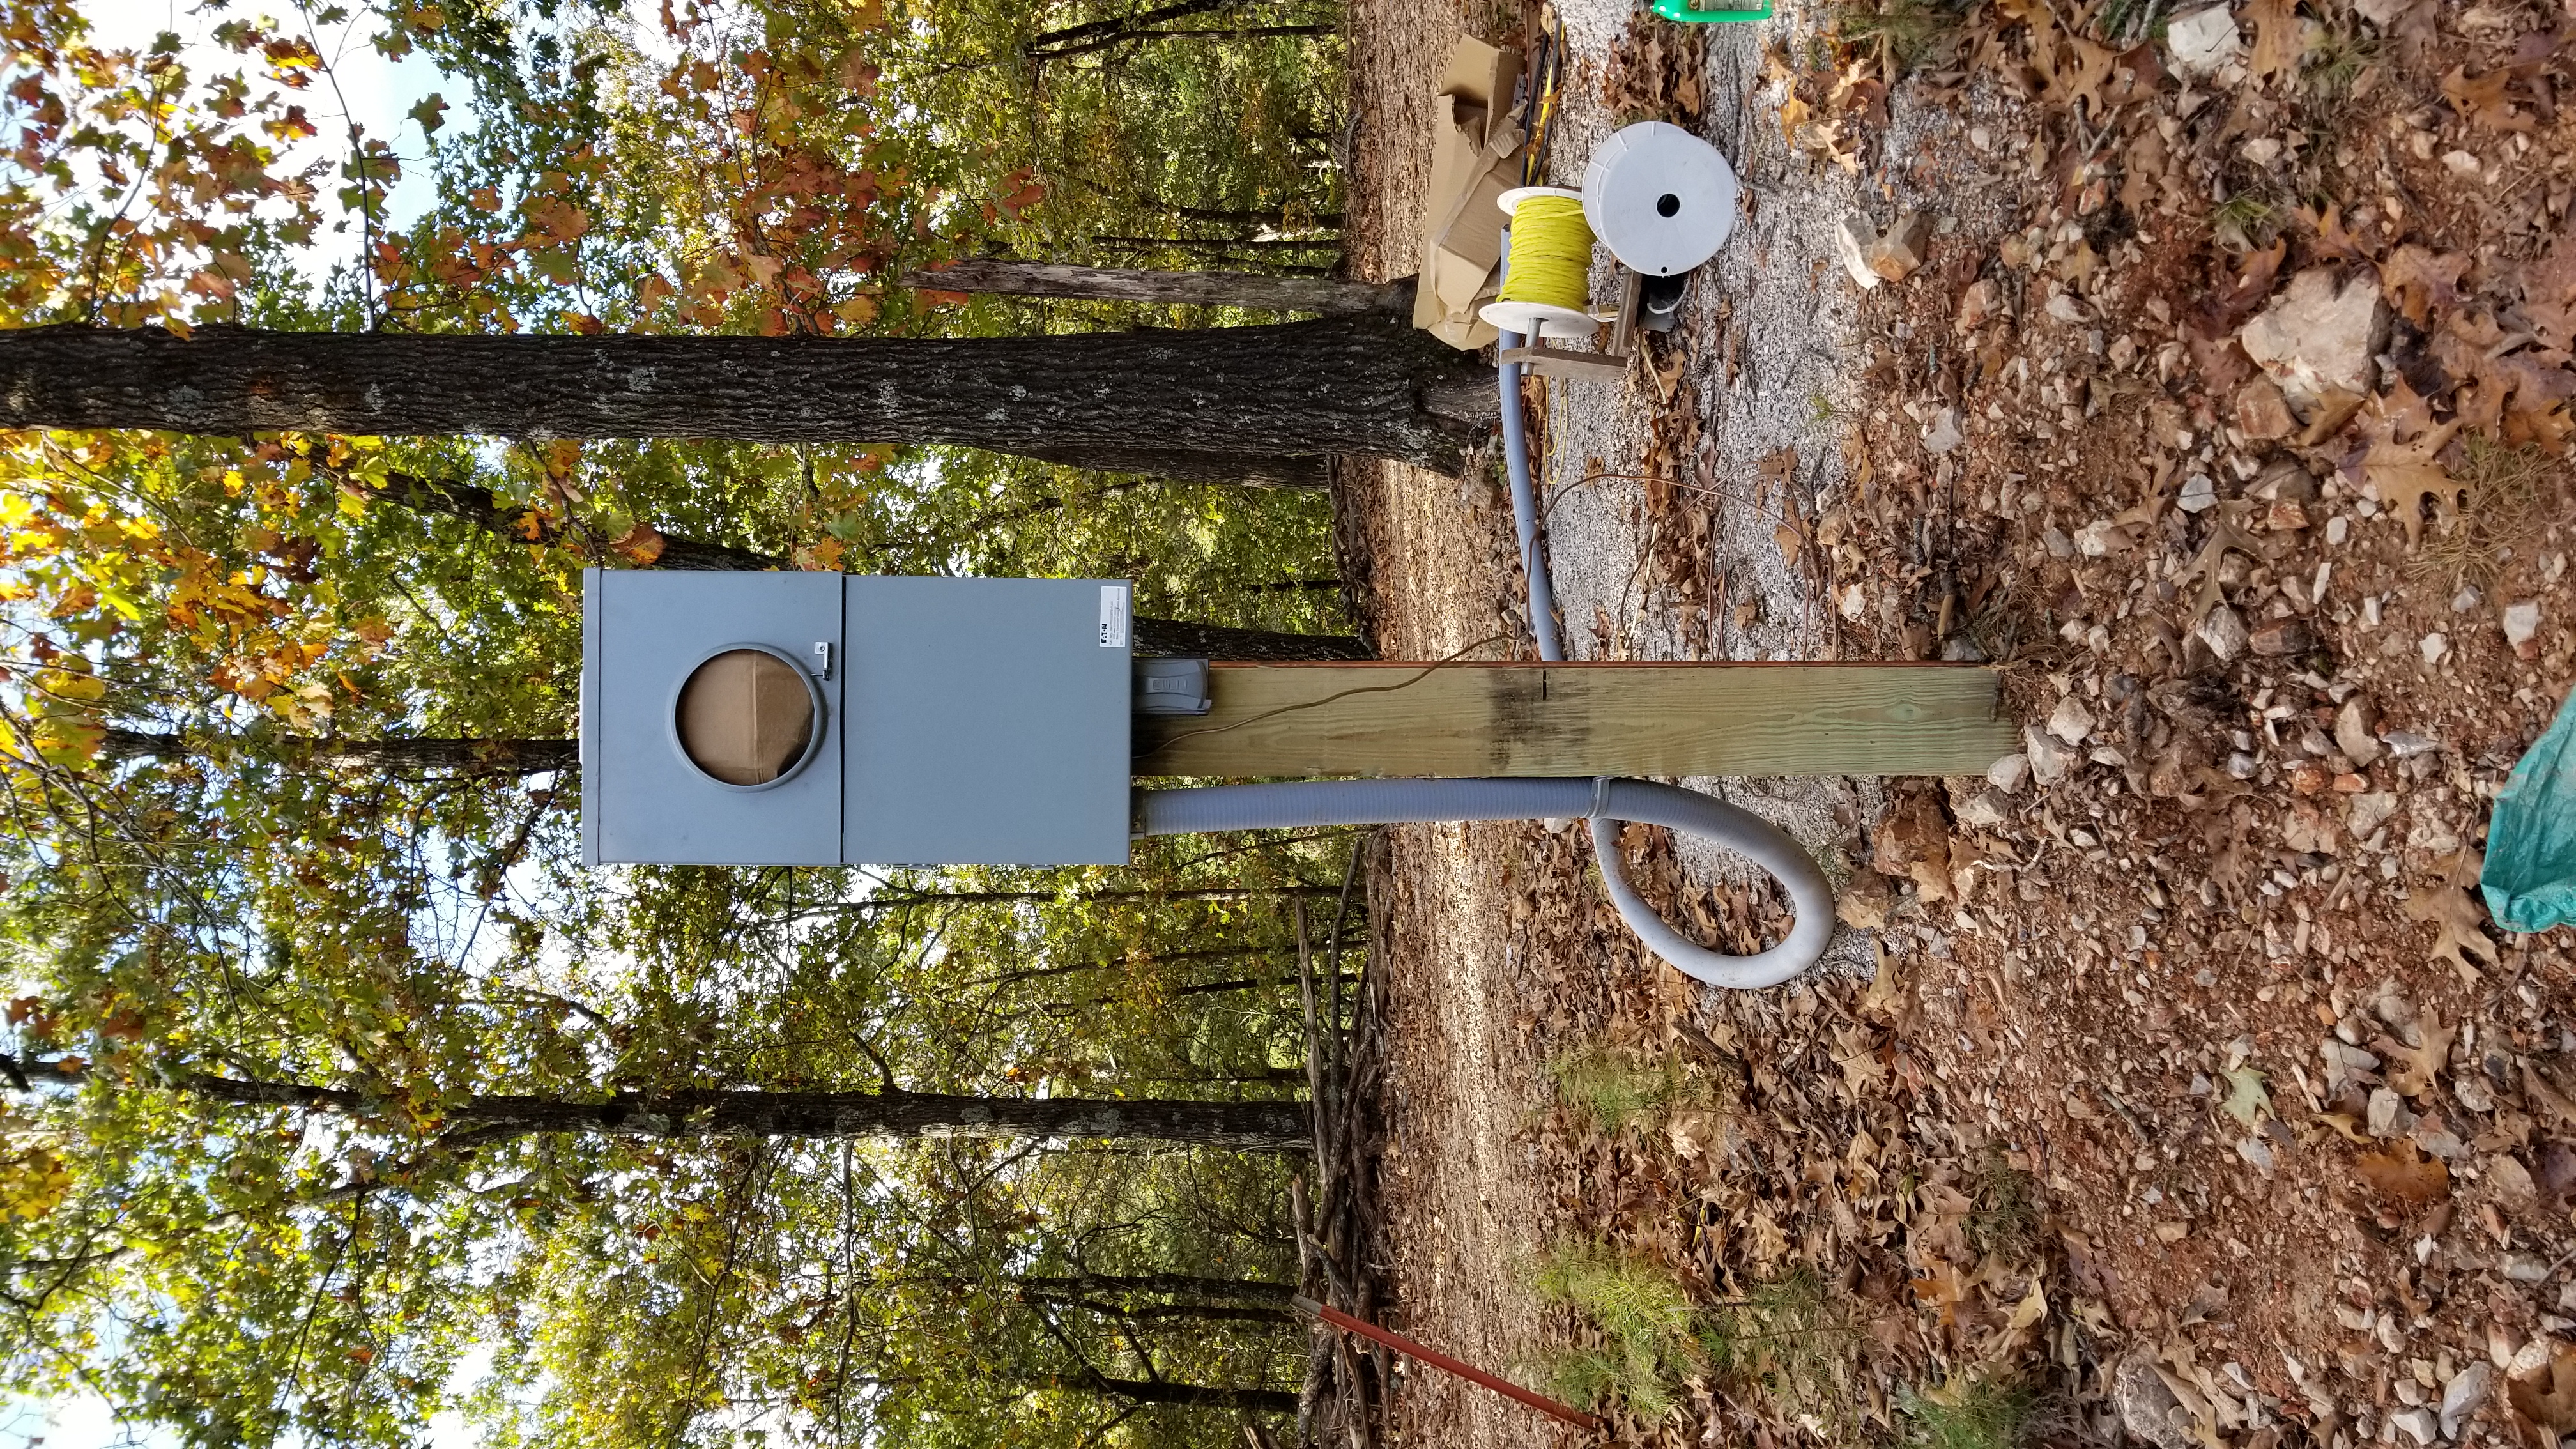
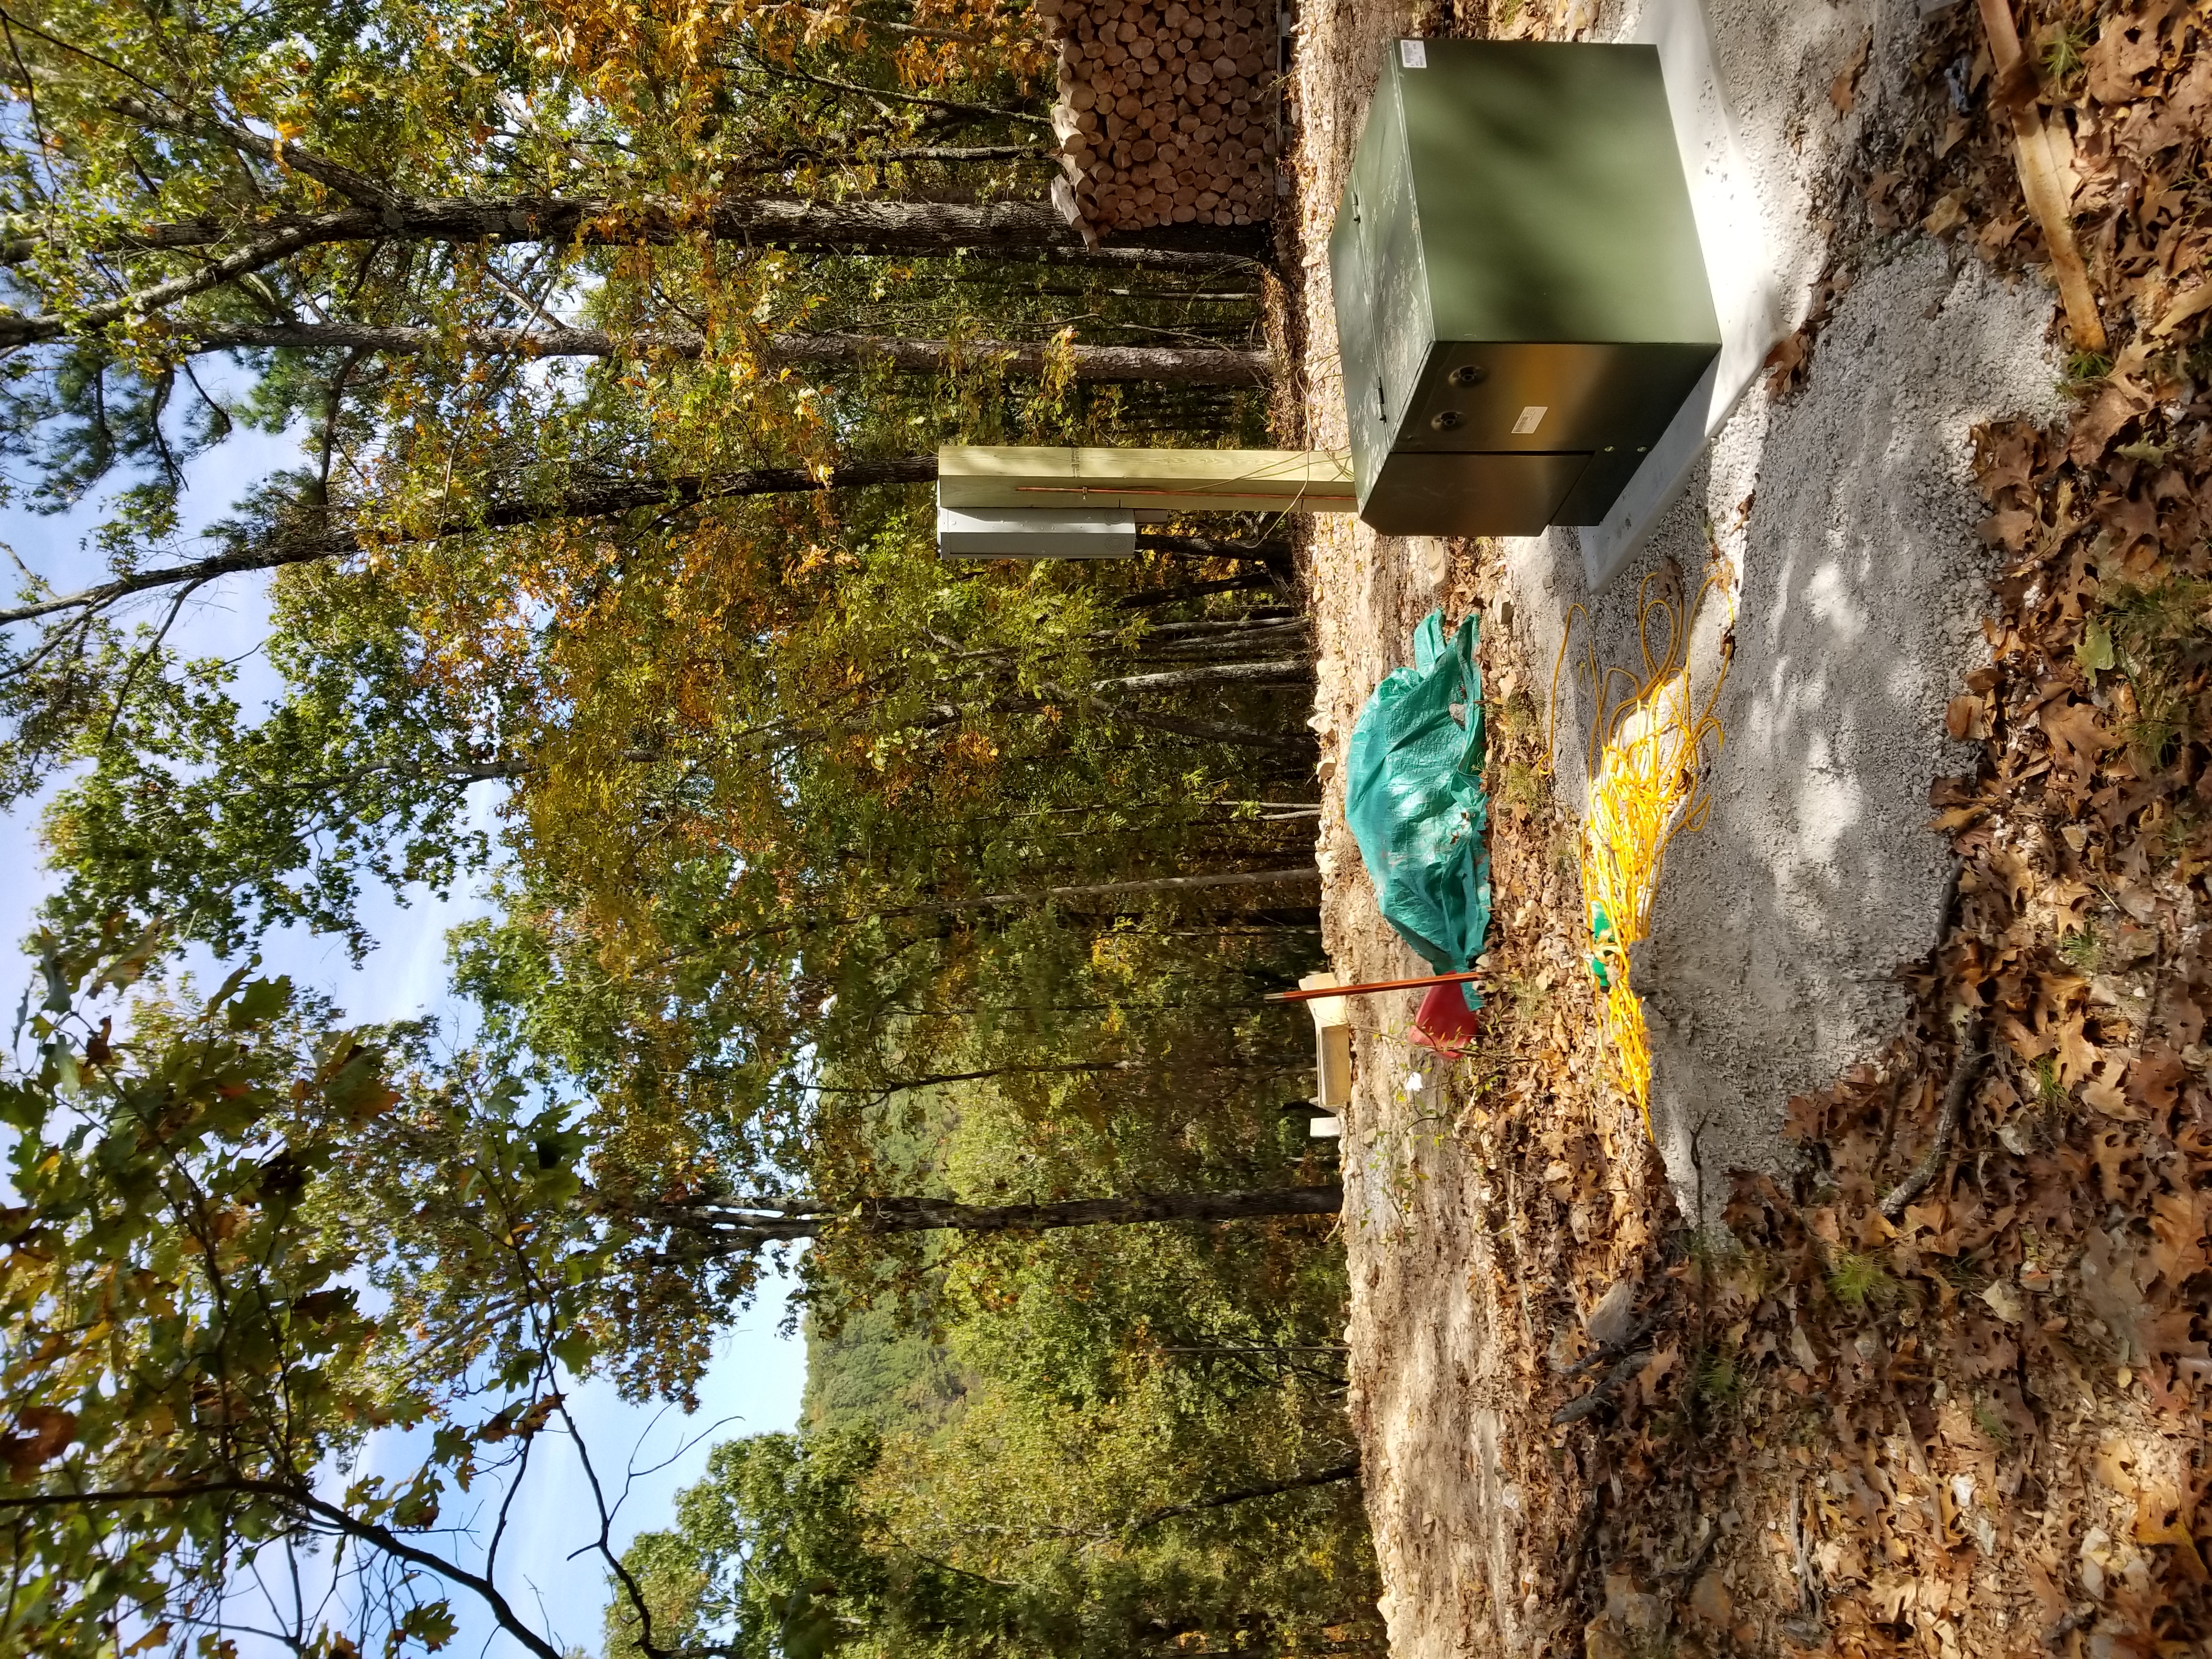
Transformer set and hot.Meter base wired and set. Ready for service.


During this time Buck trenched and set the conduit for the electrical and the water to the end of the ridge. Two more transformer pads were built for the future “family cabin”.
Finally, work has been done on building 2 new yurts. These yurts will be 25″ across and be about 475 sq feet of living space. This time around we decided to buy 2 roof kits as opposed to the complete kit. By purchasing on the roof kits only, we could get 2 delivered on one truck saving in shipping. Also, I had to buy 2 roof kits to get the roof metal in any color other than silver. We received the roof kits in April of this year. We then had to save up some “scratch” and wait for my helpers Gator and JT to free up from previous commitments.
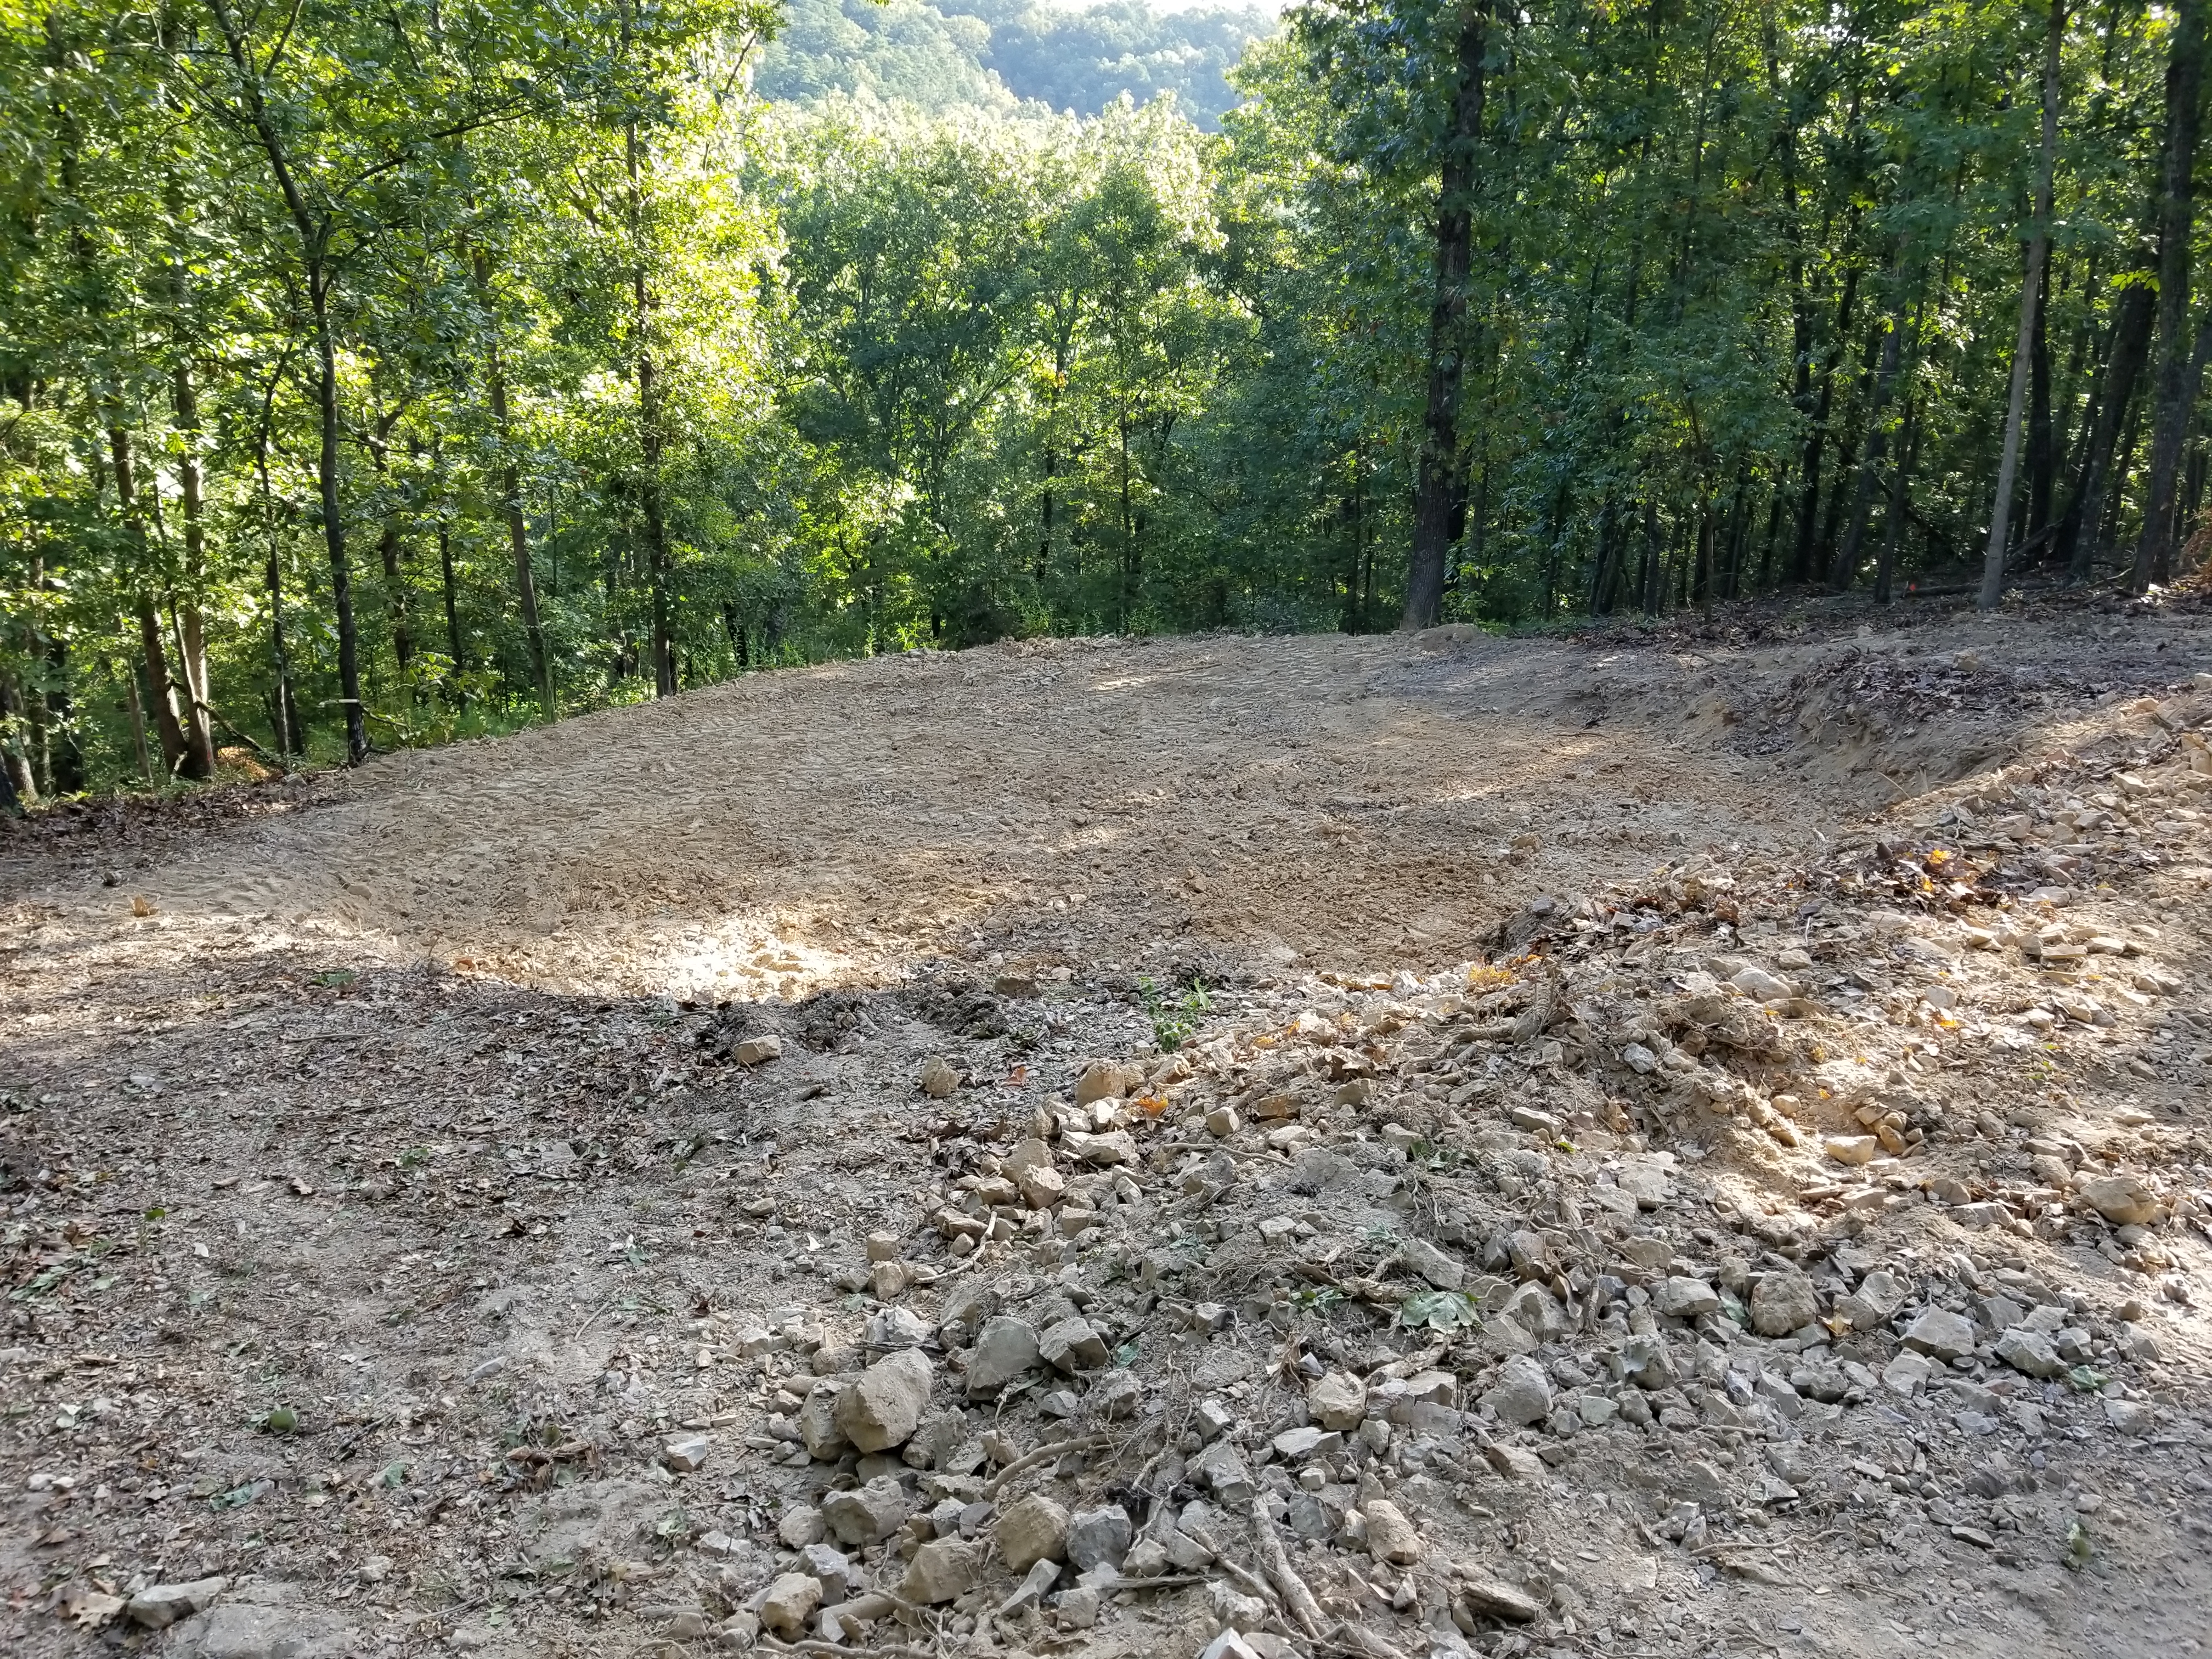
This is pad site 2 before any dirt work had been done.
I had Buck put in a circular drive and pad sites for both pad 1 and pad 2.

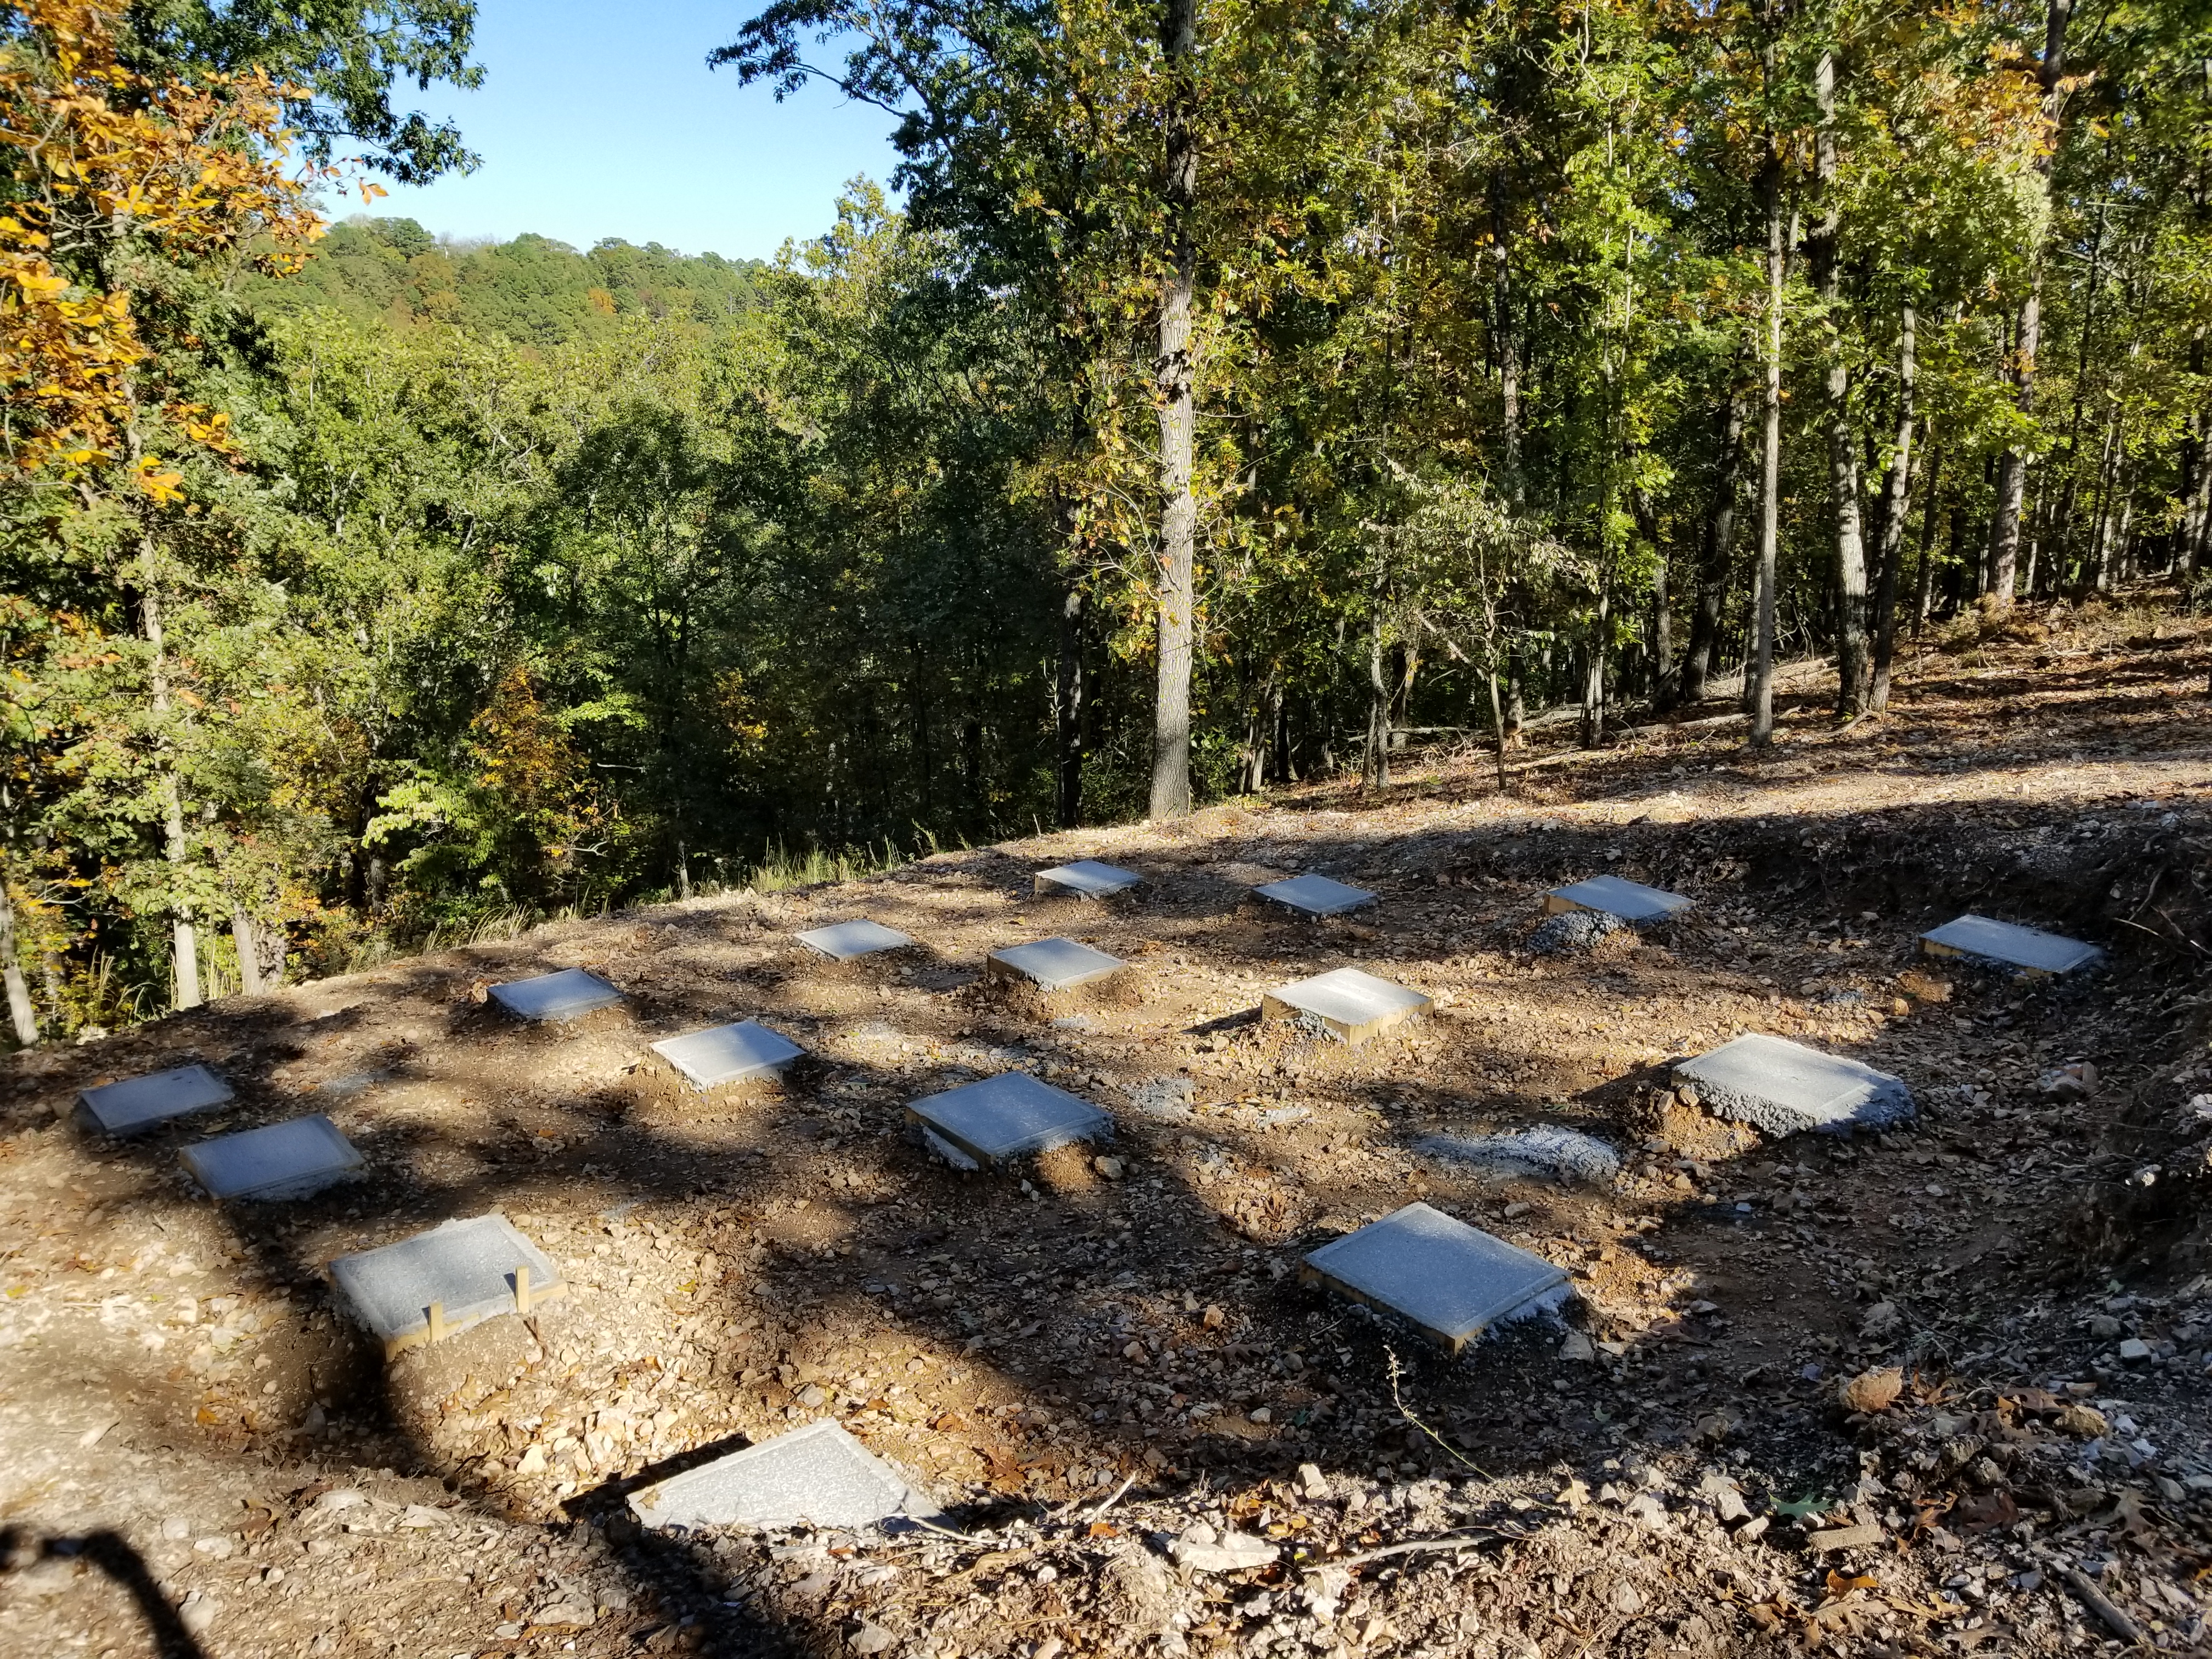
This is pad 1 when finished.
We then had to start laying out the pads for the piers and start the monumental task of drilling the piers. This lasted about 30 minutes…. Then the call went out to Buck to bring out his hammer to break up the limestone shelf so we could try to auger the holes.
After the the holes were positioned and dug, forms were built, secured and leveled. This took about 2 weeks.
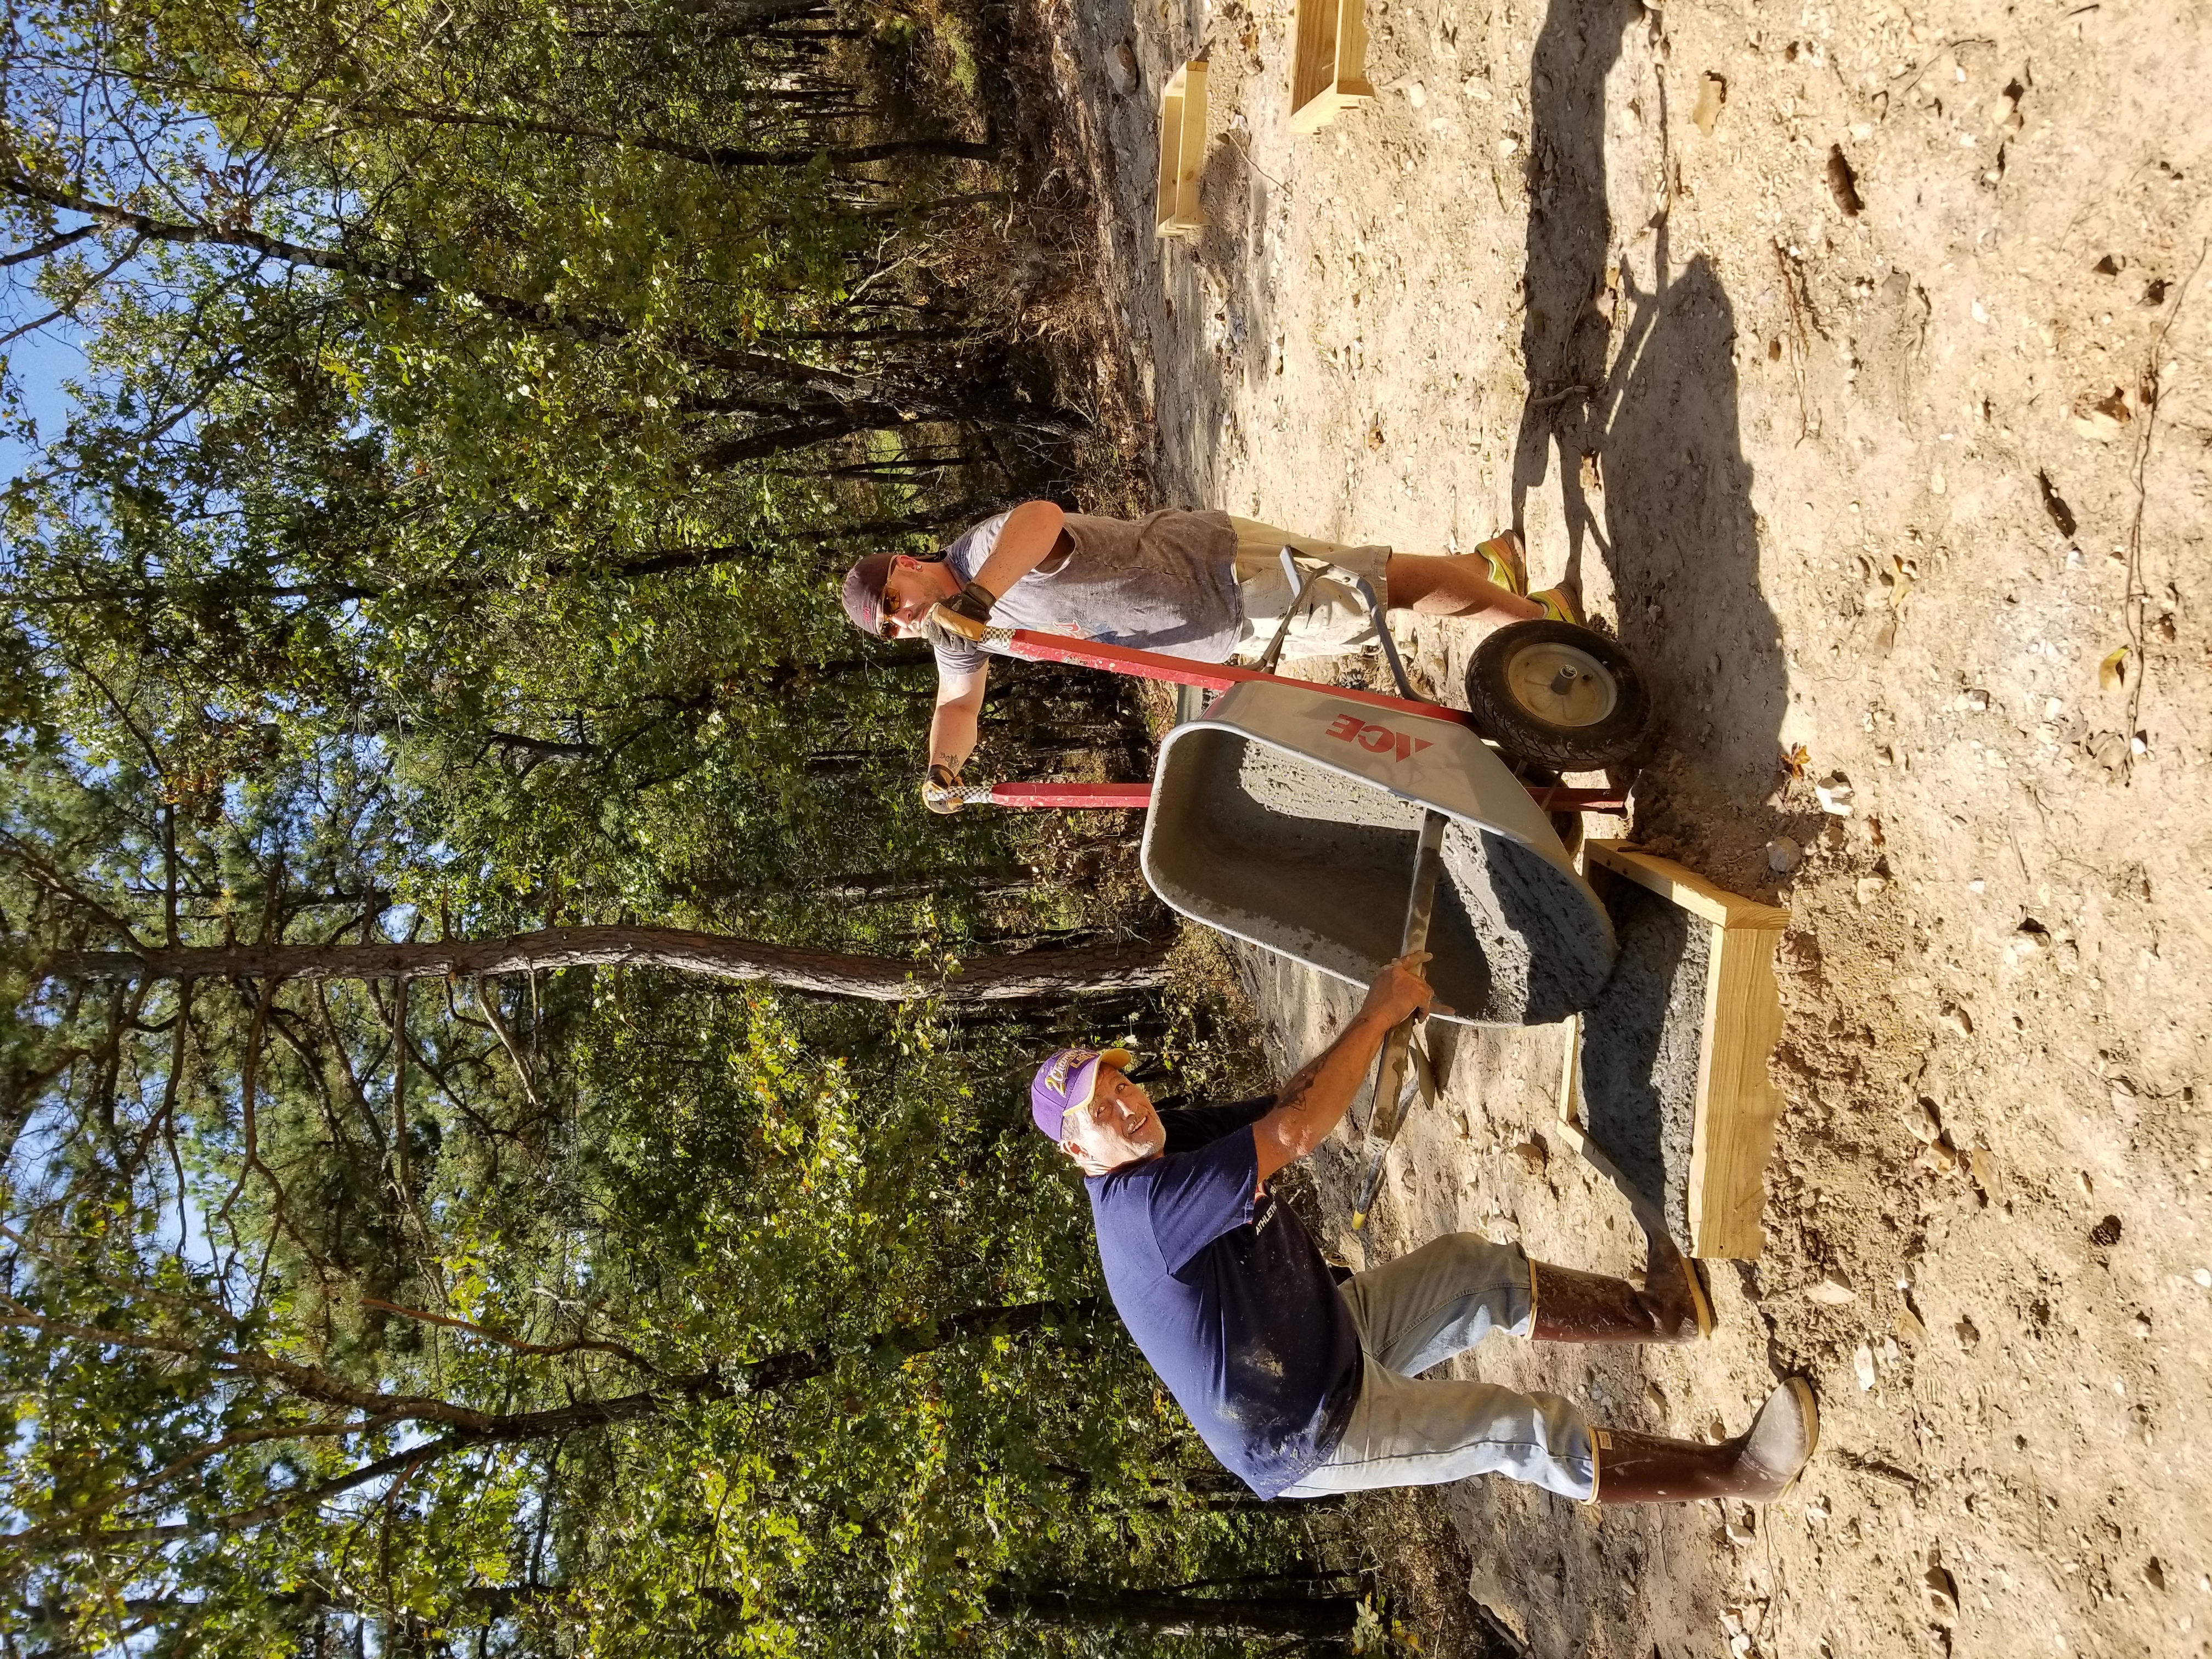
After the forms were in place we poured 8 yards of concrete. The truck could reach about 4 or 5 of forms. After that, it was on JT’s back (literally) to wheelbarrow the concrete from the truck to the forms. This was a long day!
Pad site 1
Pad Site 2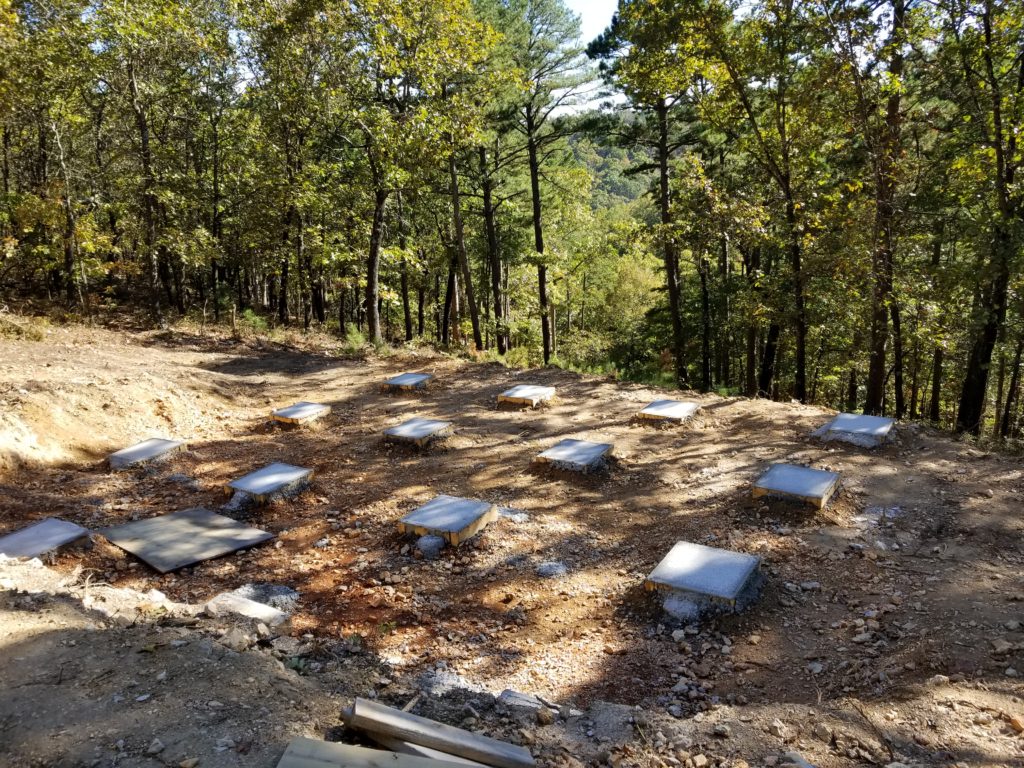
Last summer we purchased a large number of Eastern Cedar tree tops (about 140). We removed the limbs and used a high power pressure washer with an oscillating nozzle to remove the bark.

After the power washing was done, the logs were carefully cut to 16 inch length.

Then the larger logs were split to help speed up the drying process.

We then stacked the wood to dry. (About 9 cords)


Planning is now in full swing for our next cabin. We have an agreement with an industry expert and author of Cordwood Construction: Best Practices, Richard Flatau, to host a building workshop at Eureka Yurts and Cabins here in Eureka Springs Arkansas. This is a once in a lifetime opportunity to learn (hands-on) about Cordwood construction from one of the worlds foremost authority on the subject.
This workshop will be held on September 9th, 10th, and 11th. Here are the links to register:
http://cordwoodconstruction.org/img/Cordwood_Workshops_2016.pdf
http://cordwoodconstruction.org/img/Cordwood_Workshop_Registration_Template2016.docx
This workshop will fill up fast. Don’t miss this OPPORTUNITY to be apart of Eureka Yurts and Cabins!
I have an agreement with a local family to clear 40 acres of cedar for use on the cabin. The Eastern Cedar I am desperately trying to make arrangements to kiln dry the wood in preparation for the workshop. The trees must be cut, DE-limbed, and skinned of all the bark in preparation for the drying process. No help will be refused!
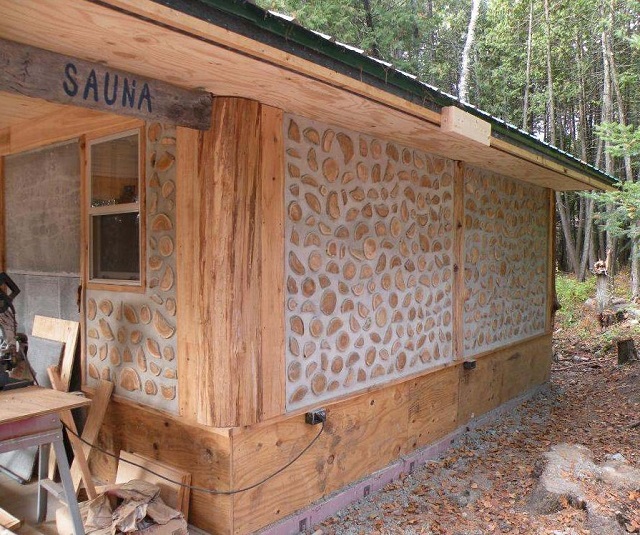
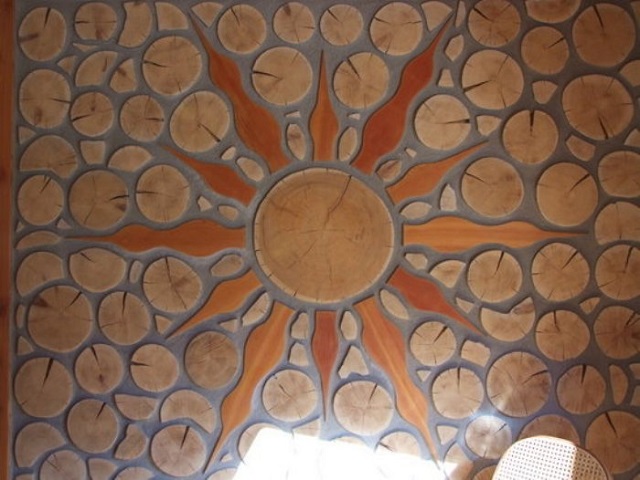
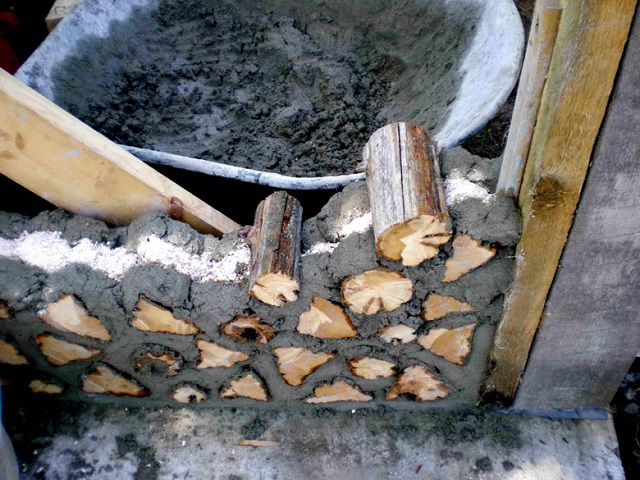
For those who have not heard of Cordwood construction, we have some examples in our Possible Building Styles album at the top of our home page . Here are some places you can vacation now. Cordwood Vacations
Here are some examples of what we are going to do on a cabin scale.

Well, winter has come and is giving way to the early reaches of spring. The trees are starting to bud, and we are putting the final touches on the yurt. The windows have been trimmed out. The in-wall internet has be fully installed and tested. The kitchen received its final monster cabinet, counter tops and back-splash.
Trim-out.
I was having a problem trimming out the windows because there was a bend between adjacent windows where the panels met. After going over some of the possible solutions. My neighbor Terry suggested to use all the scraps to create a butcher block pattern that could follow the contour. So, that is what I did. Here is the final result.


Also, while I was in the “Use all your scraps” mindset, I decided to use the floor tiles for the counter top.

So, here is how the main living space ended up.


If you haven’t registered, please do so you don’t miss any posts and you can comment and join the conversation!
It has been quite an adjustment moving from a 2900 sq foot suburban home with 2.5 car garage, fenced backyard with a dog run, outdoor kitchen and sports court to 930 sq ft self built cabin. The things I miss? GARAGE! Holy Moly, I have forgotten how much nice it was to have a simple garage. Also, miss a guest bedroom, fenced yard, and my favorite Chinese take out.
Well, one problem solved!
Having 3 Great Pyrenees, it is quite a chore to walk them 4 times a day. Rain, sleet, or snow, they need to exercise and do their business. And their ‘business’ can really pile up!
So the requirements:
Goal 1: Safe and Secure, Always, Always.
Goal 2: Low/No maintenance.
Goal 3: Self Service.
Goal 3: Ascetically pleasing and fitting in with the rustic theme.
I have always been in awe of AstroTurf dog runs. But the cost of 13$ a foot plus installation was way beyond my budget / benefit balance. I did my research and made a lot of phone calls and finally found my answer. Reclaimed Turf. For about 0.75 cents a foot (delivered), I bought turf that was salvaged from the University of Missouri Western State’s football field.
So after 3 trips to Kansas City, we finally had all the turf. So now what?? Very long story short, after wrestling with a 30 ft 2000 lb anaconda, I finally got it down. Woot! (Sorry, Juan).
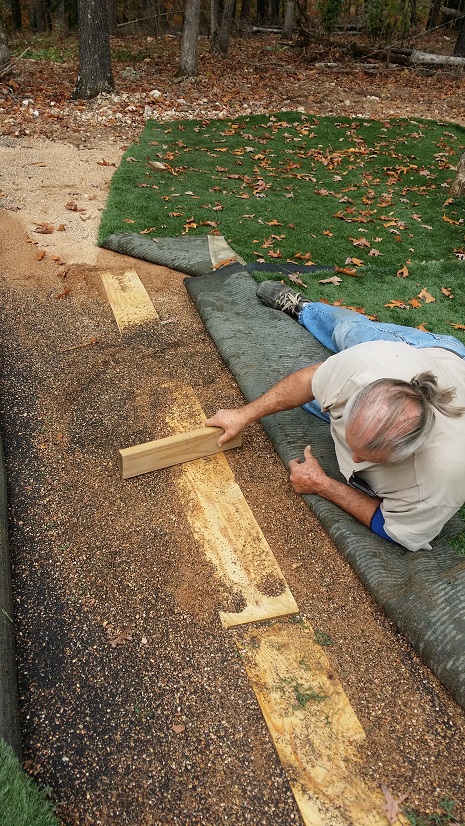
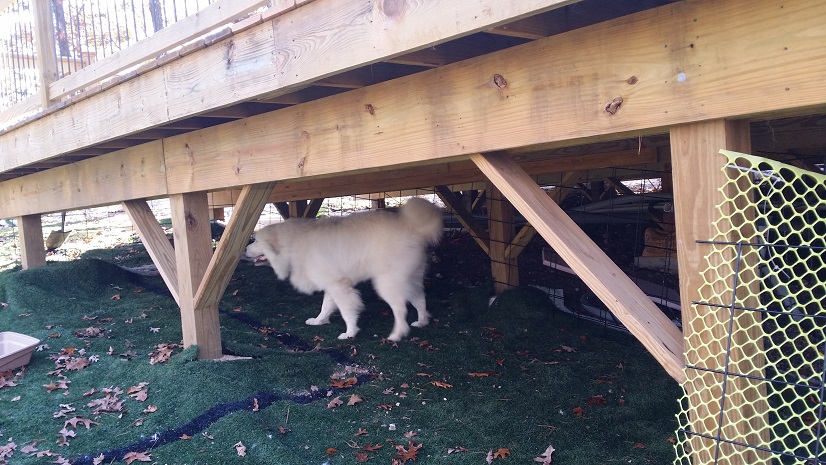
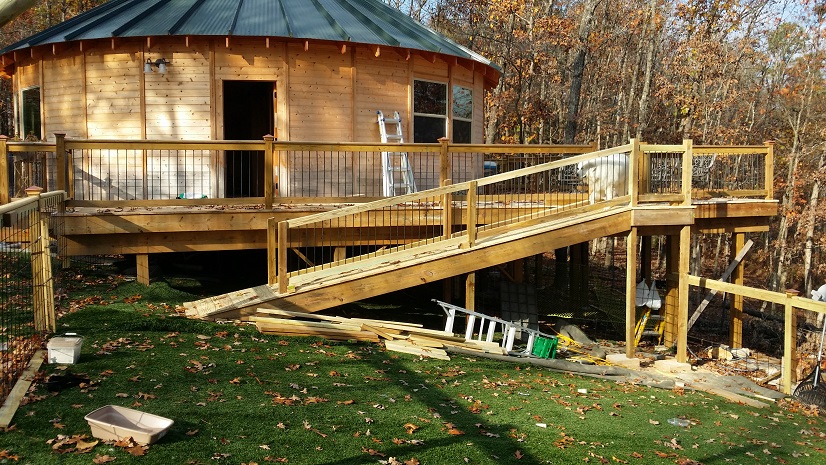
Next step, build the ramp from the deck to the yard. I called in my trusty carpenter and his sidekick and in 2 days we had the ramp in and it was all down hill. Or, maybe too downhill??!? What??
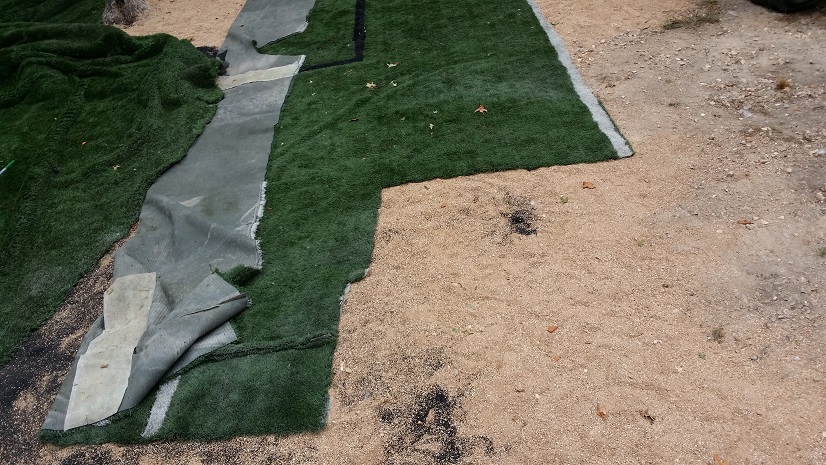
The next week we had 3 days of torrential downpour. And, with the 12 percent grade and the circular drive sloping toward the back yard, the water tunneled under the turf and cut a gorge under the turf. When I un-seamed the turf, it looked like the Colorado river cutting through the desert of Arizona.
So, I bought some more 5/8ths base rock and had a friend regrade the driveway and put in a small diversion ditch to channel the water away from the the back yard. I filled in the Grand Canyon and seamed up the turf.
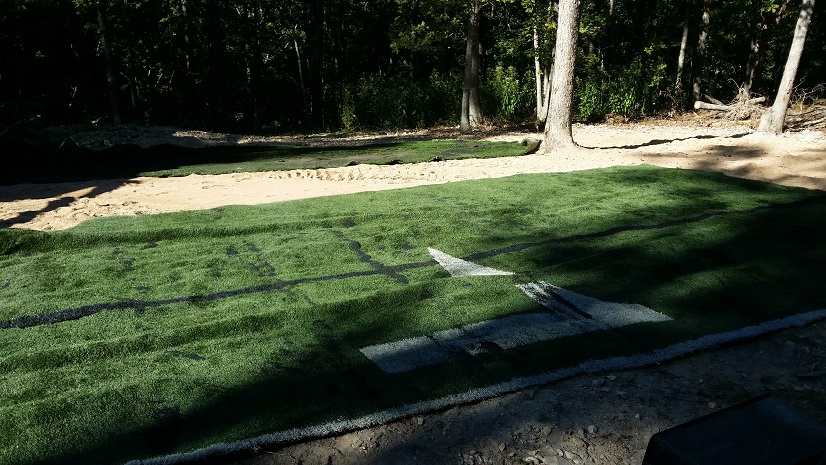
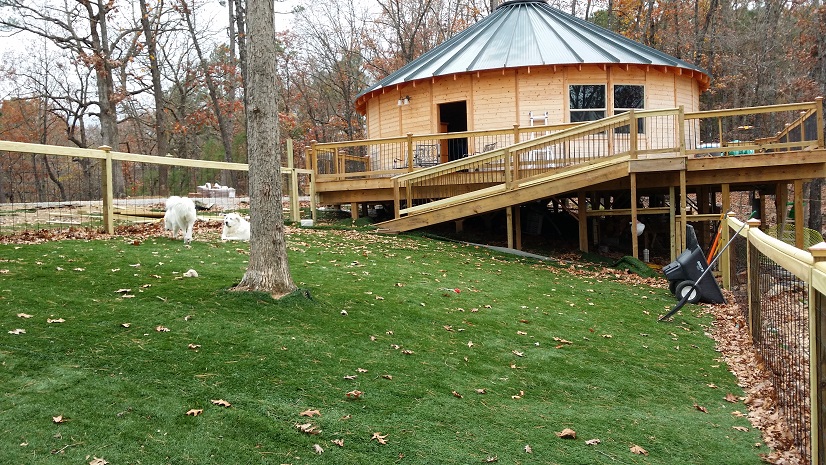
The final product:
How time flys when your having fun. Could not be more true this summer. The first summer in Arkansas has been Awesome. The weather has been superb. With average highs of 90 and average lows of 68, I thought I was living in southern California. The lake water temperature was in the low 80’s for most of the summer.
I picked up a little fishing boat a couple months ago, and Melissa and I have embarked on learning fresh water and trout fishing.  Growing up on the coast of Mississippi, I spent my entire life fishing salt water. Fishing the Arkansas lakes and rivers is a completely different animal. But with the tutoriage from my avid fishing buddy Mike, we have had some moderate success.


Cabin Update
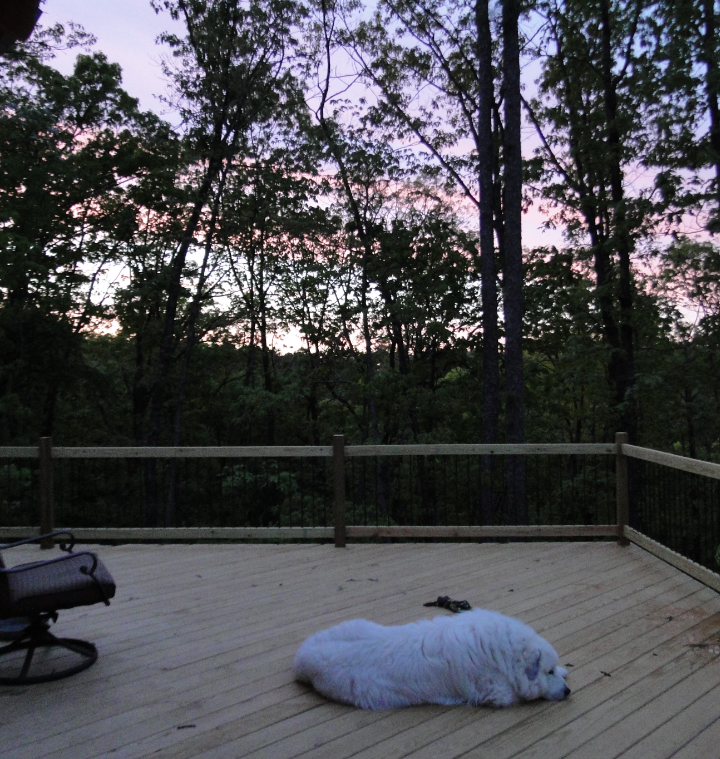
The deck is finally finished. I am pleased with the outcome.
Next, kitchen cabinets…. UUUGGG… what a beating. After a month of debating what color stain we were going to use, we finally jumped on it with the help of my nephew John. We sanded, pre-treated, stained, and varnished, varnished and varnished. So after a couple week the cabinets went from this 

To this: with the convection oven and dishwasher.

We have also had a double circular drive and a parking area put in. Now it does not feel like you off-roading just to get home. So, So much nicer!
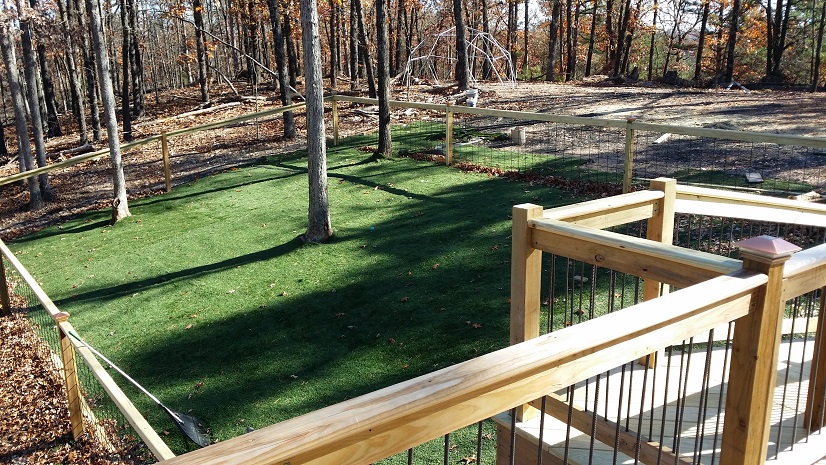
Next, our attention has turned to the dog yard. We have decided to go with reclaimed astroturf for the dog run area. We bought 1800 sq feet of turf removed from Western Missouri State’s football field. The first delivery contained half of the turf in GOLD. Really? Did I really have to request that the turf be predominantly green? Really?
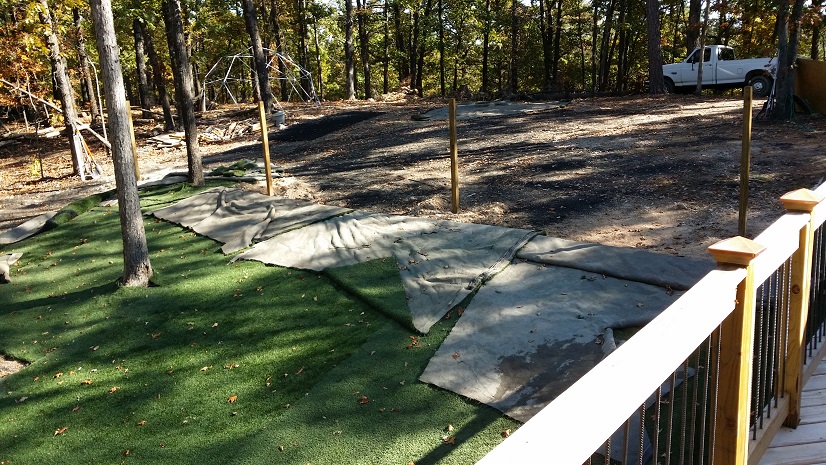
So after some spirited negotiation, and 3 round trips to Kansas City to get suitable pieces for the project. The next week was spent wrestling with a 16 foot 1500 lb anaconda…. There goes the back! But with the help of my friends tractor and another friend who drove the tractor, we managed to get the turf down. We spent the next 2 days with a rented 8″ auger attachment for the tractor to drill 10 post holes. This is the current progress.

We will finish off the fence using 50 inch by 16 foot cow panels which Melissa is painting black to match the finish of the deck.
We will be finishing the fence, adding a doggie door and a ramp for the dogs. Then, the last major task. Clean, Stain and Seal the exterior of the yurt and deck. Stay tuned the ride is just beginning….
Spring is in the air and the Dogwoods, Palumbos and Locust Trees are putting on a show.

The Deck is complete. Here are some of the pictures.


I also installed the Sconces in the living room.


Next big projects, Yard for the dogs and Fishing!