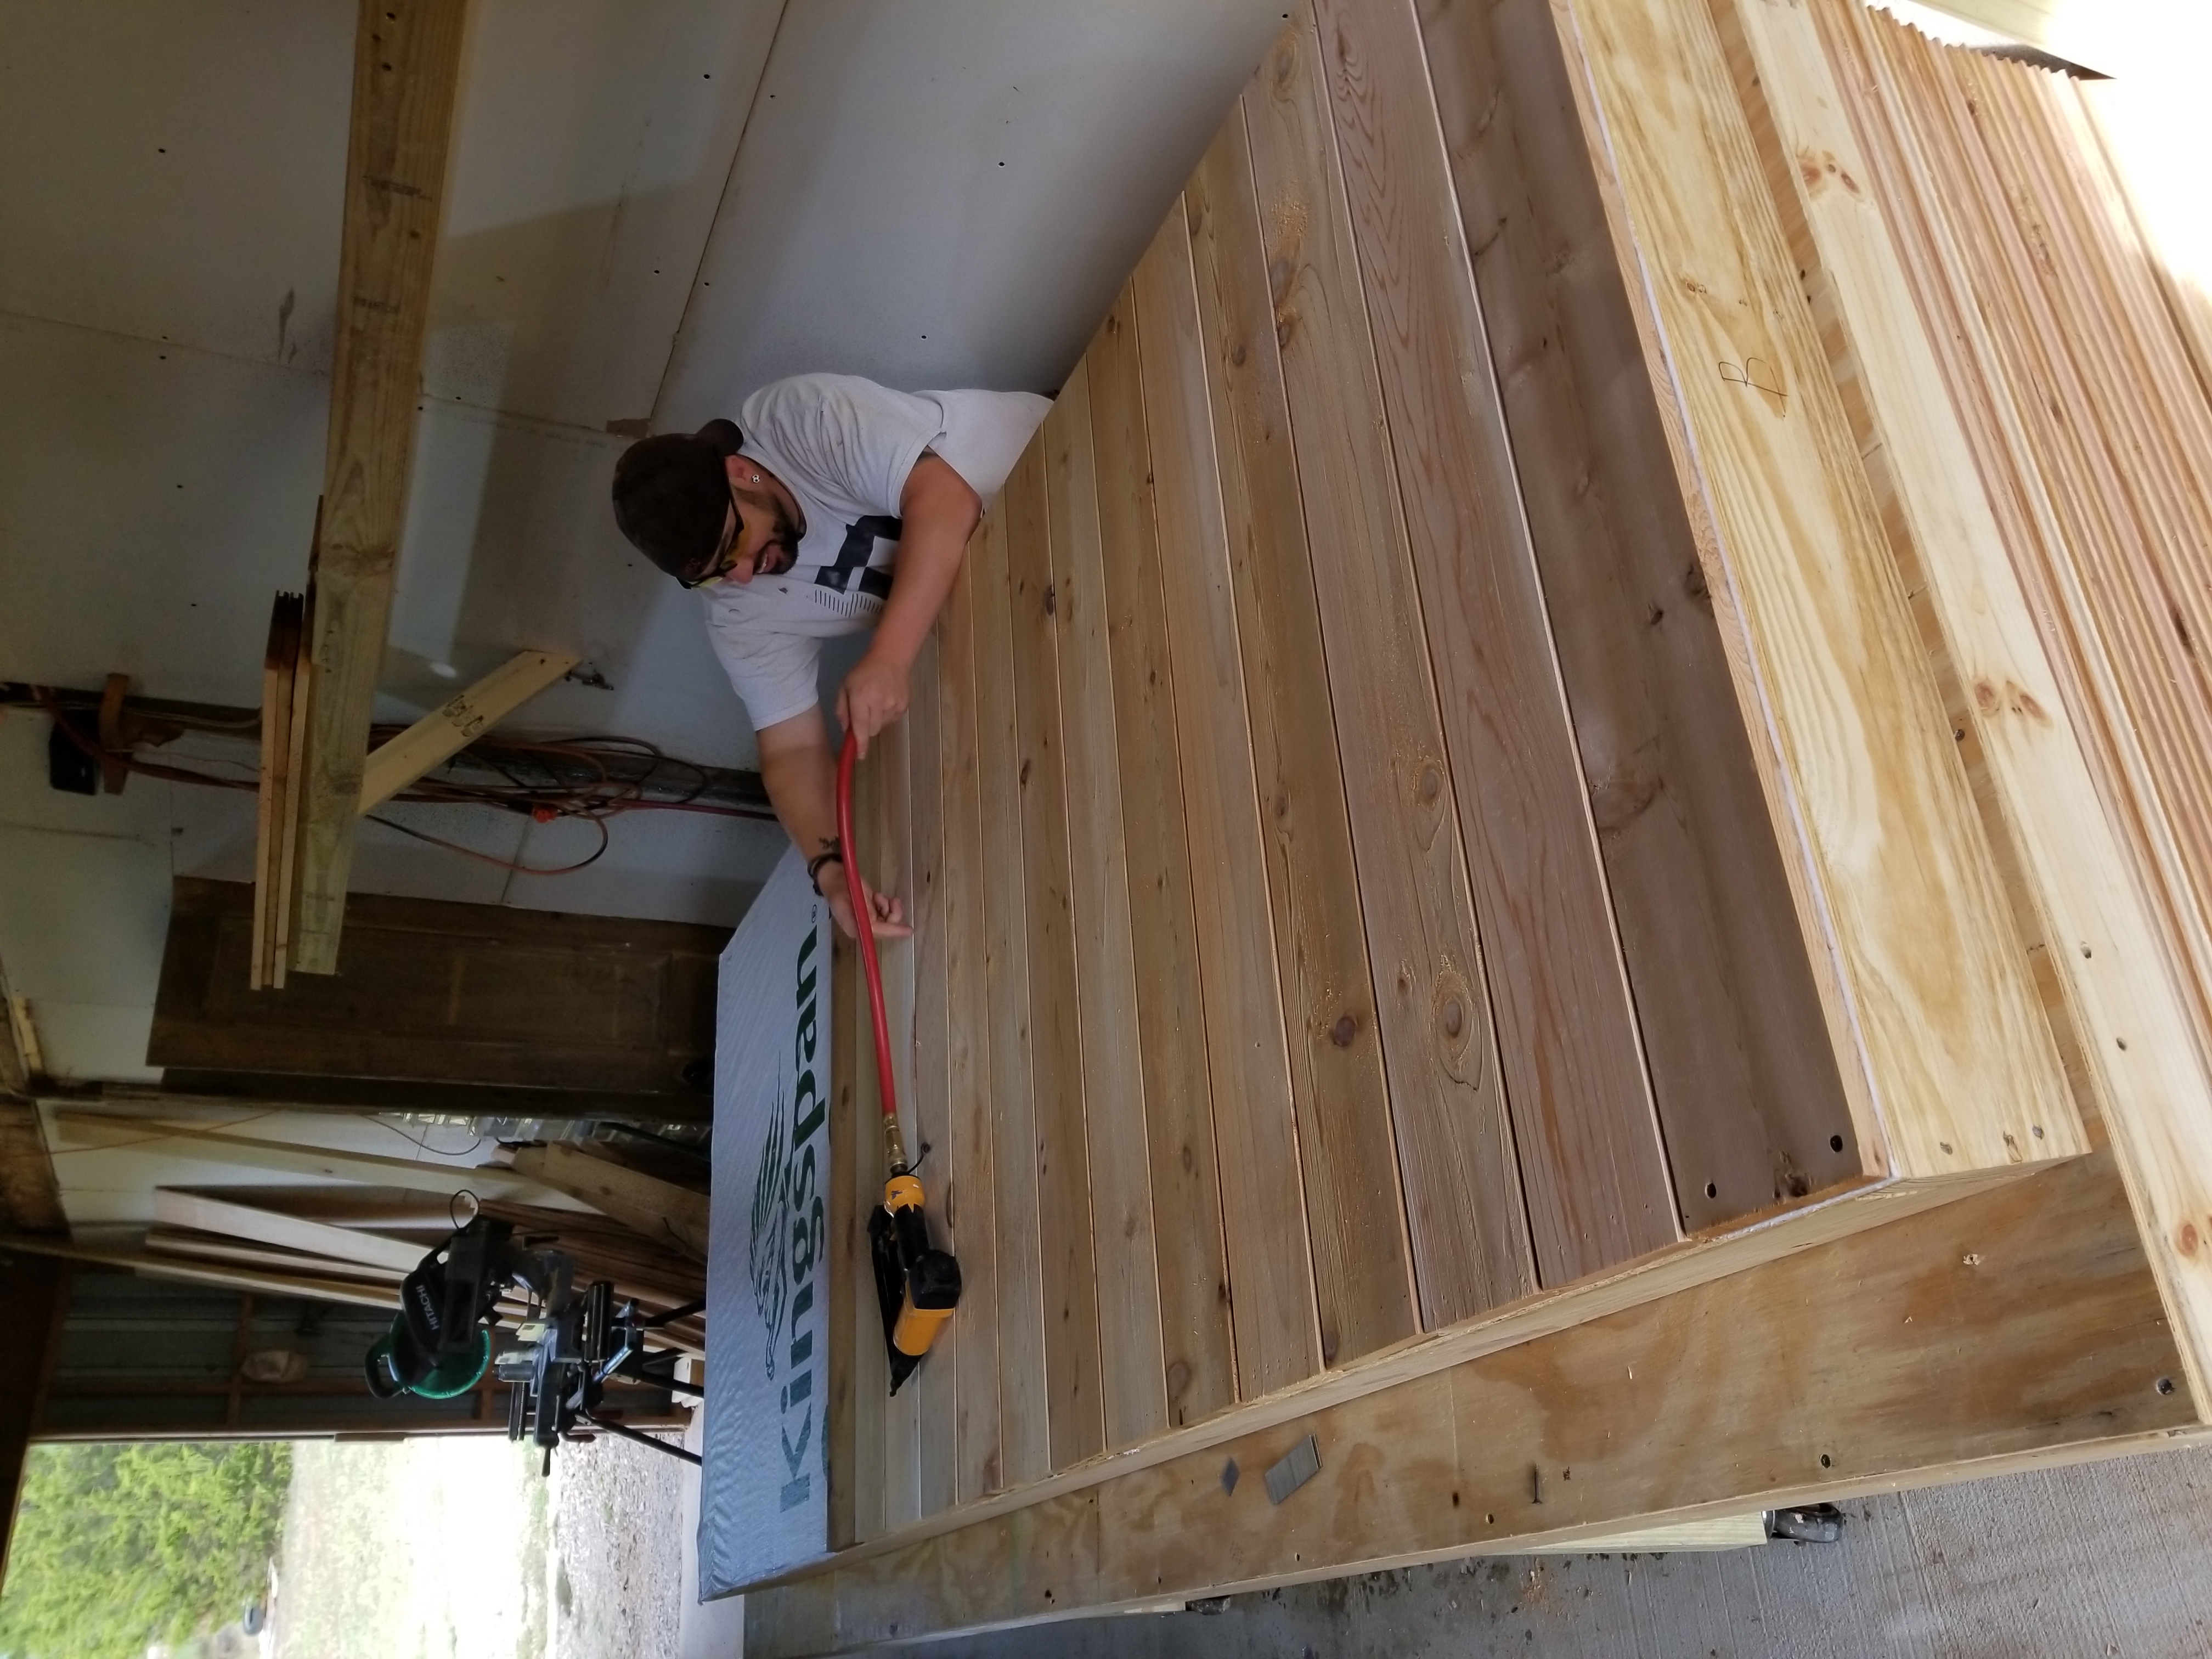
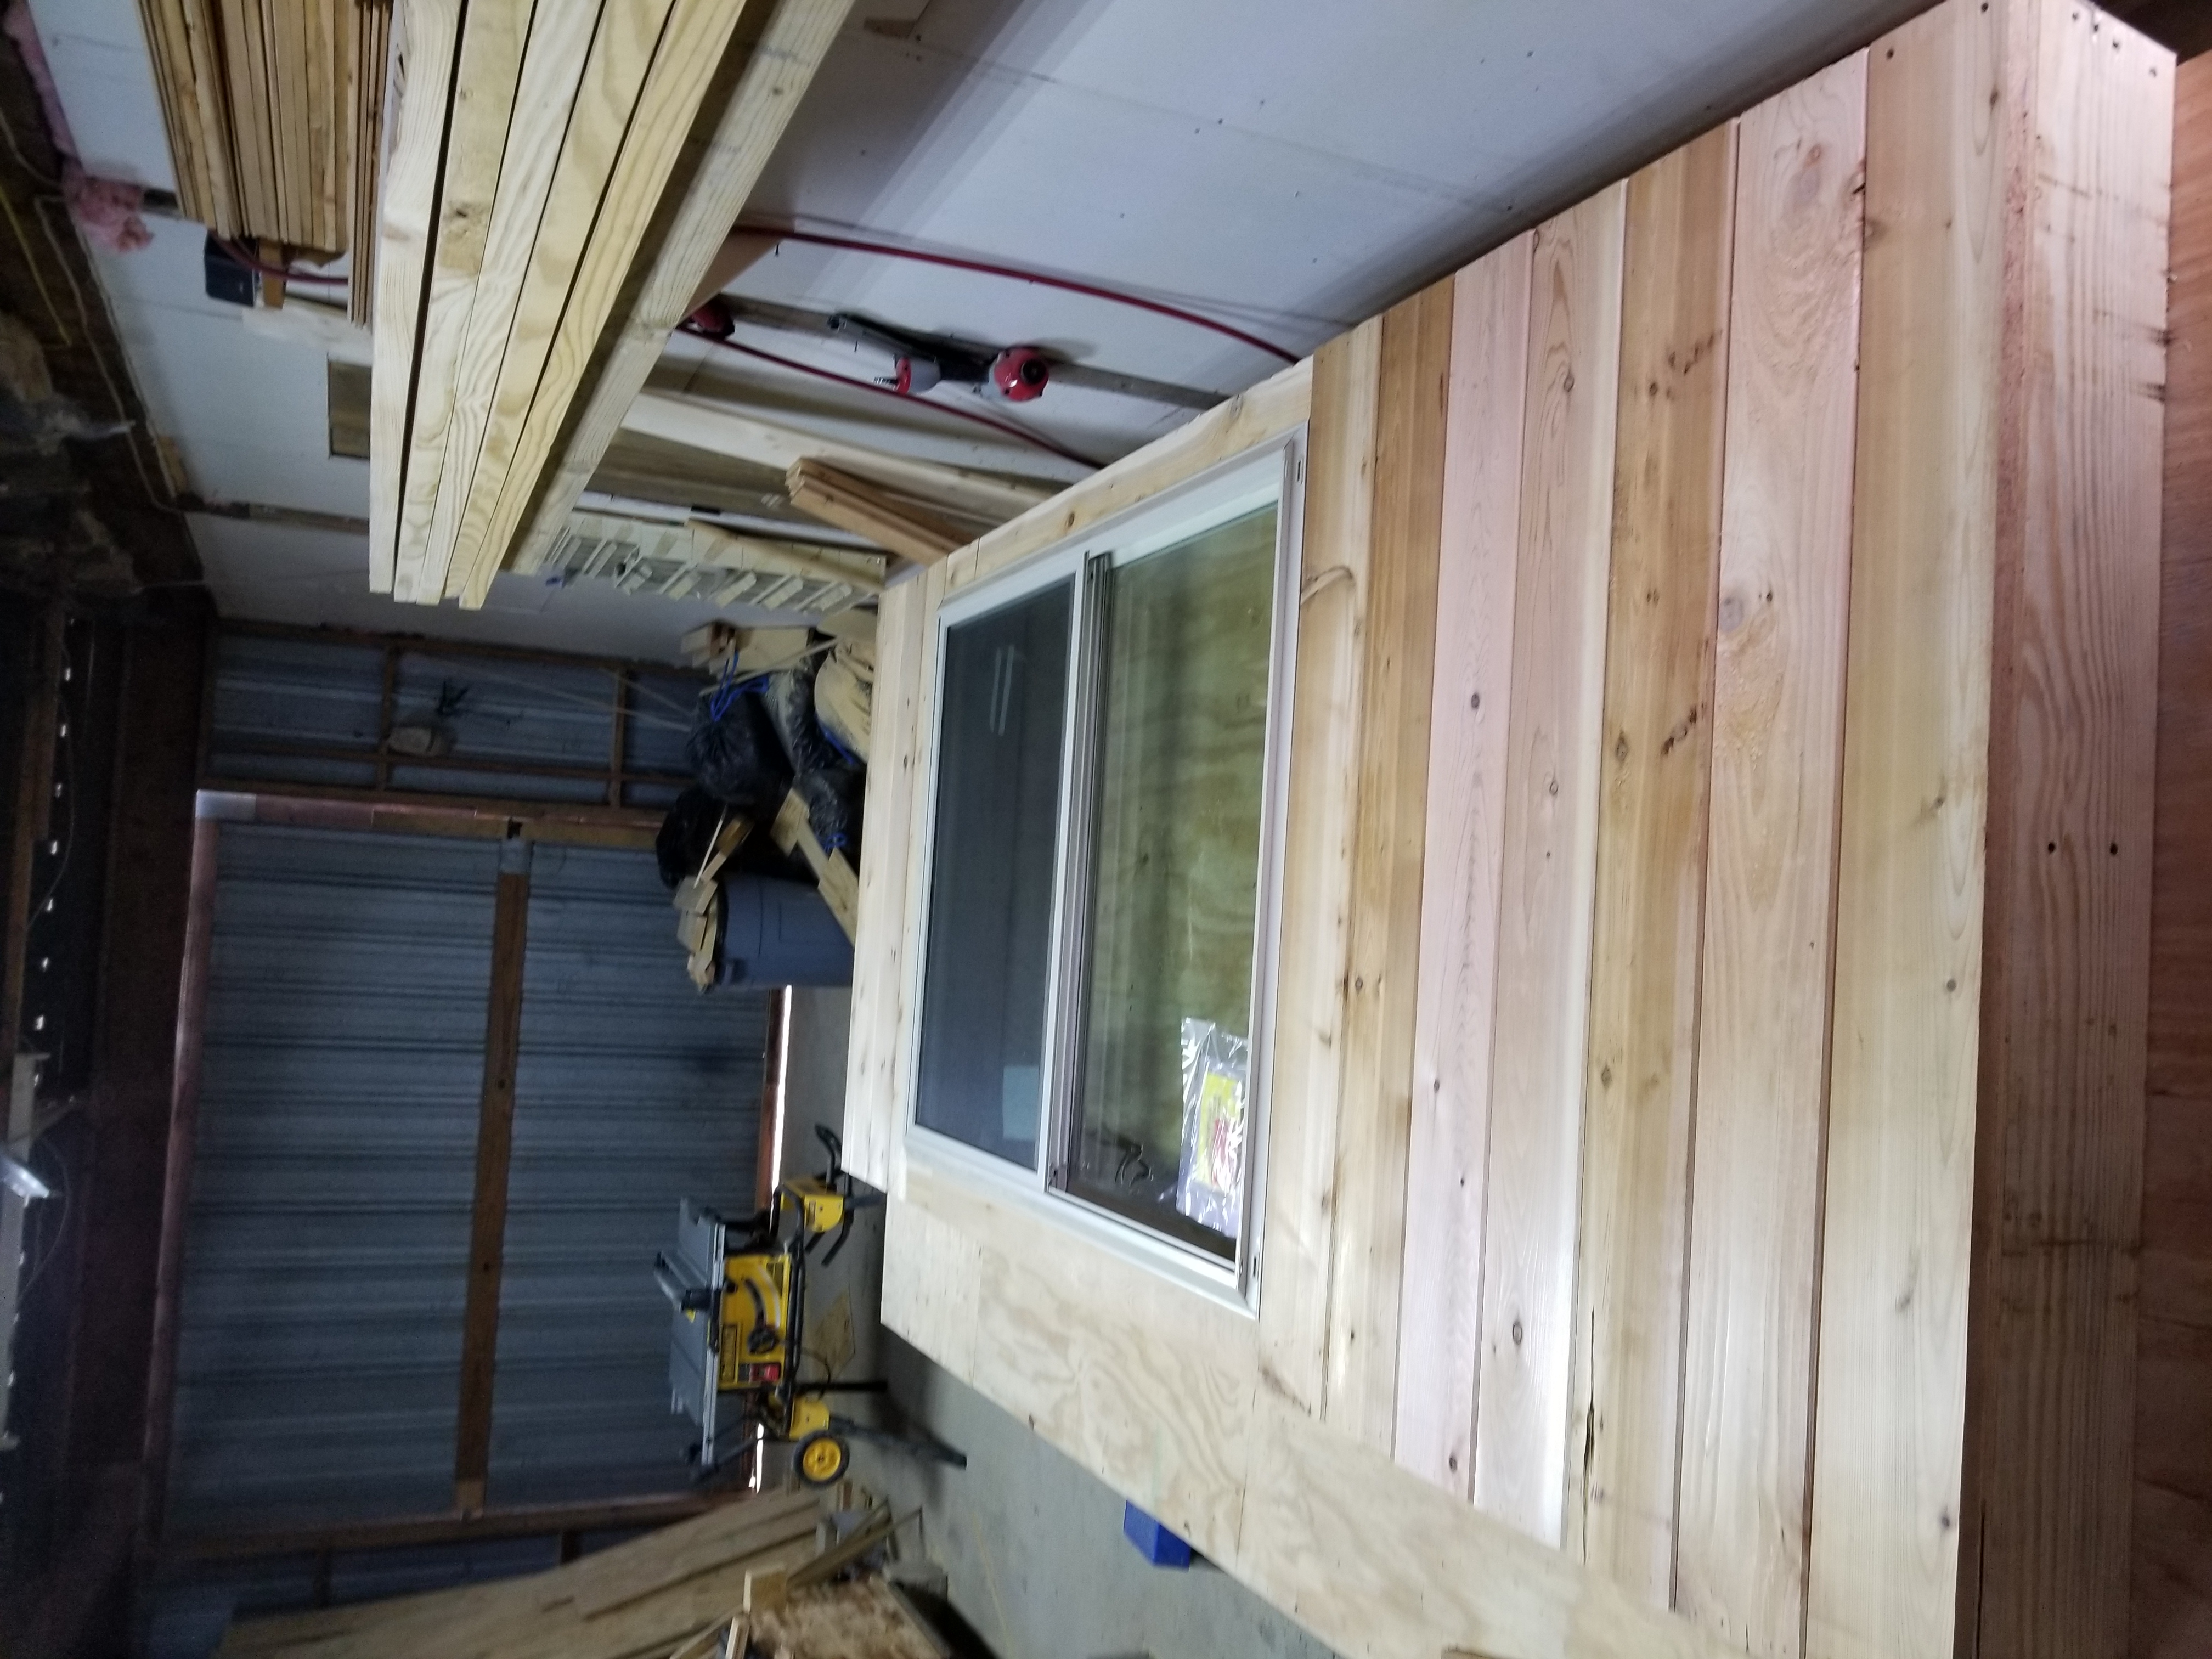
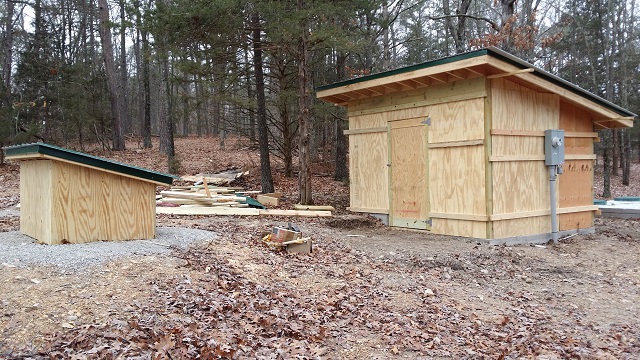
During the inclement days the 20 wall panels are being fabricated. The sides of each panel is cut at a 9 degree angle to account for the curvature of the yurt. We are doing 4 picture windows (3.5 feet by 6 feet tall) and a double hung window in the bedroom, bathroom and the kitchen. So we have 7 window panels, 1 door panel and 12 solid panels.
Fixed Window PanelPrepping wall panel with outer cedar cut with tongue and V grove underneath.JT adding the western cedar outer sheathing.
Notice the bottom cedar sheathing has 2 finish screws on each side. This is so that after the panels are set, the piece can be removed so flashing can be installed so water will not wick up the panels.
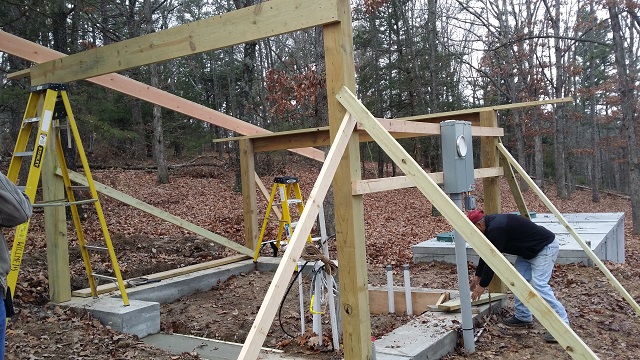
Setting the vertical piers and bracing them for the runners.
After the pads were poured and cured. An 8″ double galvanized pin was countersunk into the pad and the bottom of the treated 8×8 pier. These were plumbed and braced. Dual 2×12 runners were attached to the piers from front to back. Then the 2×10 floor joists were attached to the runners on 16 in centers.
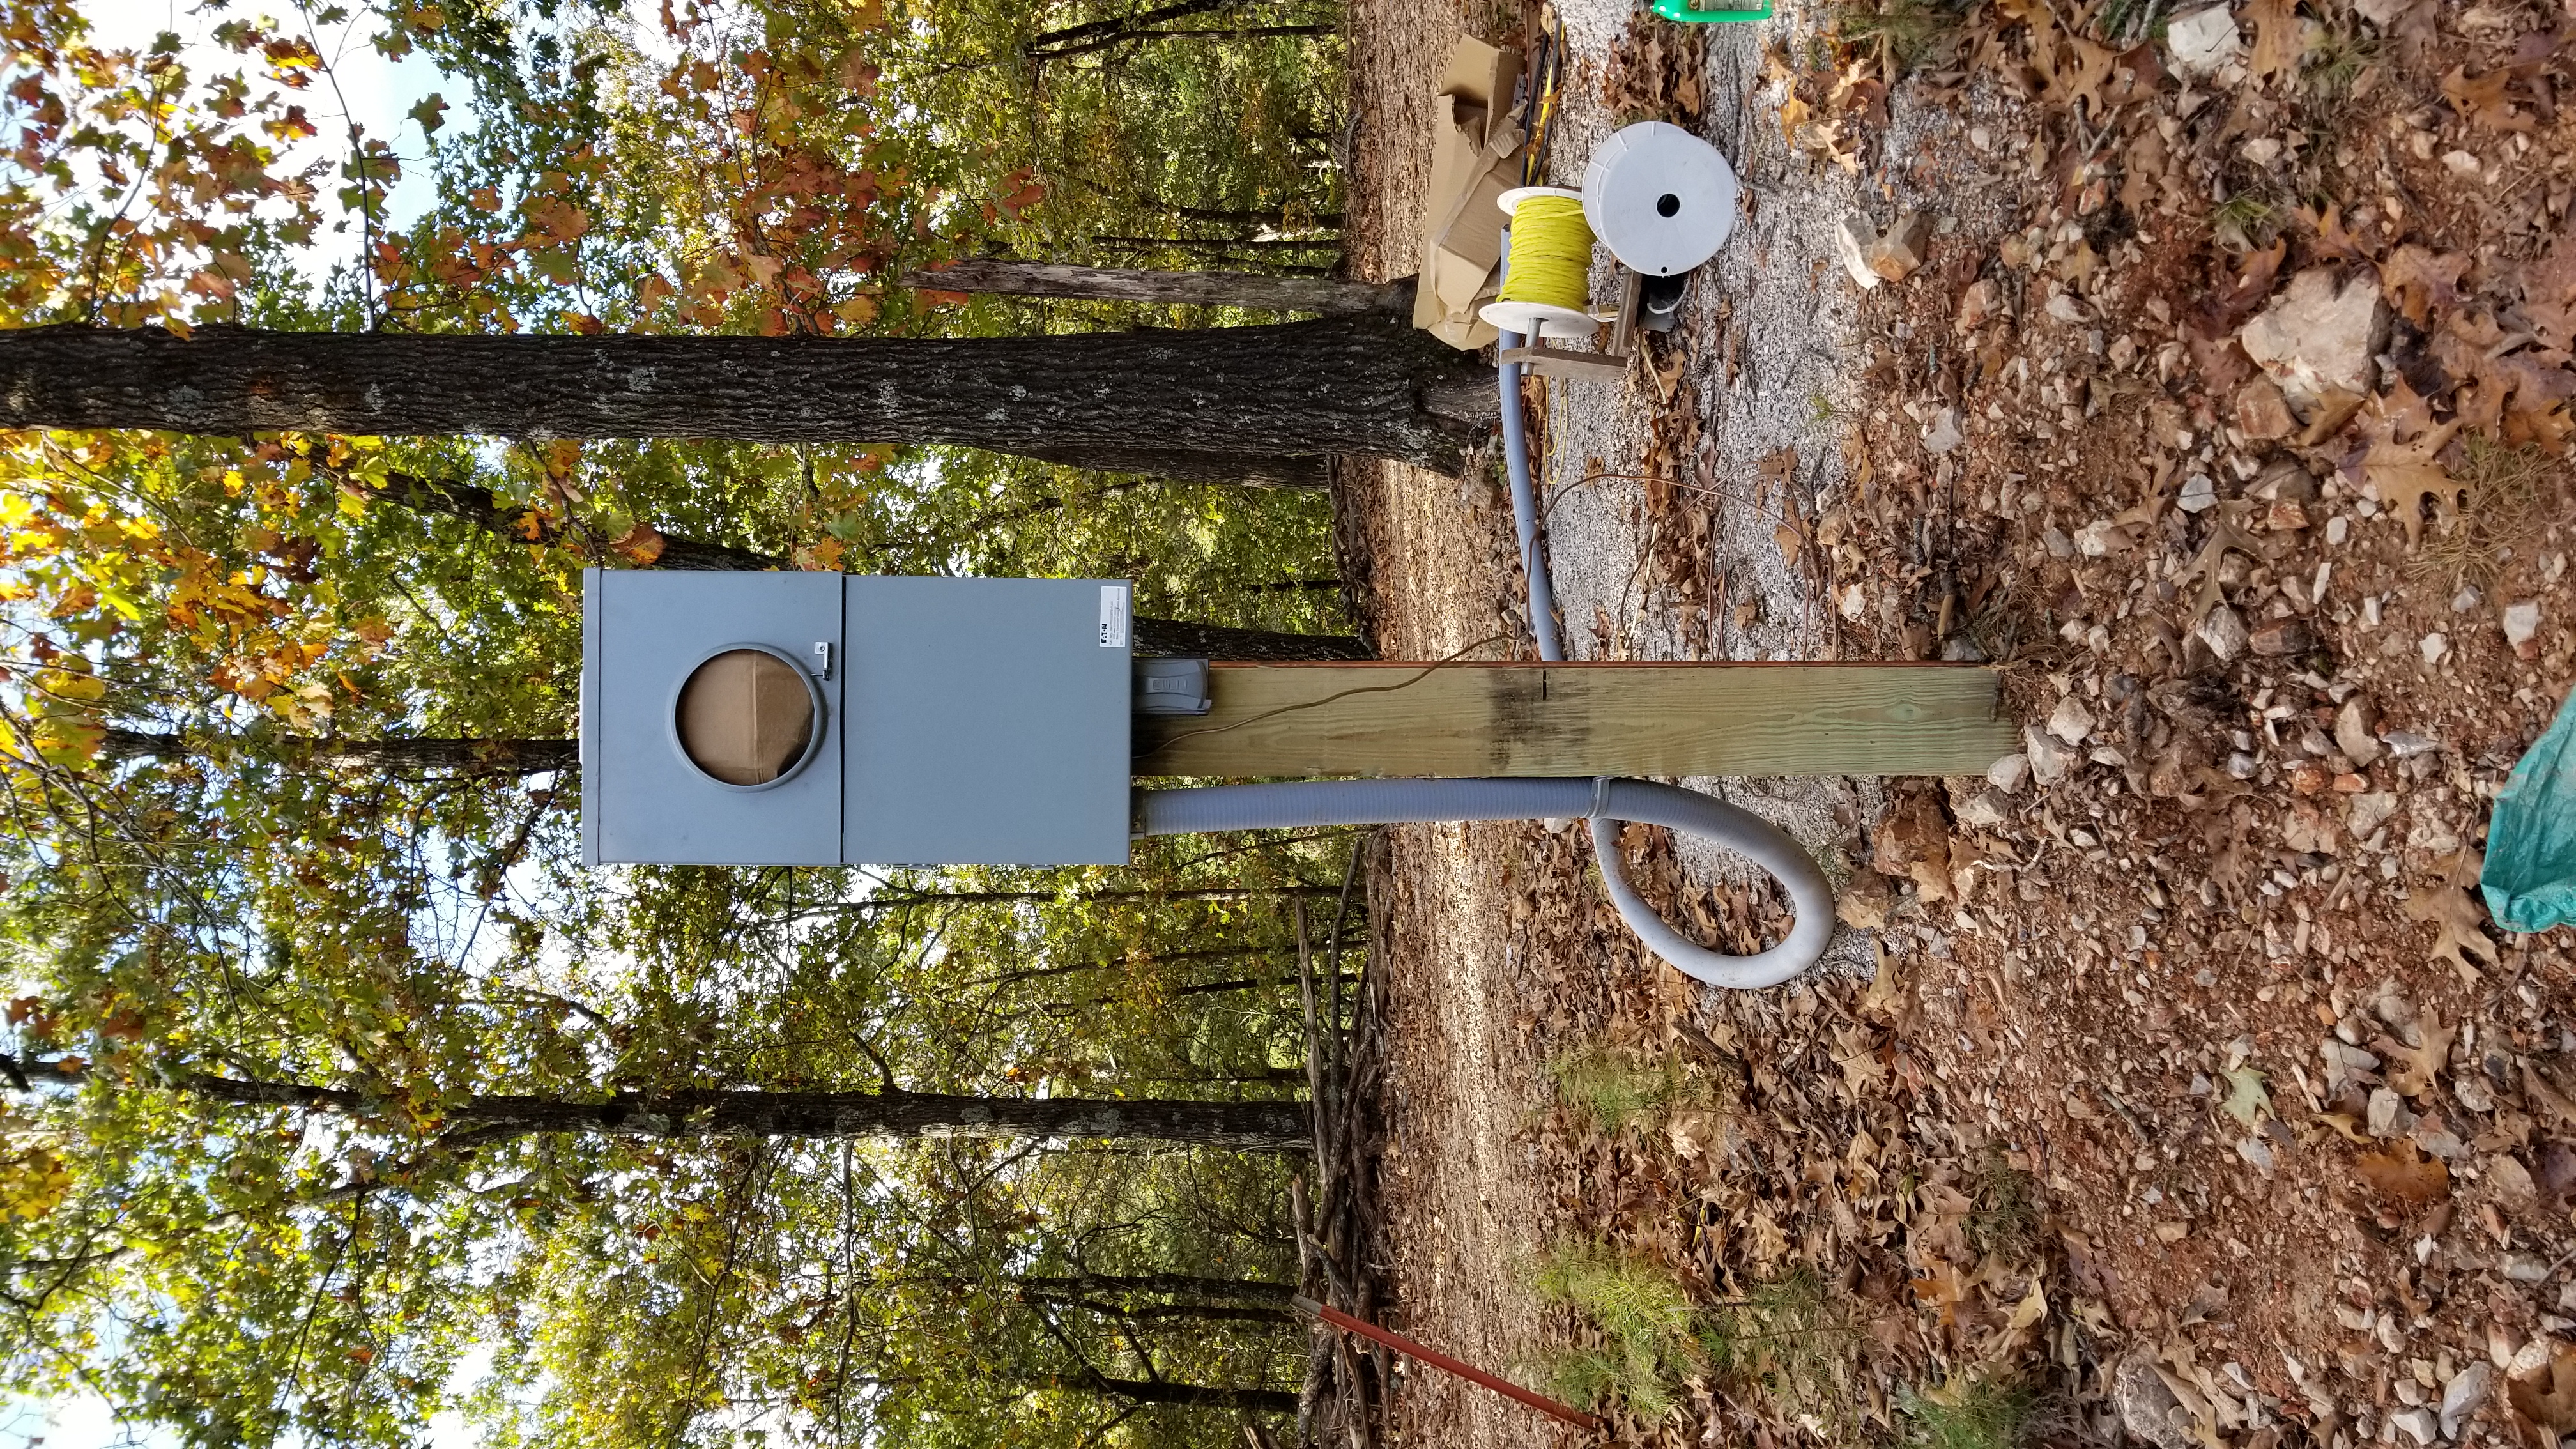
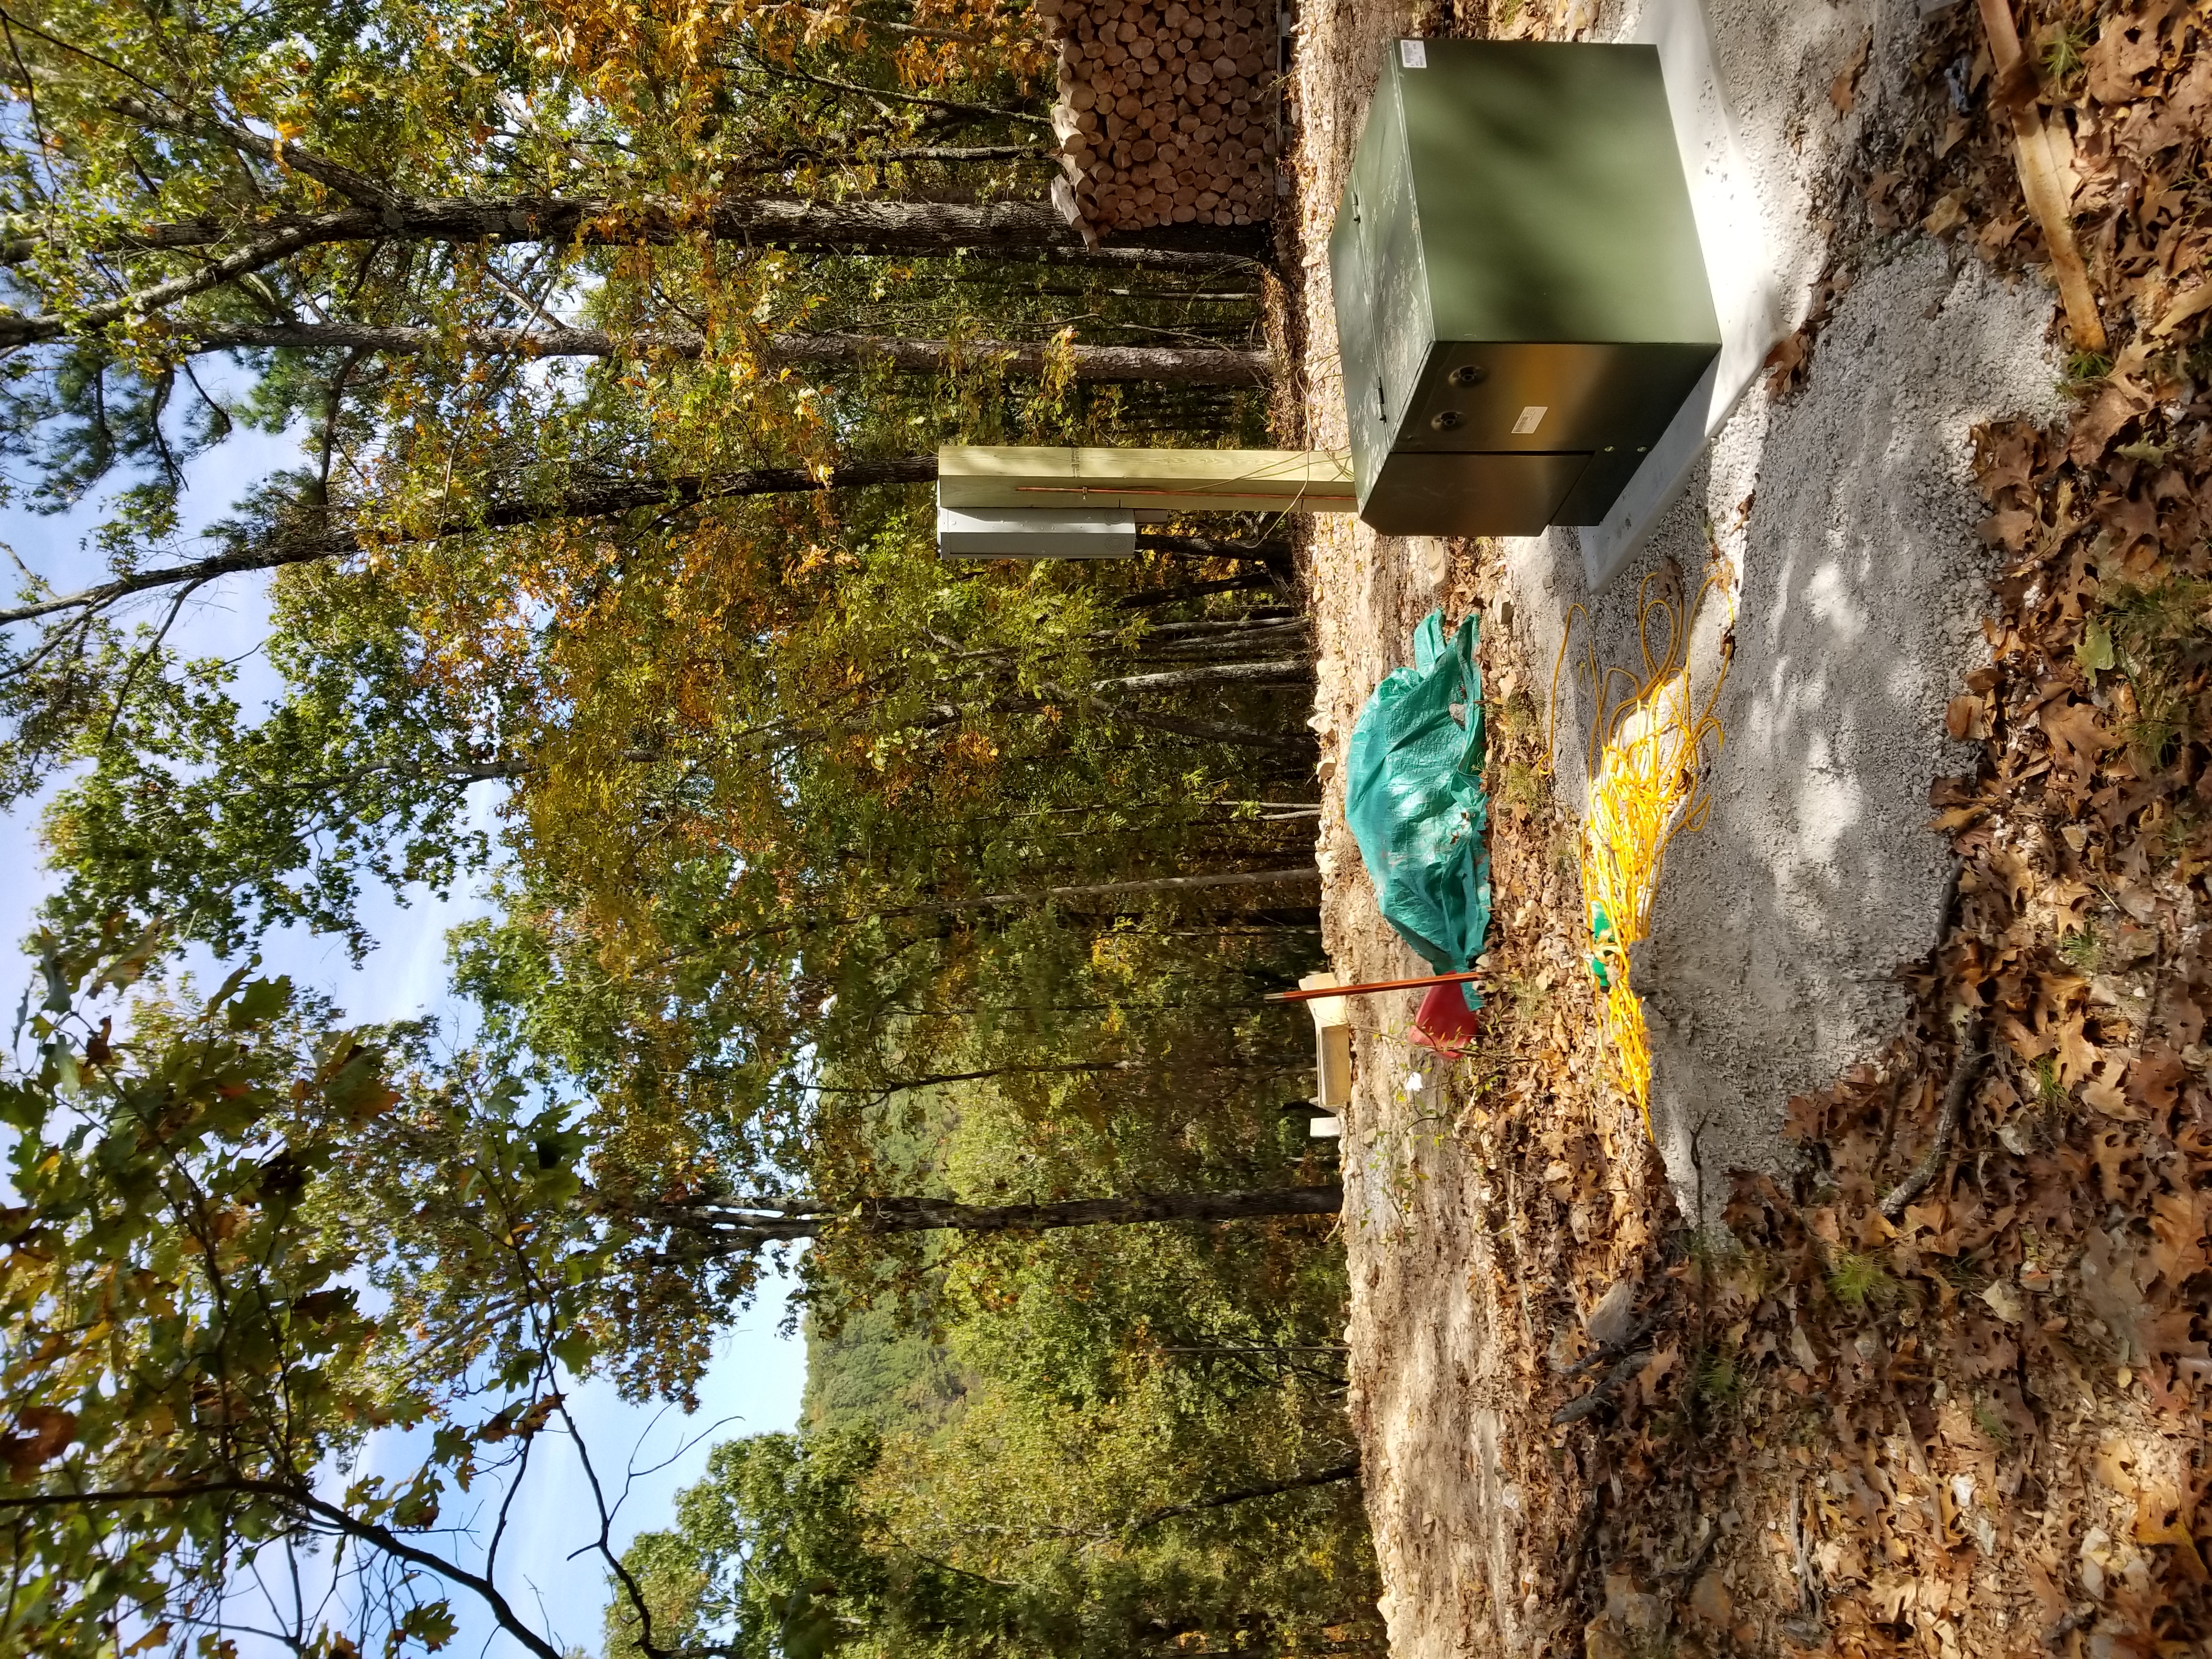
Transformer set and hot.Meter base wired and set. Ready for service.
Runners on Pad Site 2Floor Joists on Pad 1
During this time Buck trenched and set the conduit for the electrical and the water to the end of the ridge. Two more transformer pads were built for the future “family cabin”.
Finally, work has been done on building 2 new yurts. These yurts will be 25″ across and be about 475 sq feet of living space. This time around we decided to buy 2 roof kits as opposed to the complete kit. By purchasing on the roof kits only, we could get 2 delivered on one truck saving in shipping. Also, I had to buy 2 roof kits to get the roof metal in any color other than silver. We received the roof kits in April of this year. We then had to save up some “scratch” and wait for my helpers Gator and JT to free up from previous commitments.
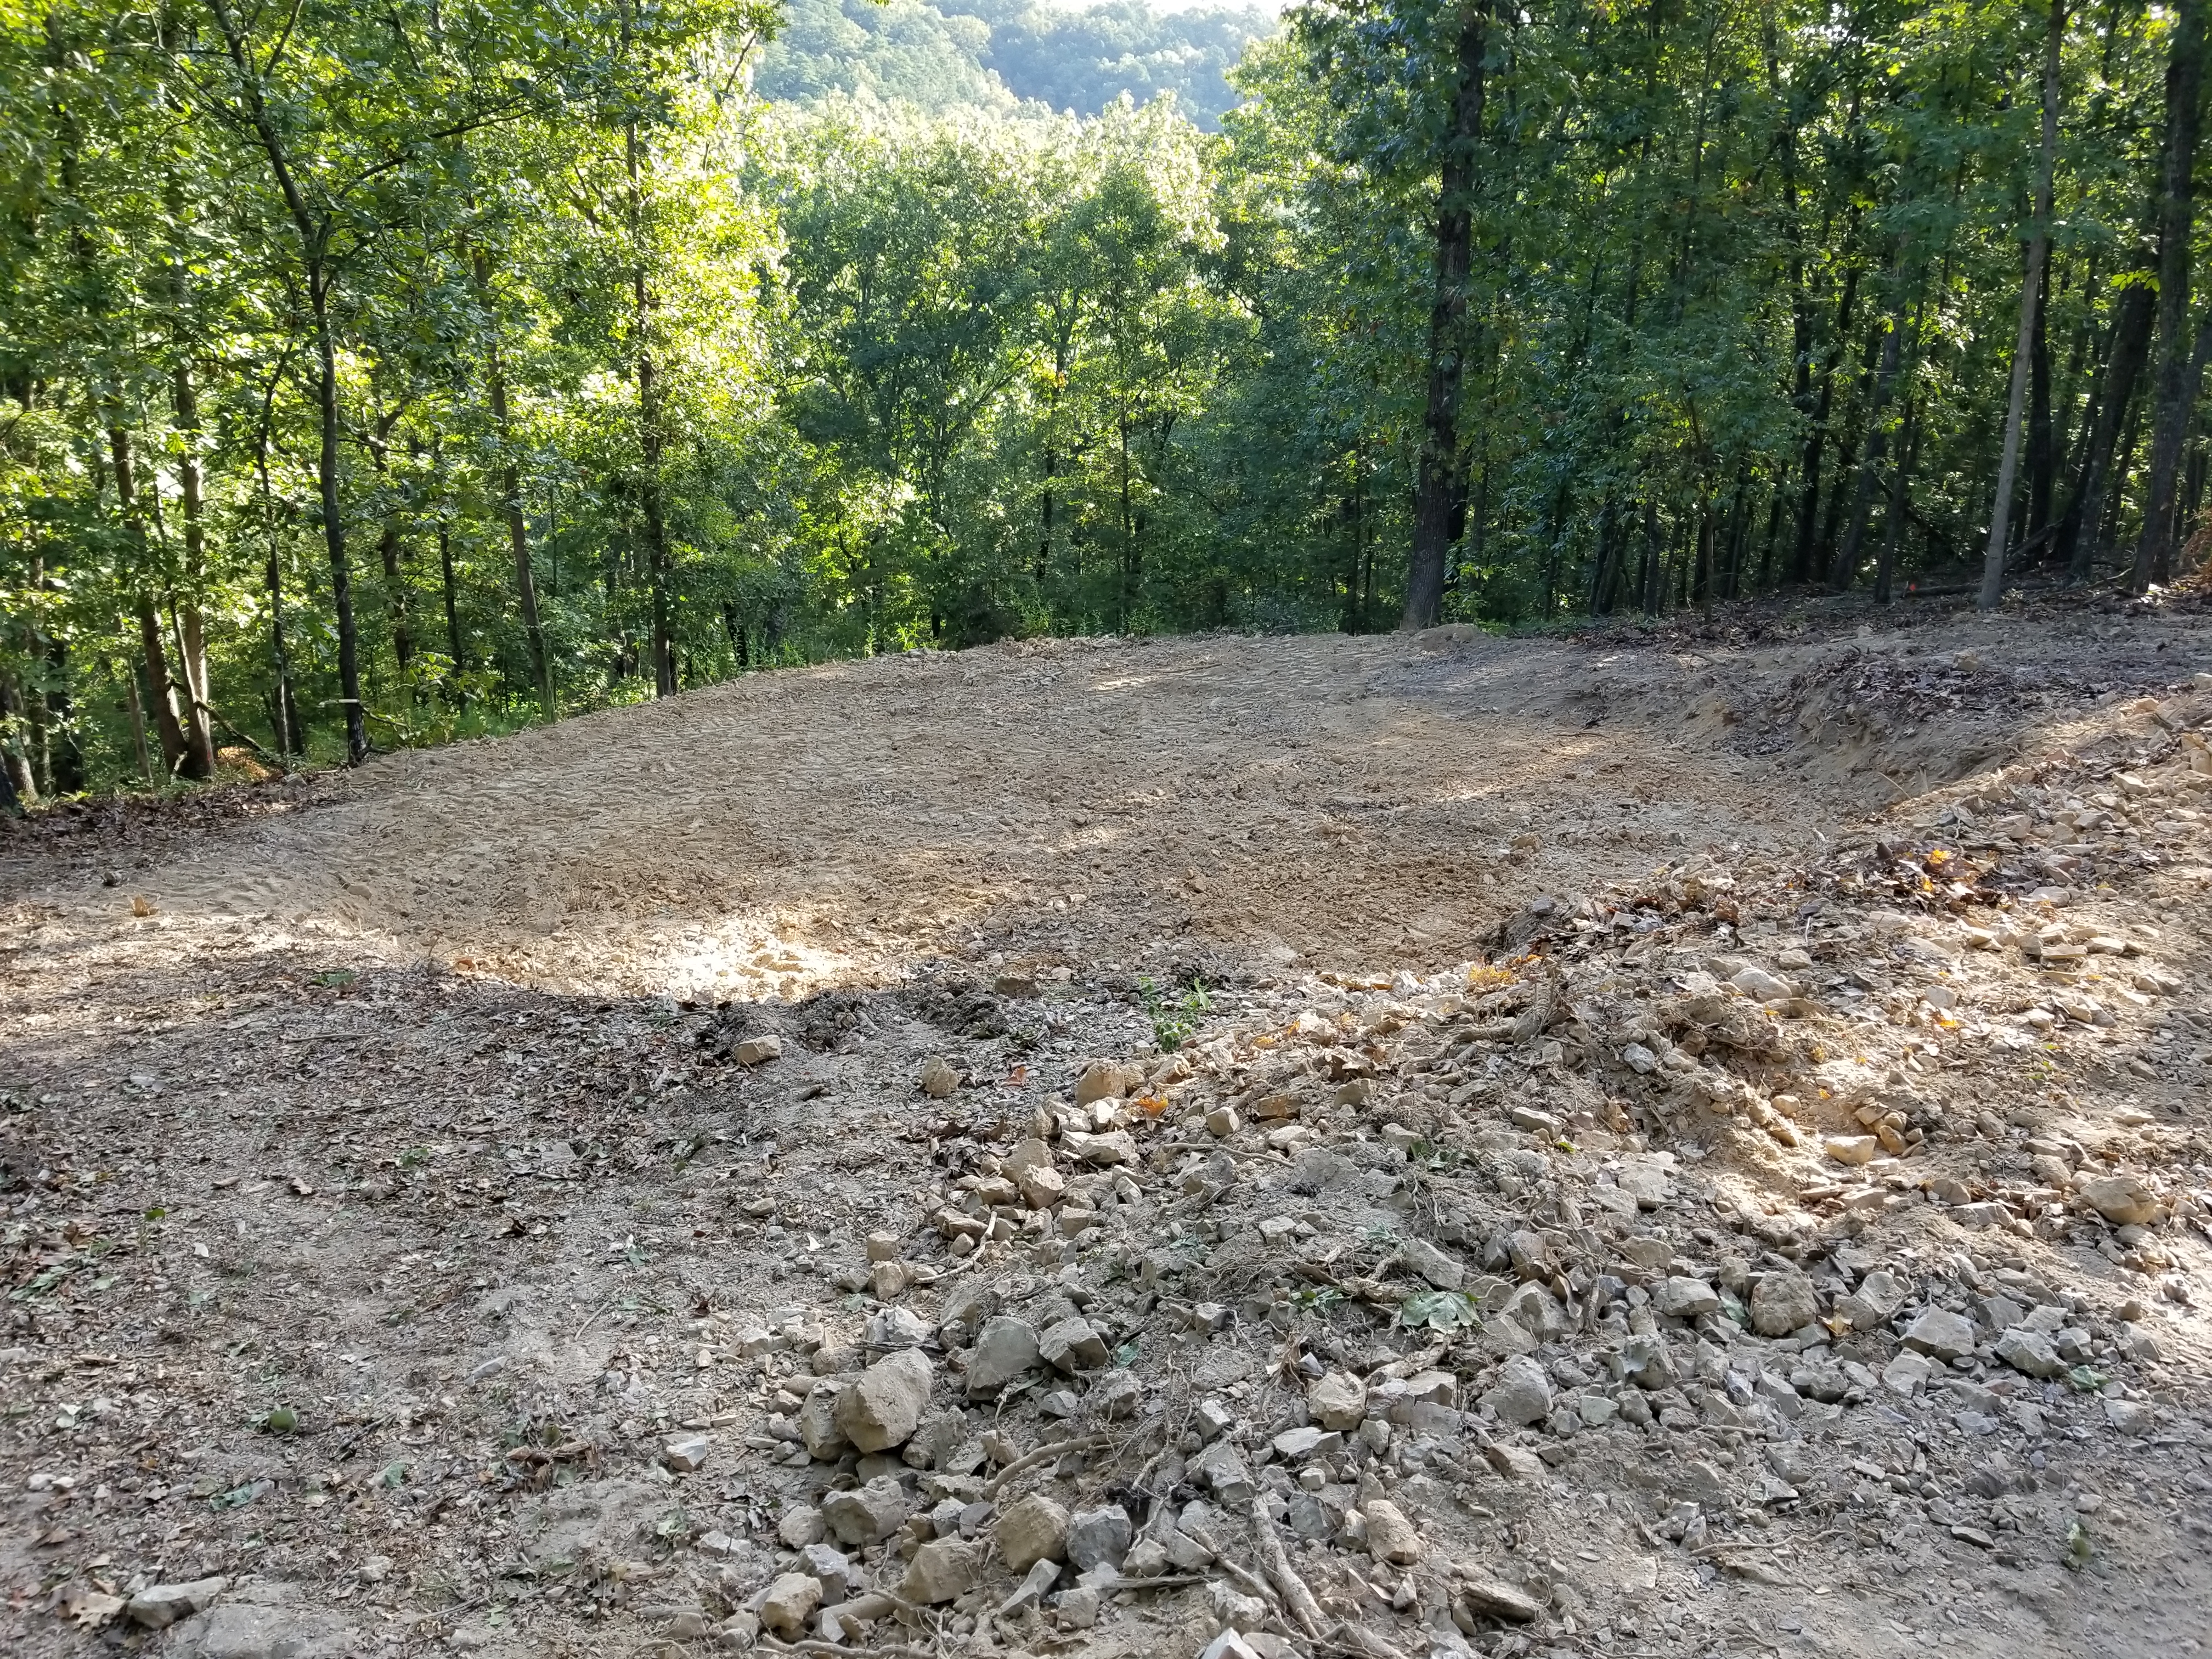
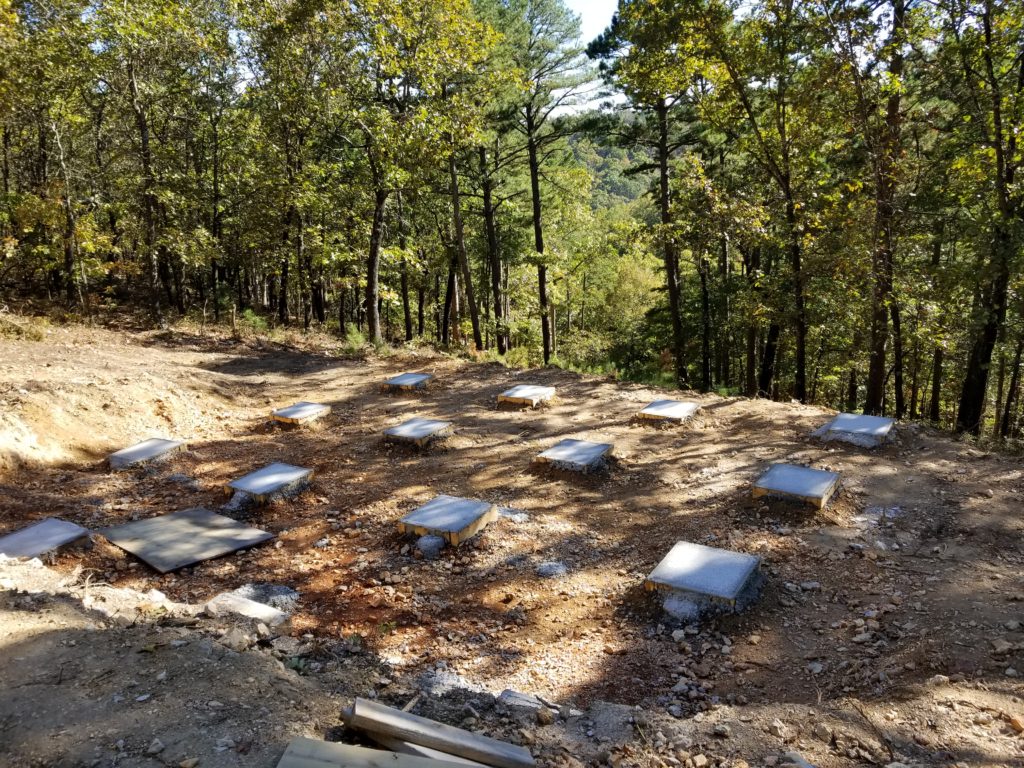
This is pad site 2 before any dirt work had been done.
I had Buck put in a circular drive and pad sites for both pad 1 and pad 2.
This is pad 1 when finished.
Pad Site 2
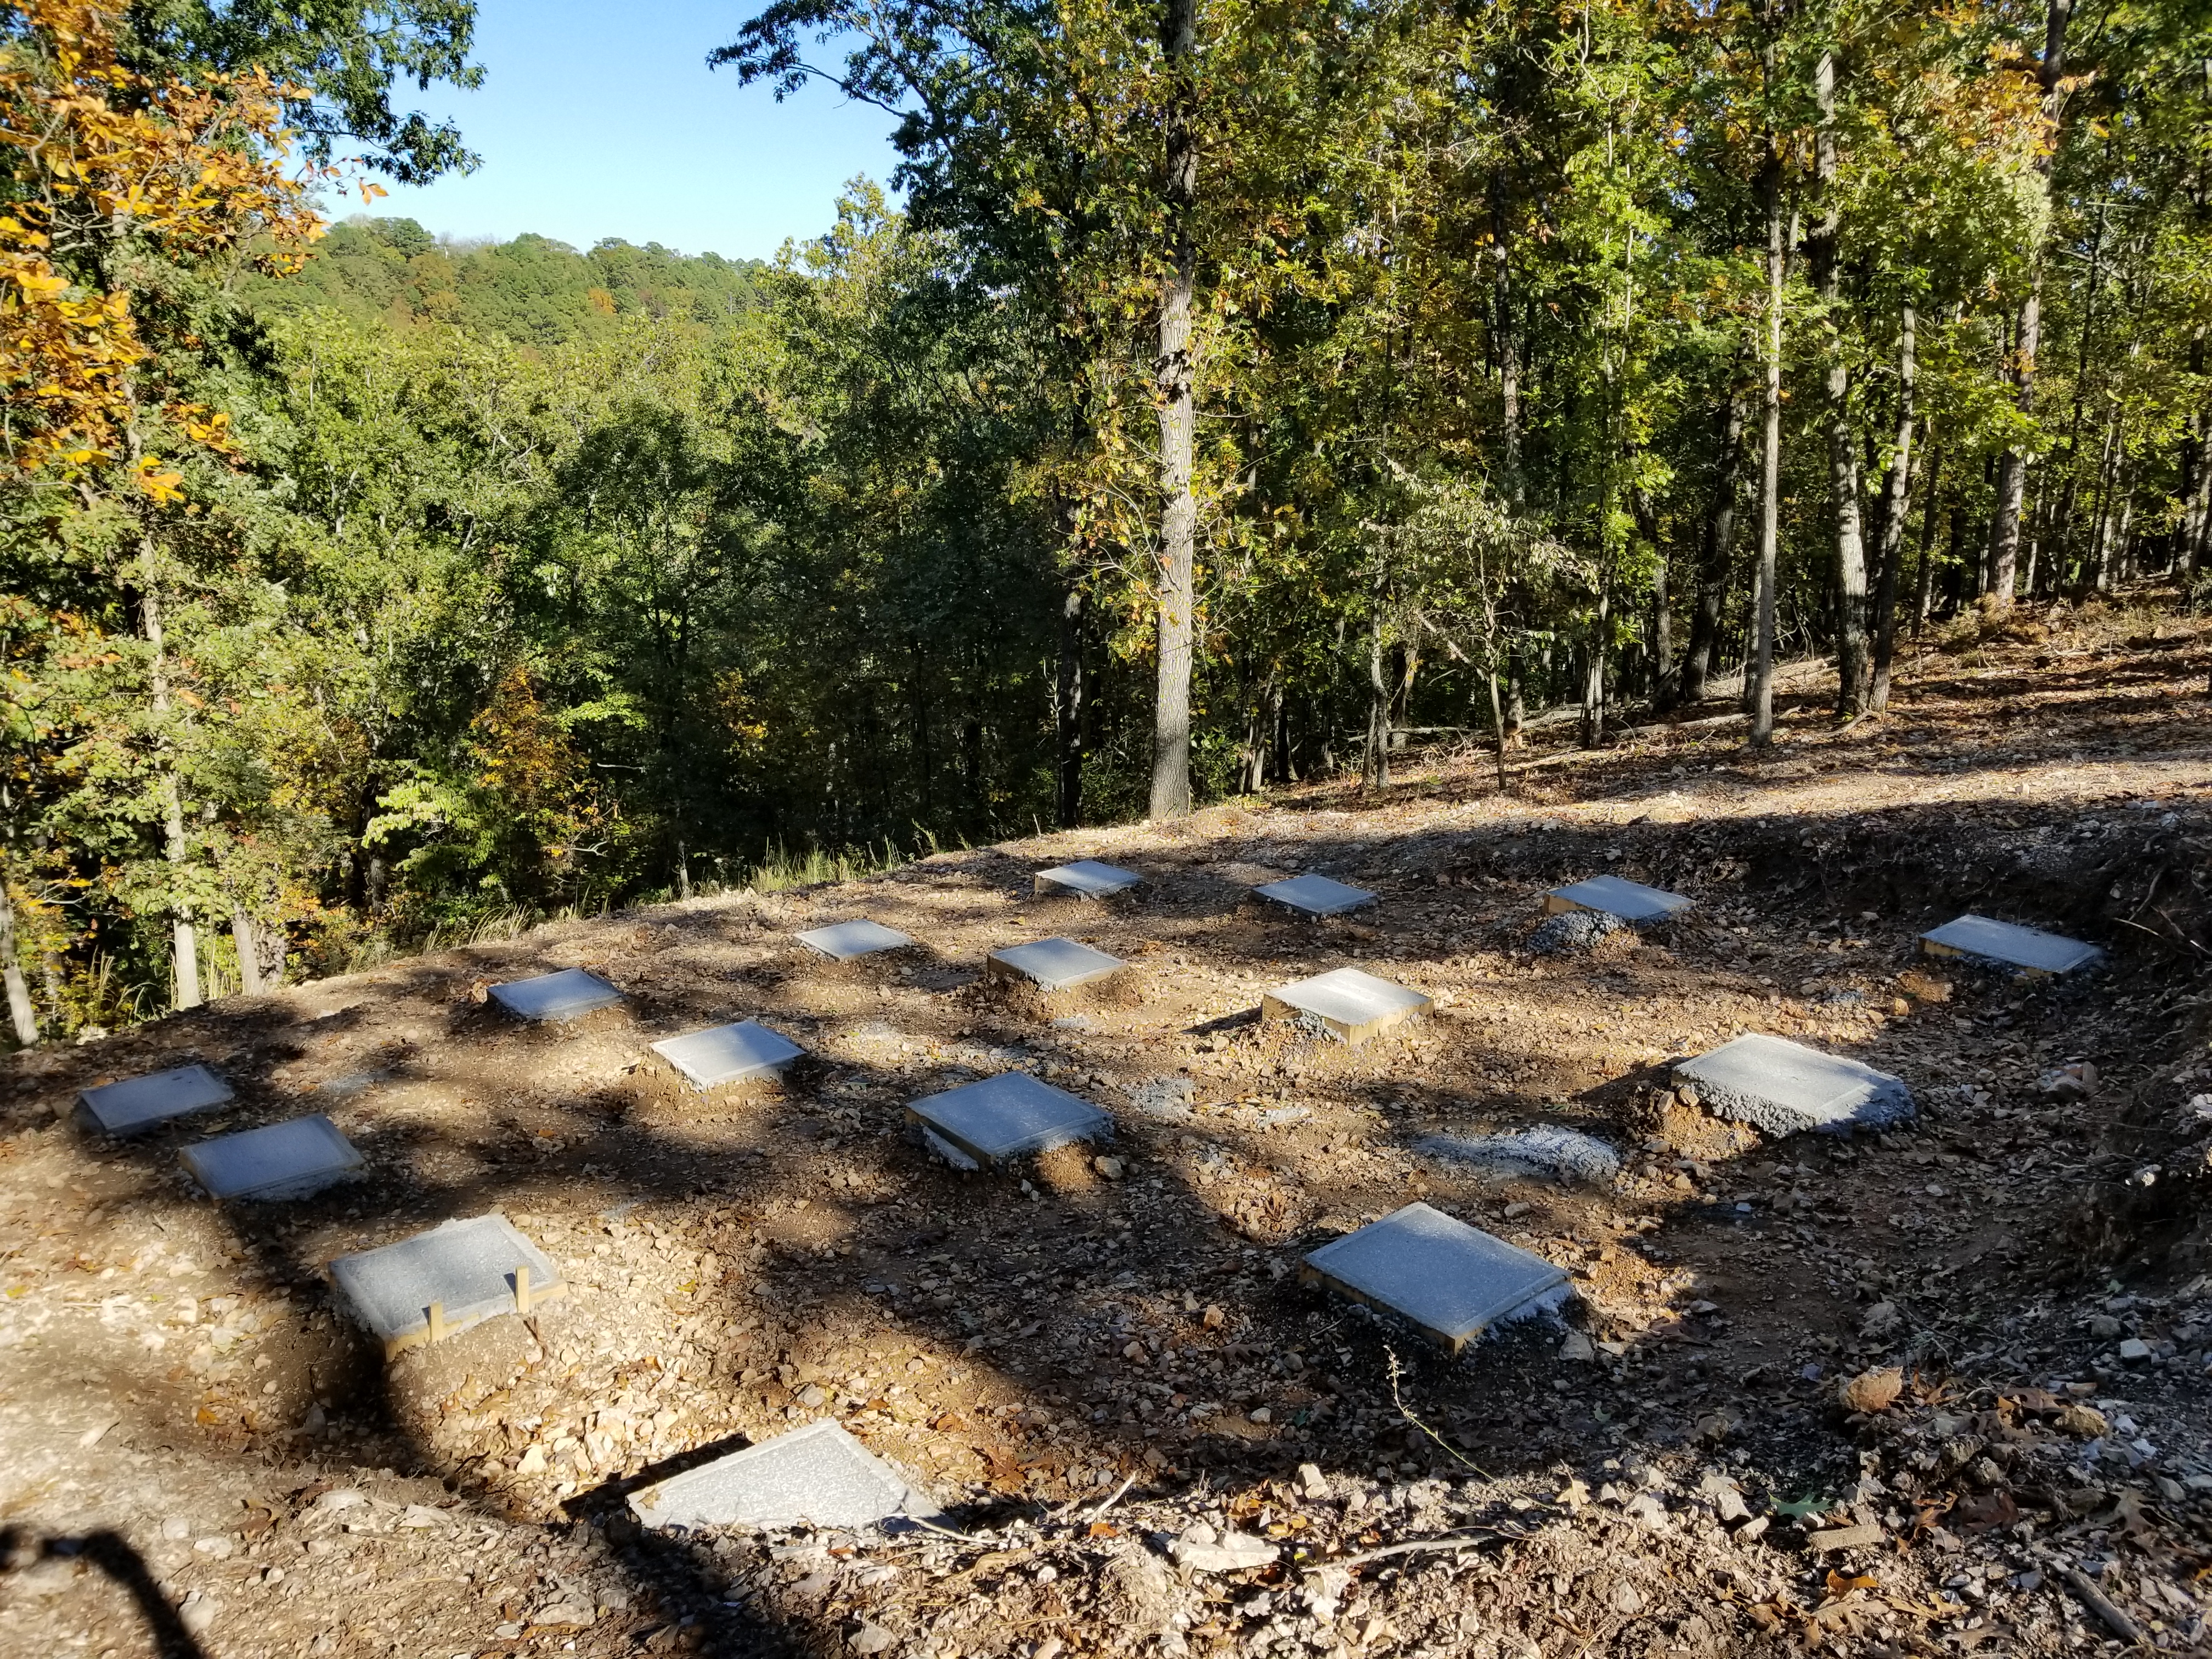
We then had to start laying out the pads for the piers and start the monumental task of drilling the piers. This lasted about 30 minutes…. Then the call went out to Buck to bring out his hammer to break up the limestone shelf so we could try to auger the holes.
After the the holes were positioned and dug, forms were built, secured and leveled. This took about 2 weeks.
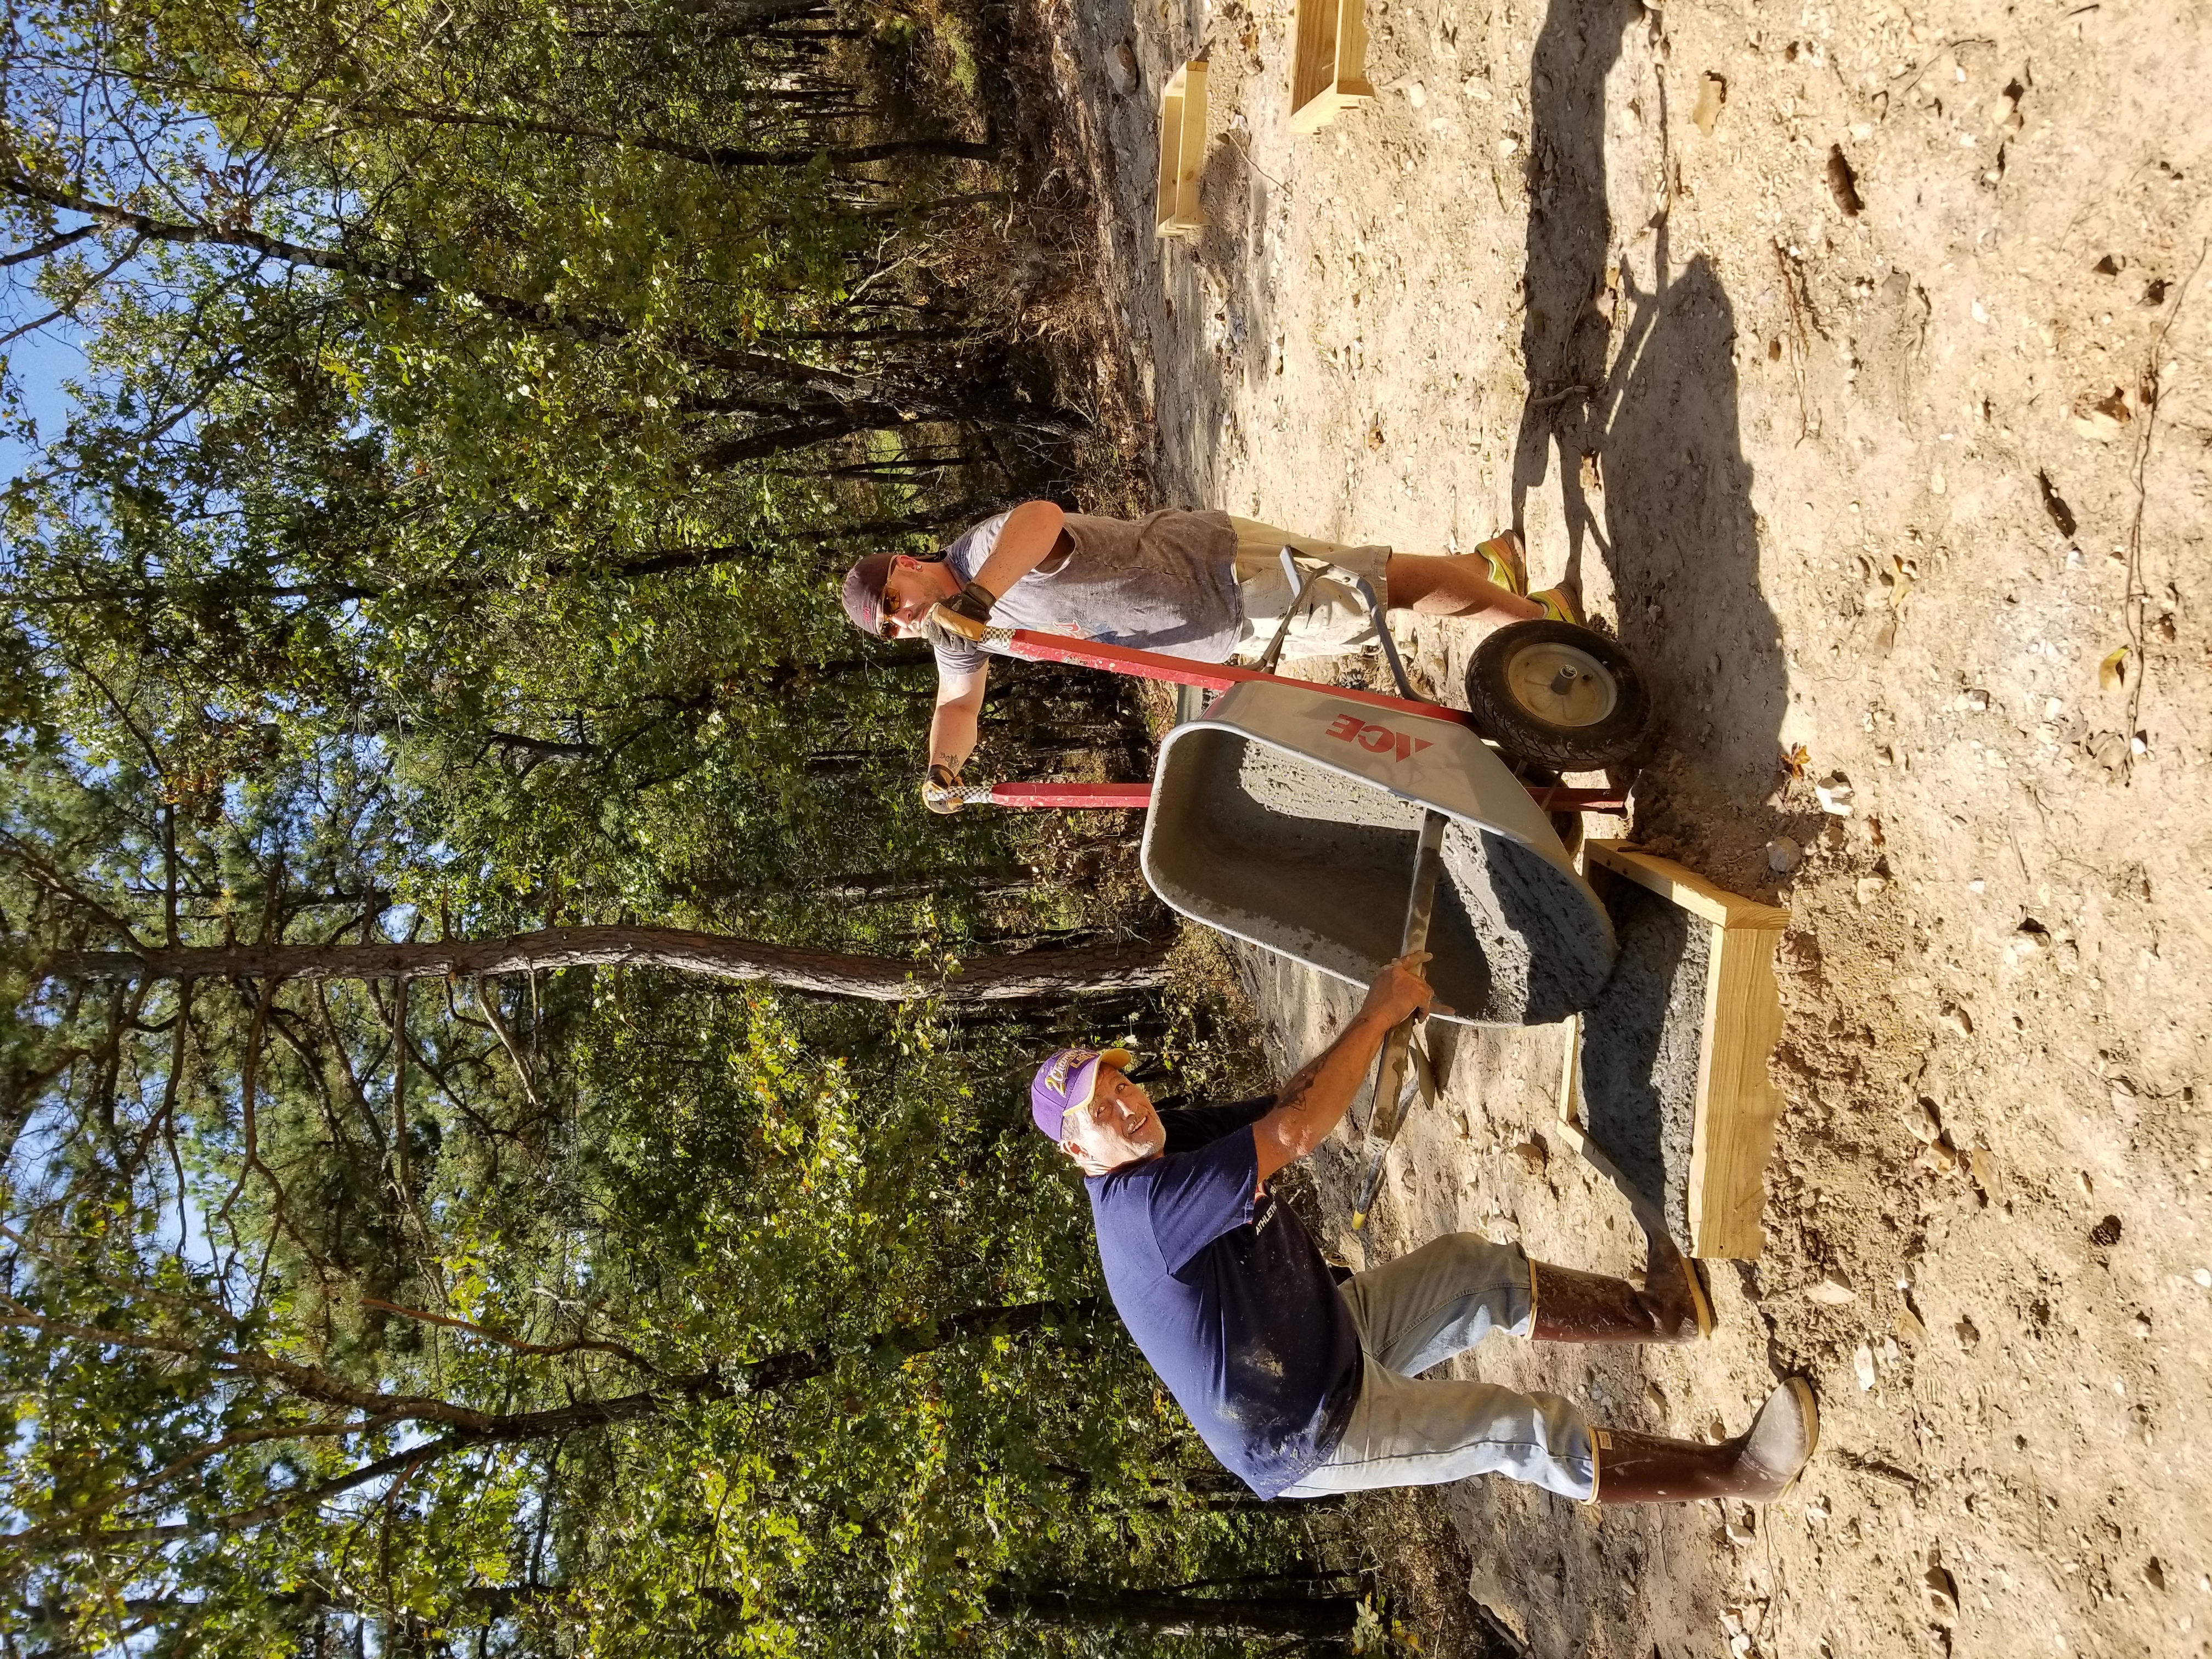
After the forms were in place we poured 8 yards of concrete. The truck could reach about 4 or 5 of forms. After that, it was on JT’s back (literally) to wheelbarrow the concrete from the truck to the forms. This was a long day!
Ok, the plan was to quickly weed out the Junk, separate the stuff that we want to leave behind that we think we may need in the future for the next cabins. (Move Out) Pack and move the rest to the cabin. (Move In) Keep the stuff in the cabins we will use and store the rest in temporary storage until needed. (Move Out). Luckily, I have a brilliant woodworker and builder, and now treasured friend in Bob Willmeth. He has blessed me with very kind offer let me store some of my stuff temporarily at his wood working shop on Holiday Island.
When giving my 45 day notice, it serendipitously landed on March 13th. Well, that means our official first day of official permanent residency in Arkansas is March 14, (PI day), which is also my birthday…. How cool is that birthday present???
Only one thing stood in the way. The floors were not even started. How can we move in and and work on the floors at the same time?
So Bear and I drove the truck and Melissa and the girls followed in her van to make our final move to Eureka Springs. Then Melissa went back to Celina to finish getting her office ready to work remotely, and I stayed with the dogs putting all hands on deck to finish the floors.
Bear Learning to Drive
Here are some pictures from the adventure.
All Paws on Deck
Shower Before GroutBathroom FloorFlooring in the rest of the rooms after grout
Wow, when I stand back and take the time to look back in time and relive the steps that have brought me to this place, I have some realizations.
1) What we do affects other people. This is a serious responsibility and an awesome privilege.
2) Society and marketing have a bigger effect on you than you think. If you don’t believe that, move from 2980 sf house to a 937 sf house.
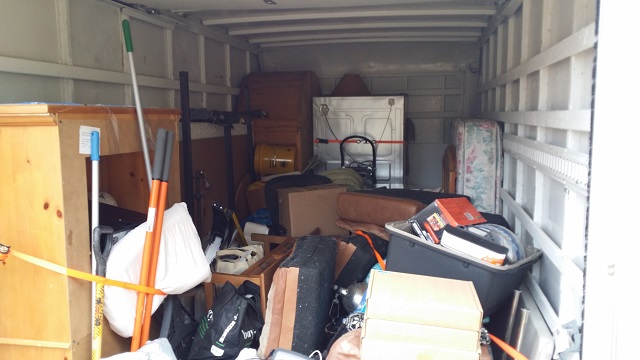
After going through our possessions we ditched the obvious junk and donating a lot of stuff. Then we moved 1.5 loads in an 18 ft box truck, 2 loads in a minivan, and one large 12 ft motorcycle trailer will be on the way soon with our large kitchen table, outdoor furniture and tools. Oh, and by the way we still have a 20′ x 8′ storage unit in Celina with extra things we still have to go through or use in future cabins.
In order to enlighten myself and gain a new perspective on this, I have subscribed to 3 blogs that have helped me change my perspective. This is a slow work in progress. I find the KEY to this is to always move forward. Look backwards ONLY for knowledge, experience and GOOD memories. Nothing Else! If you can not move forward, guard with all your strength not to go backwards. It is better to do nothing and hold your ground than to go backwards.
3) How did a family with a covered wagon make this trip. With best case scenario, it would take about 18 days to make this trip. And that would take care of the pickup load. (Maybe)
4) God is faithful to provide what you need, when you need it, if you just rely on him. (Full story to come later)
With the water and electrical infrastructure in place, and the walls, electrical, and plumbing installed. It is now time to start the interior finish out. We have installed green certified sheet rock. We hand cut all the joints and electrical box openings. We also applied the skip trowel texture entirely by hand. Our choice of paint was the same low VOC paint we used in our last house. Its something we could both agree on.
Make sure you click Read More.
Sunriseliving room from officeBear loves the shower before the water is connectedPaint going on in the bedroom
First things first. I wanted to apologize for the delay in posting updates. It has been very hectic with the new family member (Bella – “The Puppy”), work, planning, construction, blah, blah, blah…… Anyway, my goal is to have updates at least once a week. Also, I wanted to thank all the followers and subscribers. BTW you can register and get update alerts here https://eurekayurts.com/wp-login.php?action=register .
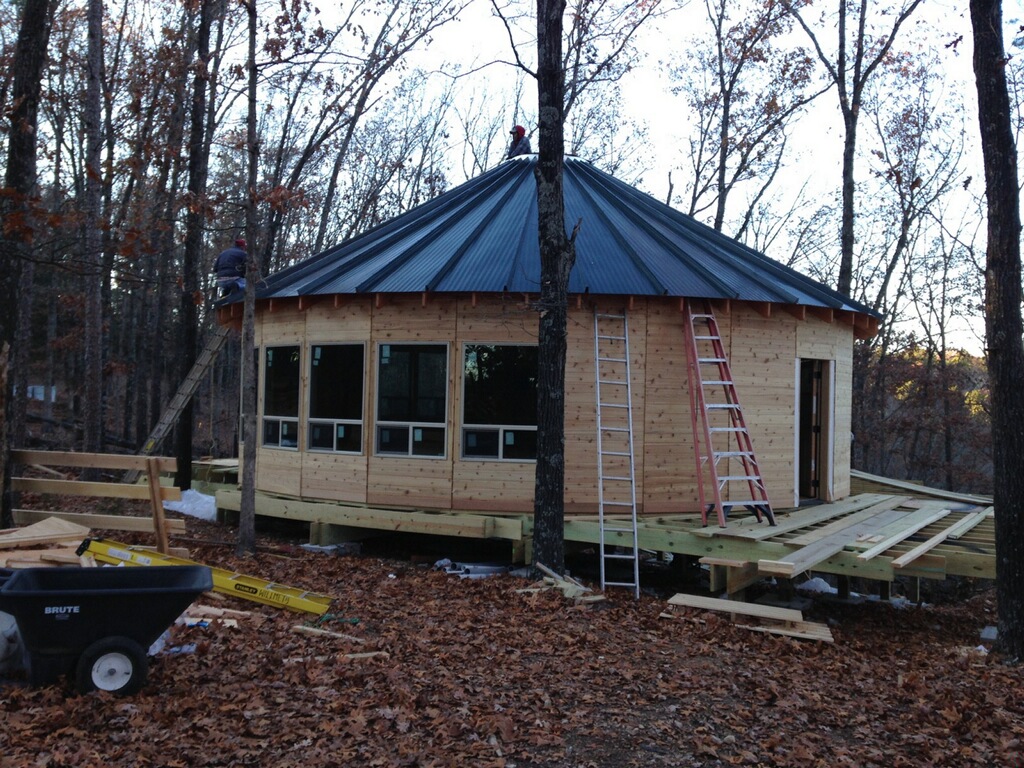
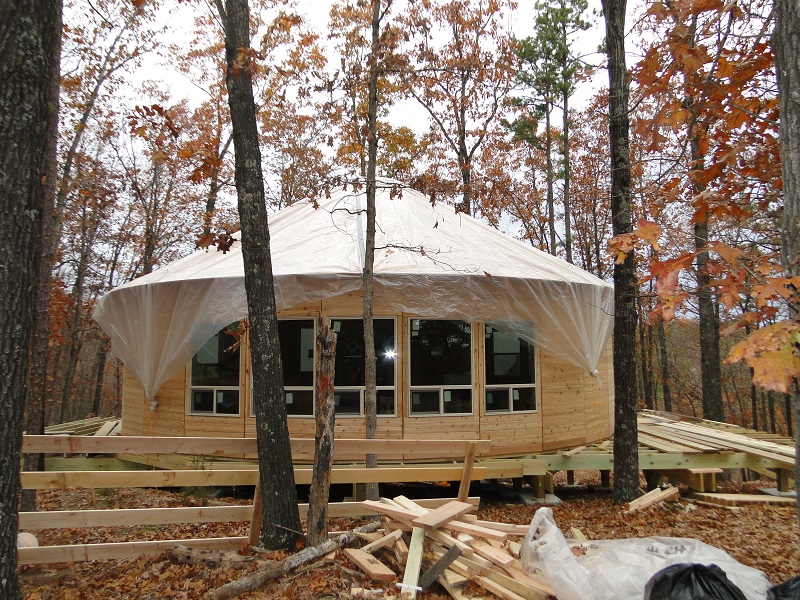
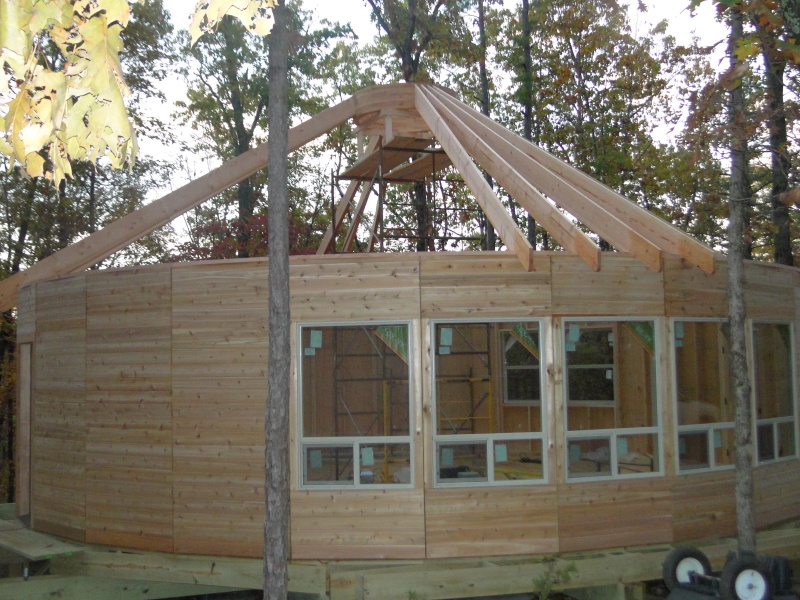
Where to start? Well there has been a lot of progress over the past 2 months. Bob, along with his sidekick Luis and two of his friends Vicente and Jose installed the metal roof and skylight.
With the Yurt completely dried in, I started preparation to move in full time.
This is a picture of the box truck packed with my “necessities” . Bed, Fridge, Couch and TV….
Bear was right at home, glamping.
The Yurt
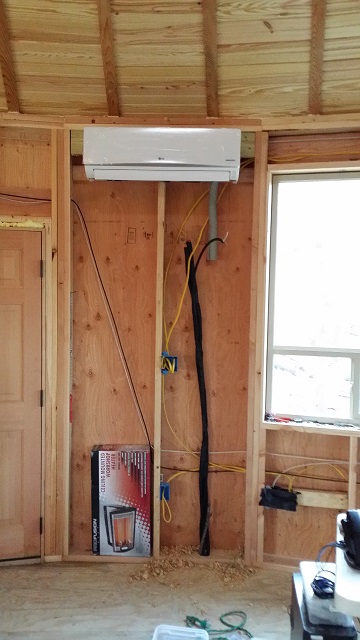
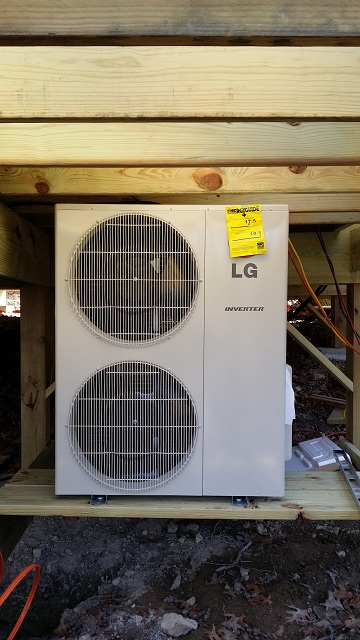
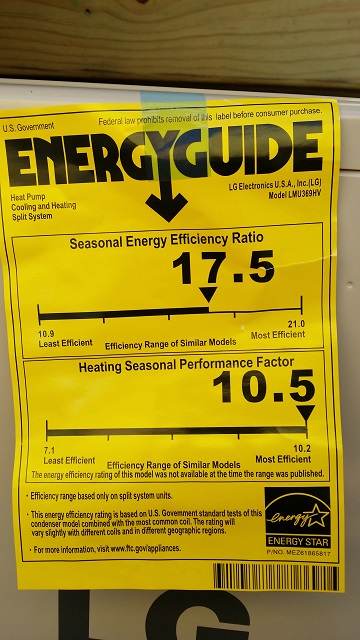
Well House Timber FramingWell House with mini-me pump house.Mini Split purchased and InstallLG Compressormini split energy guideSatellite Service Installed
Mother nature wins
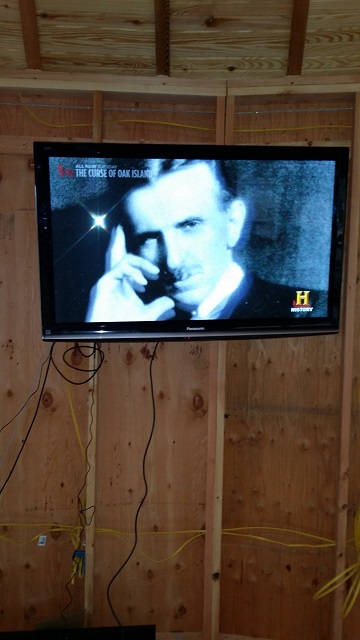
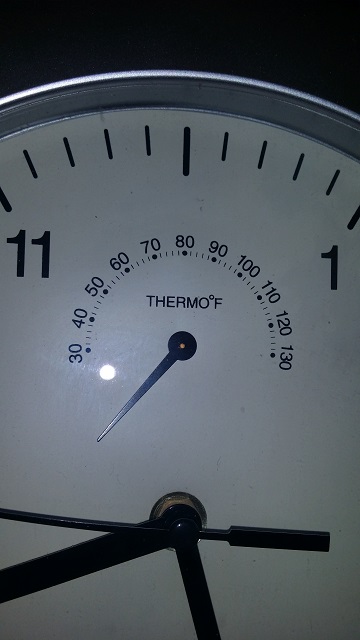
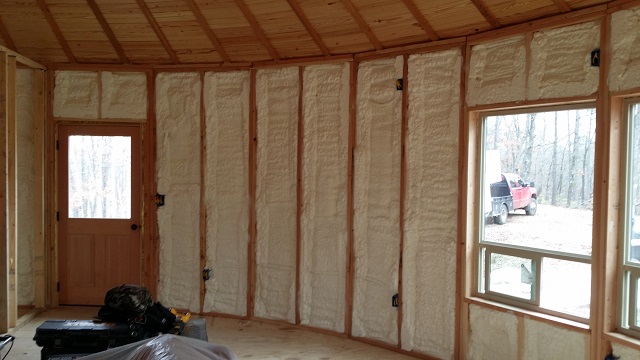
With the yurt routinely getting down to the mid 30’s, it was a very challenging environment. But, when the temperature inside dropped in the single digits, I had to take my extraordinarily generous neighbors offer to use his house while his family was out of the country on a mission trip. Wow, what a blessing to have the option! Interior Spray Foam
Now that the mini split was installed and the insulation was complete, we finally have heat. Adding the plumbing and wiring
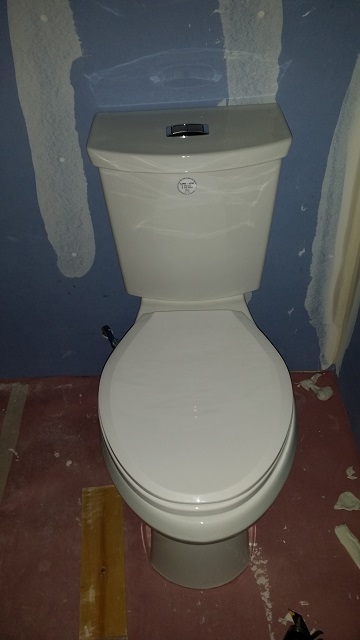
Major Milestone Accomplished
At last! a working TOILET!
Well, the ceiling is finally done. This week has been absolutely UNBEARABLE. 14 degrees and a 7 – 10 MPH wind. There was no flex in the schedule due to a very small window of temperate weather with no rain. This was needed to schedule the foam insulation. They can not work if the temperature is below 40 degrees. Note to self, build in September, not in November. In any case we got it done with the help of Jose and Vincente. The Yurt was tarped Friday 1 hour before the rain and snow began to fall. Now we wait for Wednesday when the forecast is for 0% chance of rain and a high of 55…..
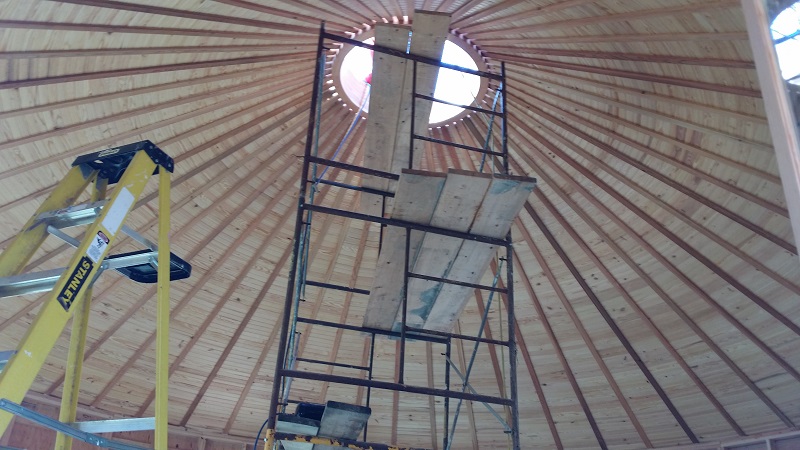
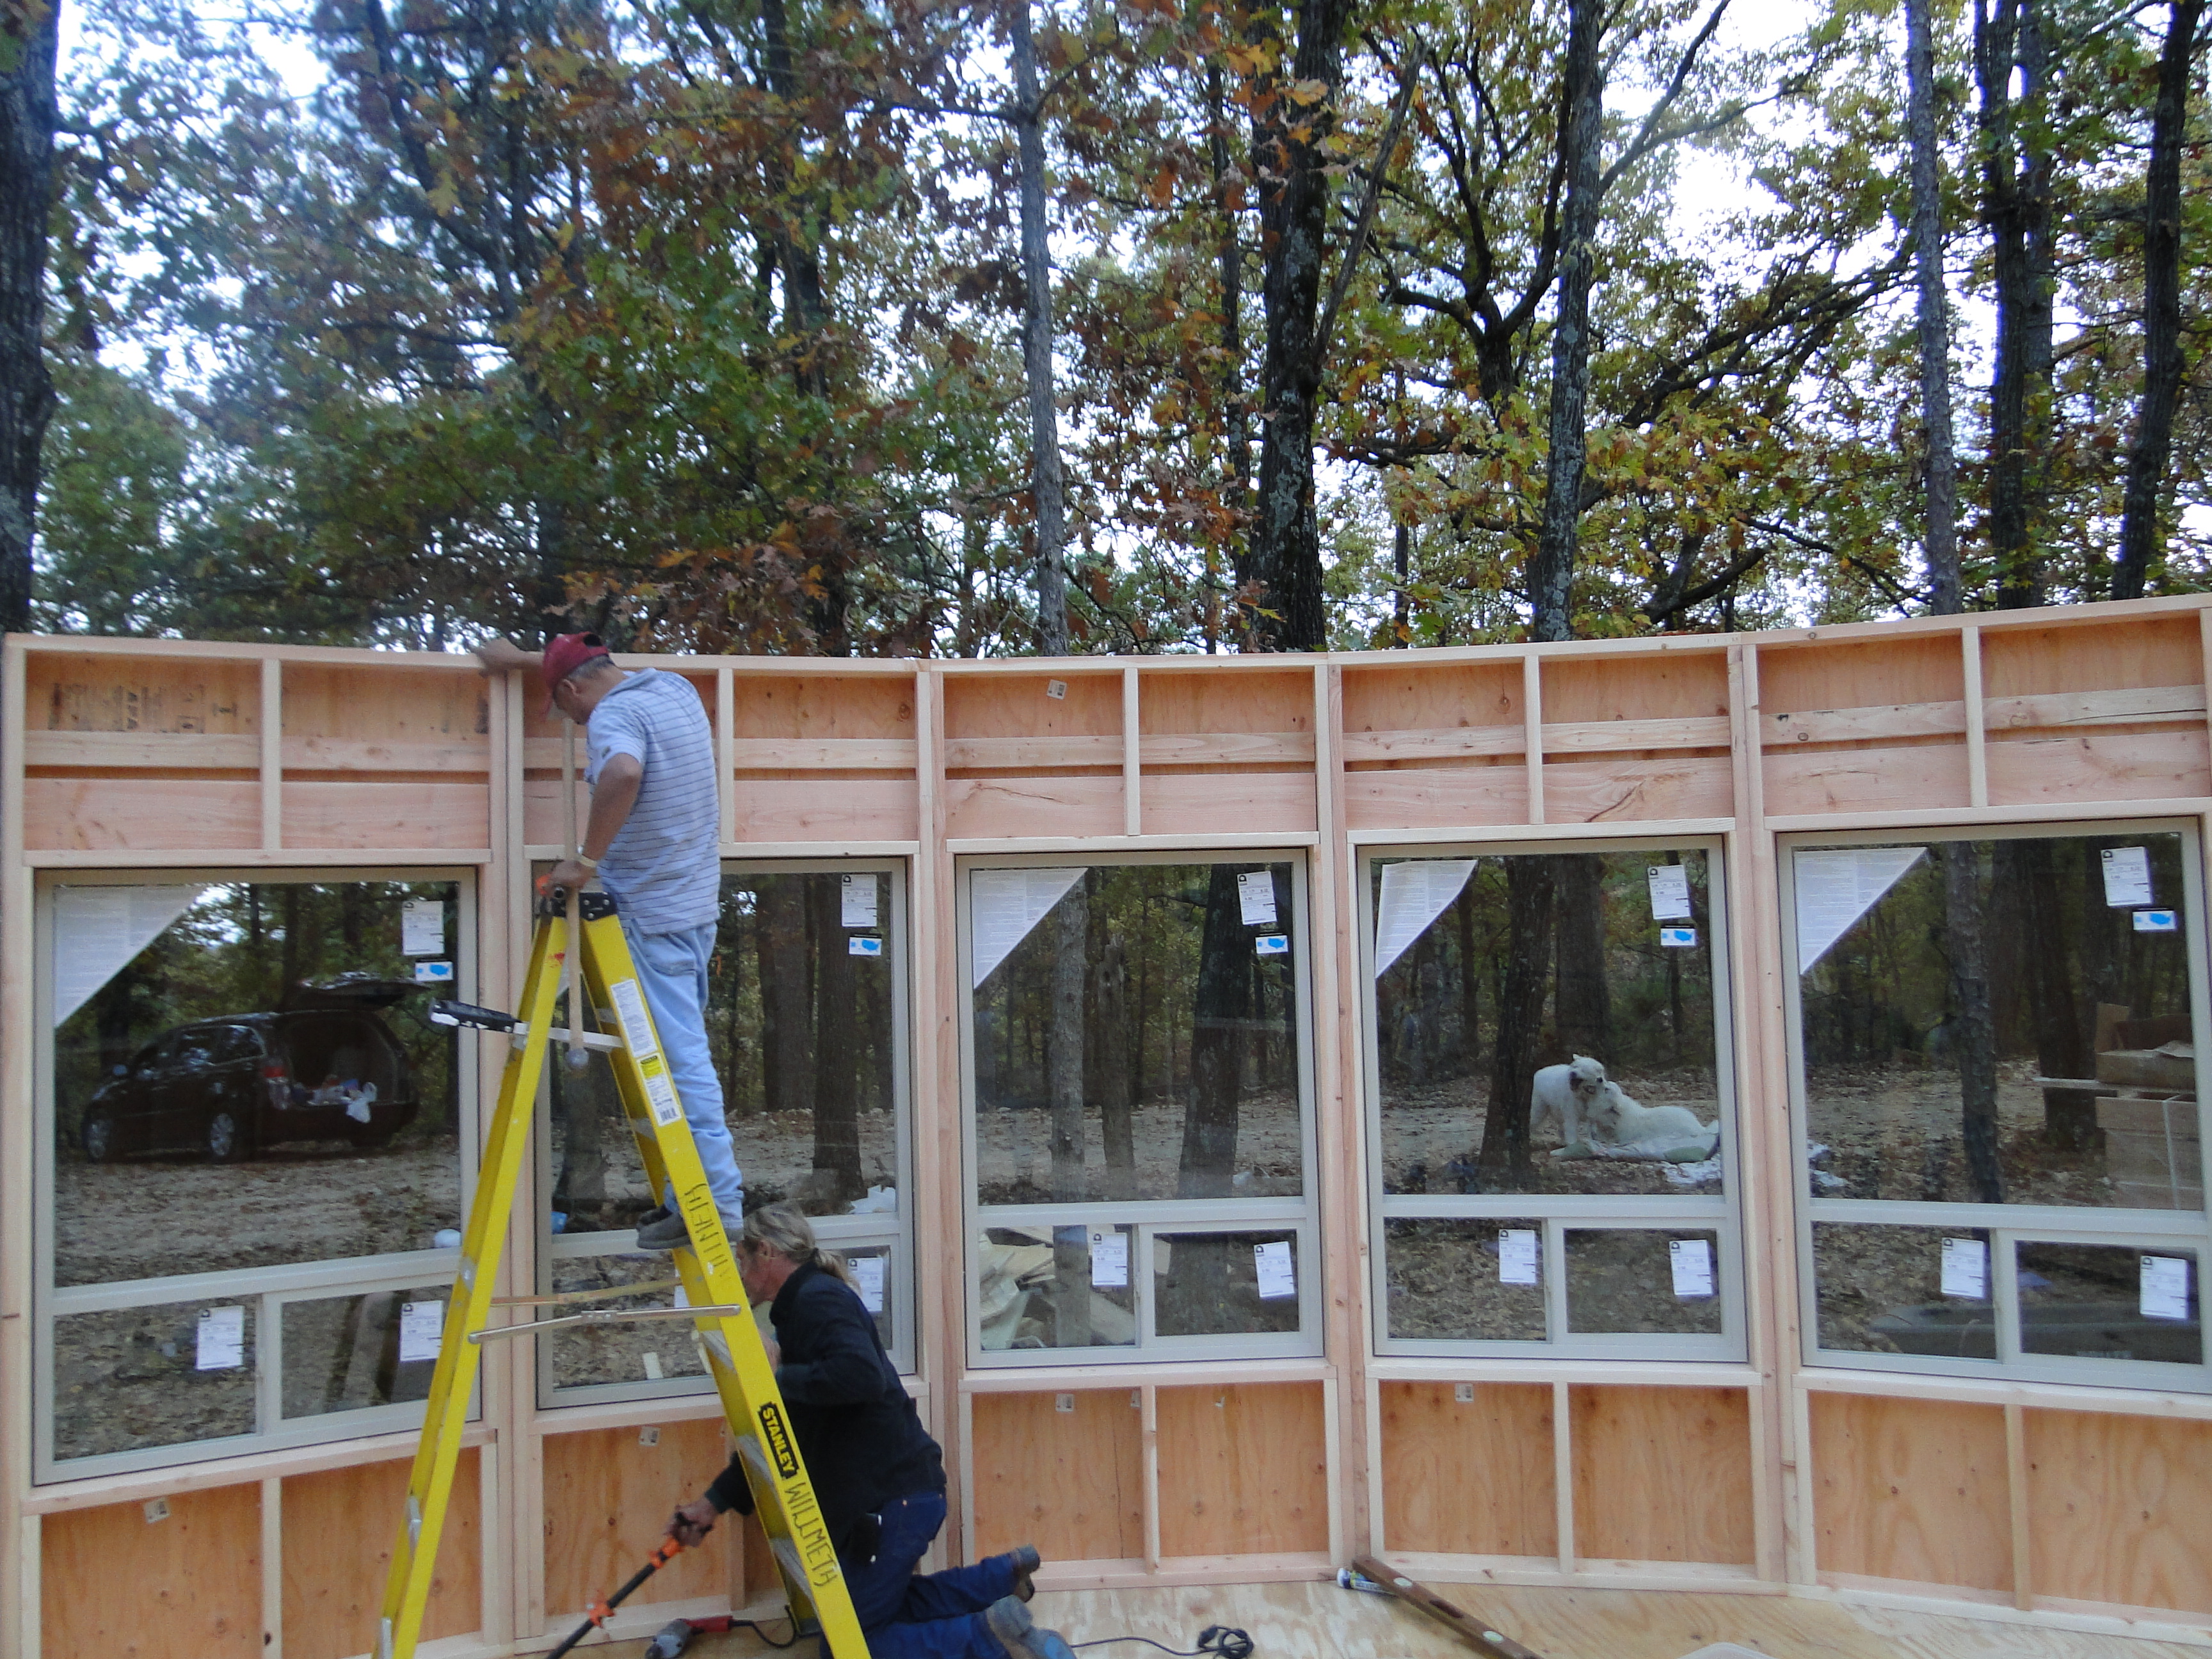
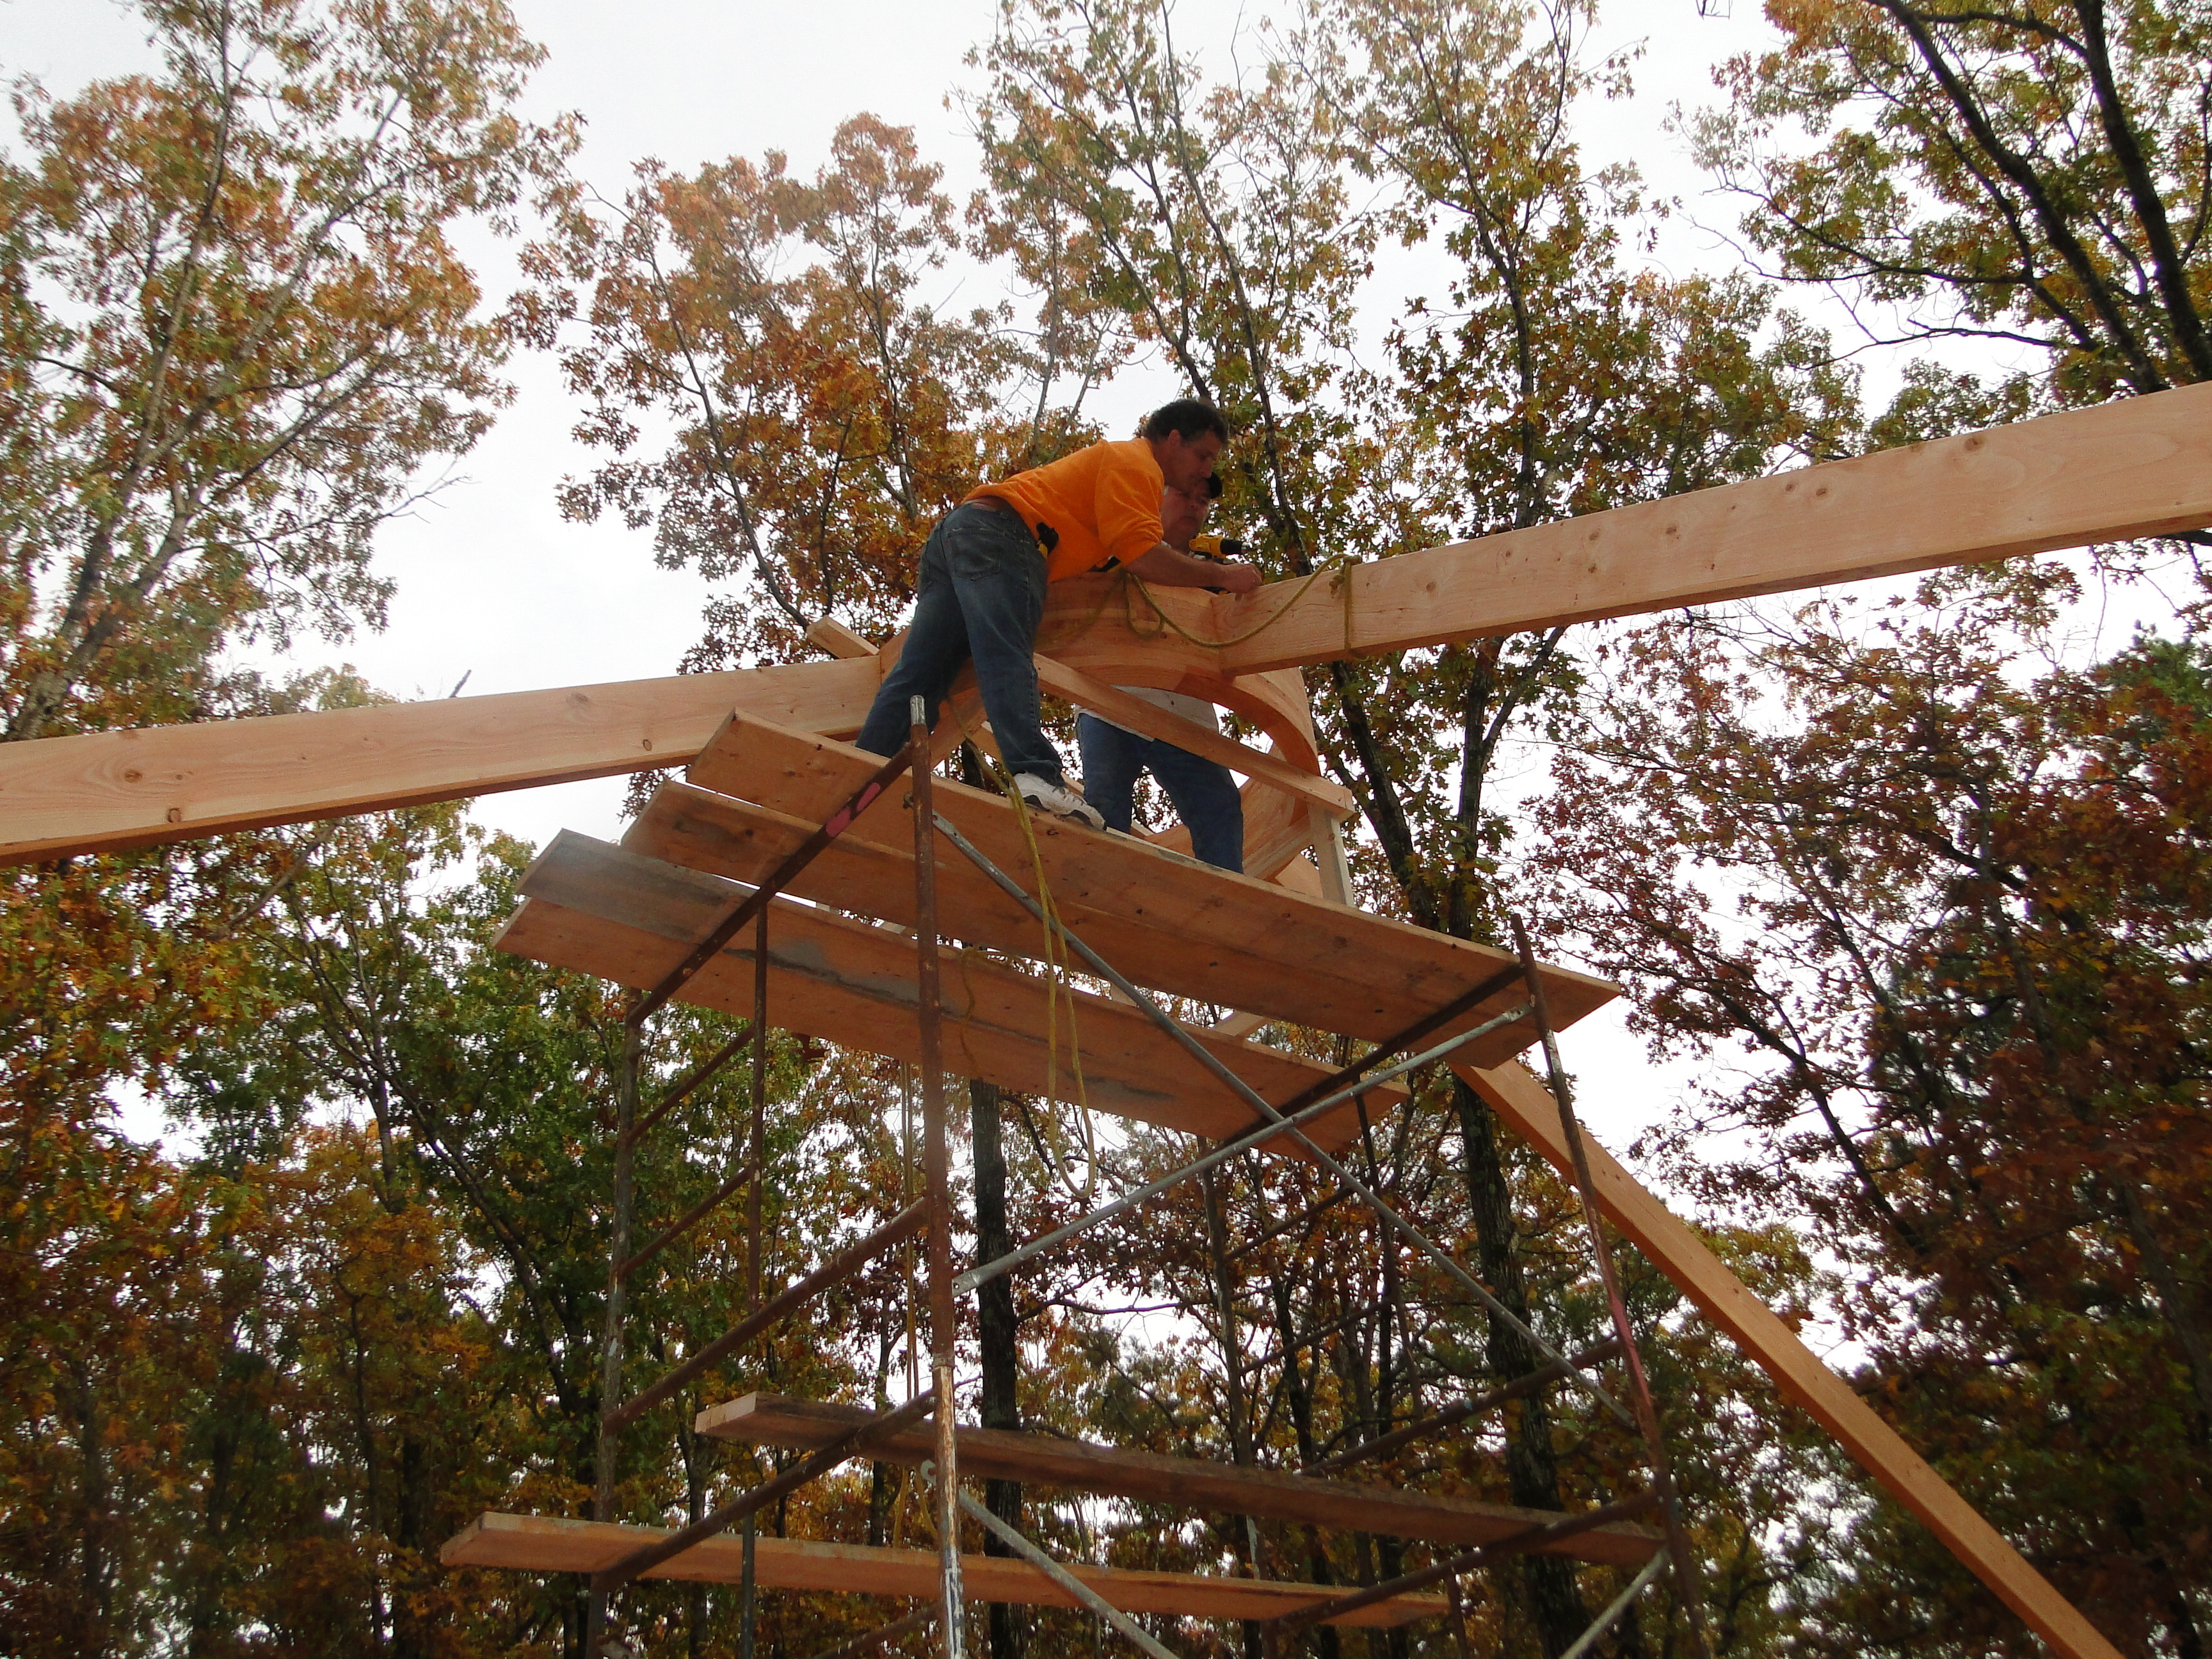
Over the weekend, two of my life-long friends (J.B. Conant and Terry “T-Man” Wilson) joined me, Bob (GC) and Luis (Bob’s Assistant) in Eureka Springs to help on the initial contruction phase. Over the next 5 days we poured over the construction manual and pictures. Below is a progression of the build.
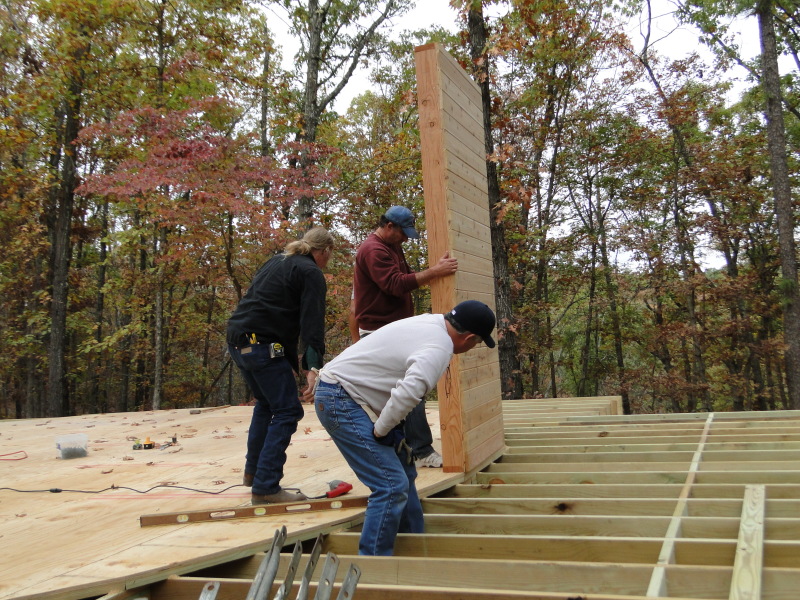
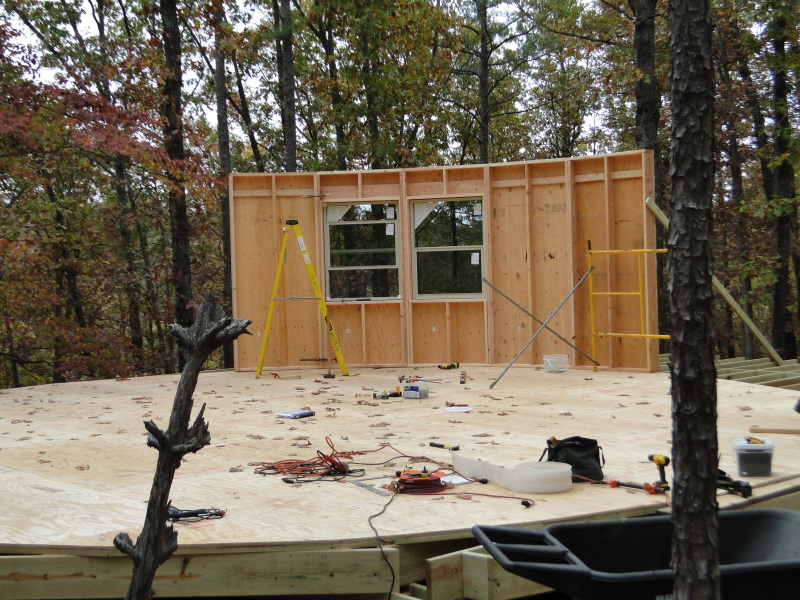
Adding the deckingAttaching the first wall5 WallsMore WallsFinishing The 5 Windows In The Living RoomTaking A Break In The SkylightAll 27 WallsFirst Rafters Going UpMore Rafters
Eureka Springs offers so many things to do and see for the 700,000 people that visit the area each year. Blake and I have been many times since discovering the area, but we still have a lot more to see and do. Below are pictures from downtown Eureka Springs, our fishing trip on the White River, hanging out on a dock on Beaver Lake and visiting Turpentine Creek Wildlife Refuge.
Downtown Eureka Springs
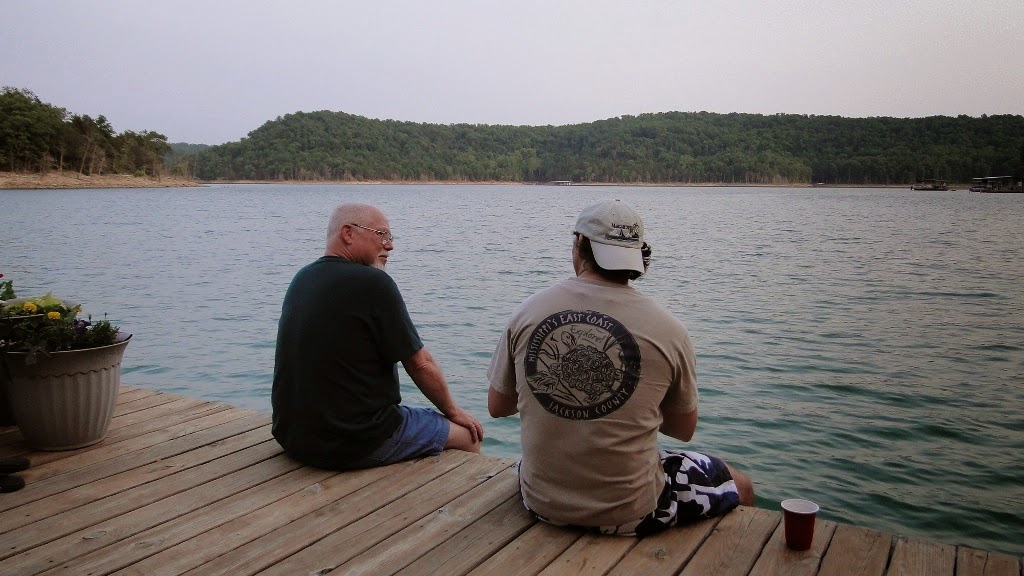
Hanging out on a dock on Beaver Lake
Our friend JB, Blake and I woke up early to go rainbow trout fishing on the White River with Captain Dave as our guide. The early morning fog made for some great photos.
We also visited Turpentine Creek Wildlife Refuge which was worth the visit.
Come check out Eureka Springs for yourself. We are sure you will fall in love too!
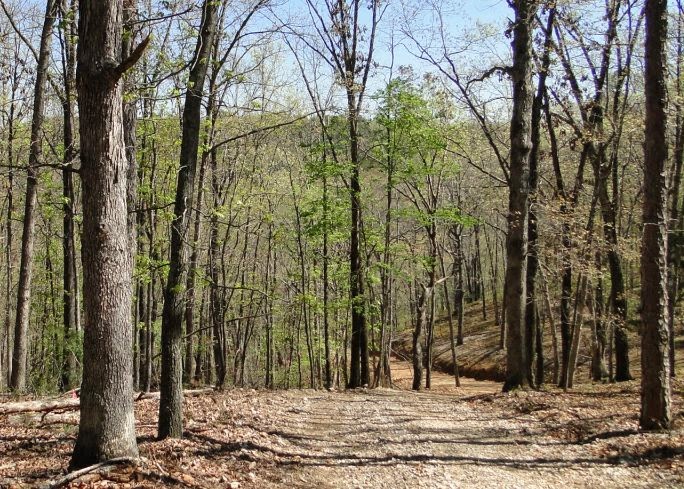
When were walking the land with the surveyor, we had to walk down a steep, rocky hill to get to the bottom holler. (A holler (hollow) is a small valley or dry stream bed.) Buck and Ed put in a road to the lower level and also cleared out some areas to open up the views for future cabin sites. They did an amazing job.
This is the top of the road going to the lower holler.
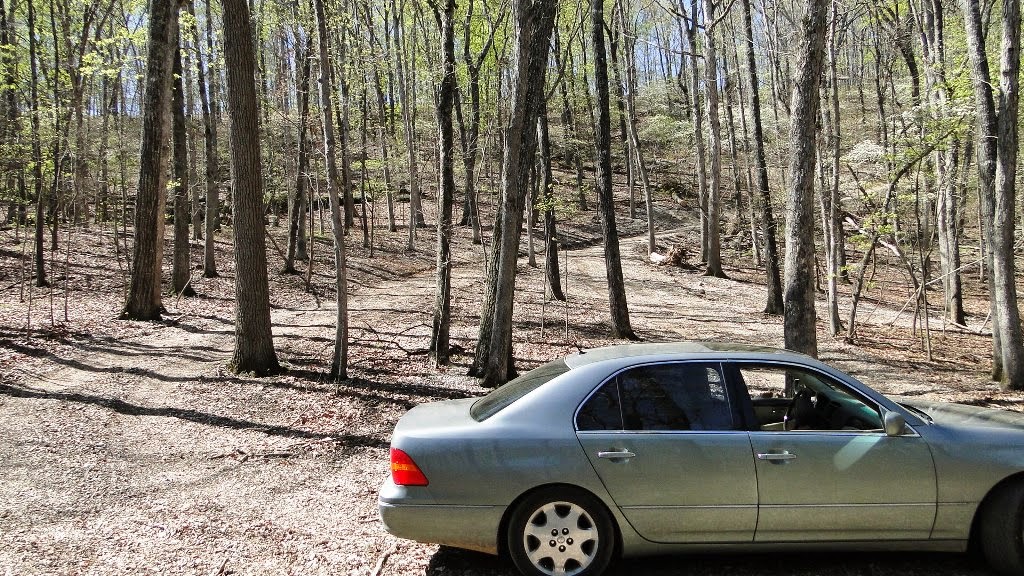
This is the circular area at the bottom of the road.
You can sort of see where the road starts going back up the hill.