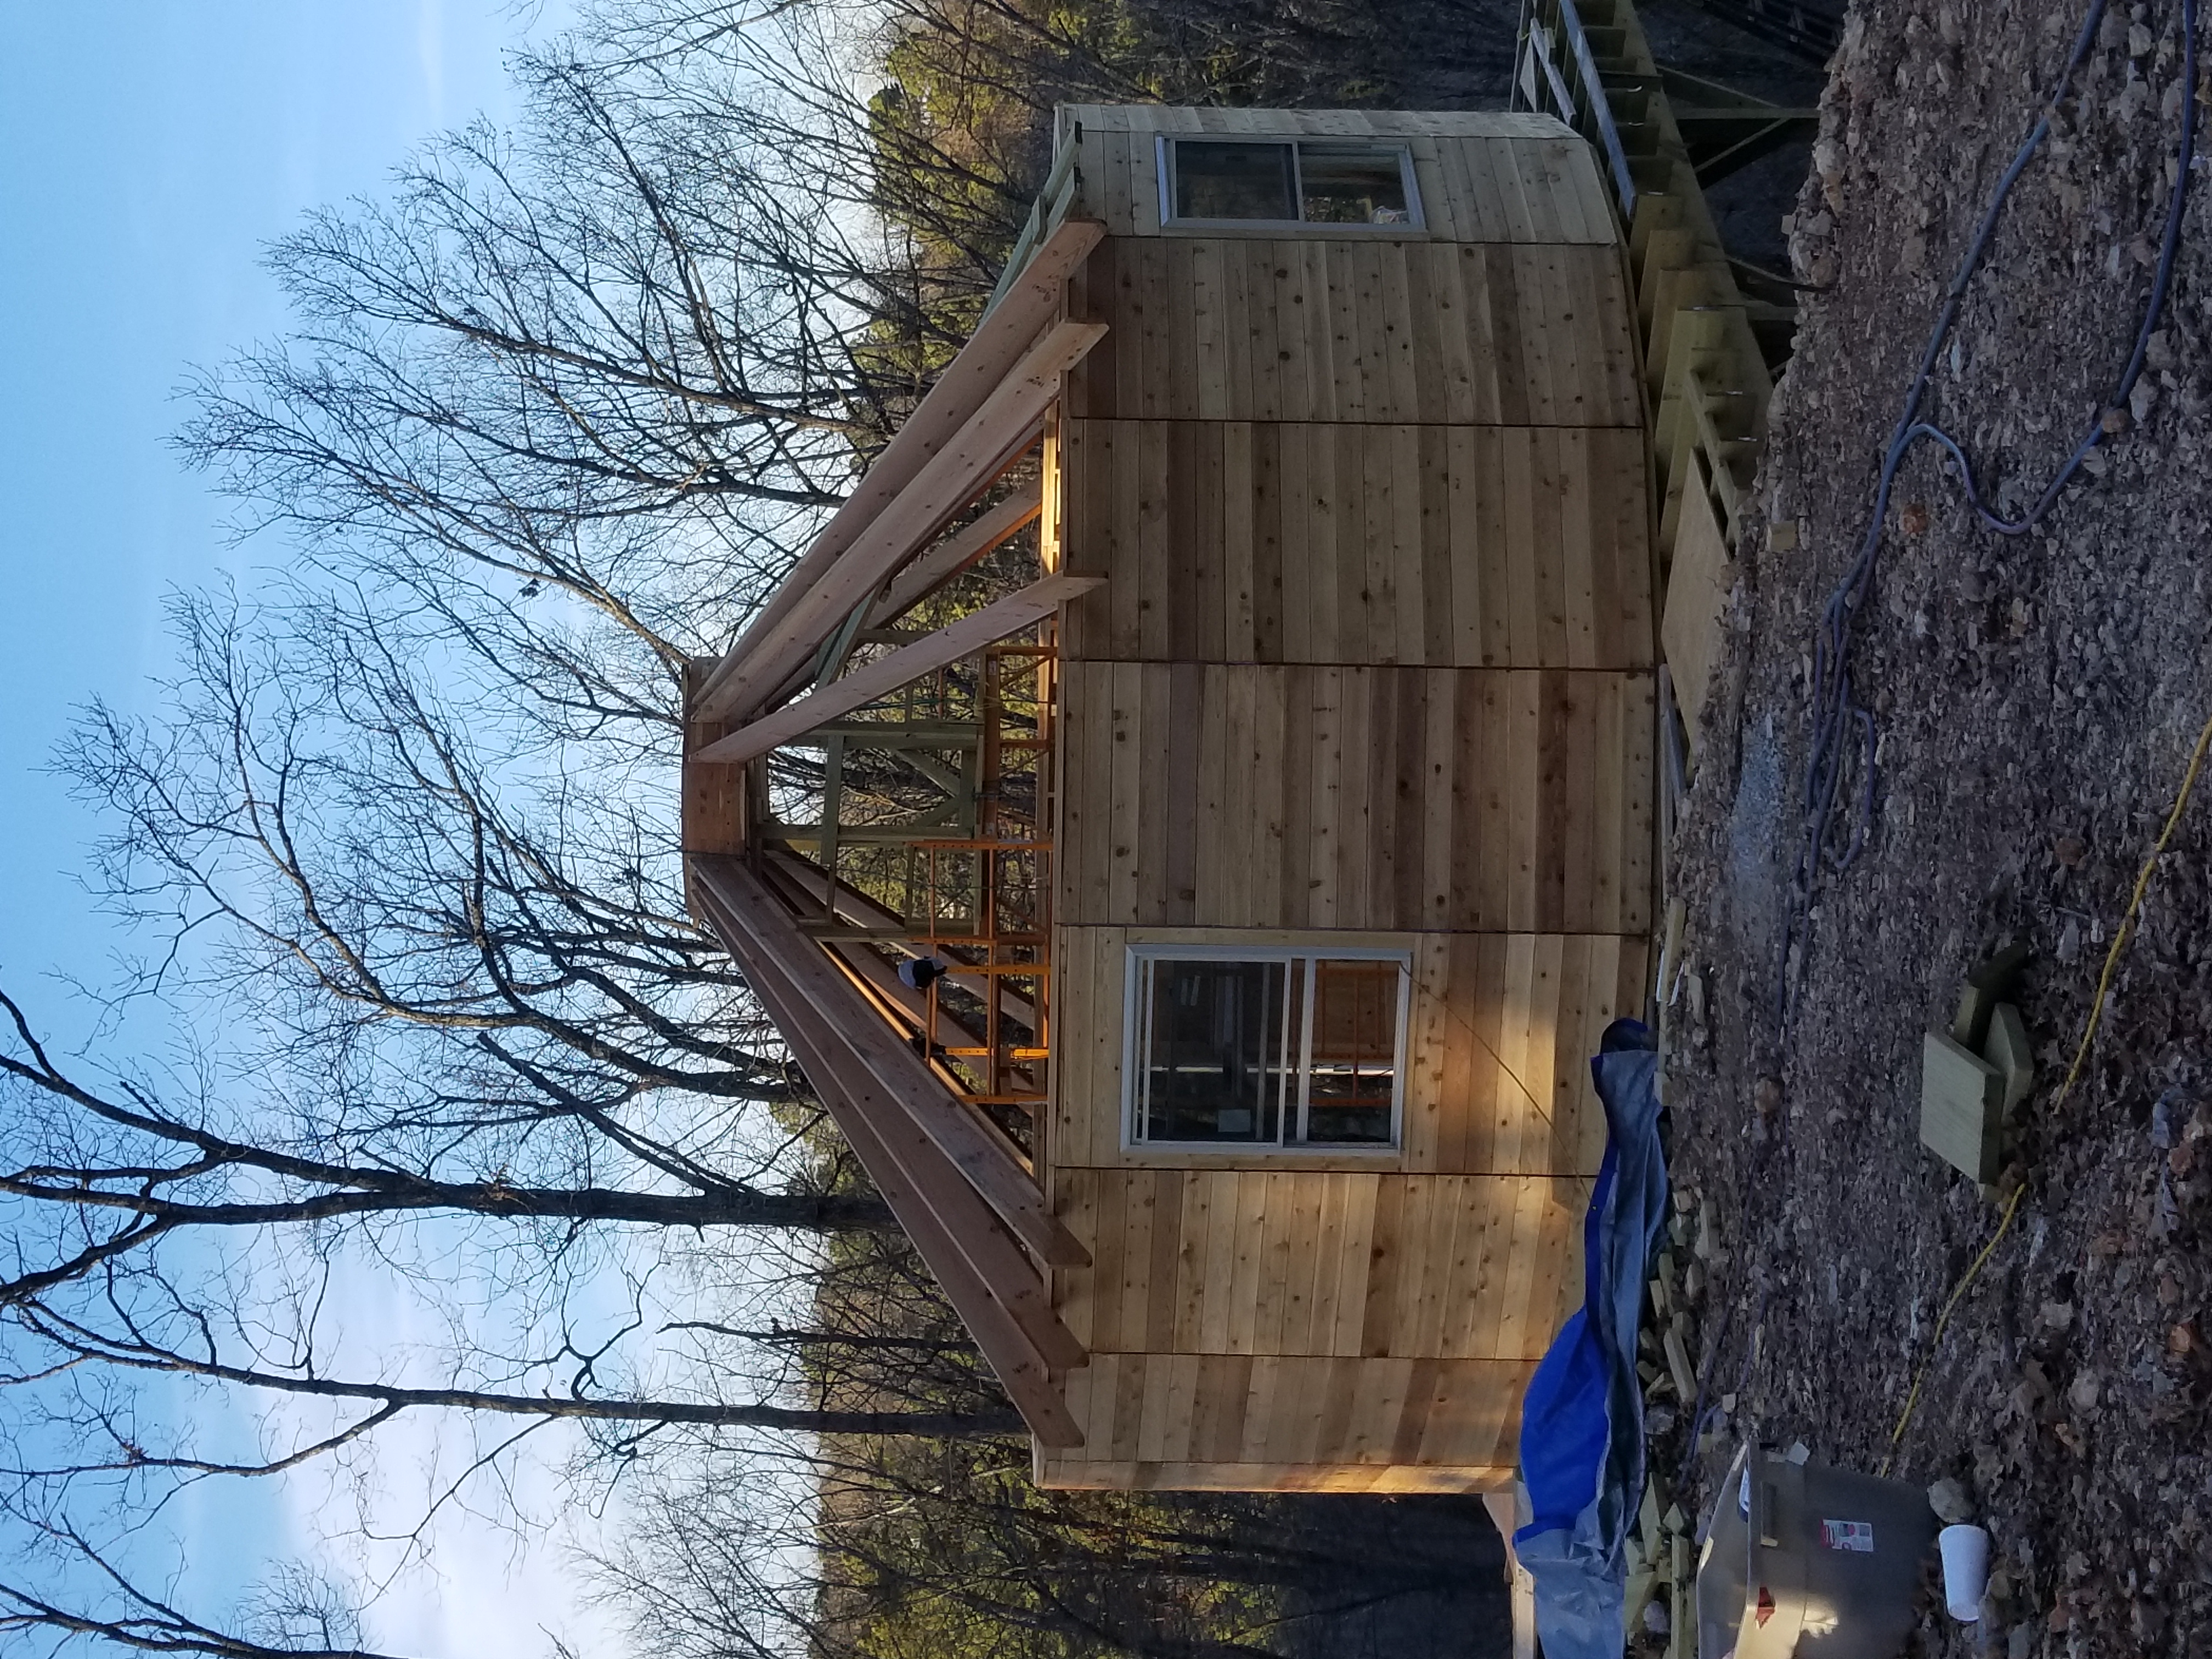
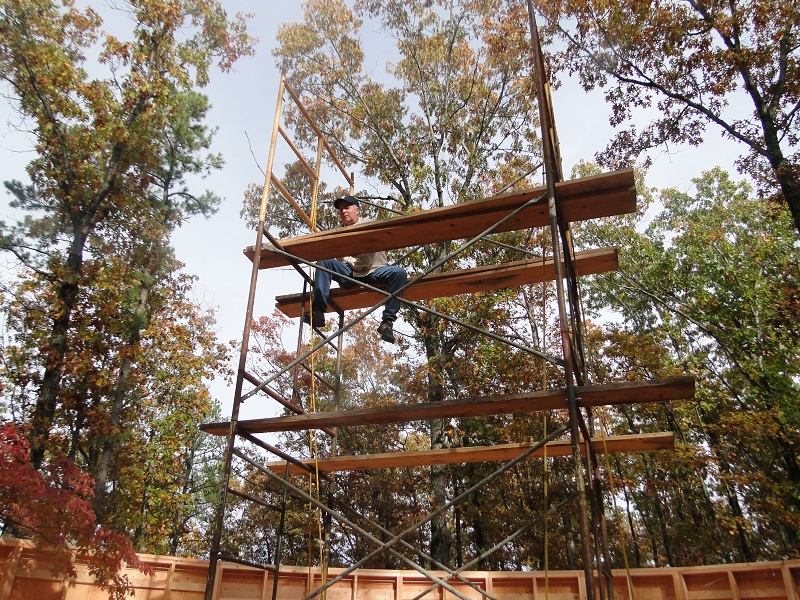
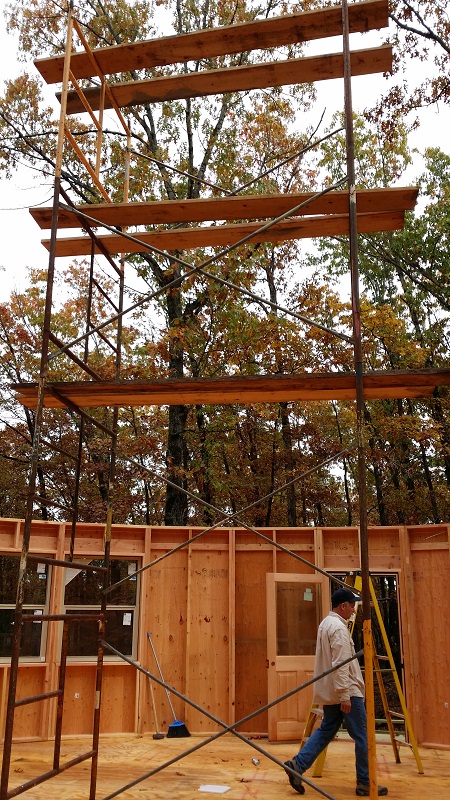
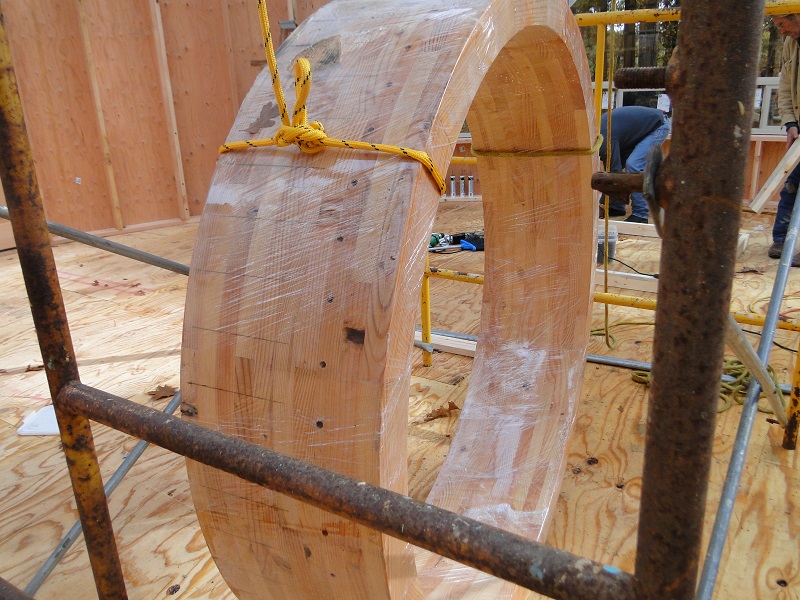
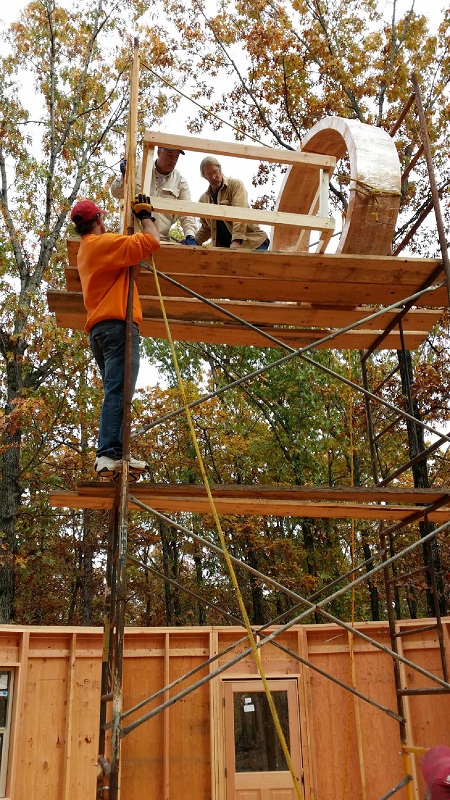
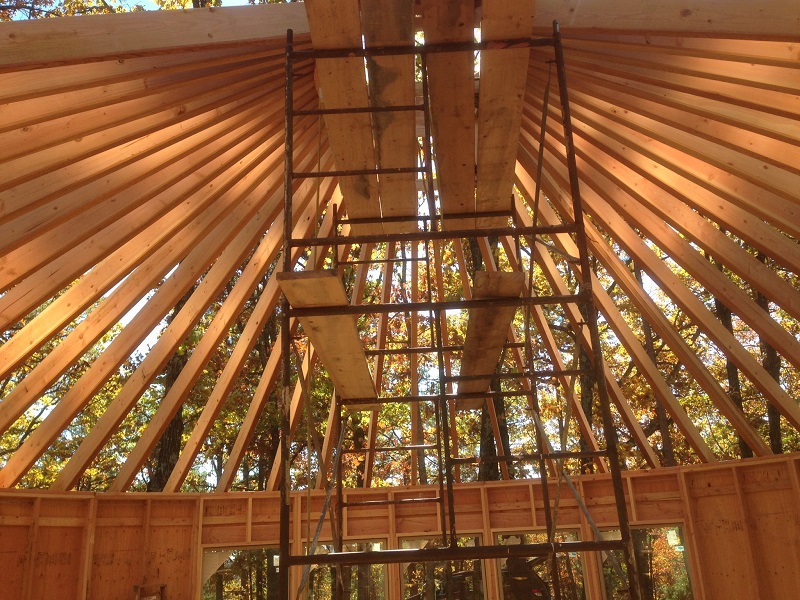
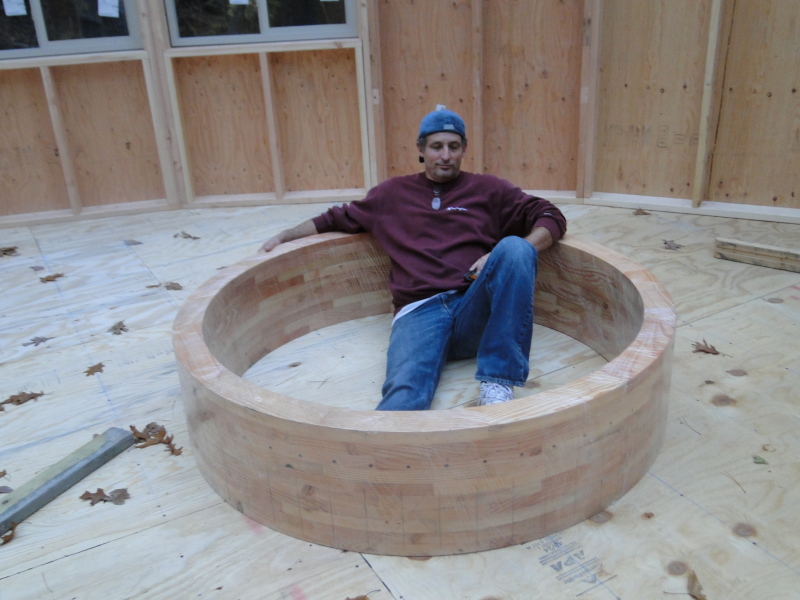
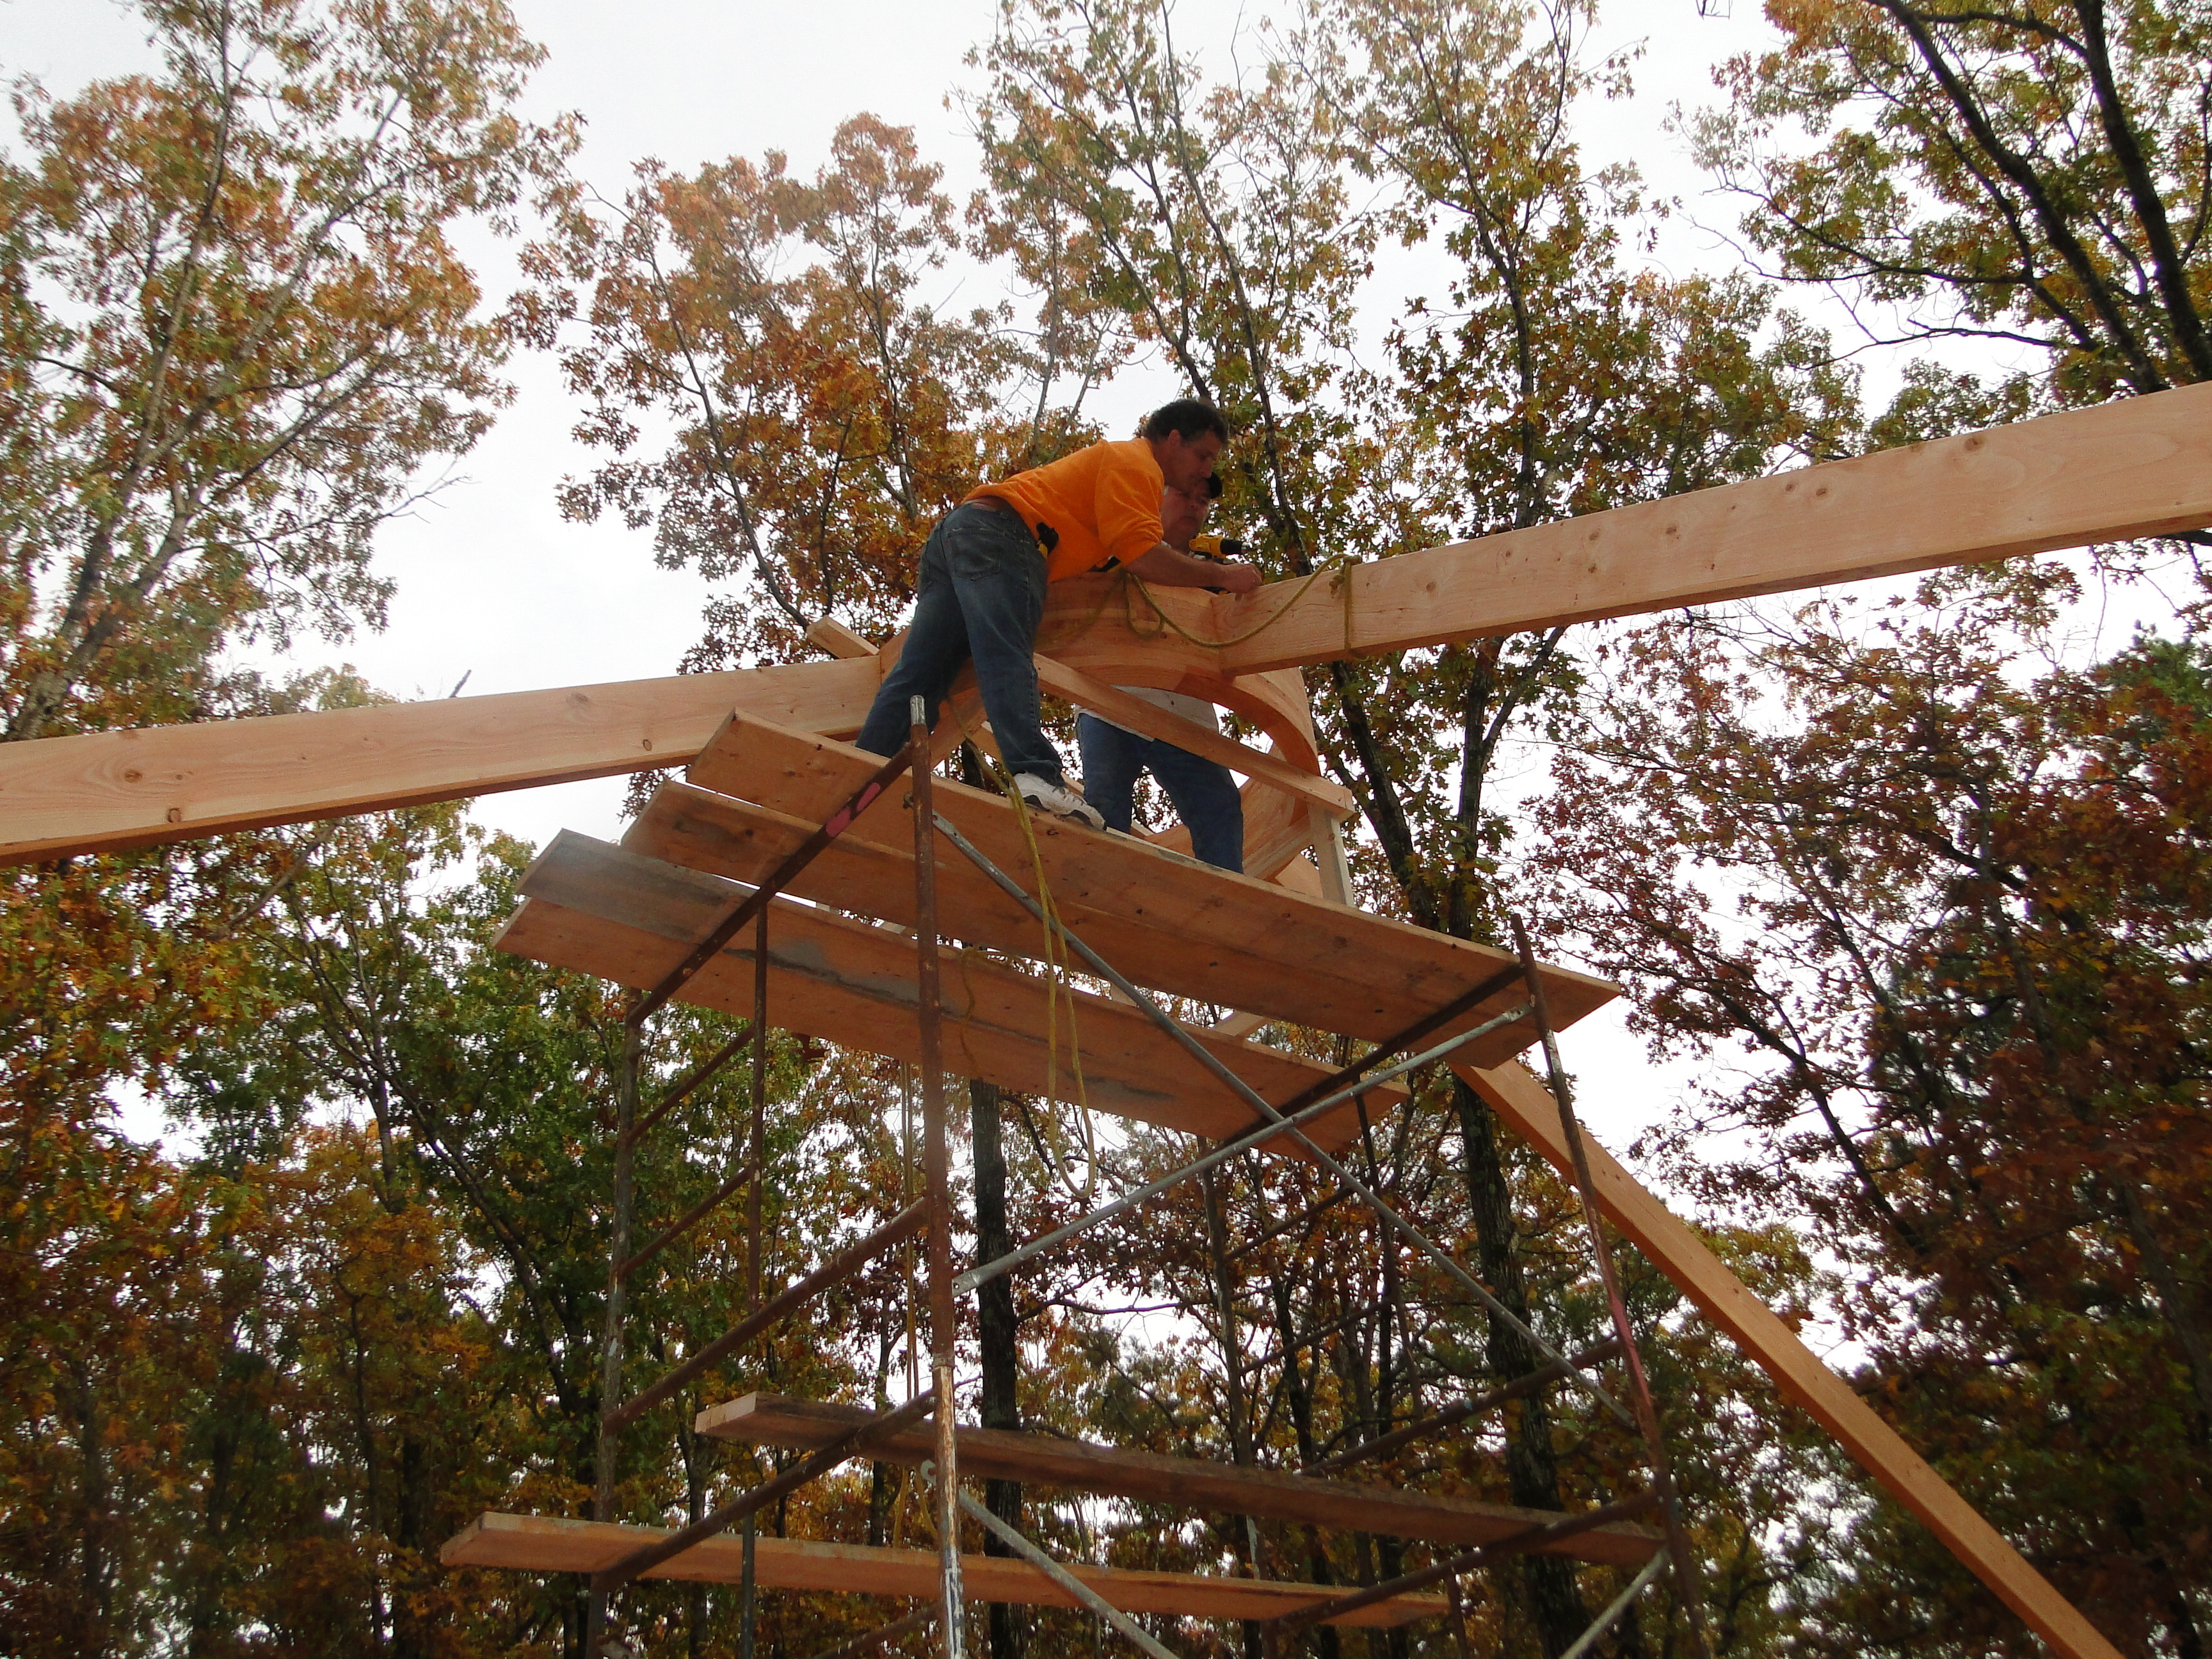
Well, the walls are up. It took a full day, but they are up, and I am feeling good about the progress and the quality. Next step, the most intimidating step so far, float the compression ring and install the rafters. In order to “float” the compression ring, we had to make some calculations for the height of the compression ring. Once done, we used several stories of scaffolding and built a stand for the compression ring to rest. Then we used a rope to hoist the extremely heavy ring to the top of the scaffolding. Once the ring was in place, we started attaching the rafters one at a time in opposing locations to compress the ring in opposite directions.
Terry Preping the ScaffoldCompleting The Ring StandScaffolding ErectionPreparing to lift the compression ringAfter Ring Hoist. Positioning the Ring Stand
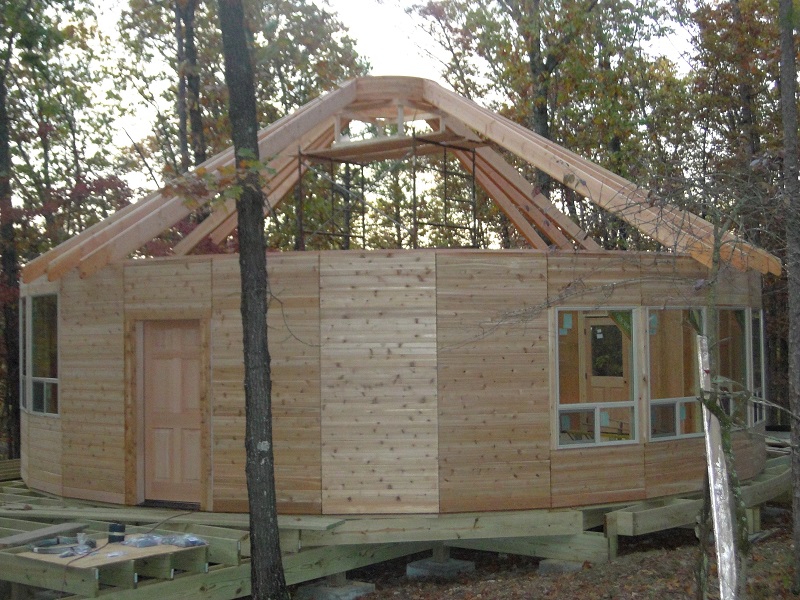
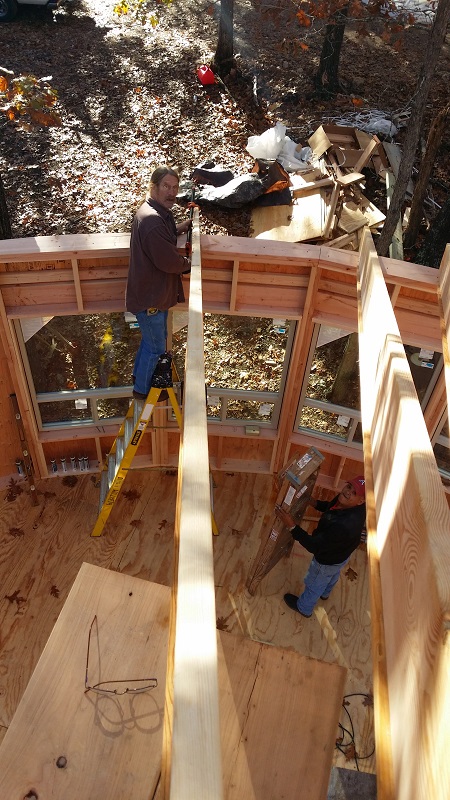
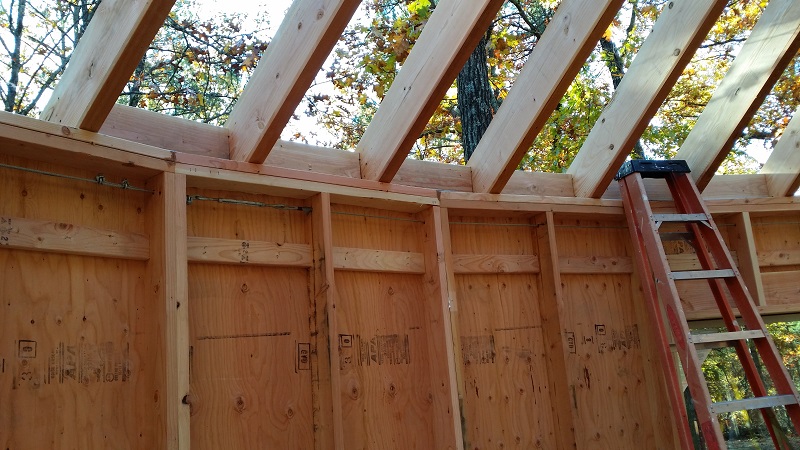
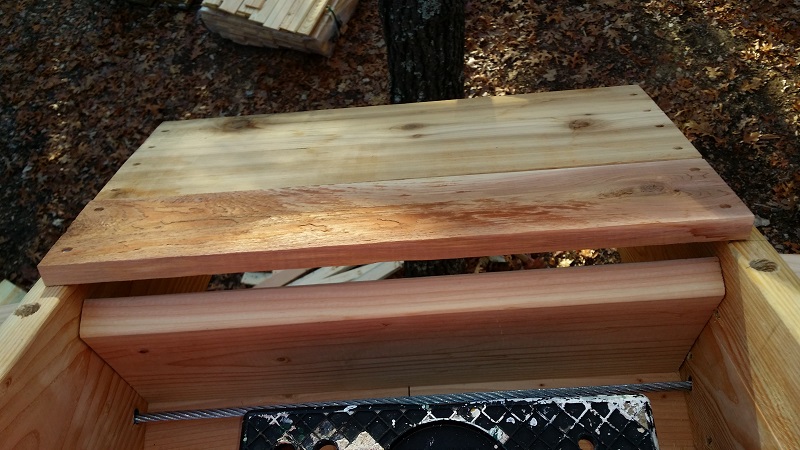
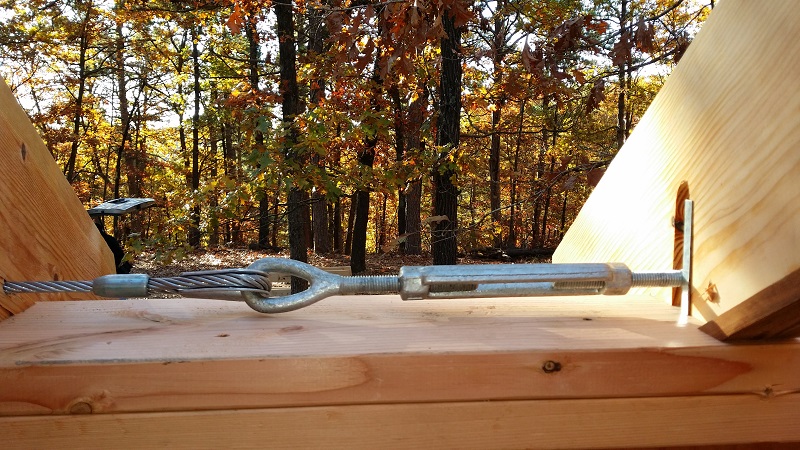
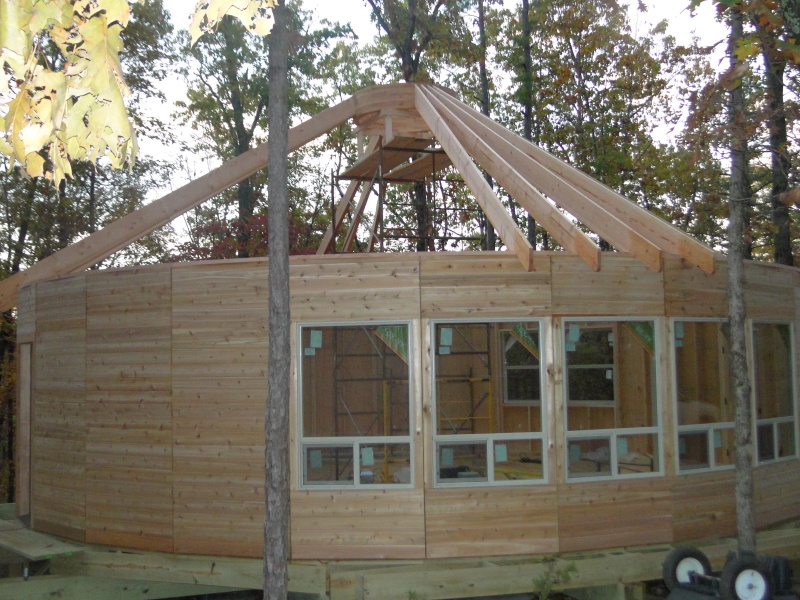
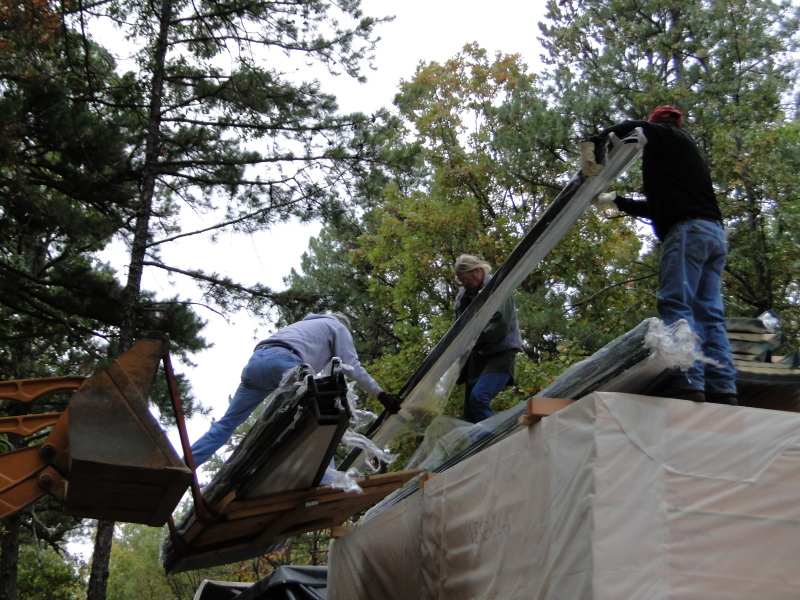
End Of First Day Of RaftersBob Attaching The RaftersMost of the RaftersAdding The Bird-BlockAdding the EvesRafter Tention CableRafters Bird-Block and Eves Complete
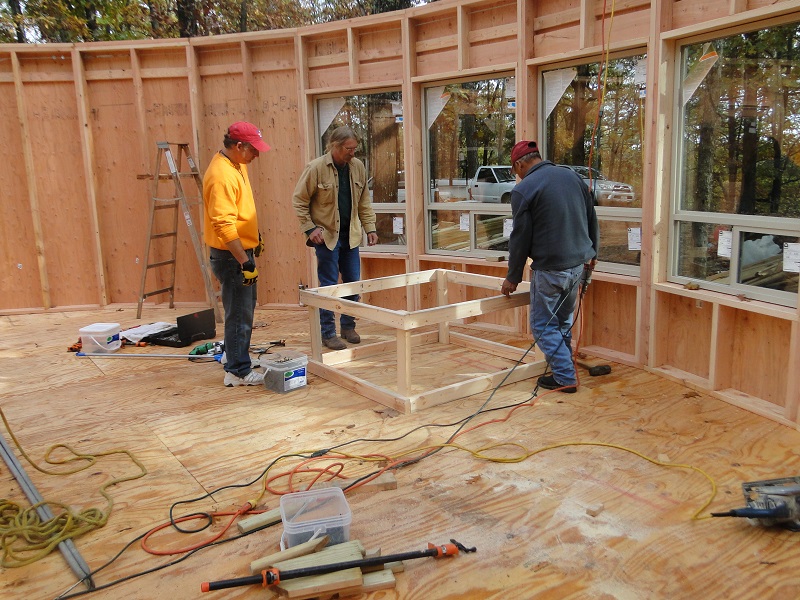
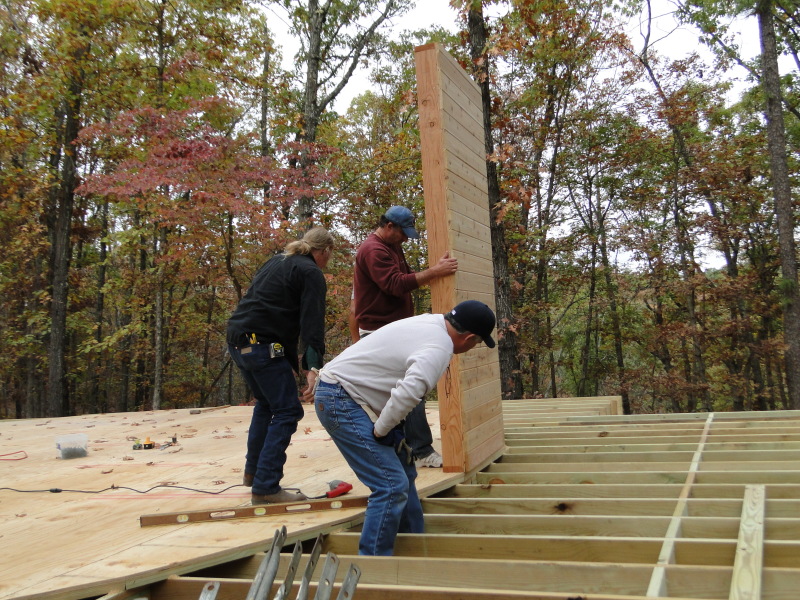
Over the weekend, two of my life-long friends (J.B. Conant and Terry “T-Man” Wilson) joined me, Bob (GC) and Luis (Bob’s Assistant) in Eureka Springs to help on the initial contruction phase. Over the next 5 days we poured over the construction manual and pictures. Below is a progression of the build.
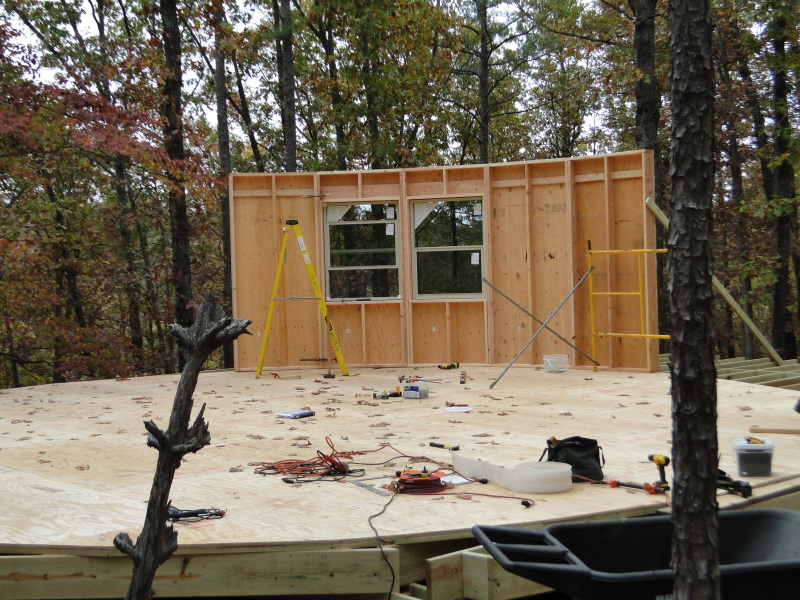
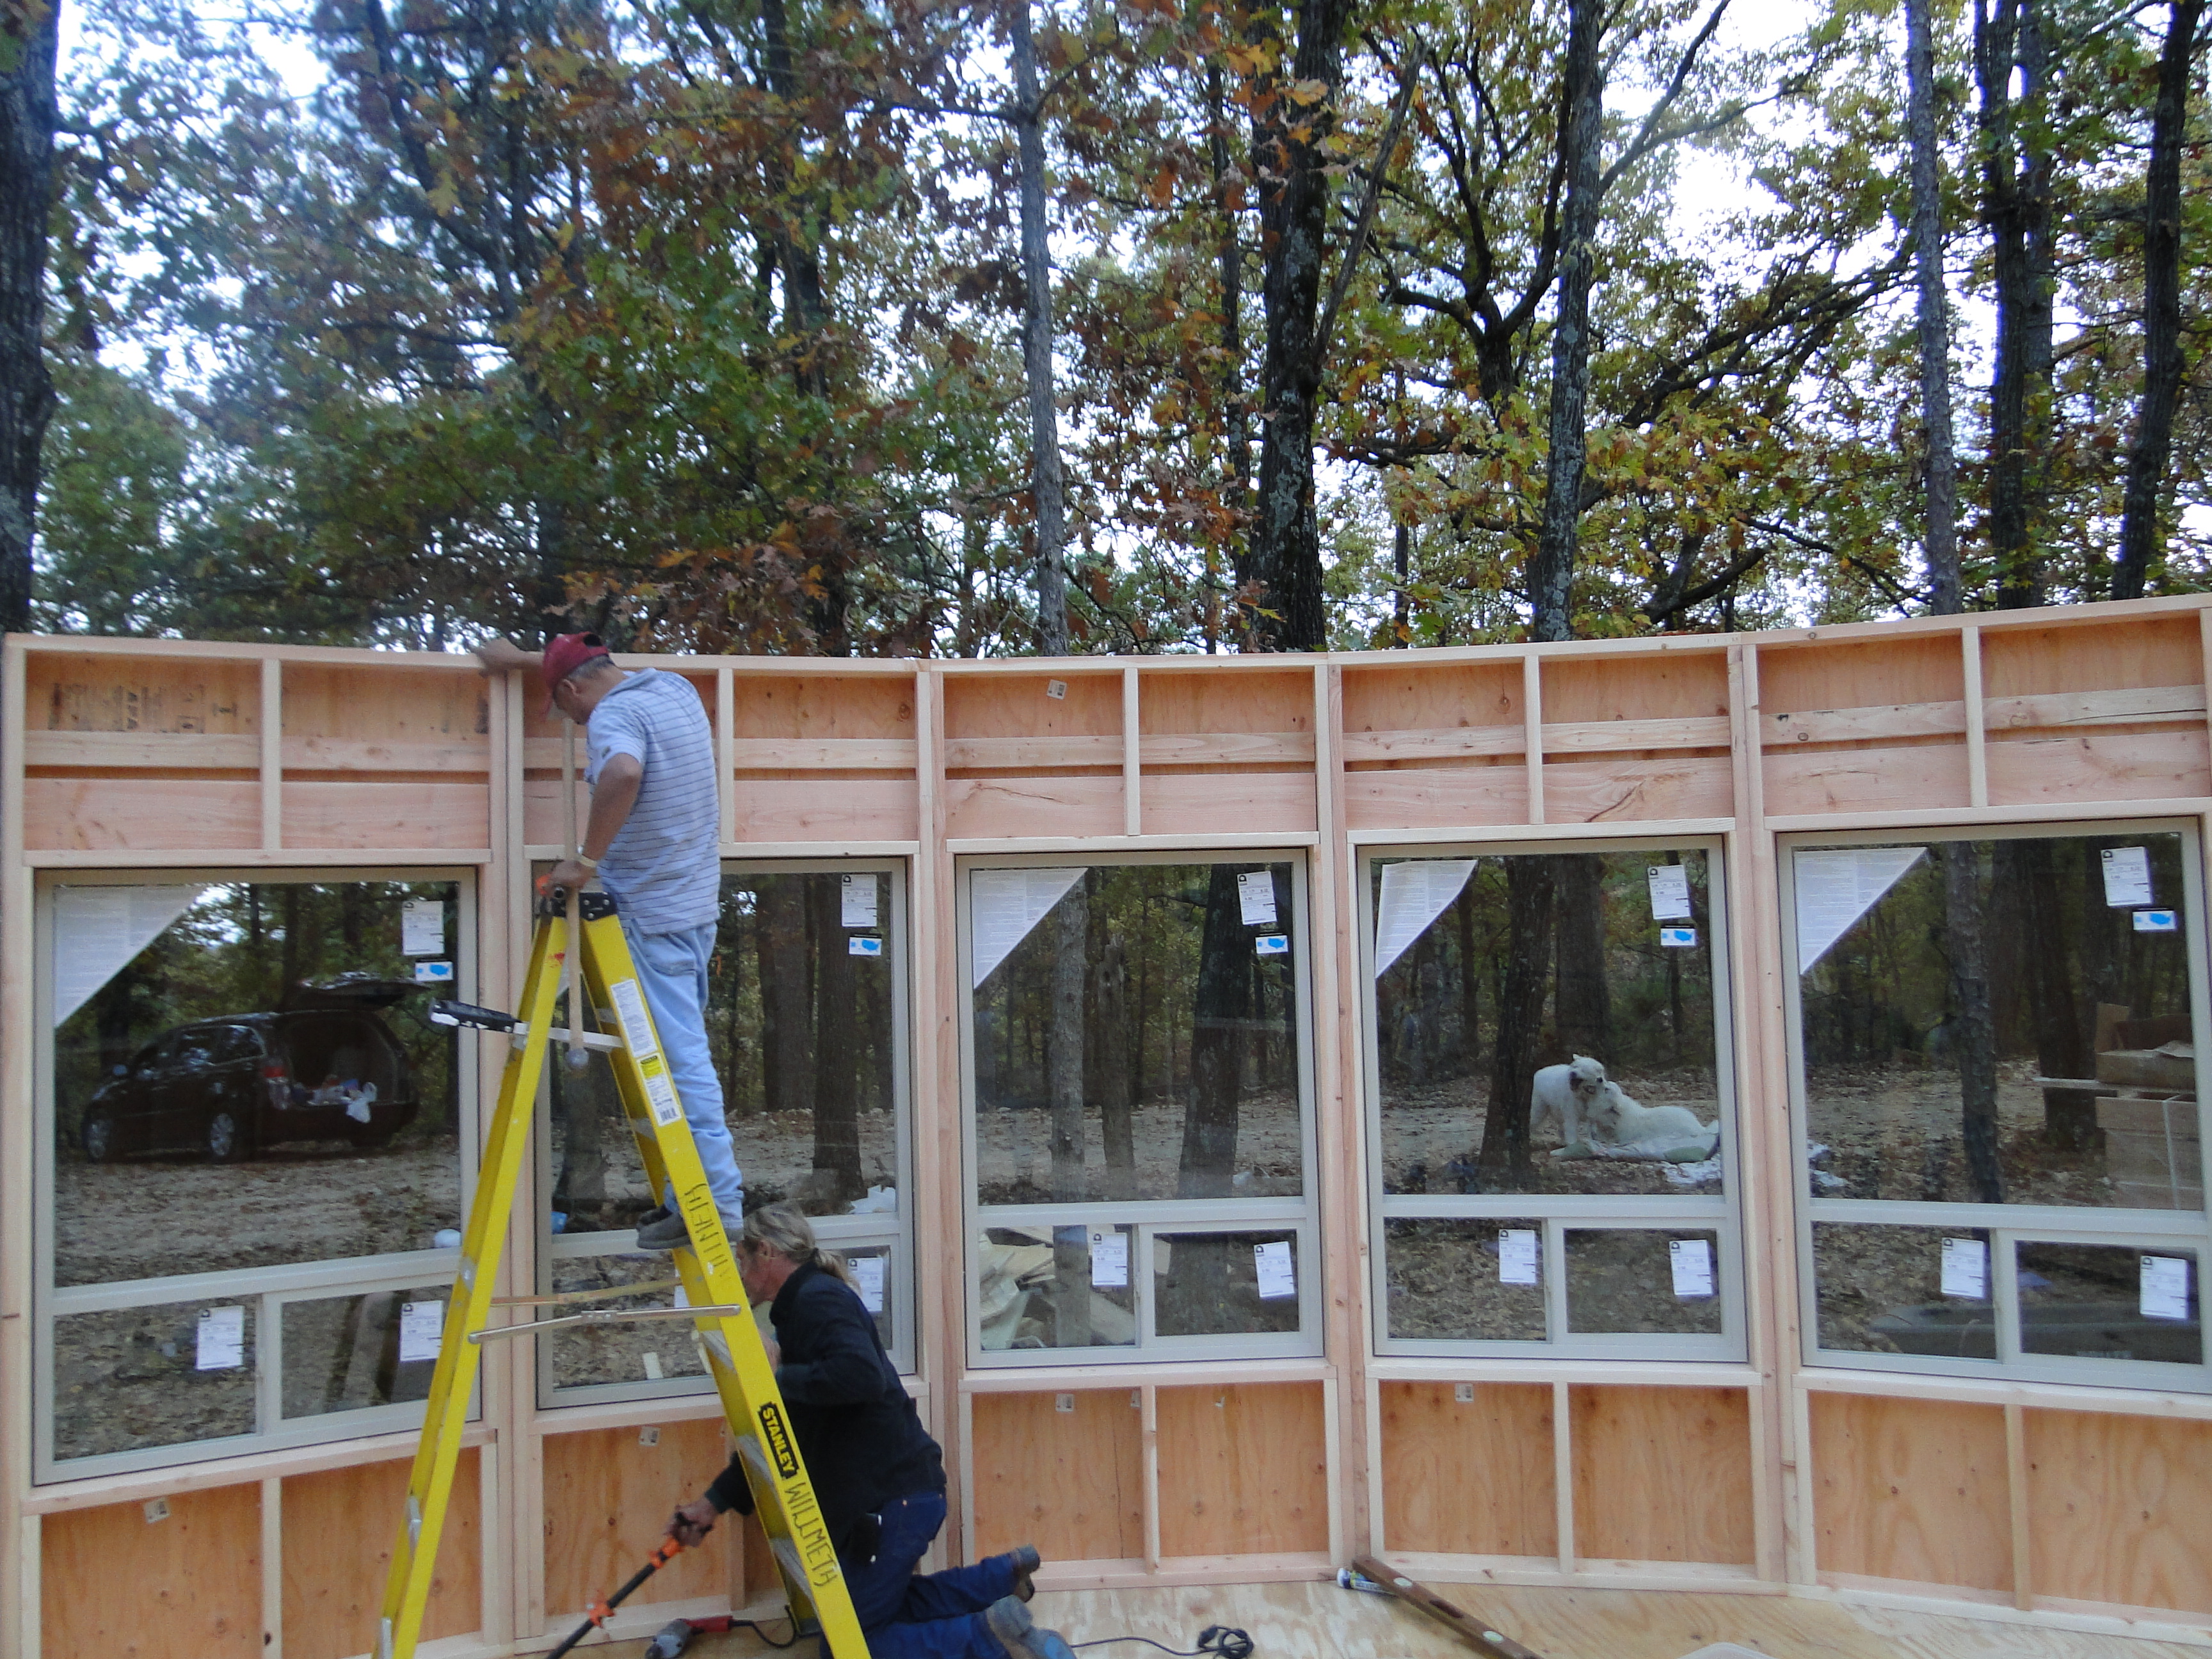
Adding the deckingAttaching the first wall5 WallsMore WallsFinishing The 5 Windows In The Living RoomTaking A Break In The SkylightAll 27 WallsFirst Rafters Going UpMore Rafters
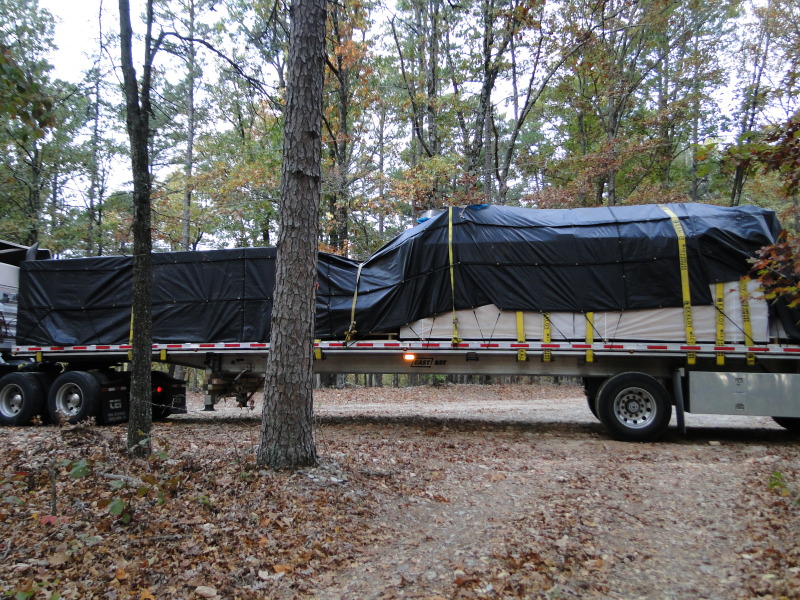
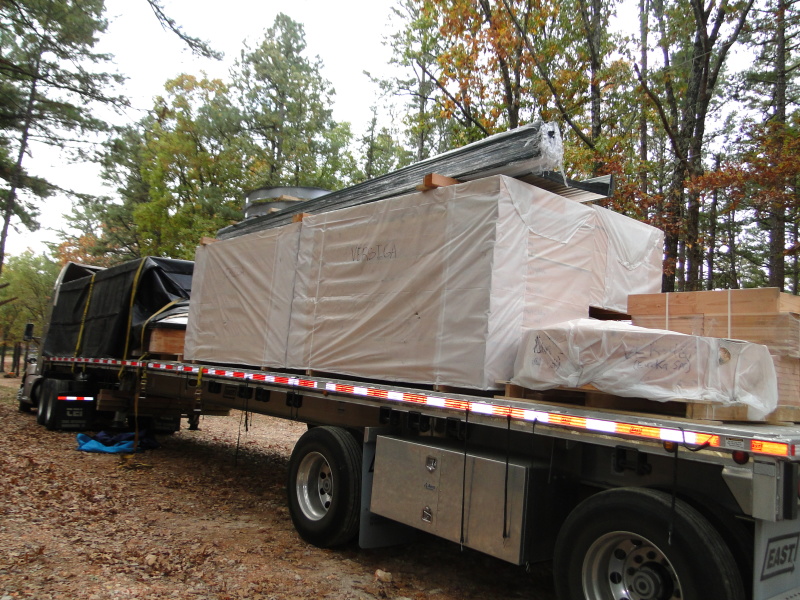
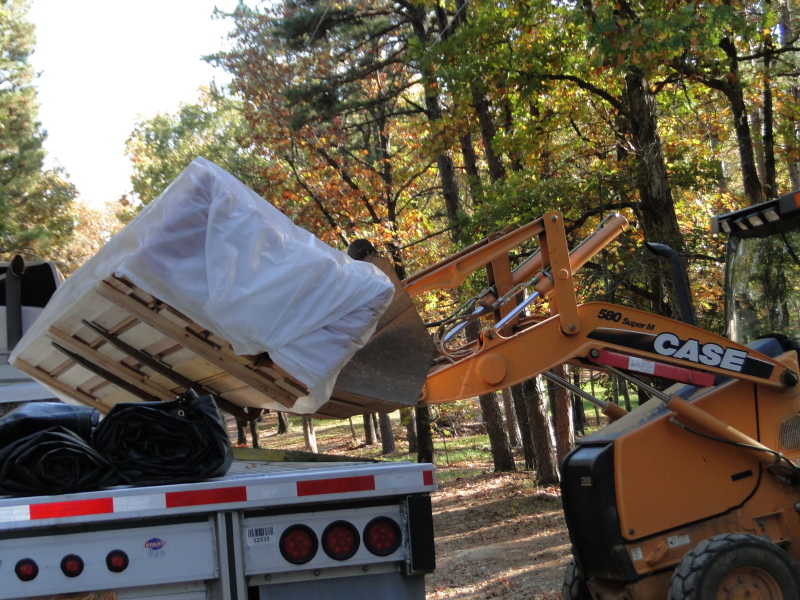
Finally, the yurt was delivered. Yay! The unloading was a nightmare! grrr. The problem started when the shipping company put the second customers roof on our crates. To make matters worse, the others customers roof had some light damage. After an hour of deliberation, I decided not to move the roof and have the second customer remove their own roof. The delivery truck would have to return for us to get the crates off once the roof was off-loaded. Two and a half hours later the delivery truck returned. After a little under 2 hours the yurt contents was on the ground. Smiling Woods Yurts had told us when the yurt was shipped there was a problem with the skylight and it would arrive in about a week.
Delivery Truck Pulling On Site
Yurt UncoveredHand Unloading the Roof Panels So They Not Damaged By The ForkliftUnloading the Wall Crate.
We have been working hard to get the footings in place and ready for the delivery from the cement company. We are anticipating pouring the footings Wednesday the 22nd of October. Bob, our general contractor, has done an excellent job of making progress with out water and electricity. Both of which are our top priority.
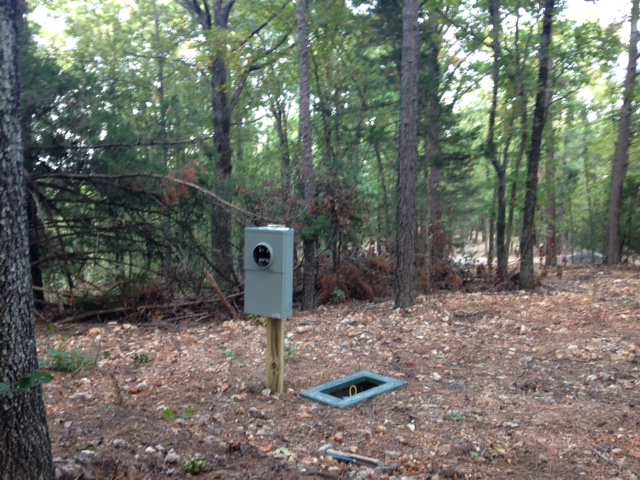
Meter Base
We have been blessed again with news from our Yurt builder (SmilingWoodsYurts.com not to be confused with my good friend Frank Smiley). It turns out that another customer, who lives in our area is scheduled for delivery at the same time. Thereby, saving us roughly half of the delivery cost of about $4000. This will help offset some of the last minute upgrades which include a forest green colored external roof and a electric remote controlled skylight opener. Currently, we are expecting shipment of the Yurt between the 21st and 24th of October.
We will heading to Eureka Springs October 22nd and are planning to go to Topeka Kansas for the Mother Earth News Fair the weekend of the 25th. We will then head back to Eureka Springs for the next full week.
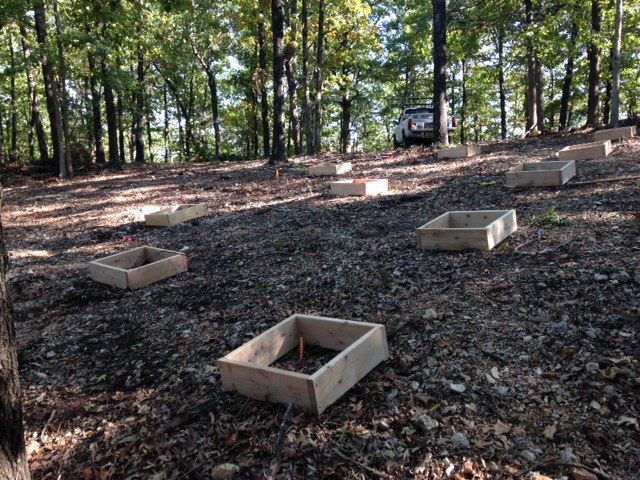
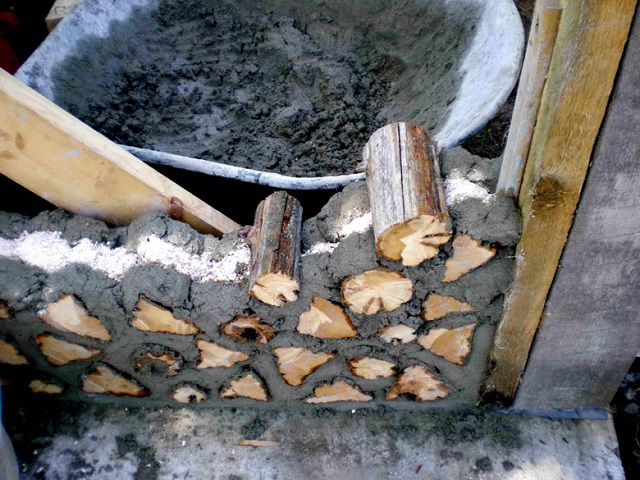
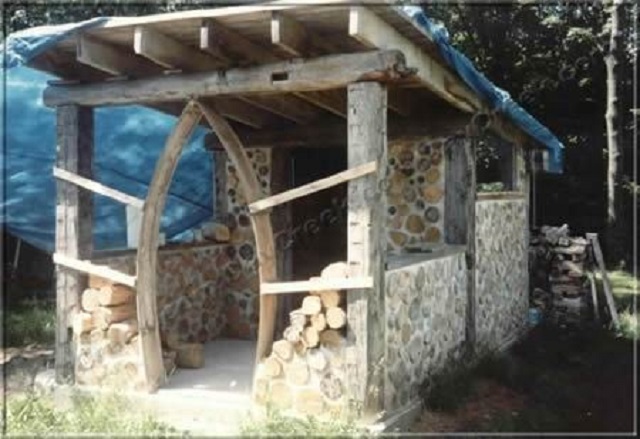
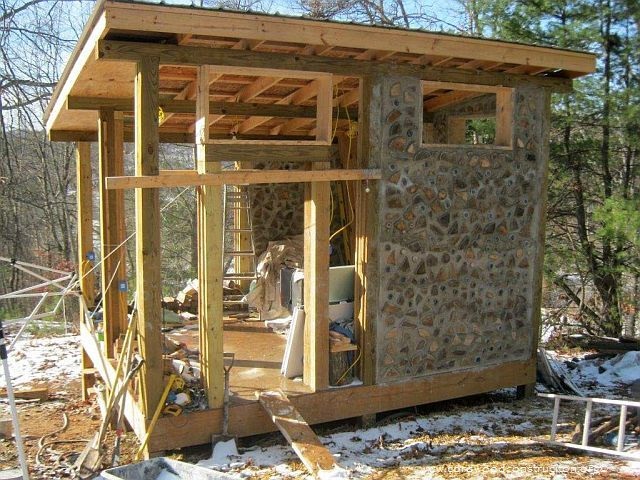
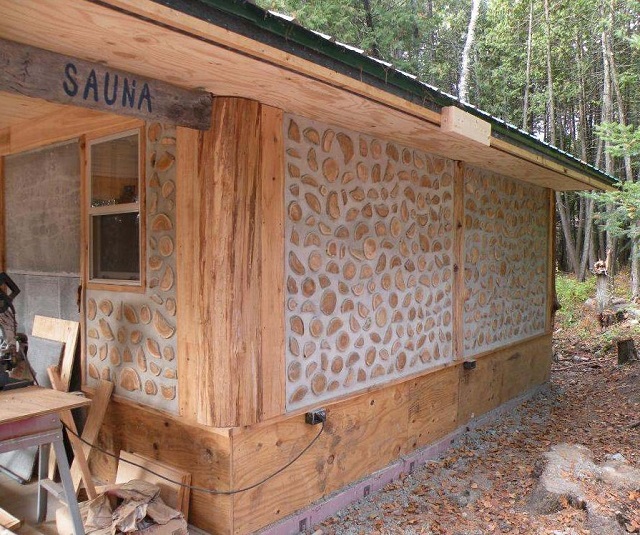
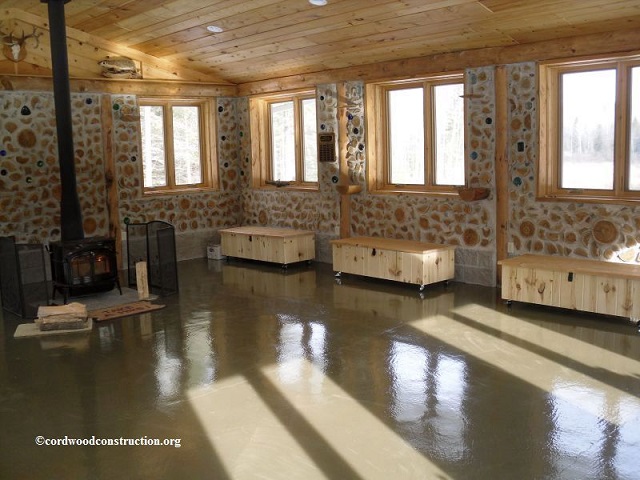
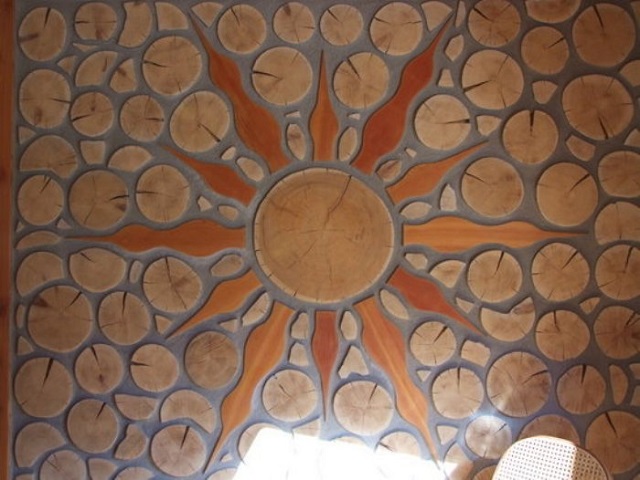
We have been working toward getting site approval for the local electric company to initiate a construction order for the power lines. The meter base has been purchased and we have the dimensional plans for the well house and the yurt base. We are planning to build the well house using Cord Wood construction. Here are some samples of some of the construction.
Many of these pictures are credited to Richard Flatau and can be seen at his awesome blog and Cordwood Construction Best Practices
This is a picture of the timber frame with about 4 inches of a mortar mixture on the exterior and interior walls with the center being a insect resistant insulating material.
Update:
So as it stands we have the roads roughed in, 5 sites opened up for a view, Well drilled and state approved. We have 2 building sites perked and approved by the state.
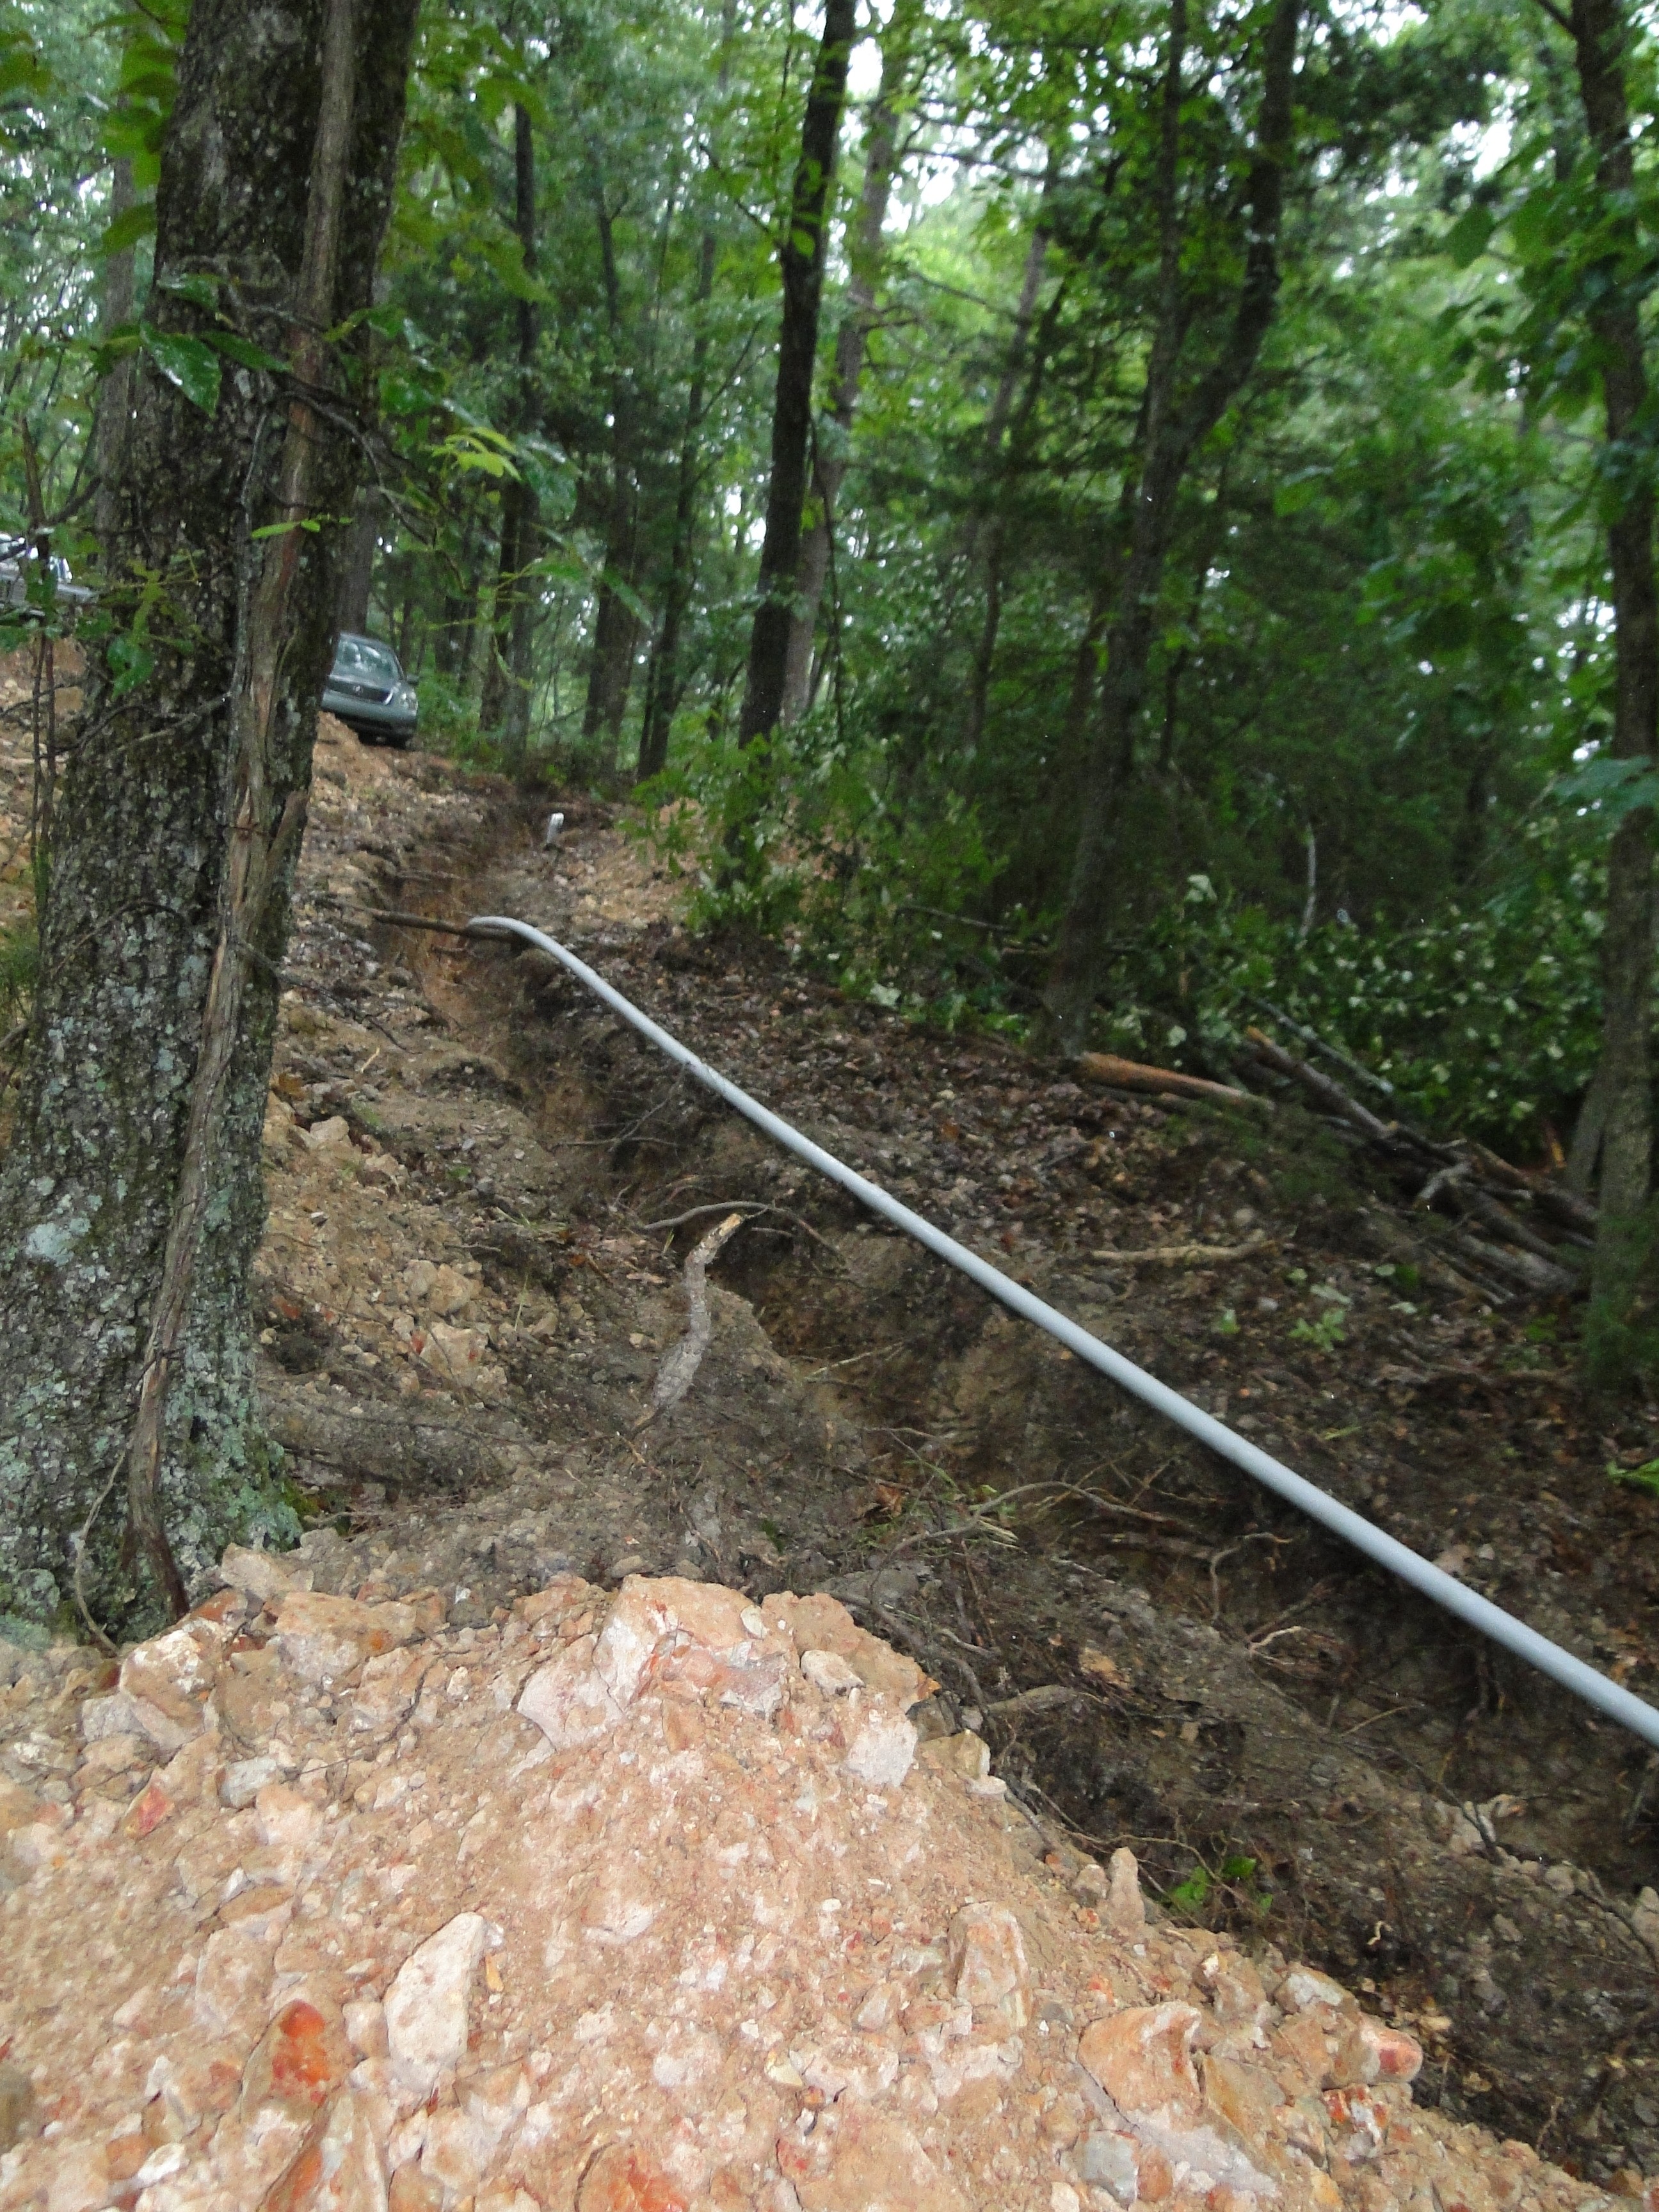
And on this trip we have gotten approval for the easement for the underground electrical installation, the trenches were dug half the length of the top ridge (1000 ft), junctions put in for potential expansion to the bottom area and the rest of the top ridge, pads built for the transformers for the well house, the first and second cabin. We also installed all the conduit for the primary run of the electrical and buried it with a 1/4″ rope for use by the electric company to actually pull the electrical wire.
To Do:
1. Need to get written authorization to actually run the physical line across the easement for Carroll County Electrical.
2. Finalize the selection of the well company to purchase and install the commercial well equipment.
3. Research and design the well house.
4. Build the well house.
5. Install pump equipment
6. Trench and install water lines to the first 2 cabin locations.
7. Build the pad and deck for the first cabin (Scheduled to be delivered week of Oct 1)
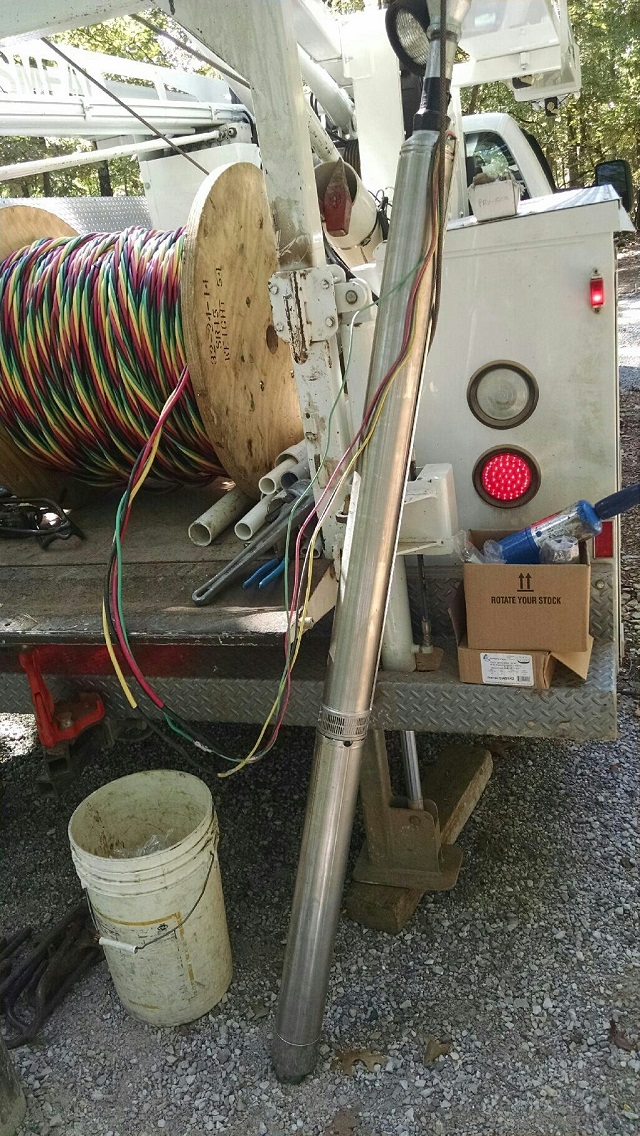
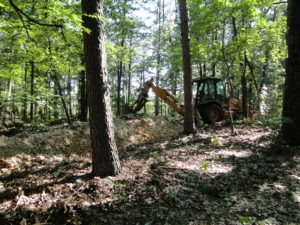
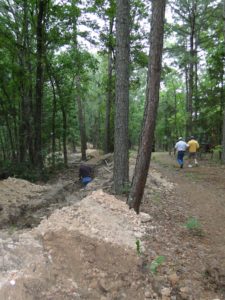
Buck started digging trenches from the easement, close to where our entrance will be, to our upper ridge road.
Laying out the pipe for electrical.
Buck is in the trenches laying pipe. Blake is meeting with well company.
This is where the electrical company will put our junction box.
We ran 1000 feet of pipe from the easement down to the location of our 2nd build site. Buck ran rope in the pipes so the electric company could use it to pull their electric lines through the pipes. We sure are glad Buck is working with us, he really knows the best ways to do things.Now we have to get our water trench dug. Too bad we couldn’t do it all in one trench! We are thinking about doing 3′ wide trenches for the water lines from the well to our cabins. Then we would have the option of going with geothermal for climate control in the cabins.We are trying to get things done every month to prepare for our cabin construction. The kit is being delivered the first part of October and time is flying!
We met with a realtor in Dallas to discuss what the process would be to put our house on the market. She walked the house and pointed out some things that we needed to paint, replace, fix or clean. We mostly need to clear out cabinets, closets and counters… expecially since we are going from a 2,800 sqft house to just under 1,000 sqft! When going over the comps for our neighborhood, she said that the longest that a house was on the market was 9 days and that most were selling in 1 to 4 days. Let’s see, our yurt build materials dont arrive until October, so where are we going to live if our house sells in July? We have prayed that God would open the doors he wants us to walk through and shut the doors that are not on the right path. We had not planned to put our house on the market this soon, but we are stepping out in faith and know that things will work out. Some of you may think we are crazy, but we are happy living in the moment. Let us know if you want to move to Frisco, TX 🙂 – Hand scraped hard wood floors, slate floor, updated master bath, new kitchen appliances, lots of trees, sports court and stream water feature in backyard!!
Only 2,073 residents! Good thing there are 700,000 visitors a year to the area!
We went to Eureka Springs to try to get all the utilities planned and finalize the yurt build site. It was a very productive trip. We spoke with Smiling Woods Yurts to confirm our order, went to the tax office in Berryville to get an offical address and stopped by the electric company to get the specs for installing our underground electrical lines. Blake walked in both places and didn’t have to wait in line. In fact he ended up helping the tax office with their computers and then the tax accessor solicited him for a contract. He said he wasn’t living there yet and she said to contact her when we relocate.
Before we made it back to our property we got a call from the Inspiration Point fire department saying they got a fax about our new address. No waits and fast service, that definitely wouldn’t happen in Dallas! The fire station is right down the street from our house lot so we stopped by to introduce ourselves. While there, Blake got recruited to be a volunteer. He told them he was too old and didn’t have any training. They said, “you will probably be the youngest one here and we will pay for the training!” He told them he wouldn’t mind volunteering, but he wasn’t comfortable making the life or death decisions of a first responder. They told him to get in touch when we relocate.
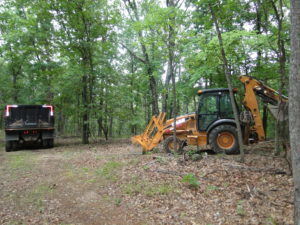
Blake and Buck going over excavation plans.
The next day we met with our excavator, Buck. He is regarded as the best backhoe operator in the area. We went over general property organization and determined the locations for the underground electrical and underground water lines. We discussed making the water line trench 3′ wide for a possible closed loop, horizontal georthermal installation. Buck will also clear out some dead trees and prep the build site so it is level. He told us he could also install the septic system and gave us the number for Ken who is the septic guy that Buck prefers to work with. We contacted Ken and hired him to do the septic system perk test, design and arrange the state inspection.
Now we just have to finalize which company will do the well equipment installation so we can have all the utilities planned. Right now it is just a capped hole in the ground. Hopefully we can get everything workded out so that Buck can do all the dirt work at one time.
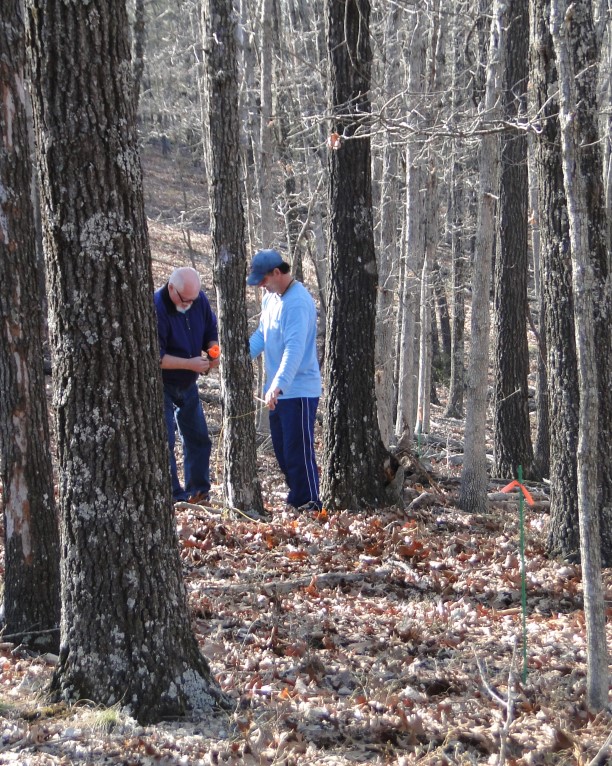
We also went to the property to try to deside where the 1st yurt was going. We put markers down 3 times before we finally settled on a spot. Jack, our realtor andfriend, helped us stake out the build site and spray paint the 35″ yurt dimensions on the ground.
After we marked the spot we flagged the general area for a second build site that is about 150′ further down on the top ridge. We will be putting our first rental yurt at this location, hopefully by spring of 2015!
Blake and Jack marking the 1st yurt build site.If you look closely you will see 2 orange flags that mark where the back yard will be. We will have a beautiful dogwood right by the porch.
Panoramic view or our future backyard. I love the dogwoods in the spring.
We can’t wait to get there and have you come and visit us.
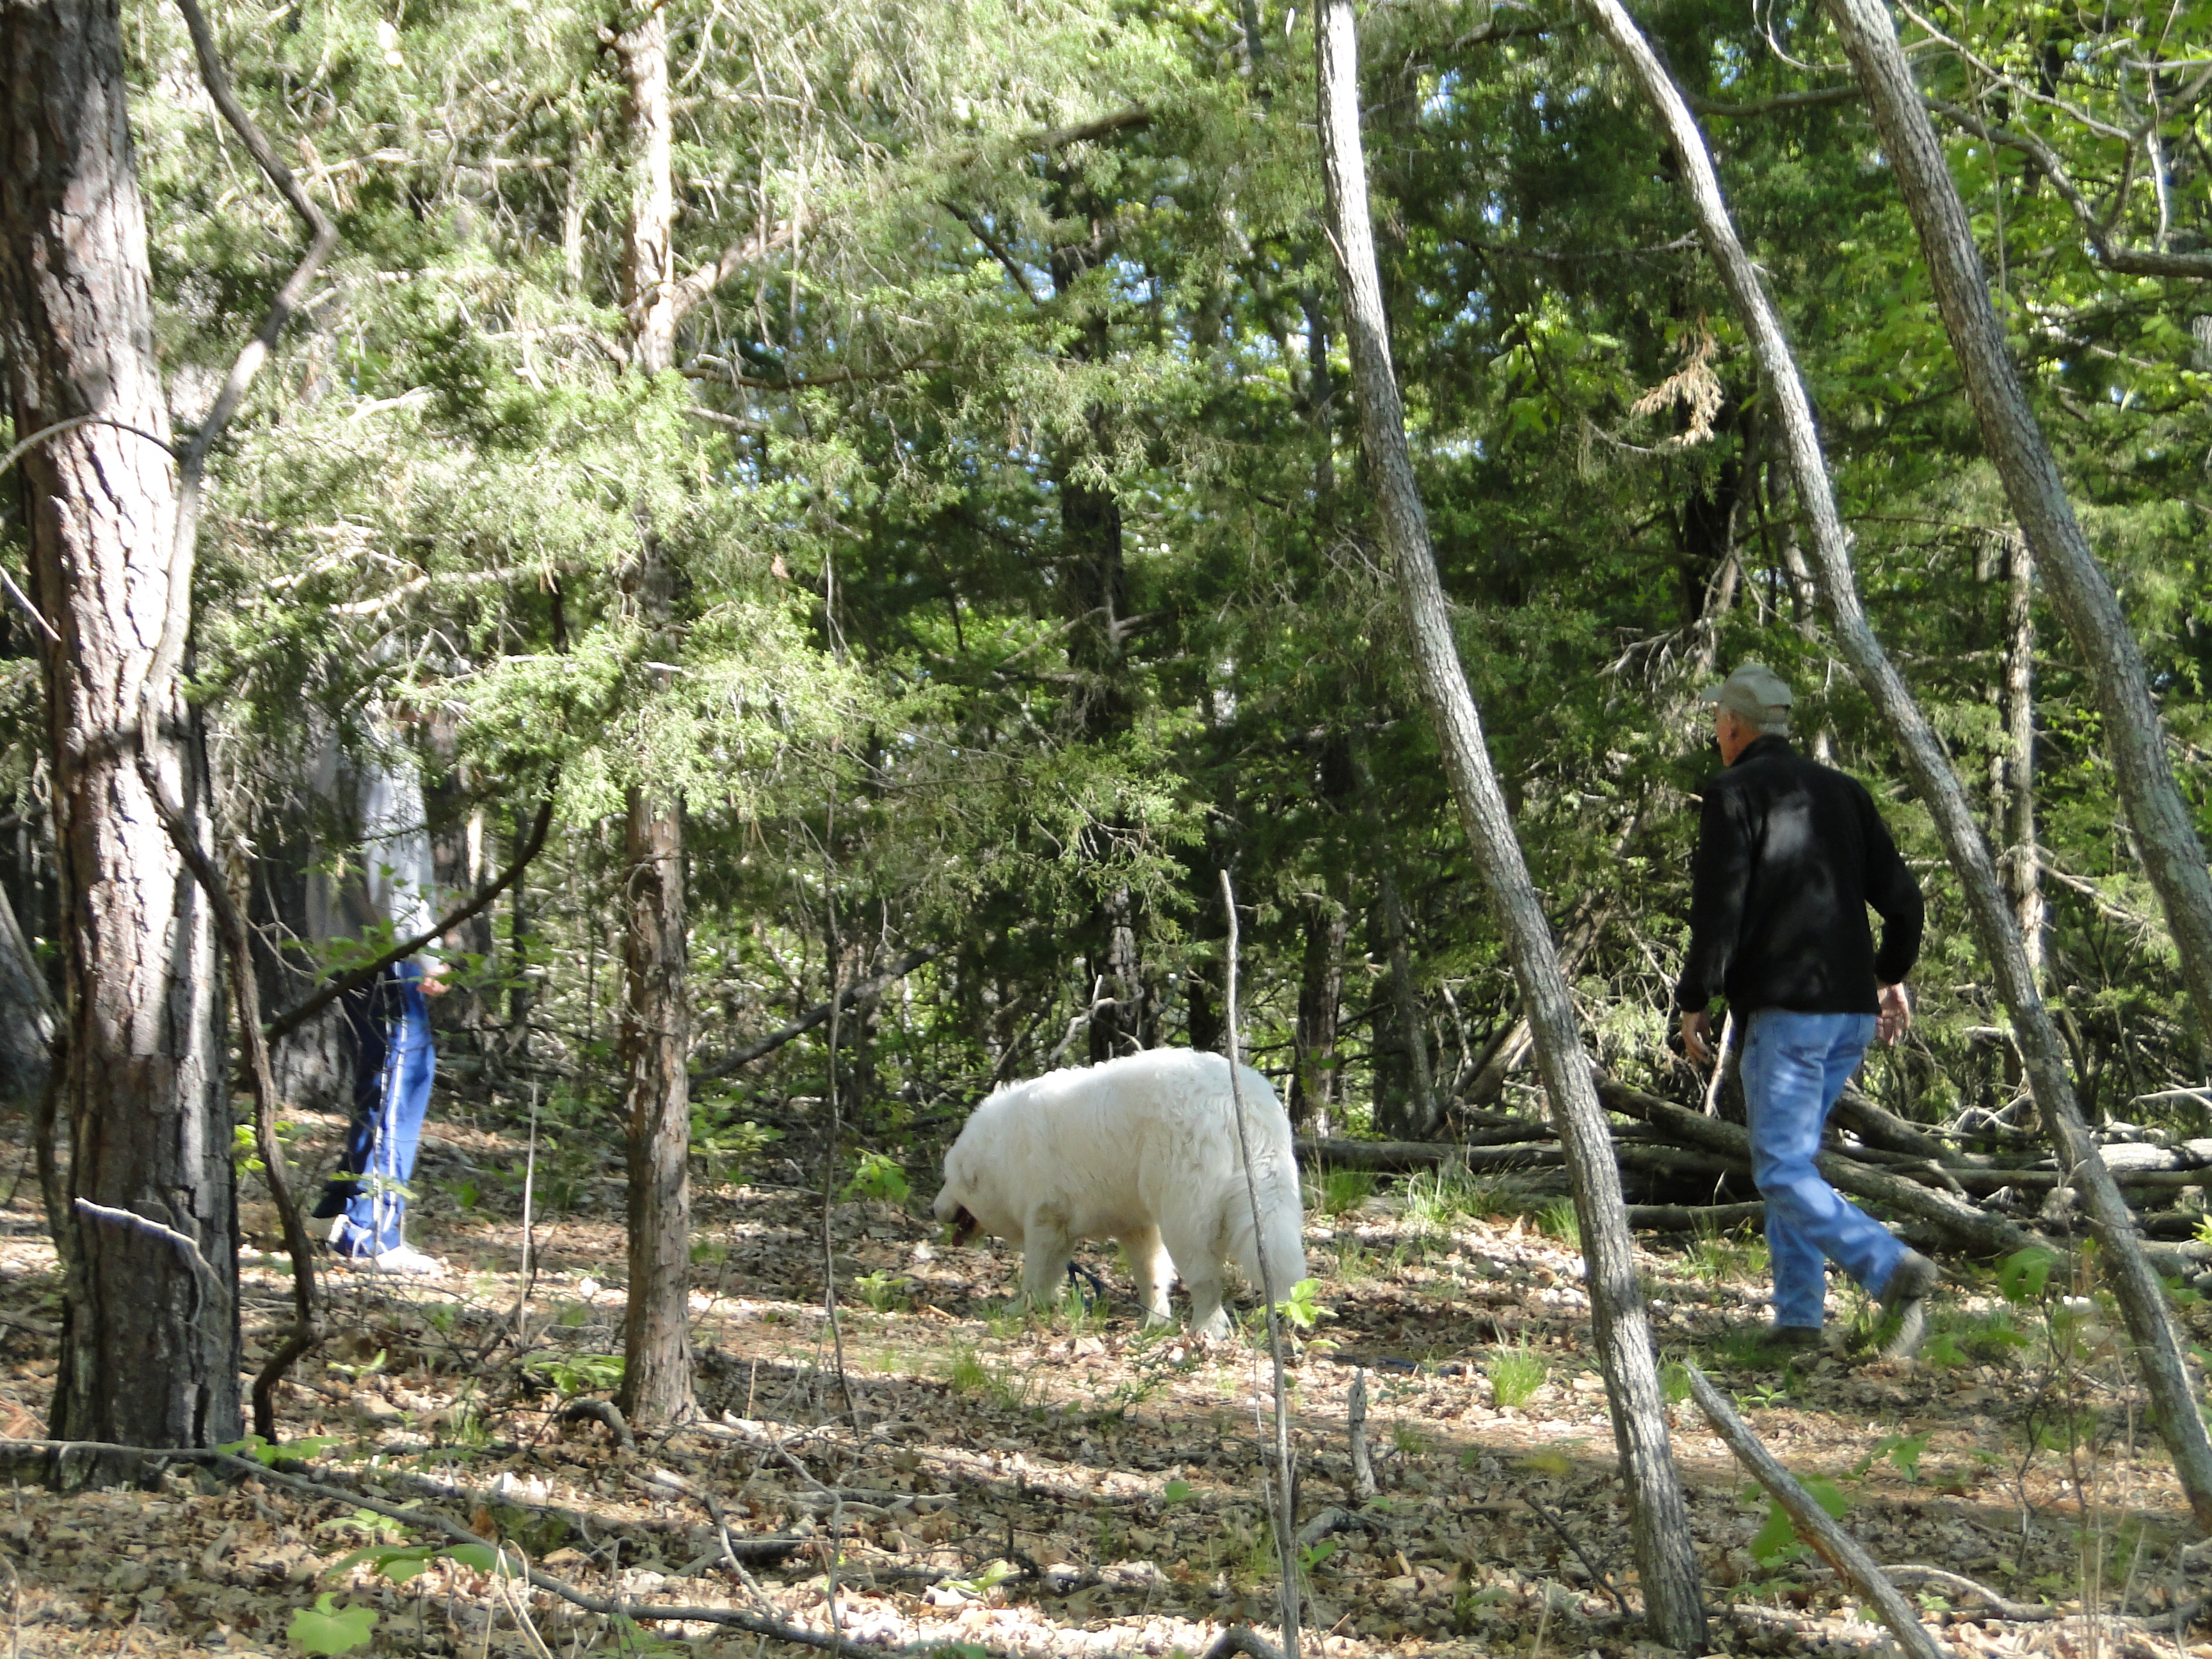
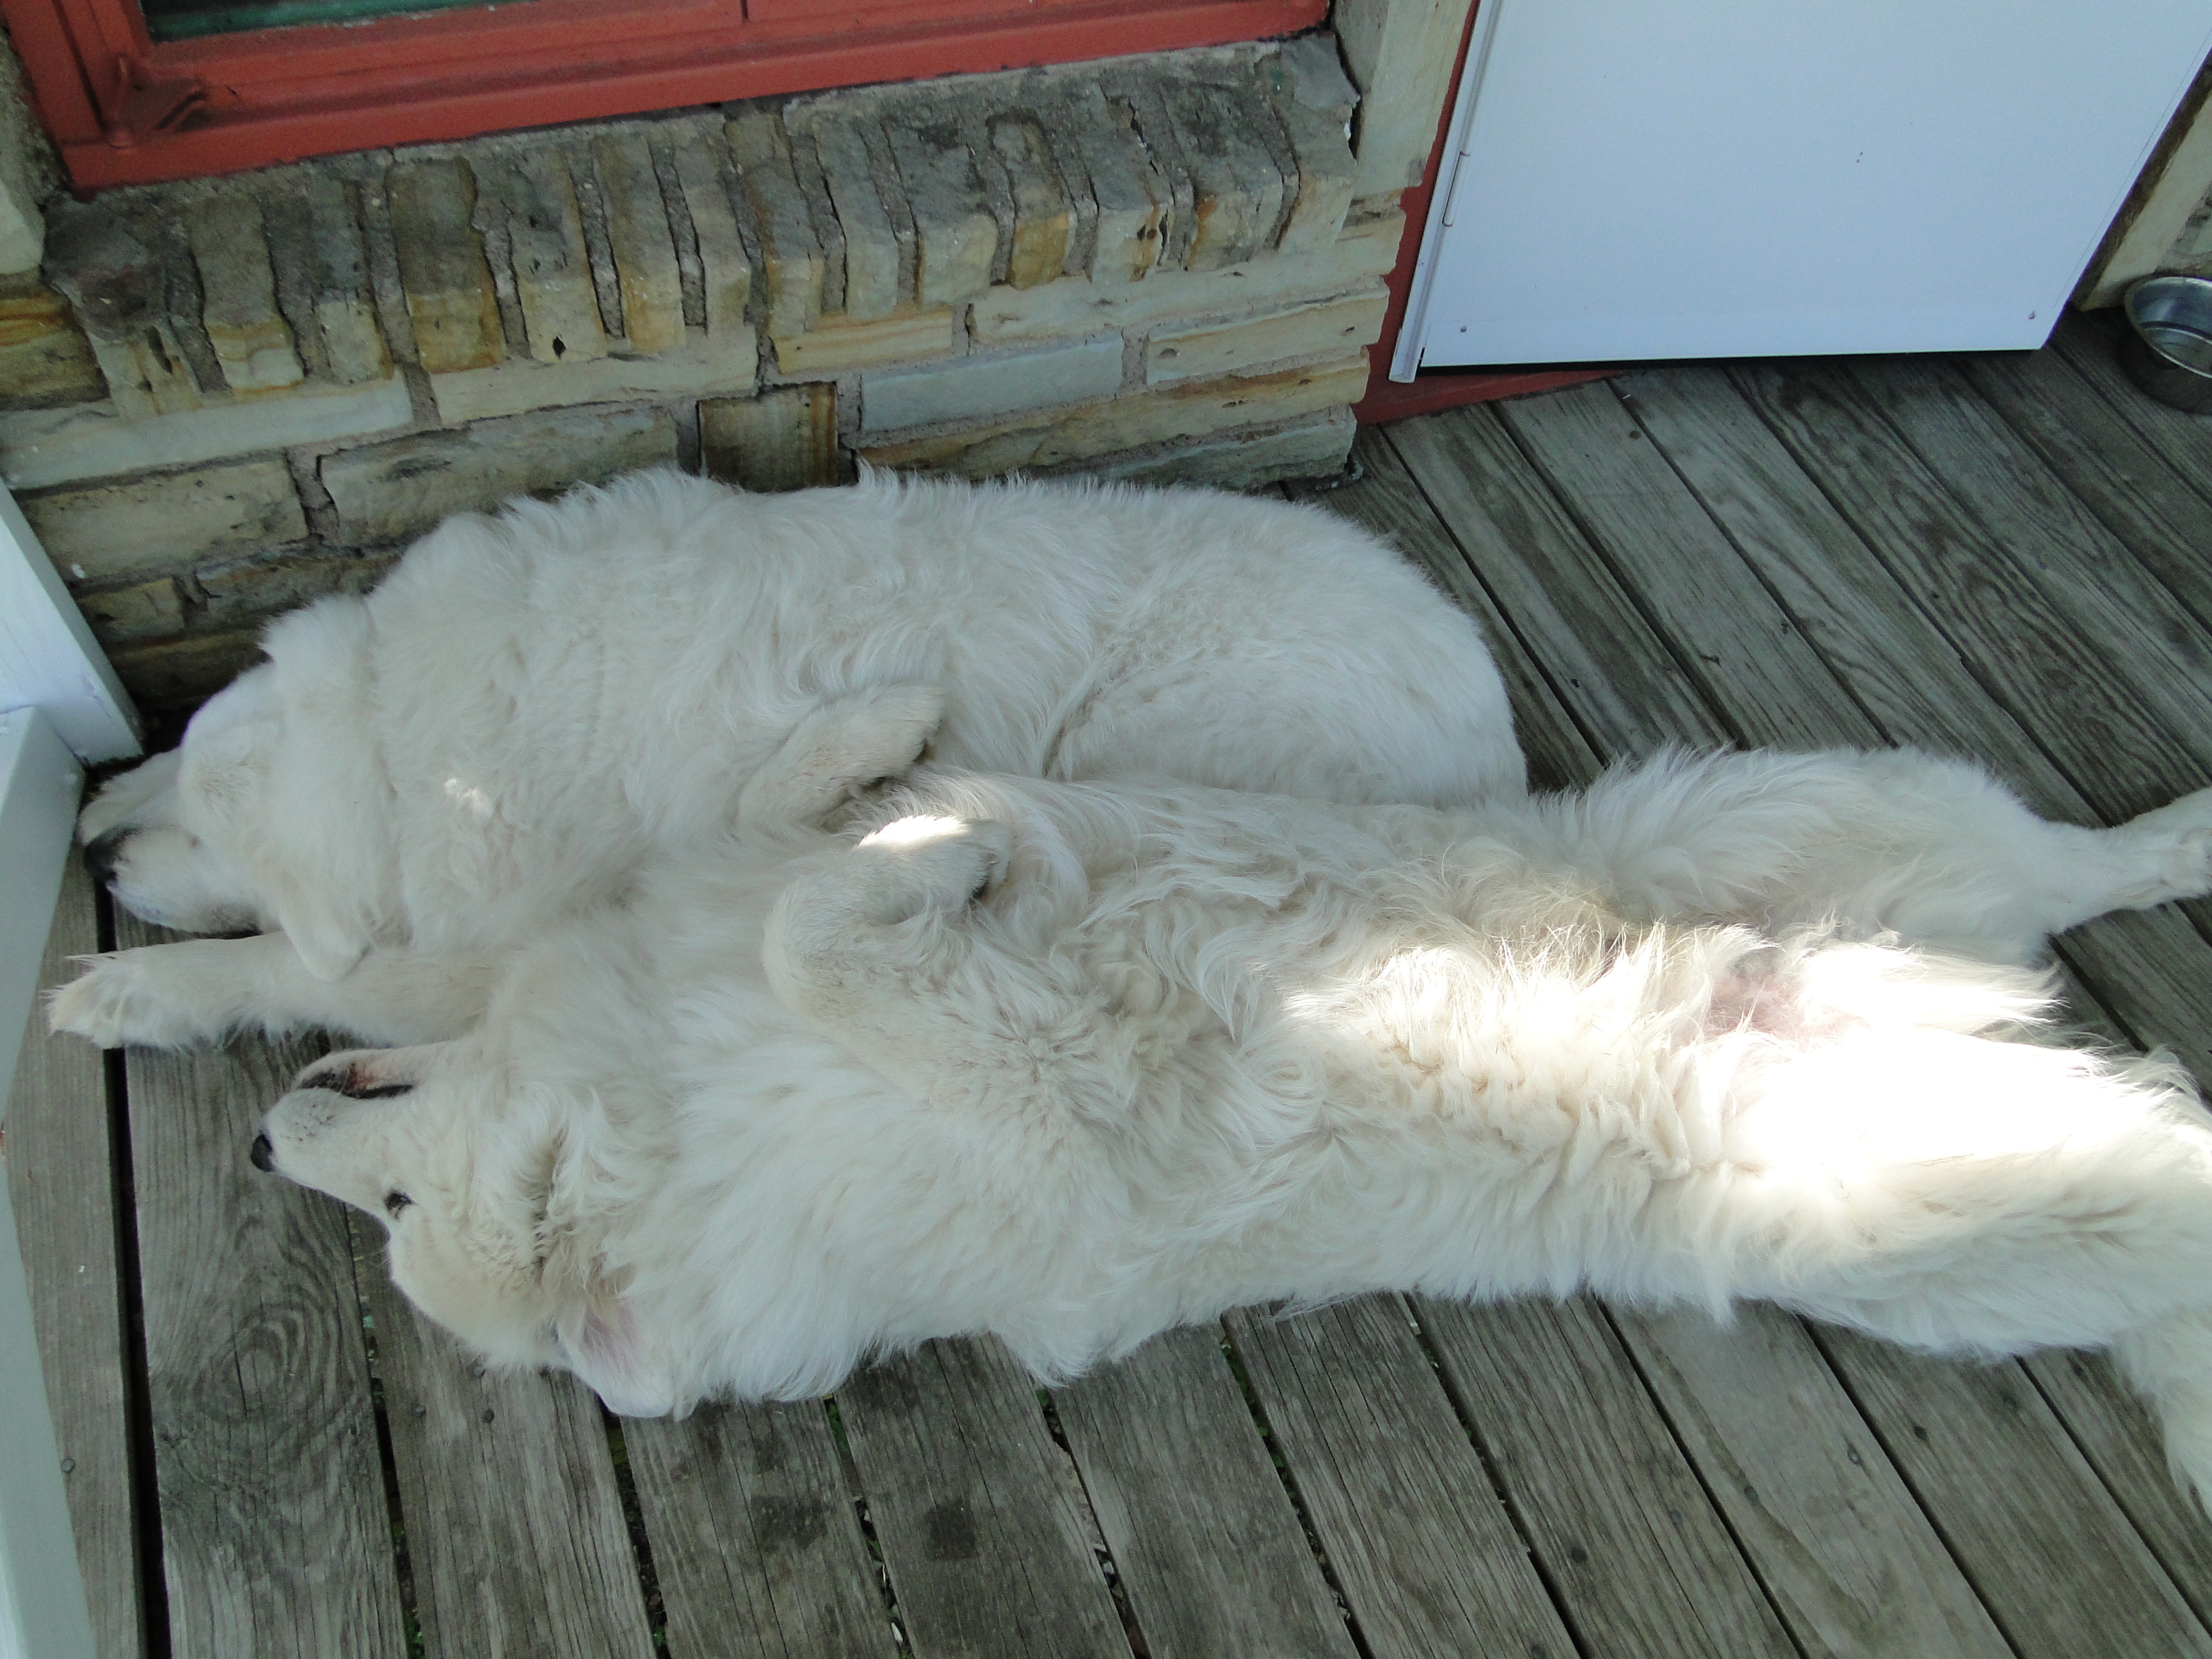
Blake, Melissa, Jenna and Bear
Bear and Jenna are worn out after a busy few days.
We decided our first yurt would be from Smiling Woods Yurts. If all goes as planned, we hope to be having a yurt rising in October 2014!!! We are planning a trip to Eureka Springs to mark the build location and meet with everyone that needs to do work on the property to get the site ready.
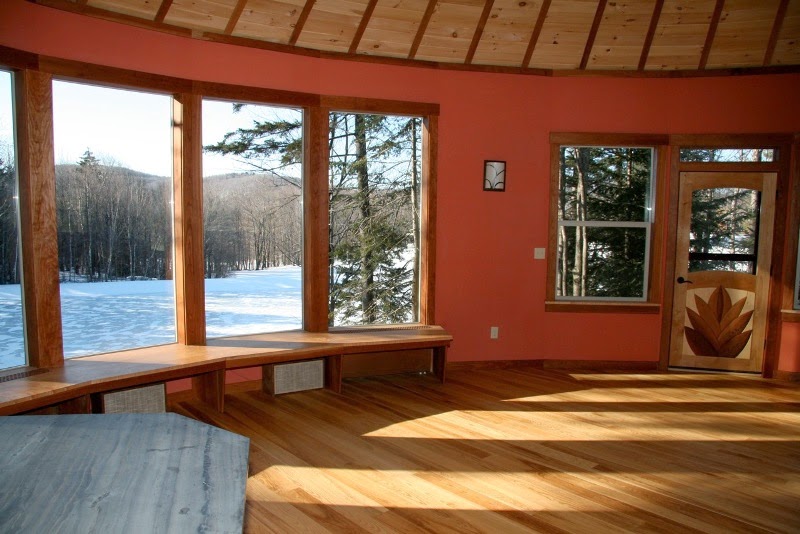
Here are some pictures of Smiling Woods Yurts. The first one show the type of windows we are going to put in the living room. The yurt we are getting will have an exposed wood ceiling like the other pictures below.