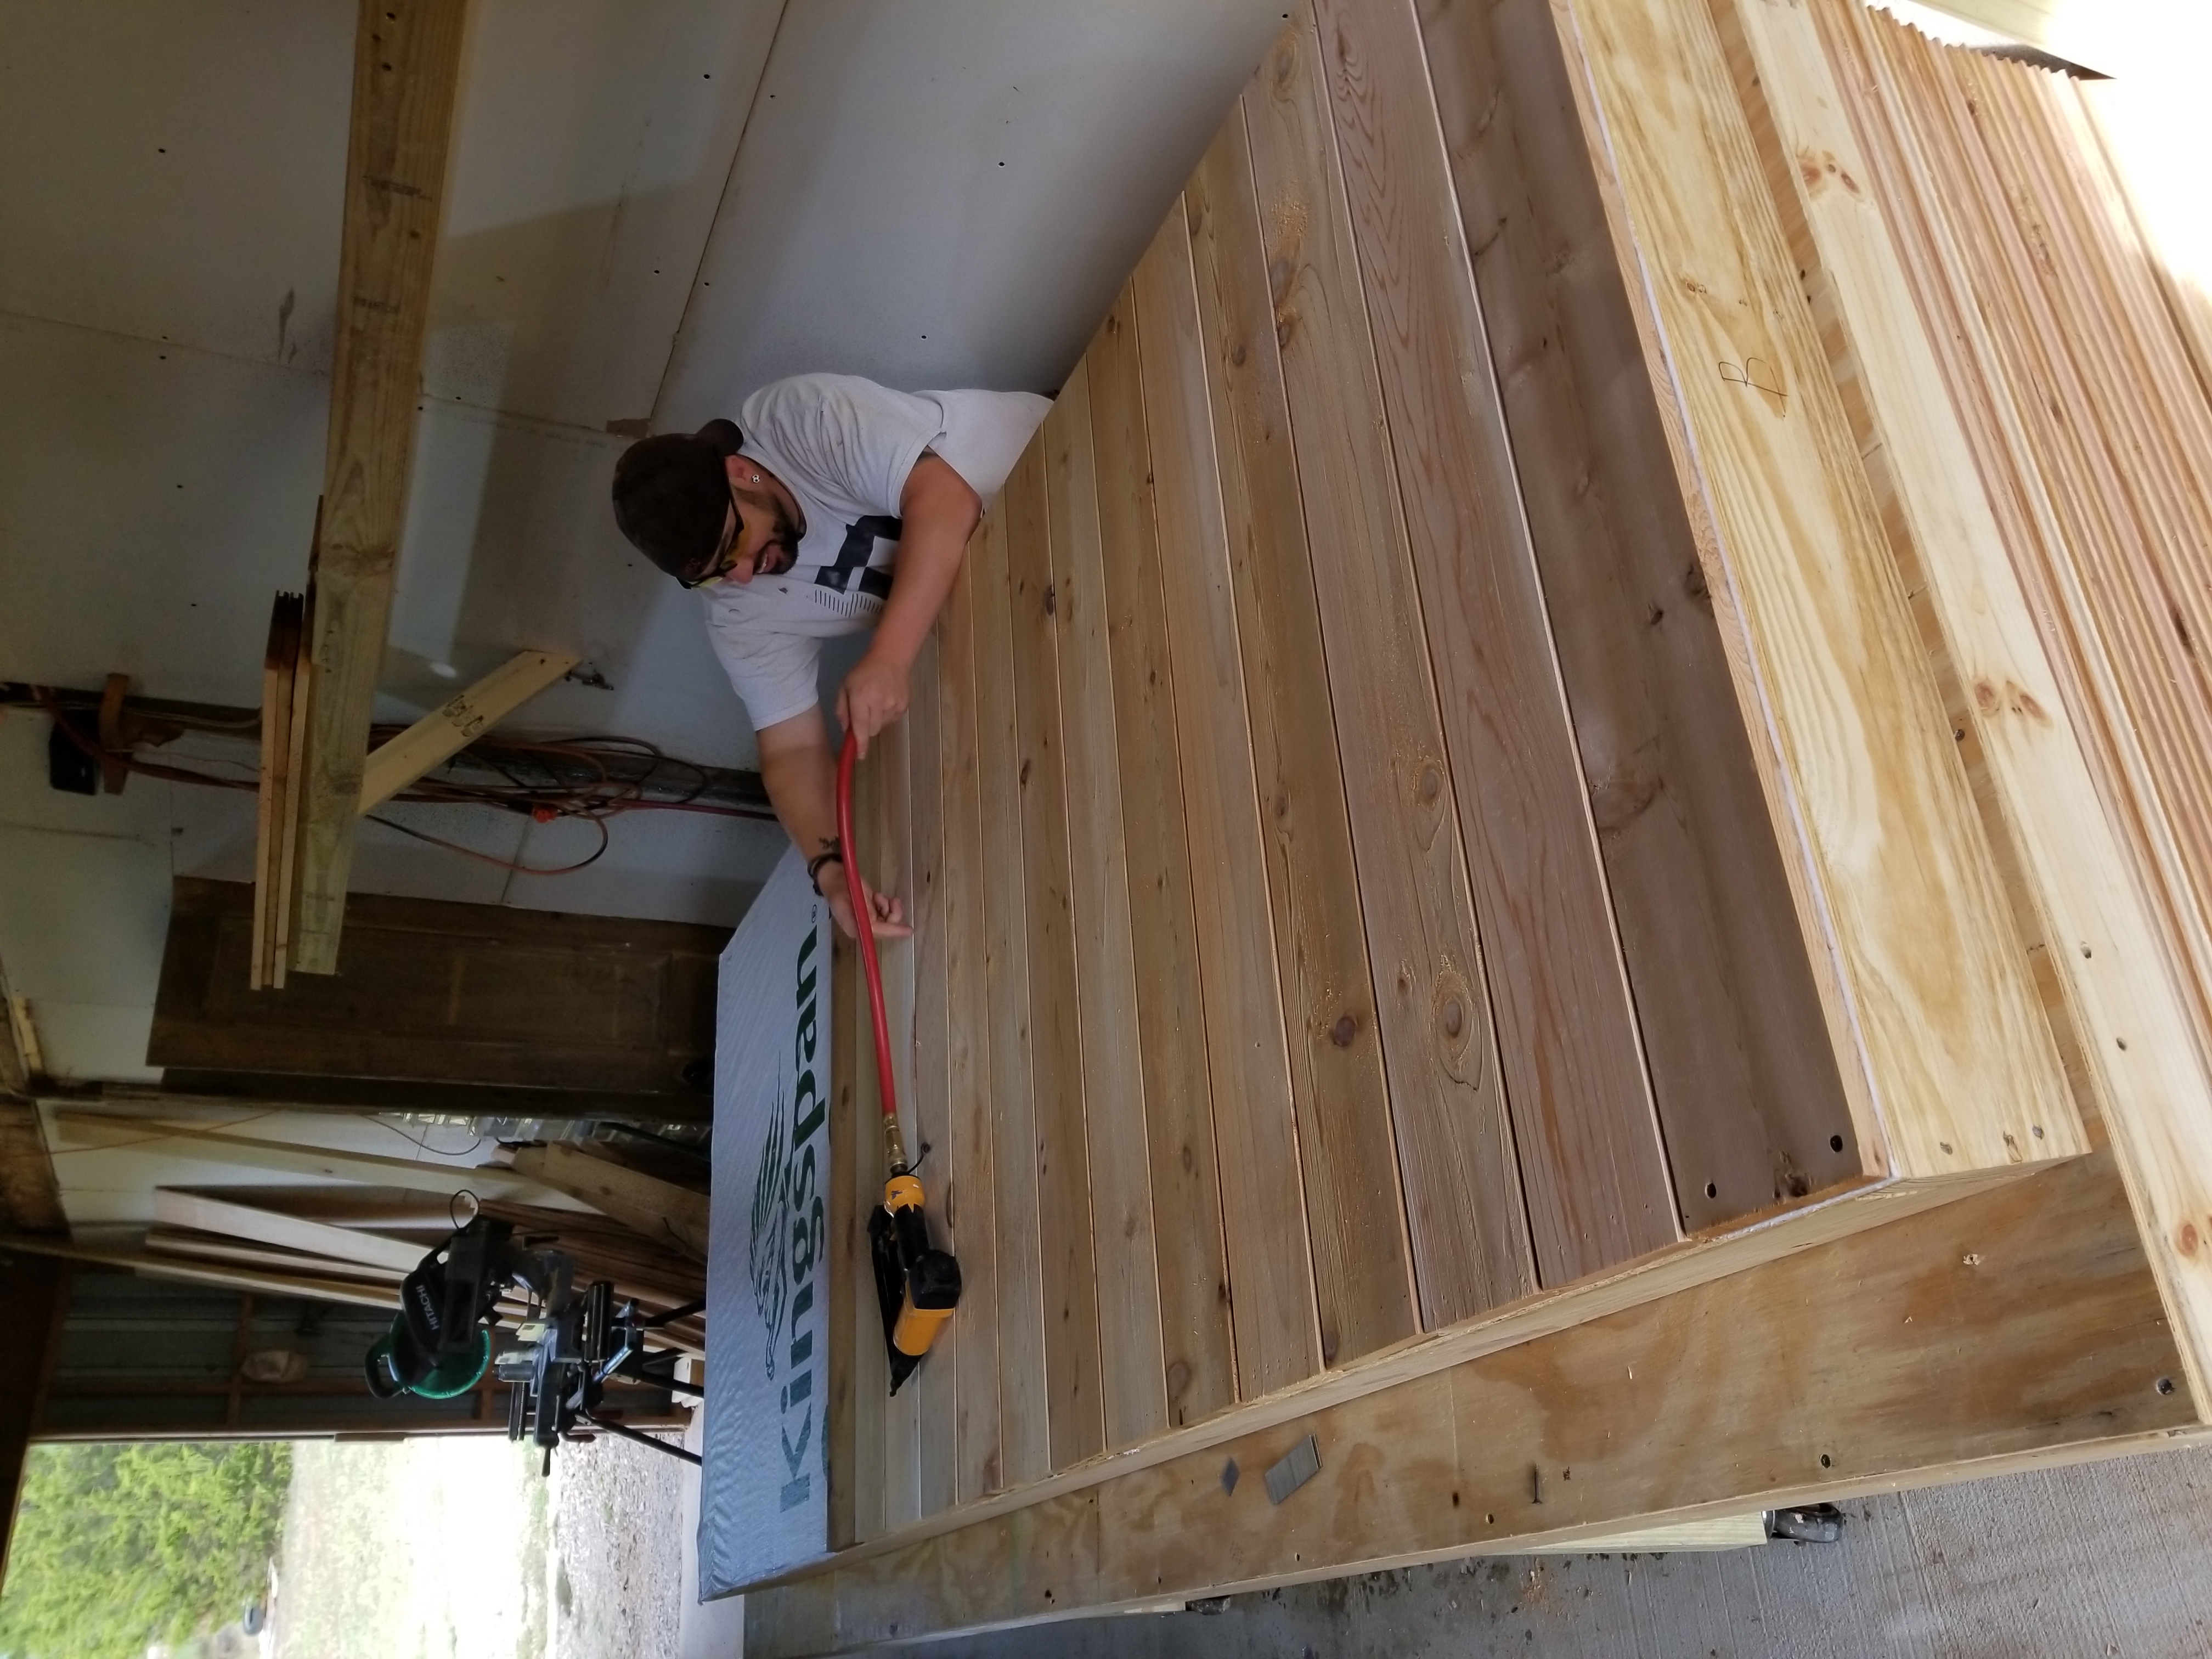
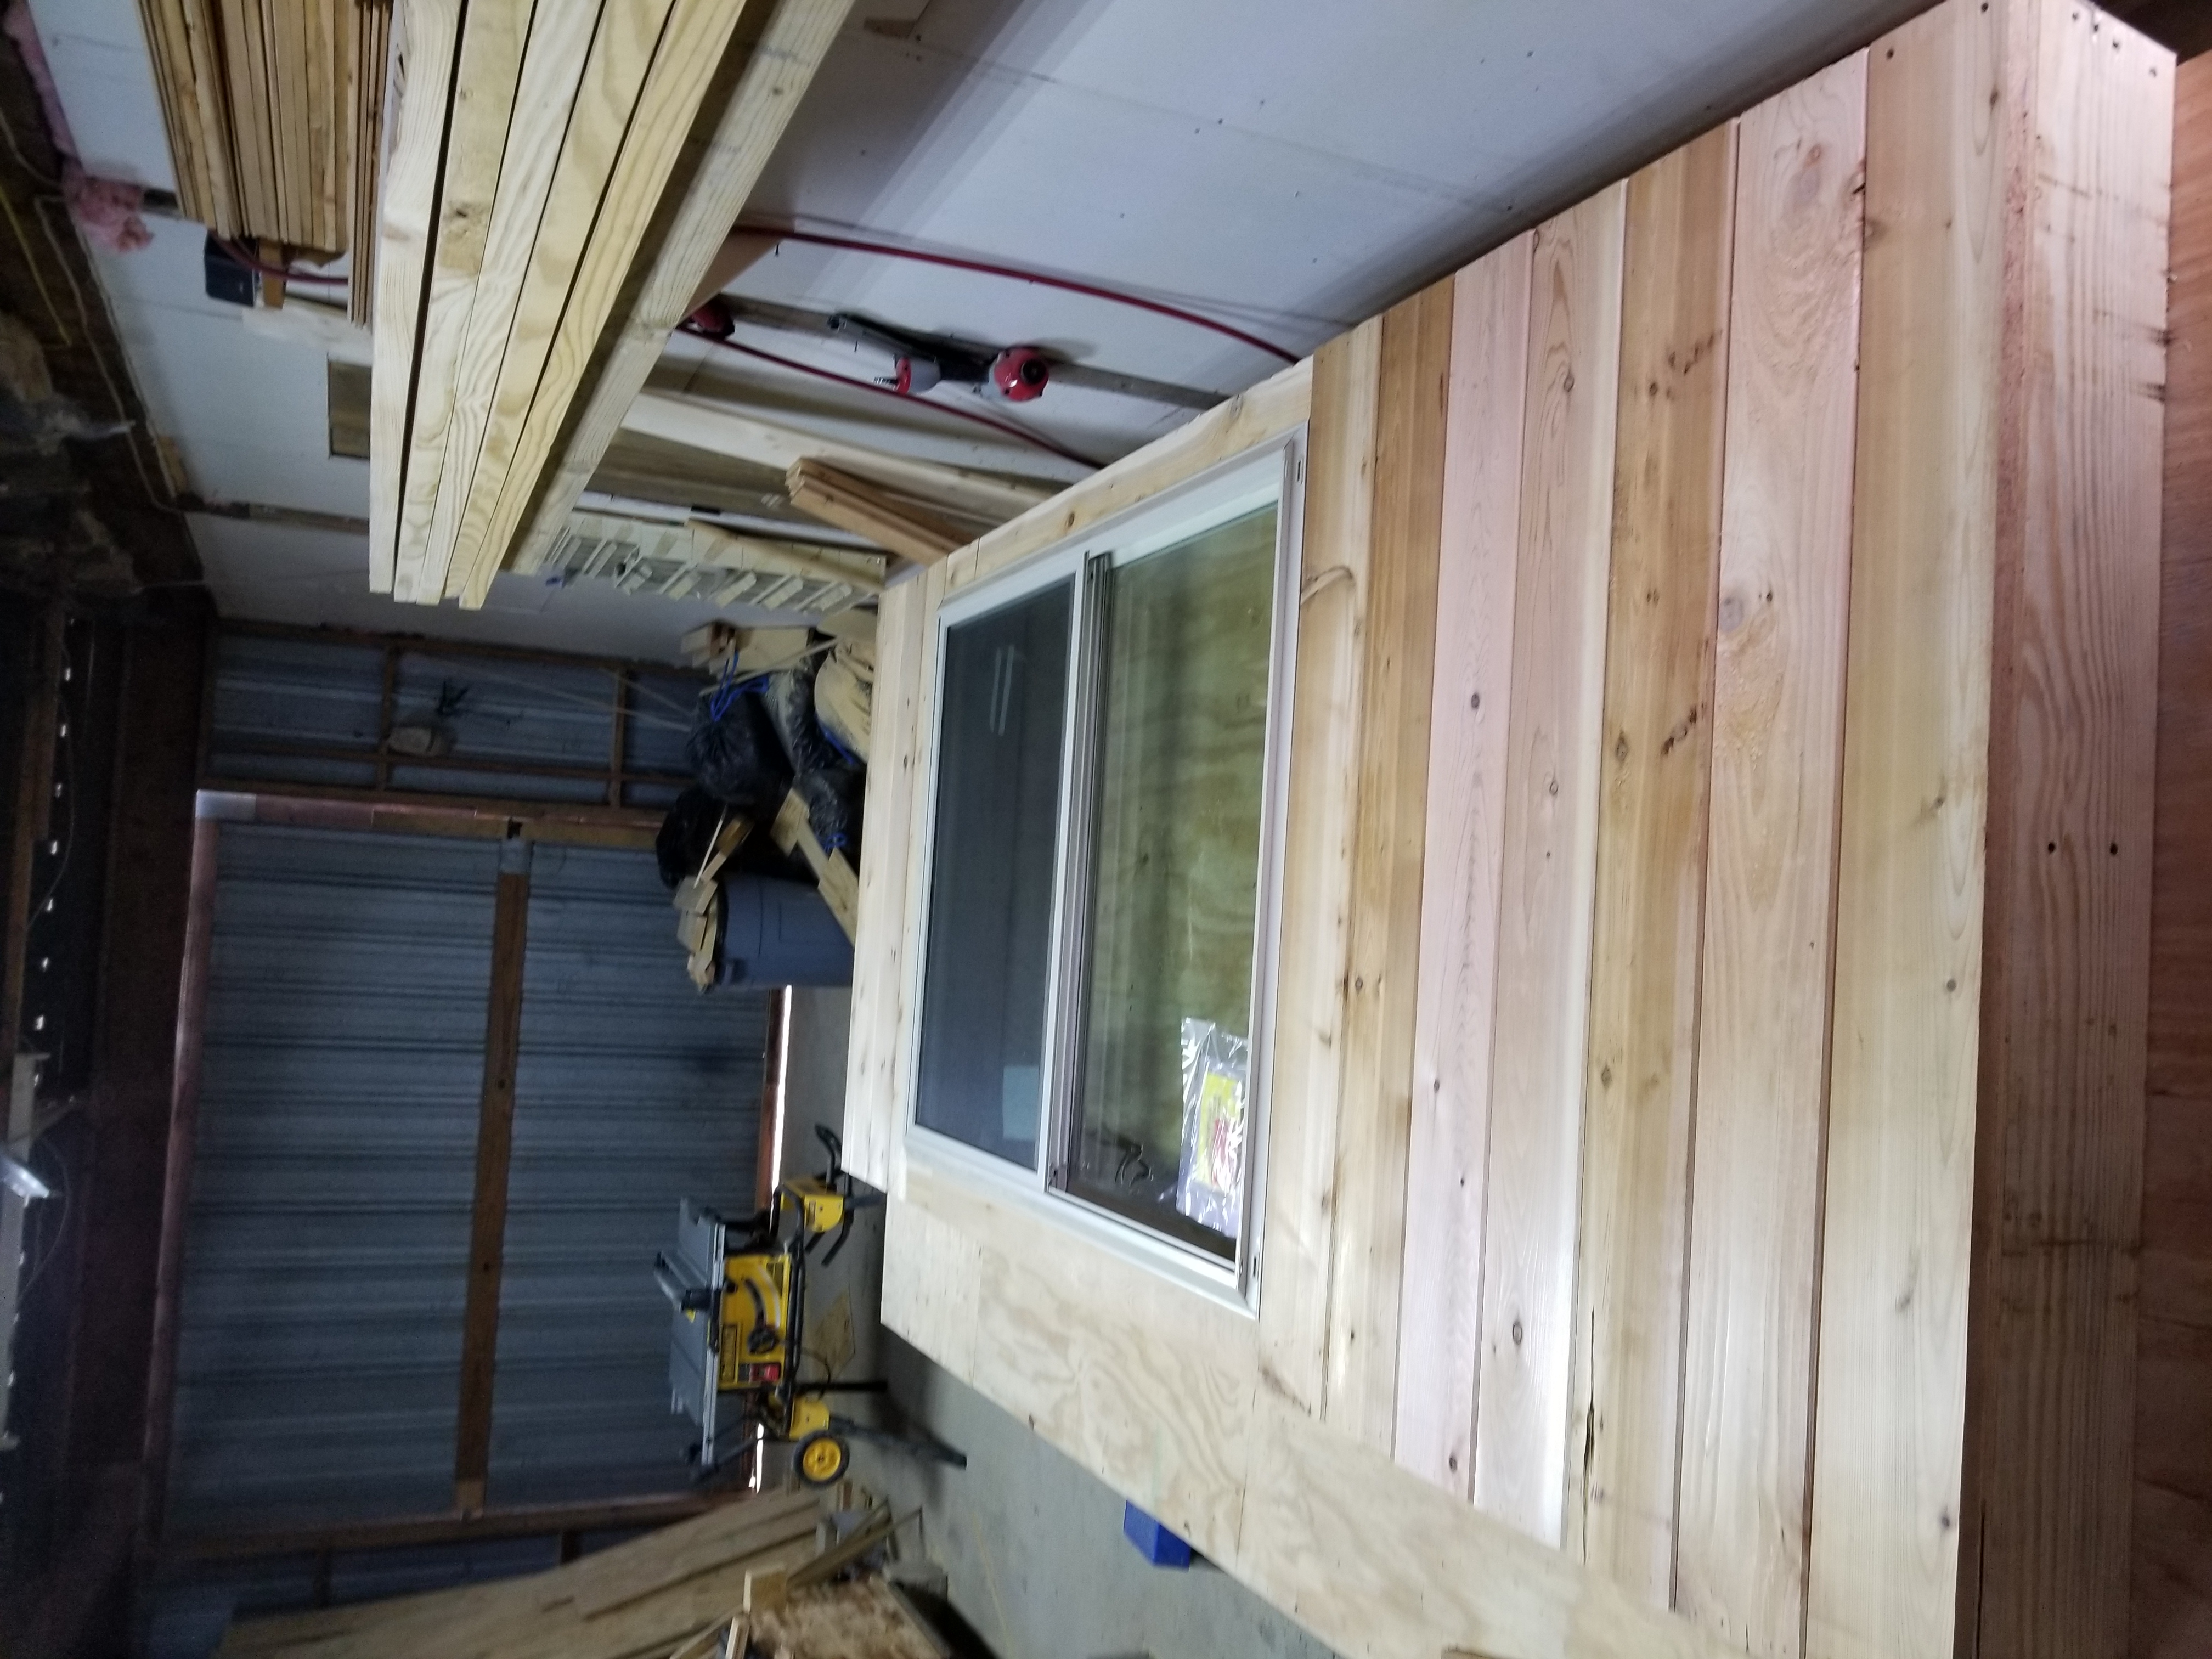
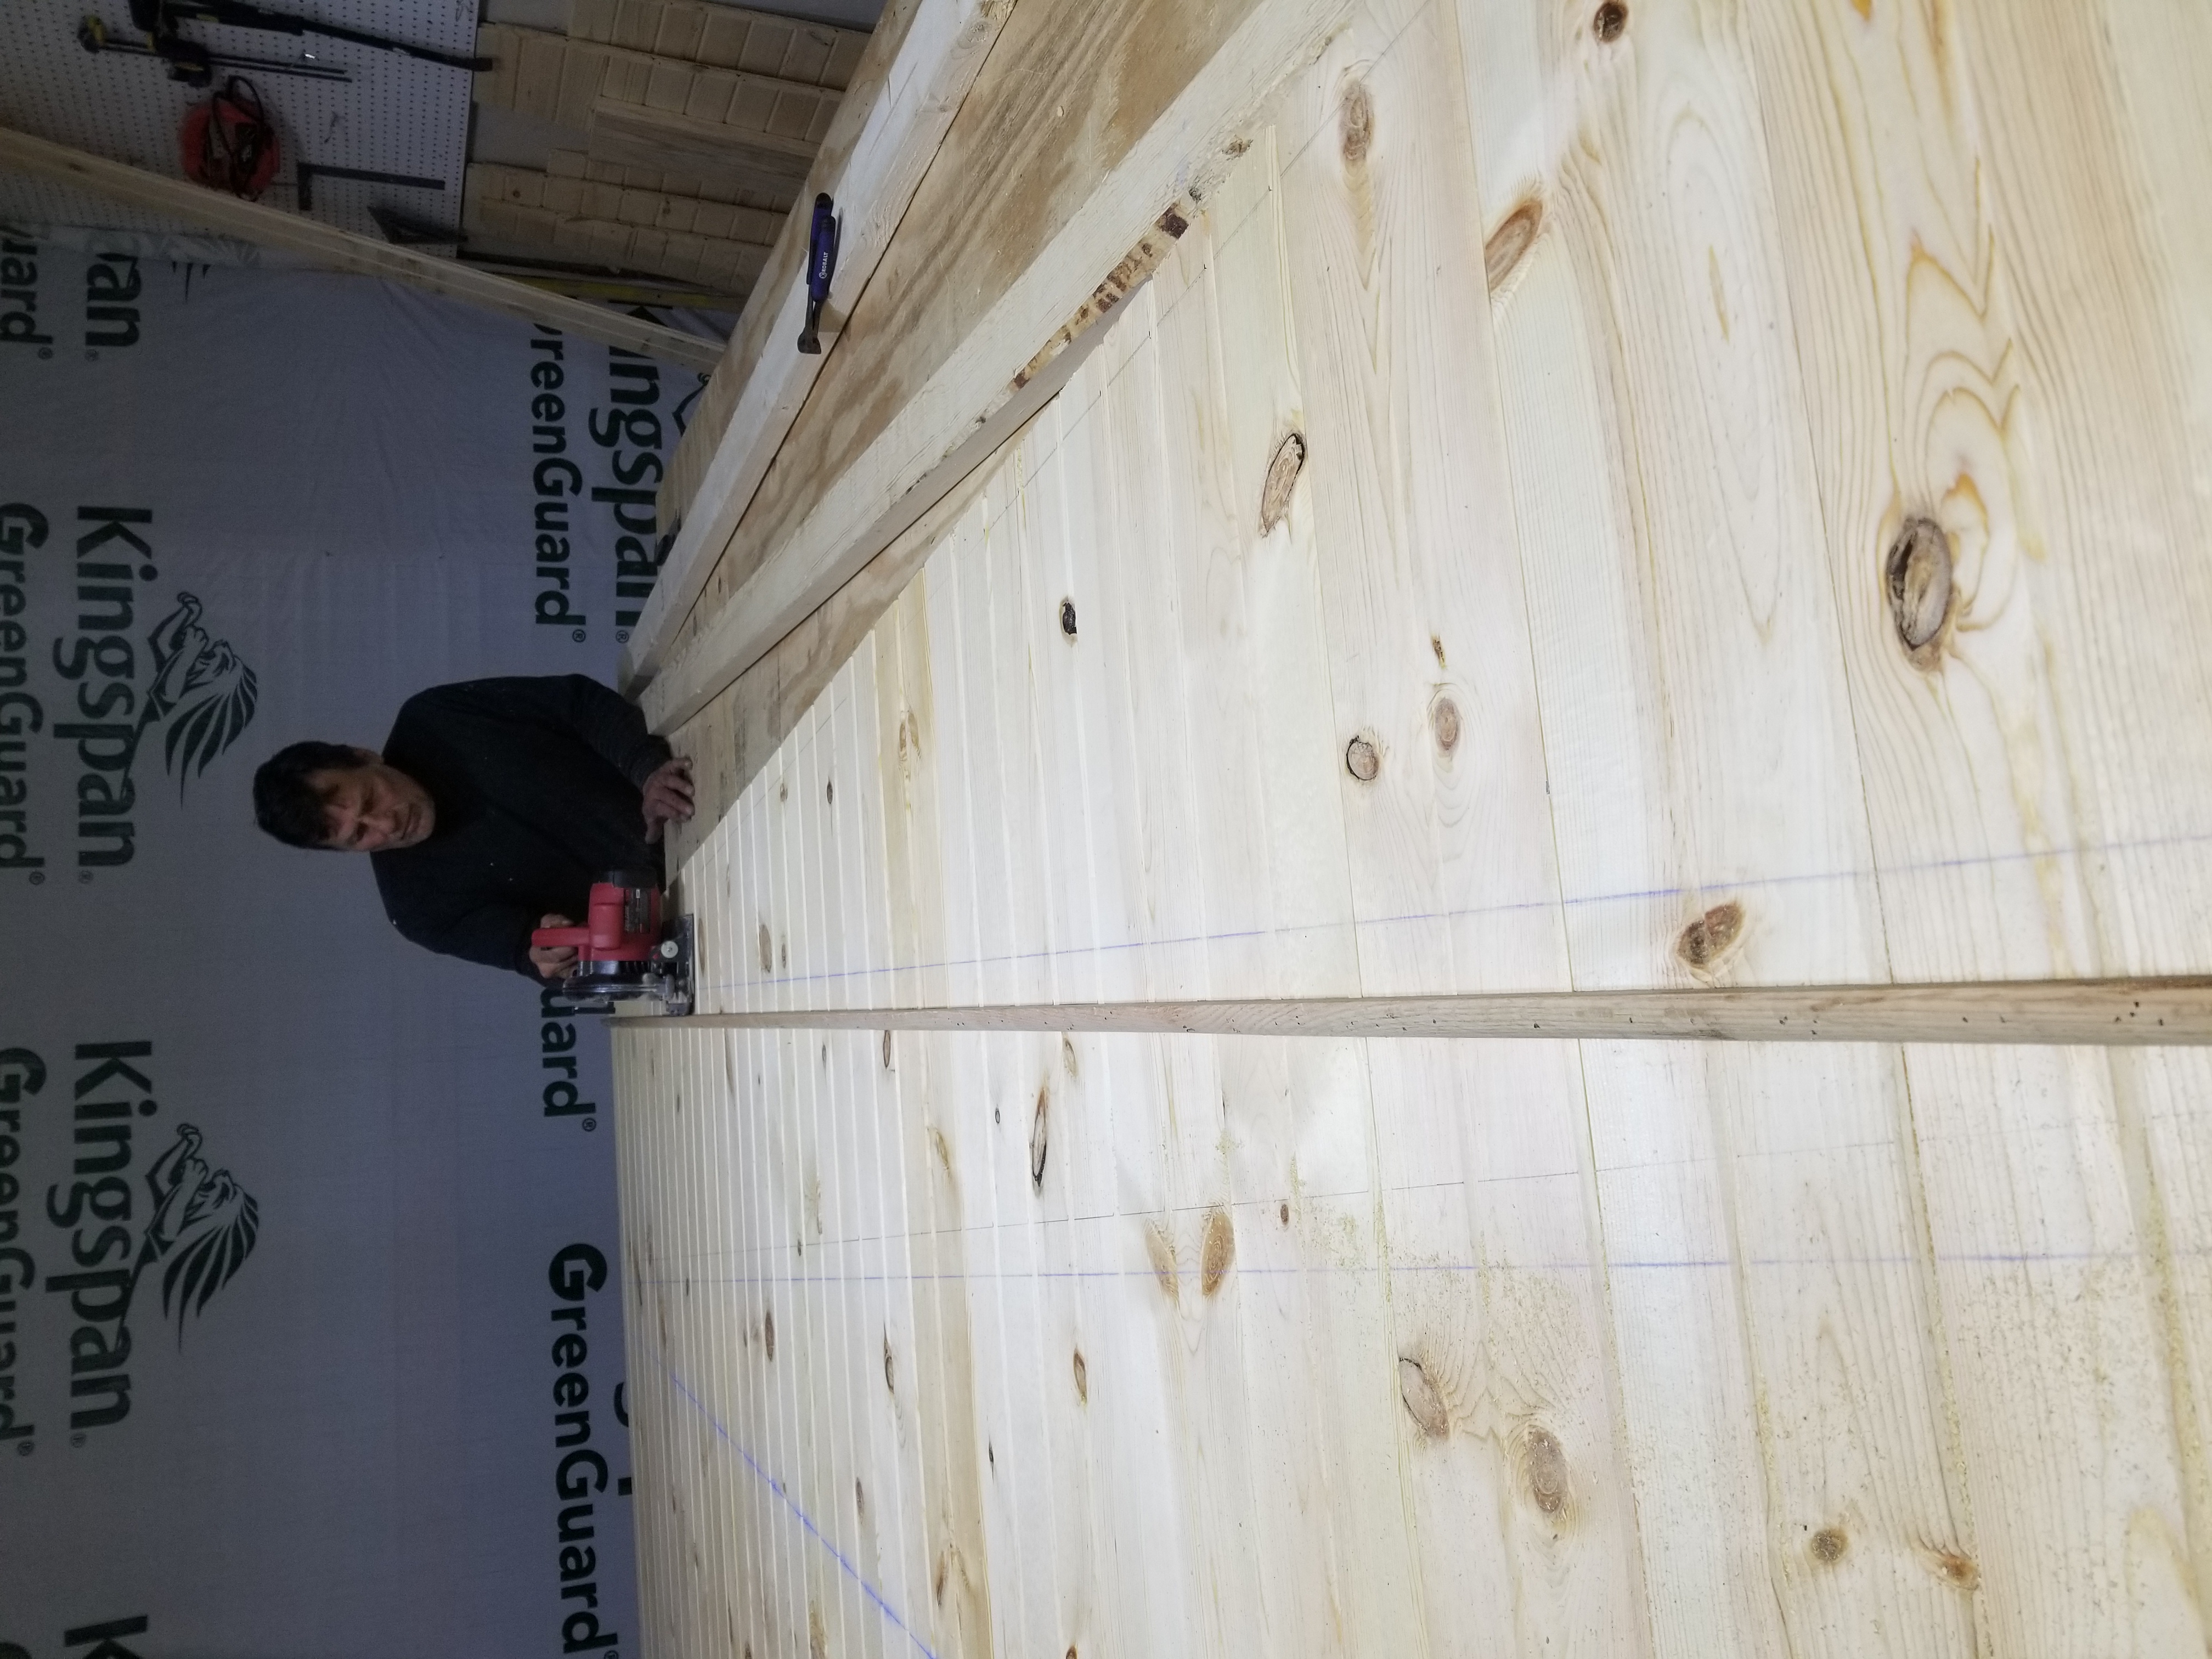
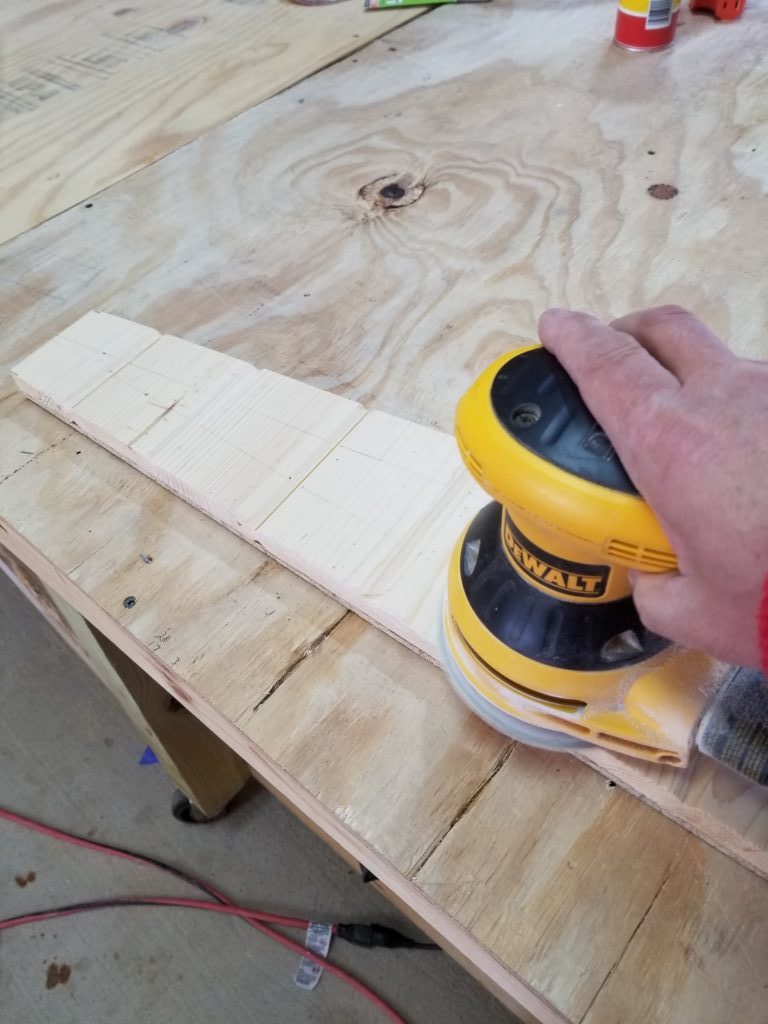
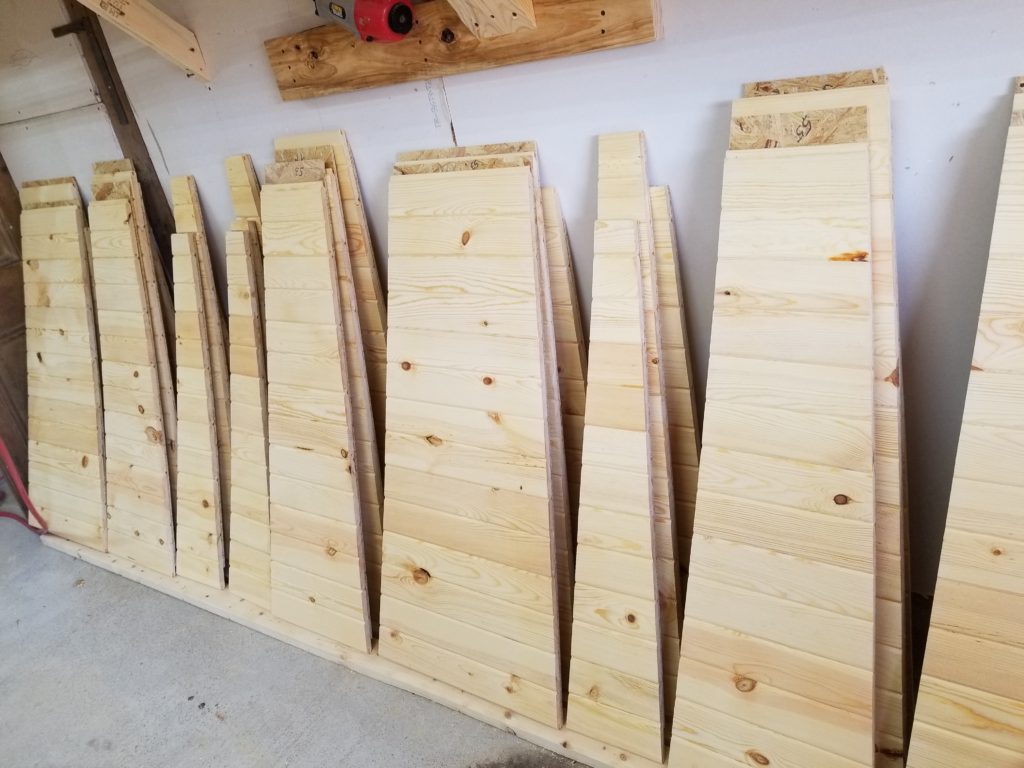
The last several weeks have been spend dealing with the tail end of winter and the nationwide flu epidemic. Fortunately, neither Melissa nor I were recipients of the viral gift. Most of the inclement days were spent putting together ceiling pies (as we call them). Our first cabin ceiling was constructed by measuring and cutting the 1 x 6 tongue and groove ceiling one piece at a time. It took 5 people 8 days to complete the ceiling. This time we purchased some 1/4″ OSB and attached the 1×8″ tongue and groove board to the sheets and cut wedges. This produced a wedge which was comprised of 3 sections for each opening in the rafters. We are in the process of lightly sanding the pies and applying a very light stain to seal the wood and bring out the natural grain of the wood.
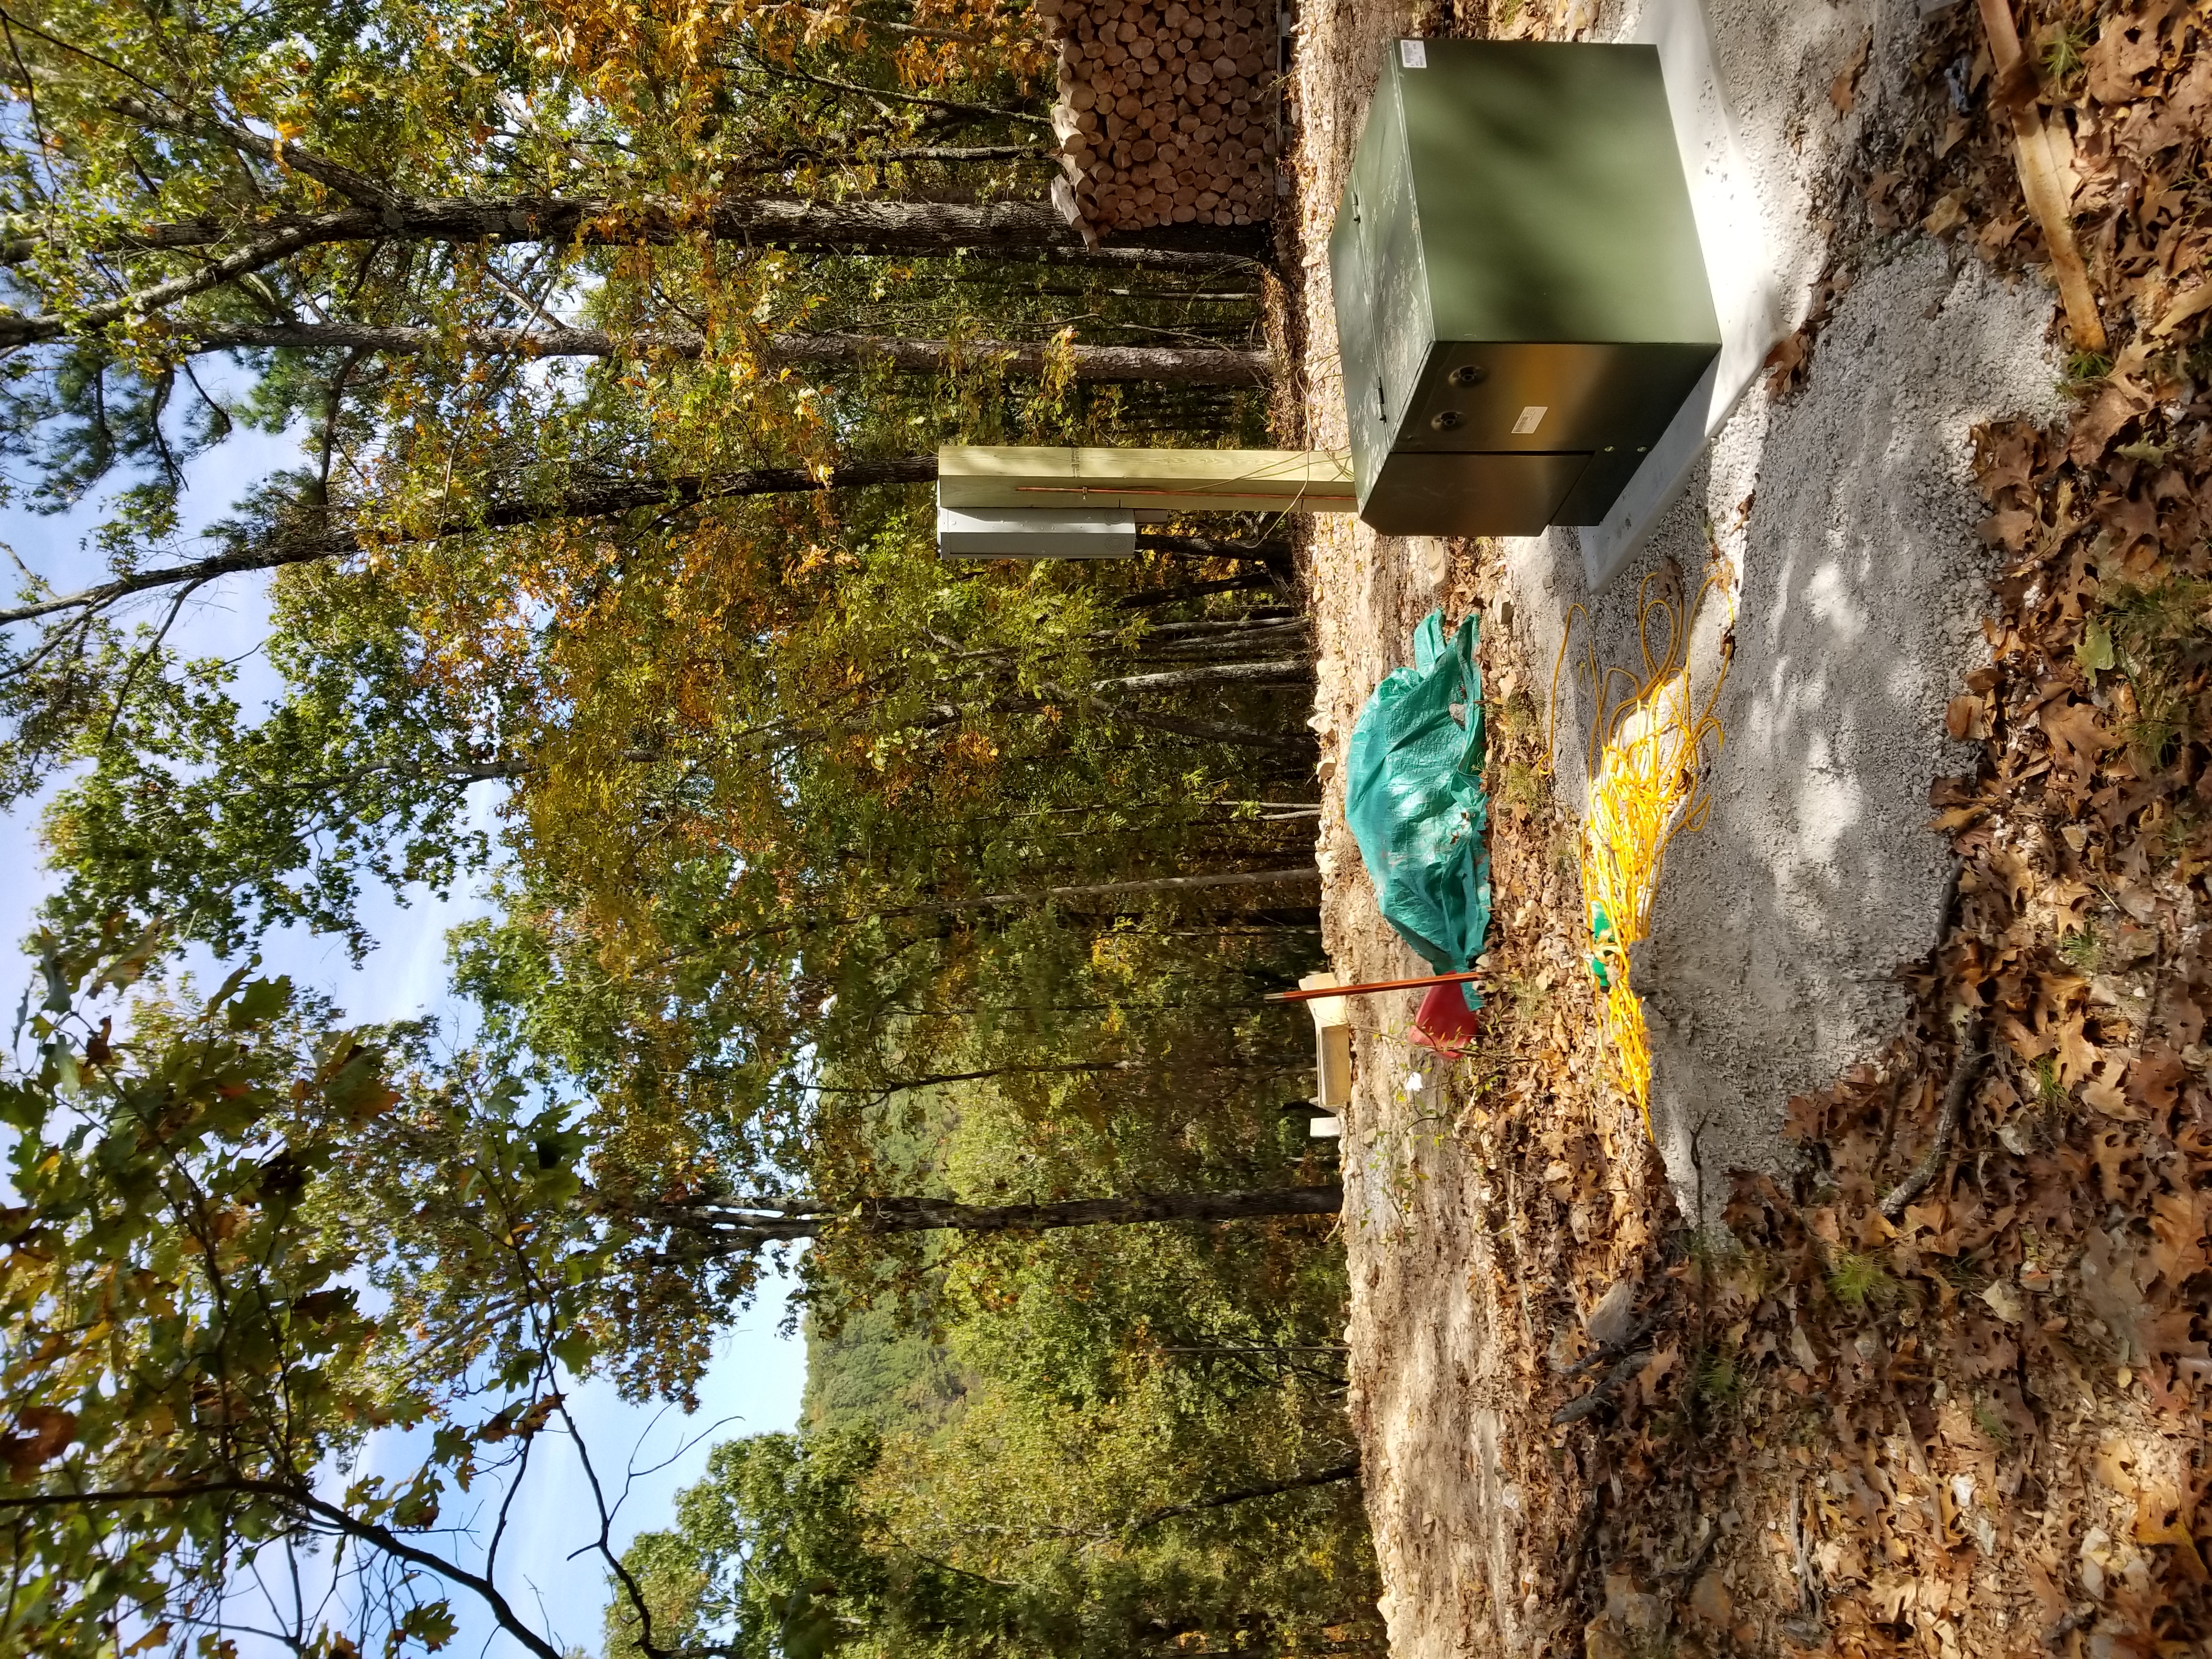
The rest of the days were spent erecting the ring and rafters on yurt 2 and installation of the septic tanks and trenching the electrical and water to both yurt 1 and 2.

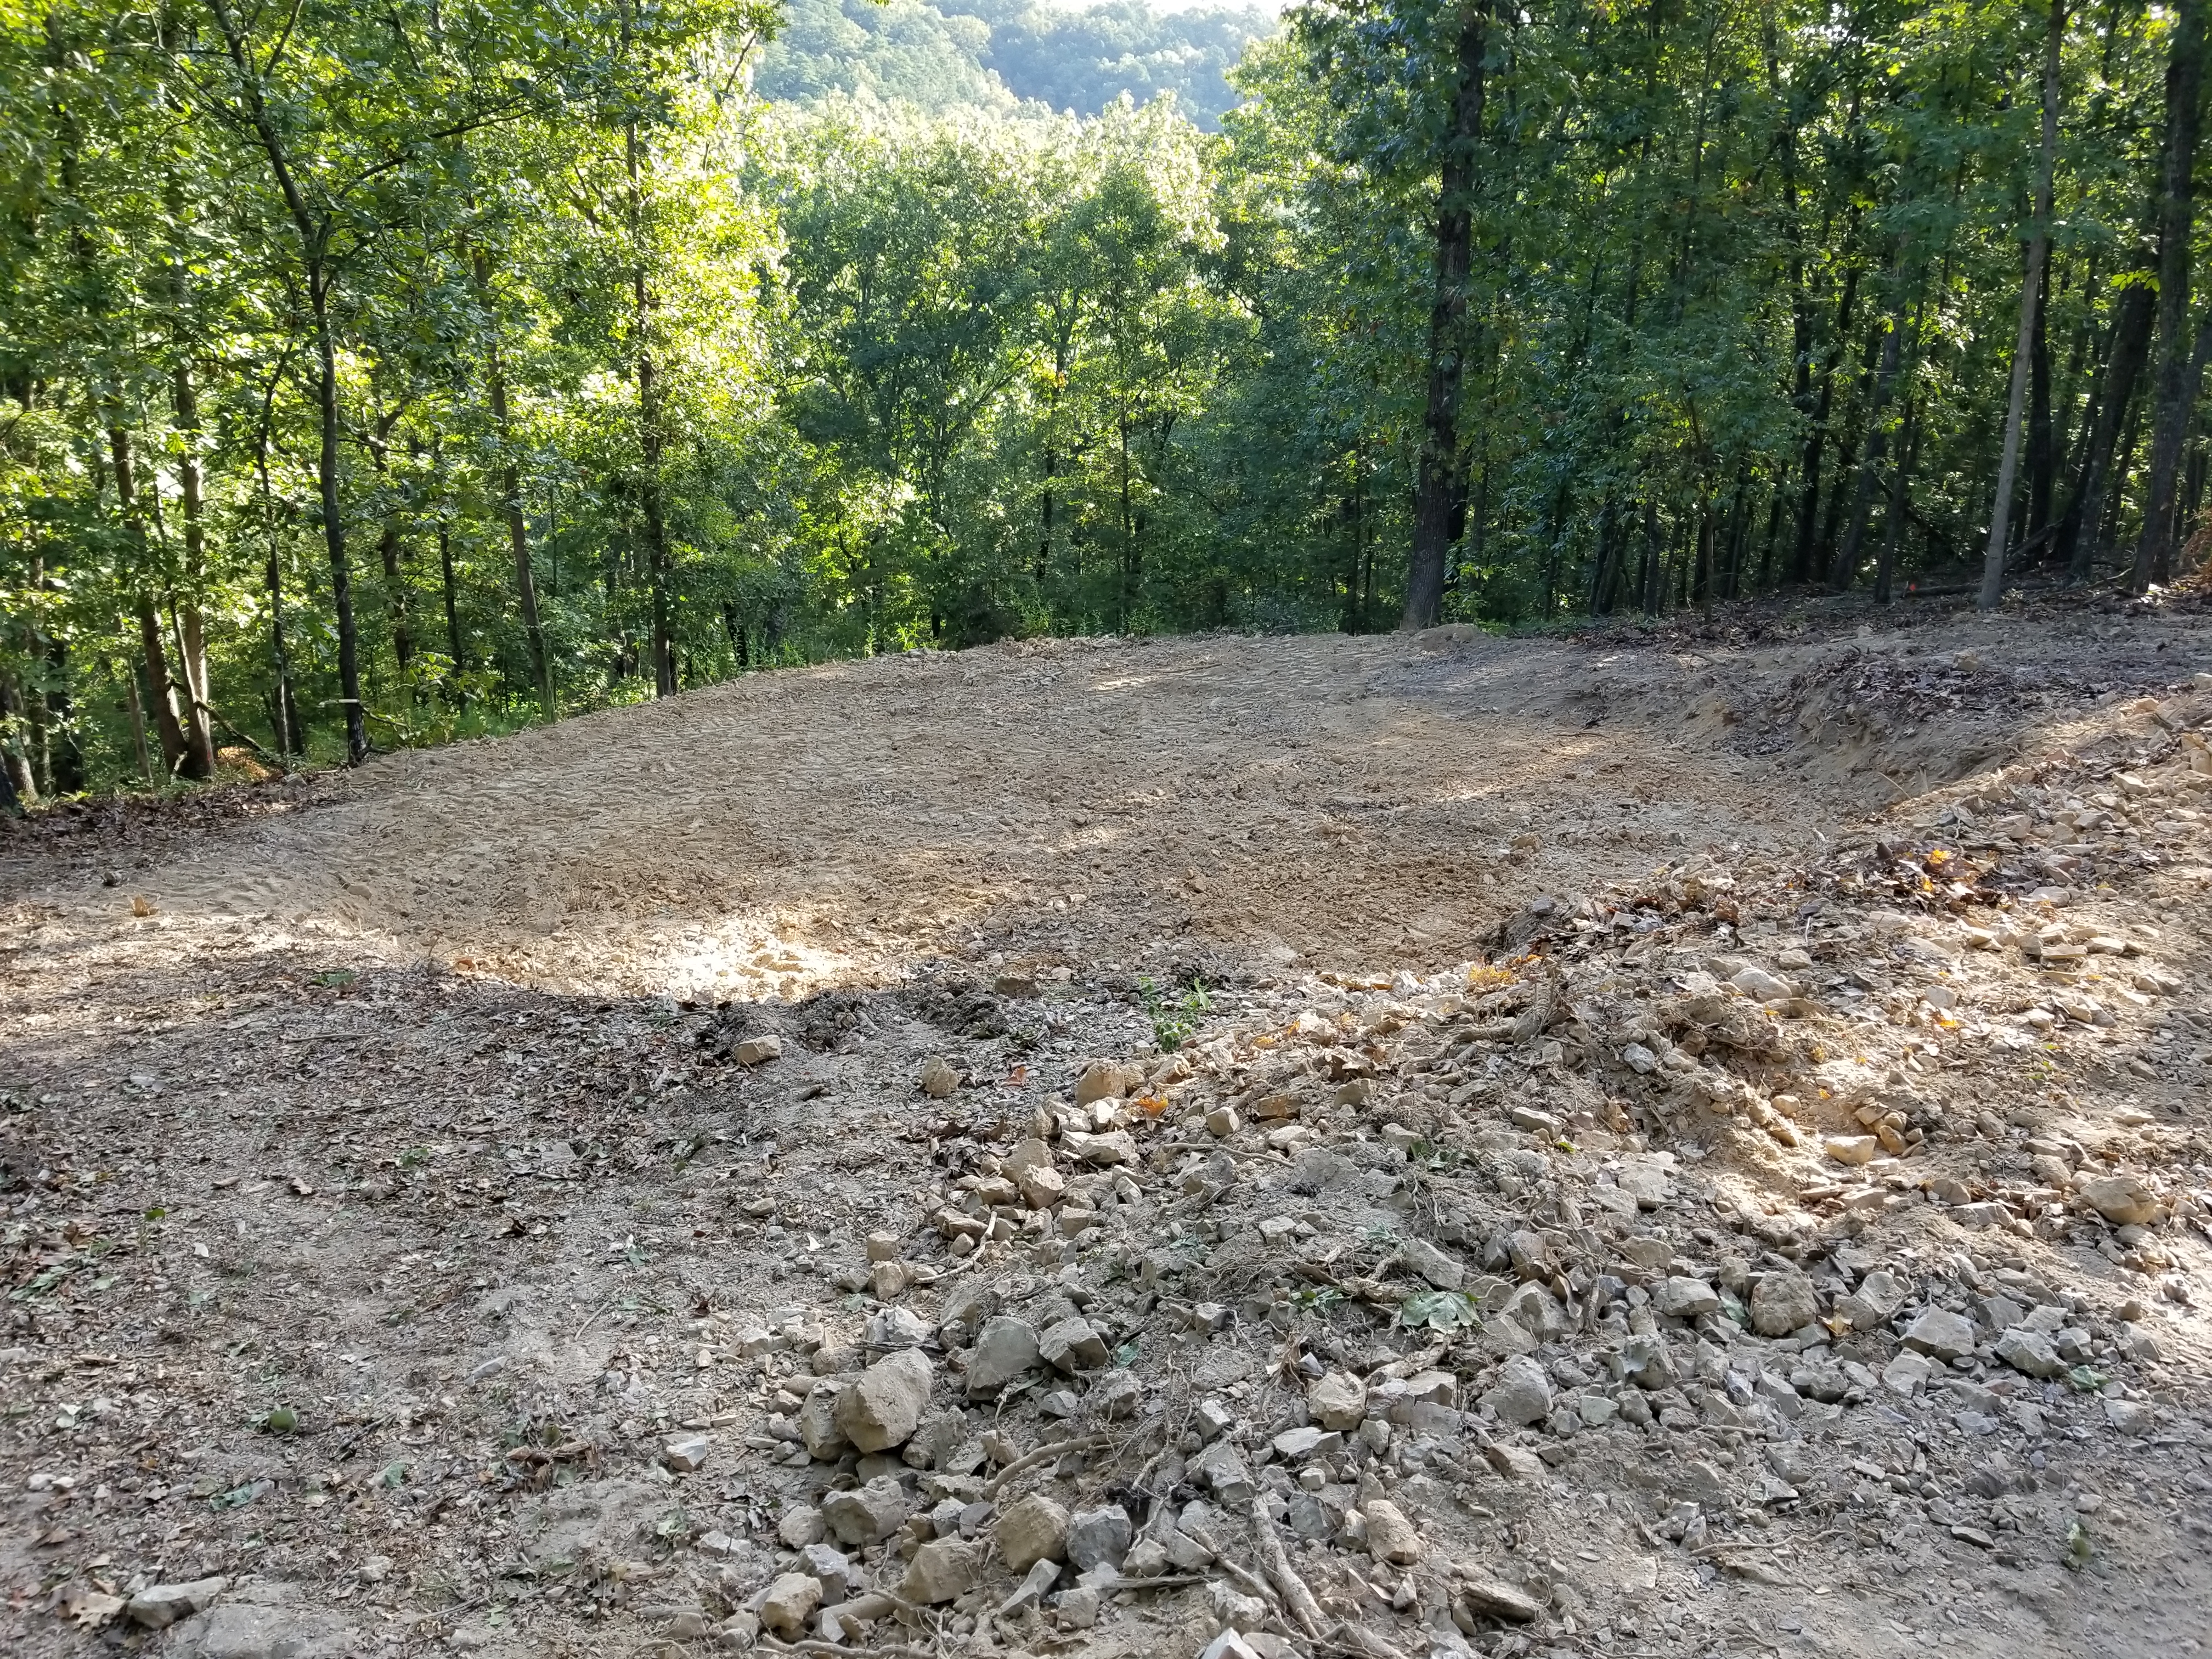
After heavy rains, we found out we were building the worlds most elaborate rain water collection device.
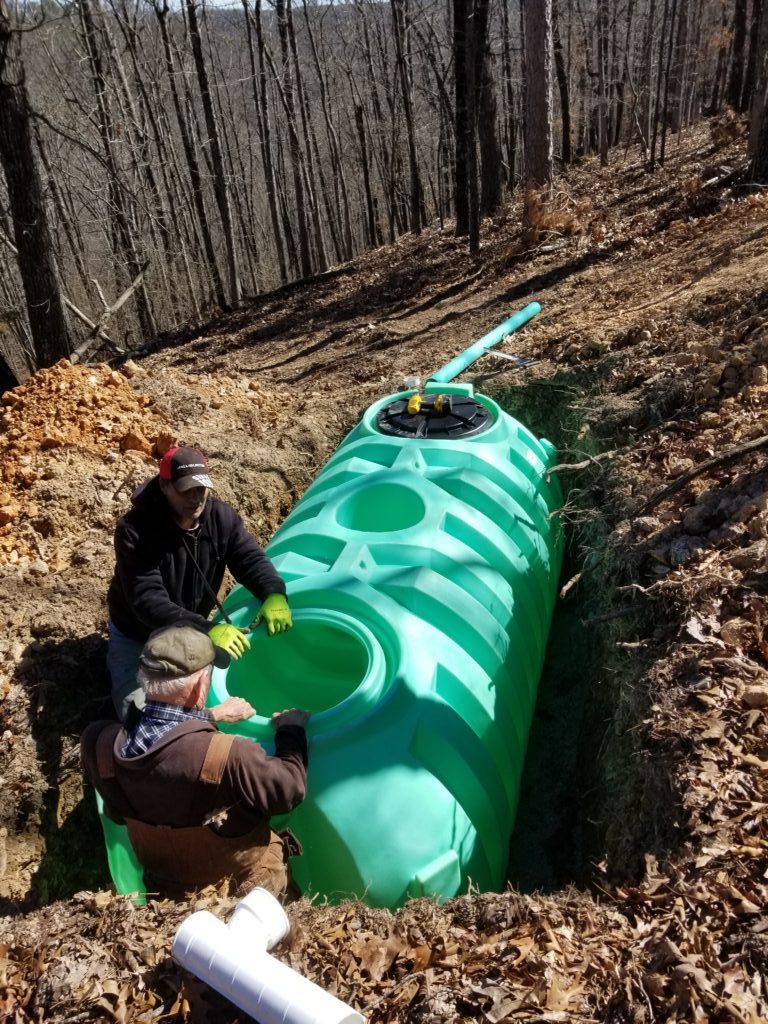
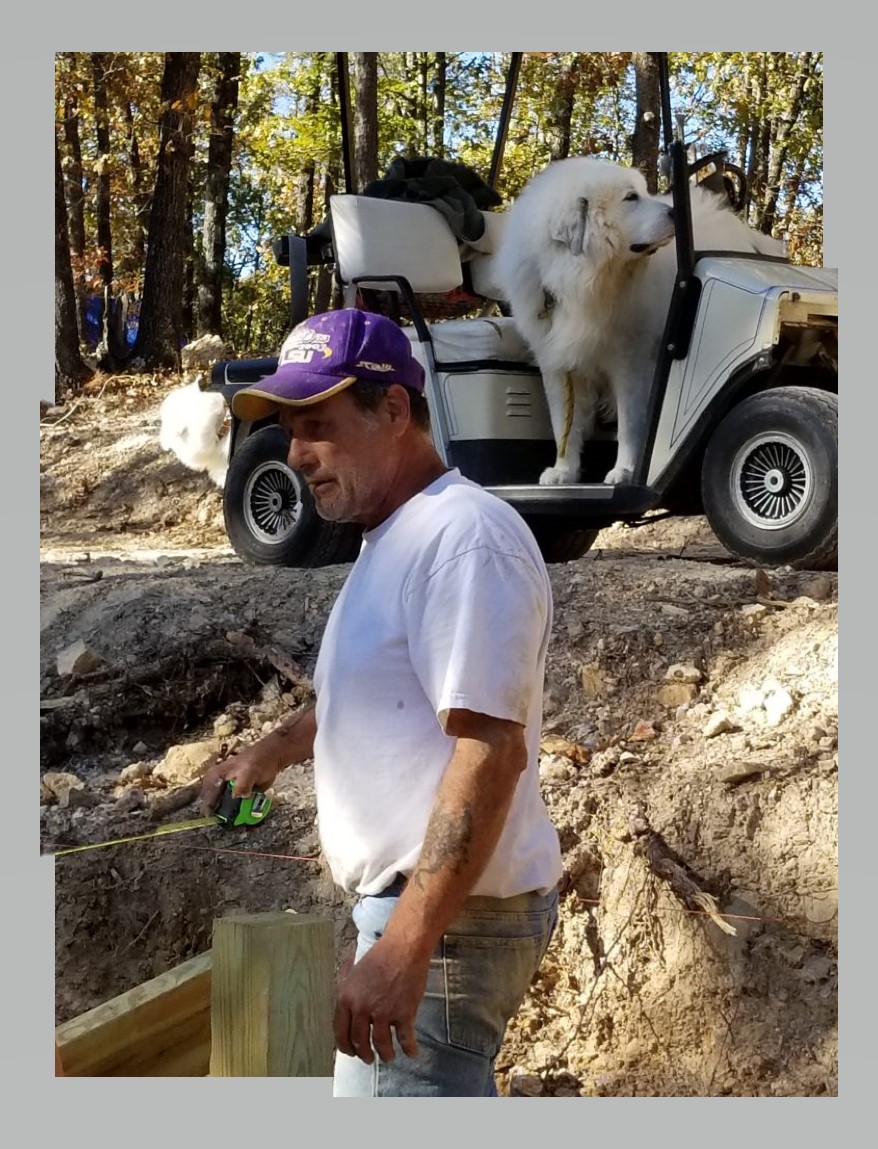
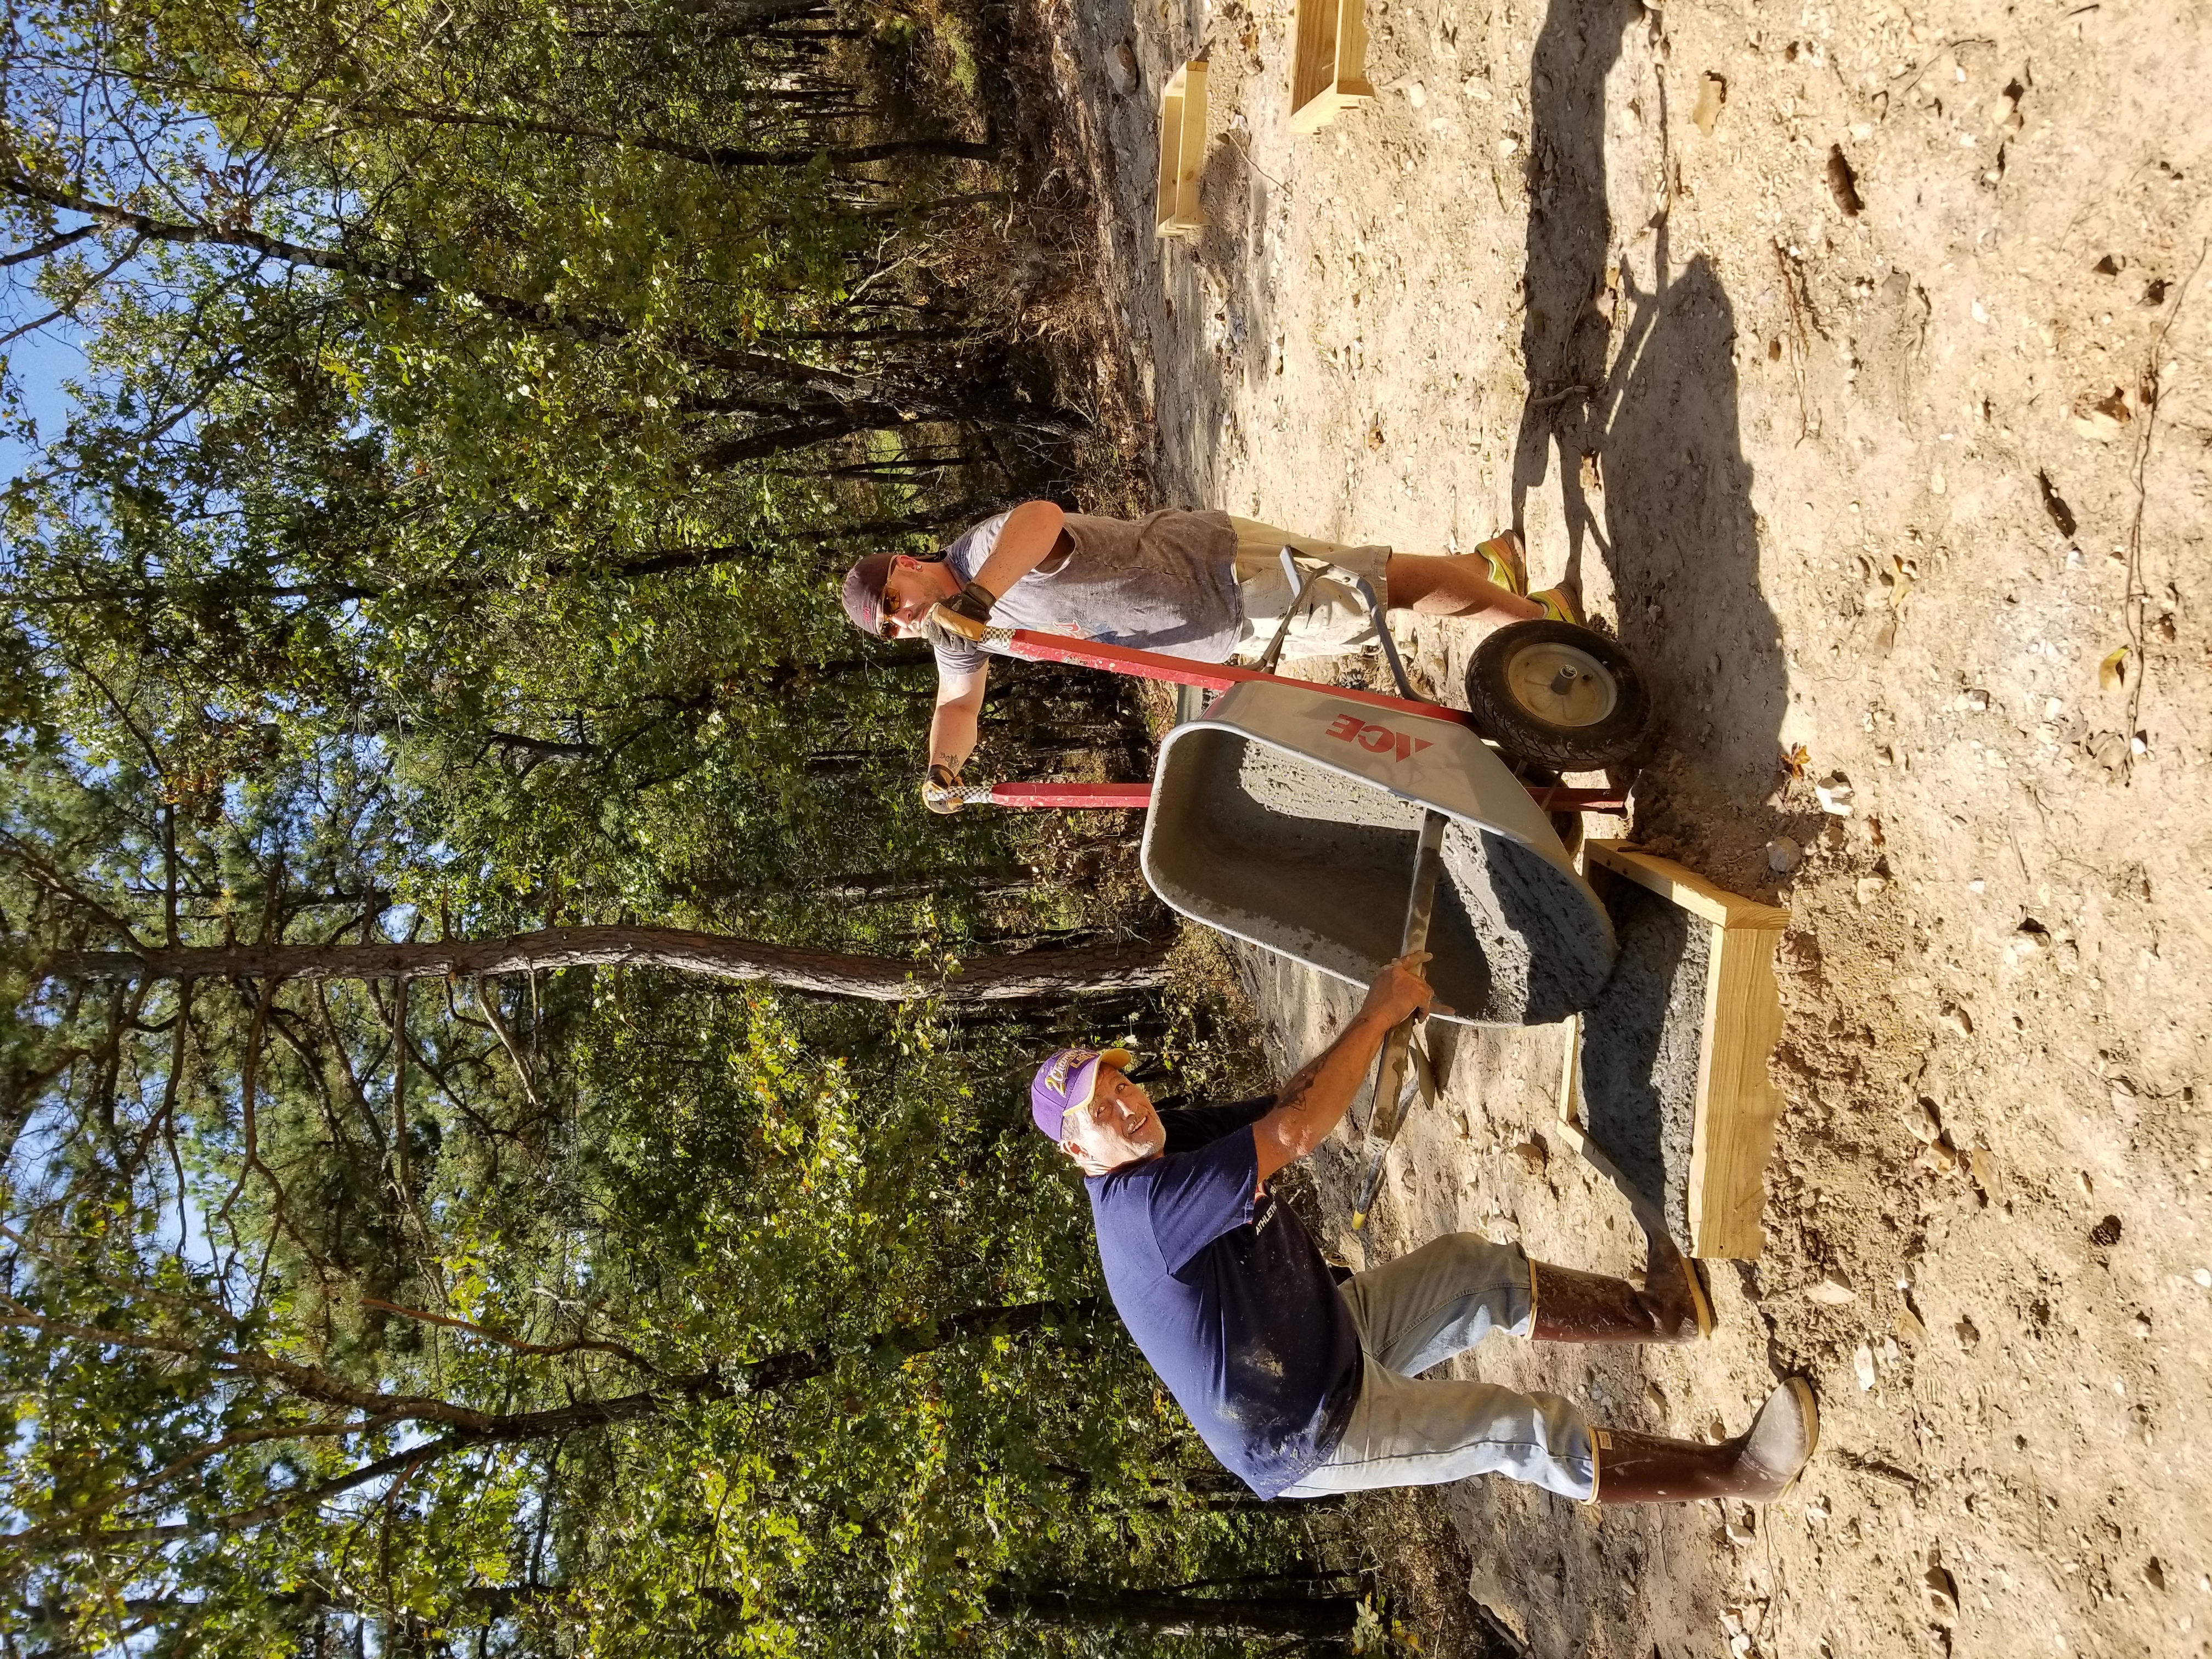
Gator and Buck (hardest working men in Eureka) installing one of 3 septic tanks.
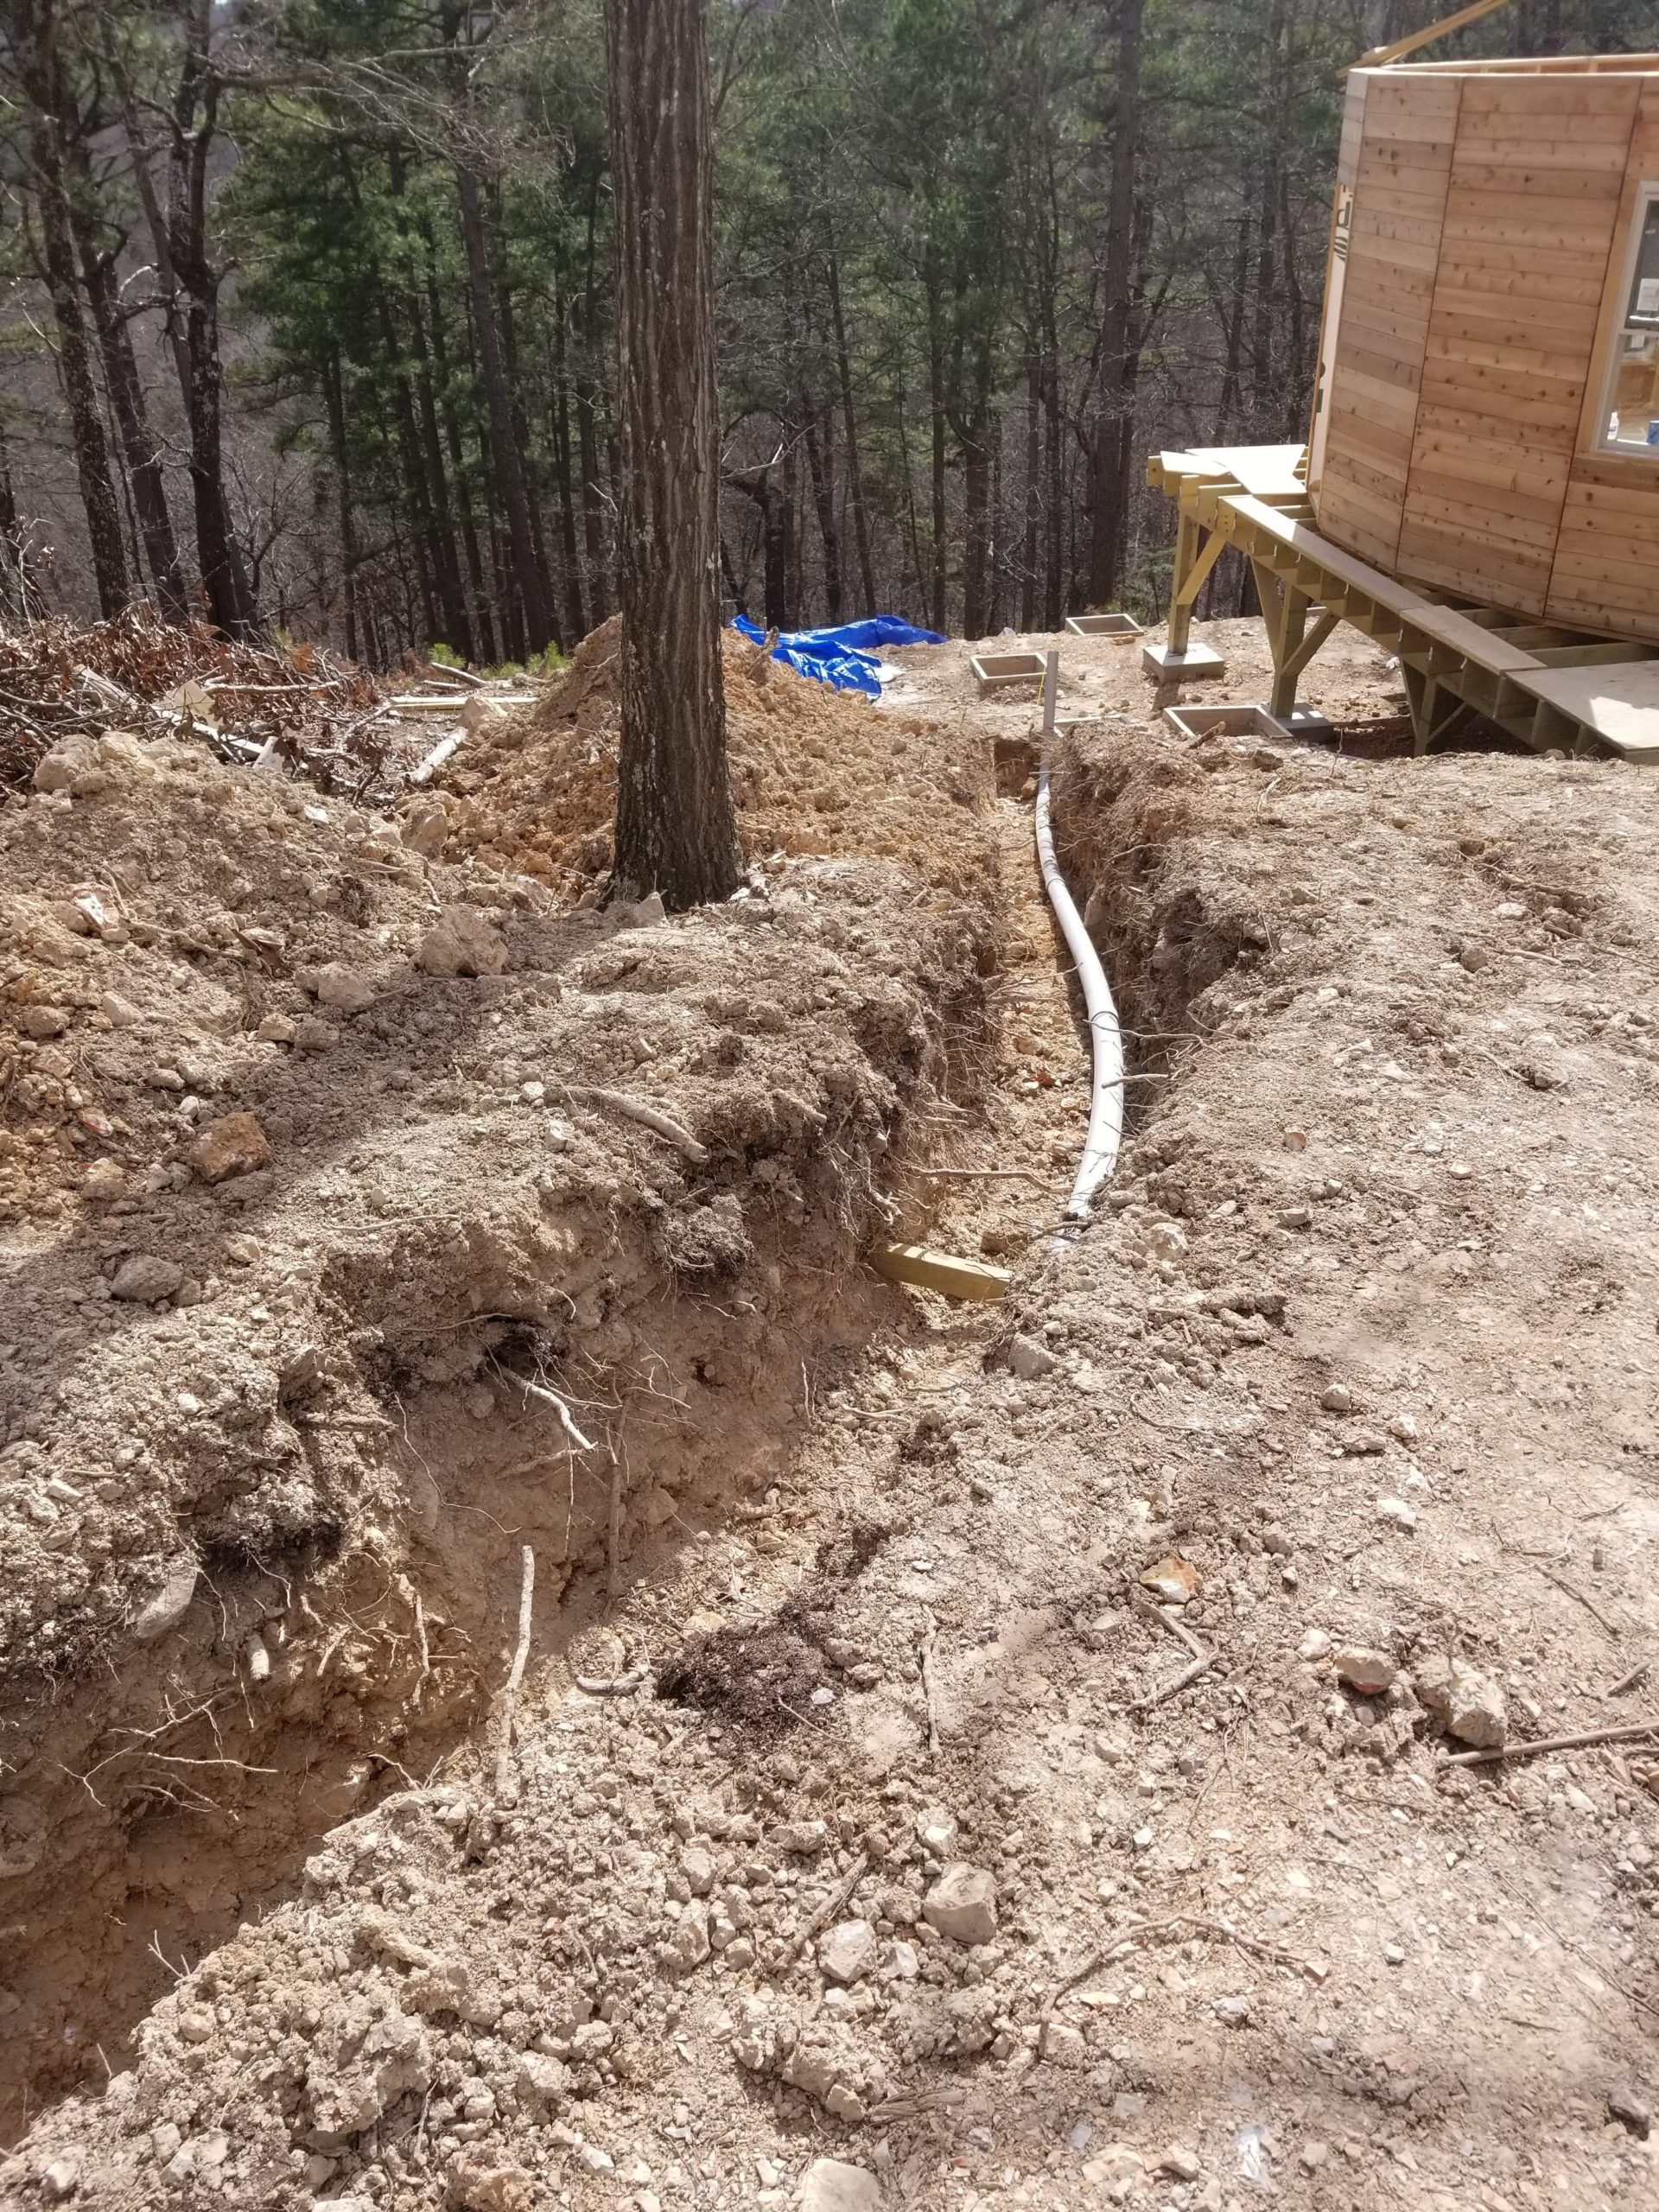
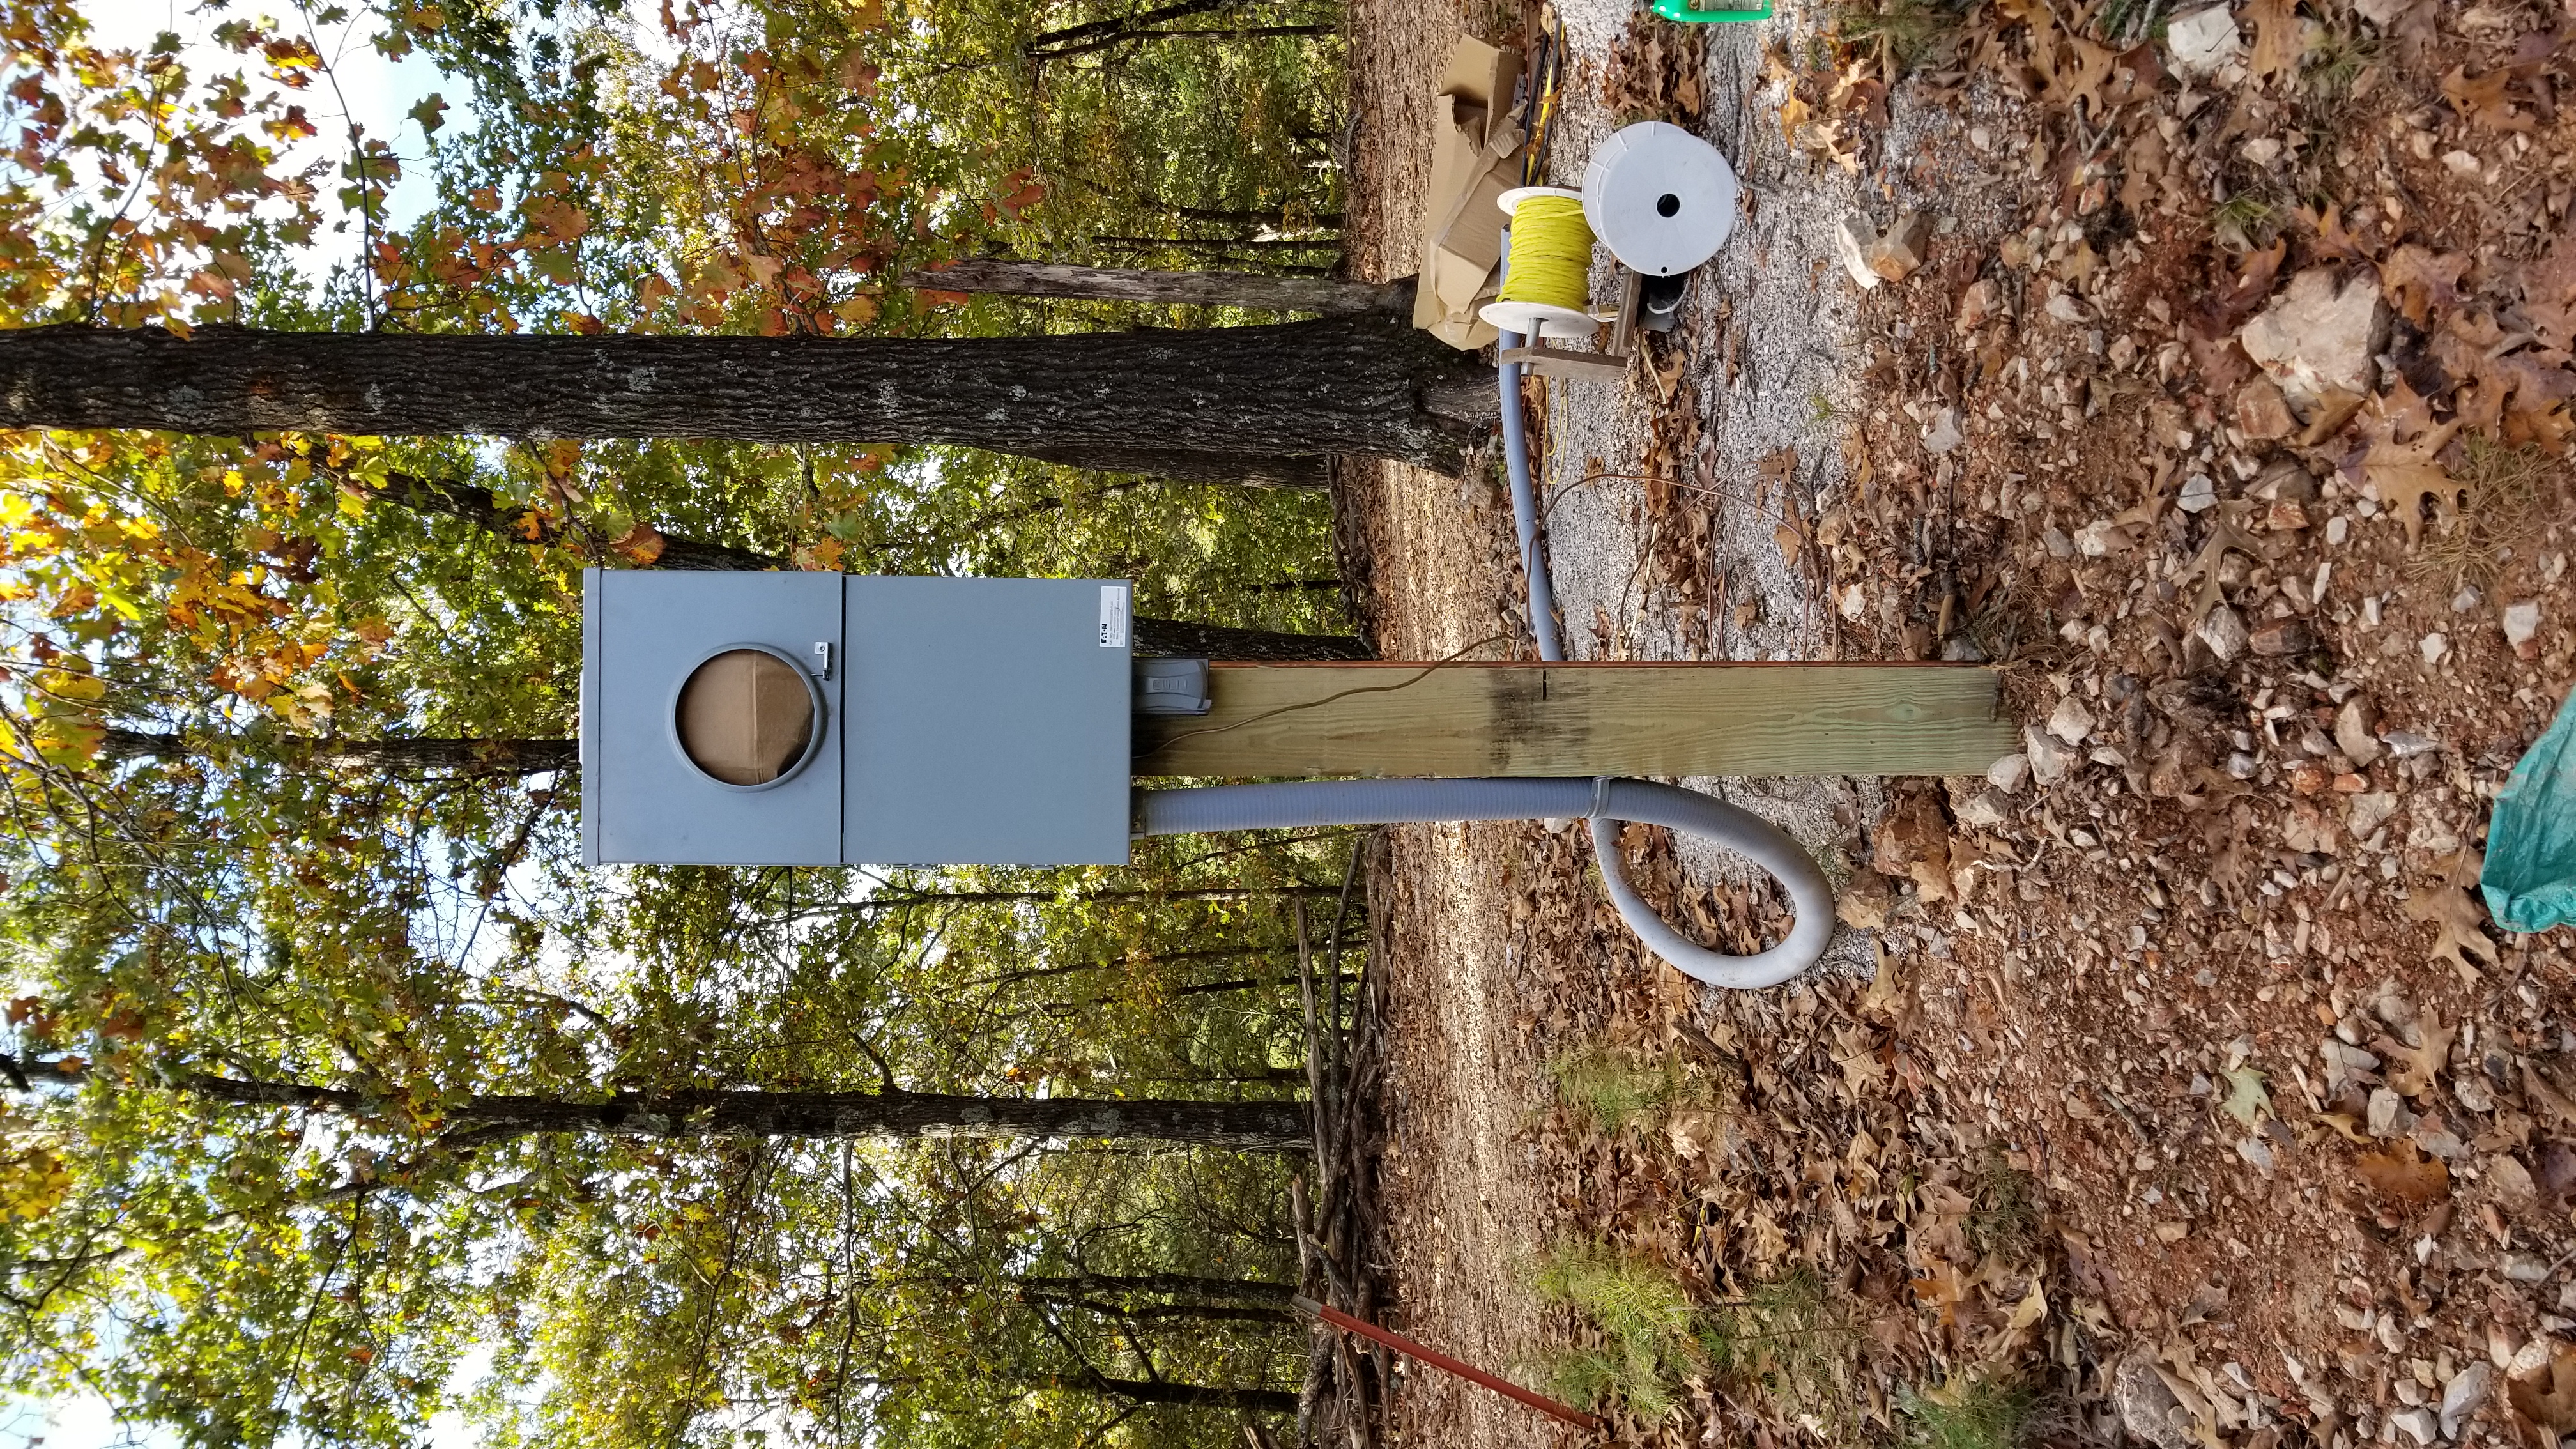
Electrical going to Yurt 2.

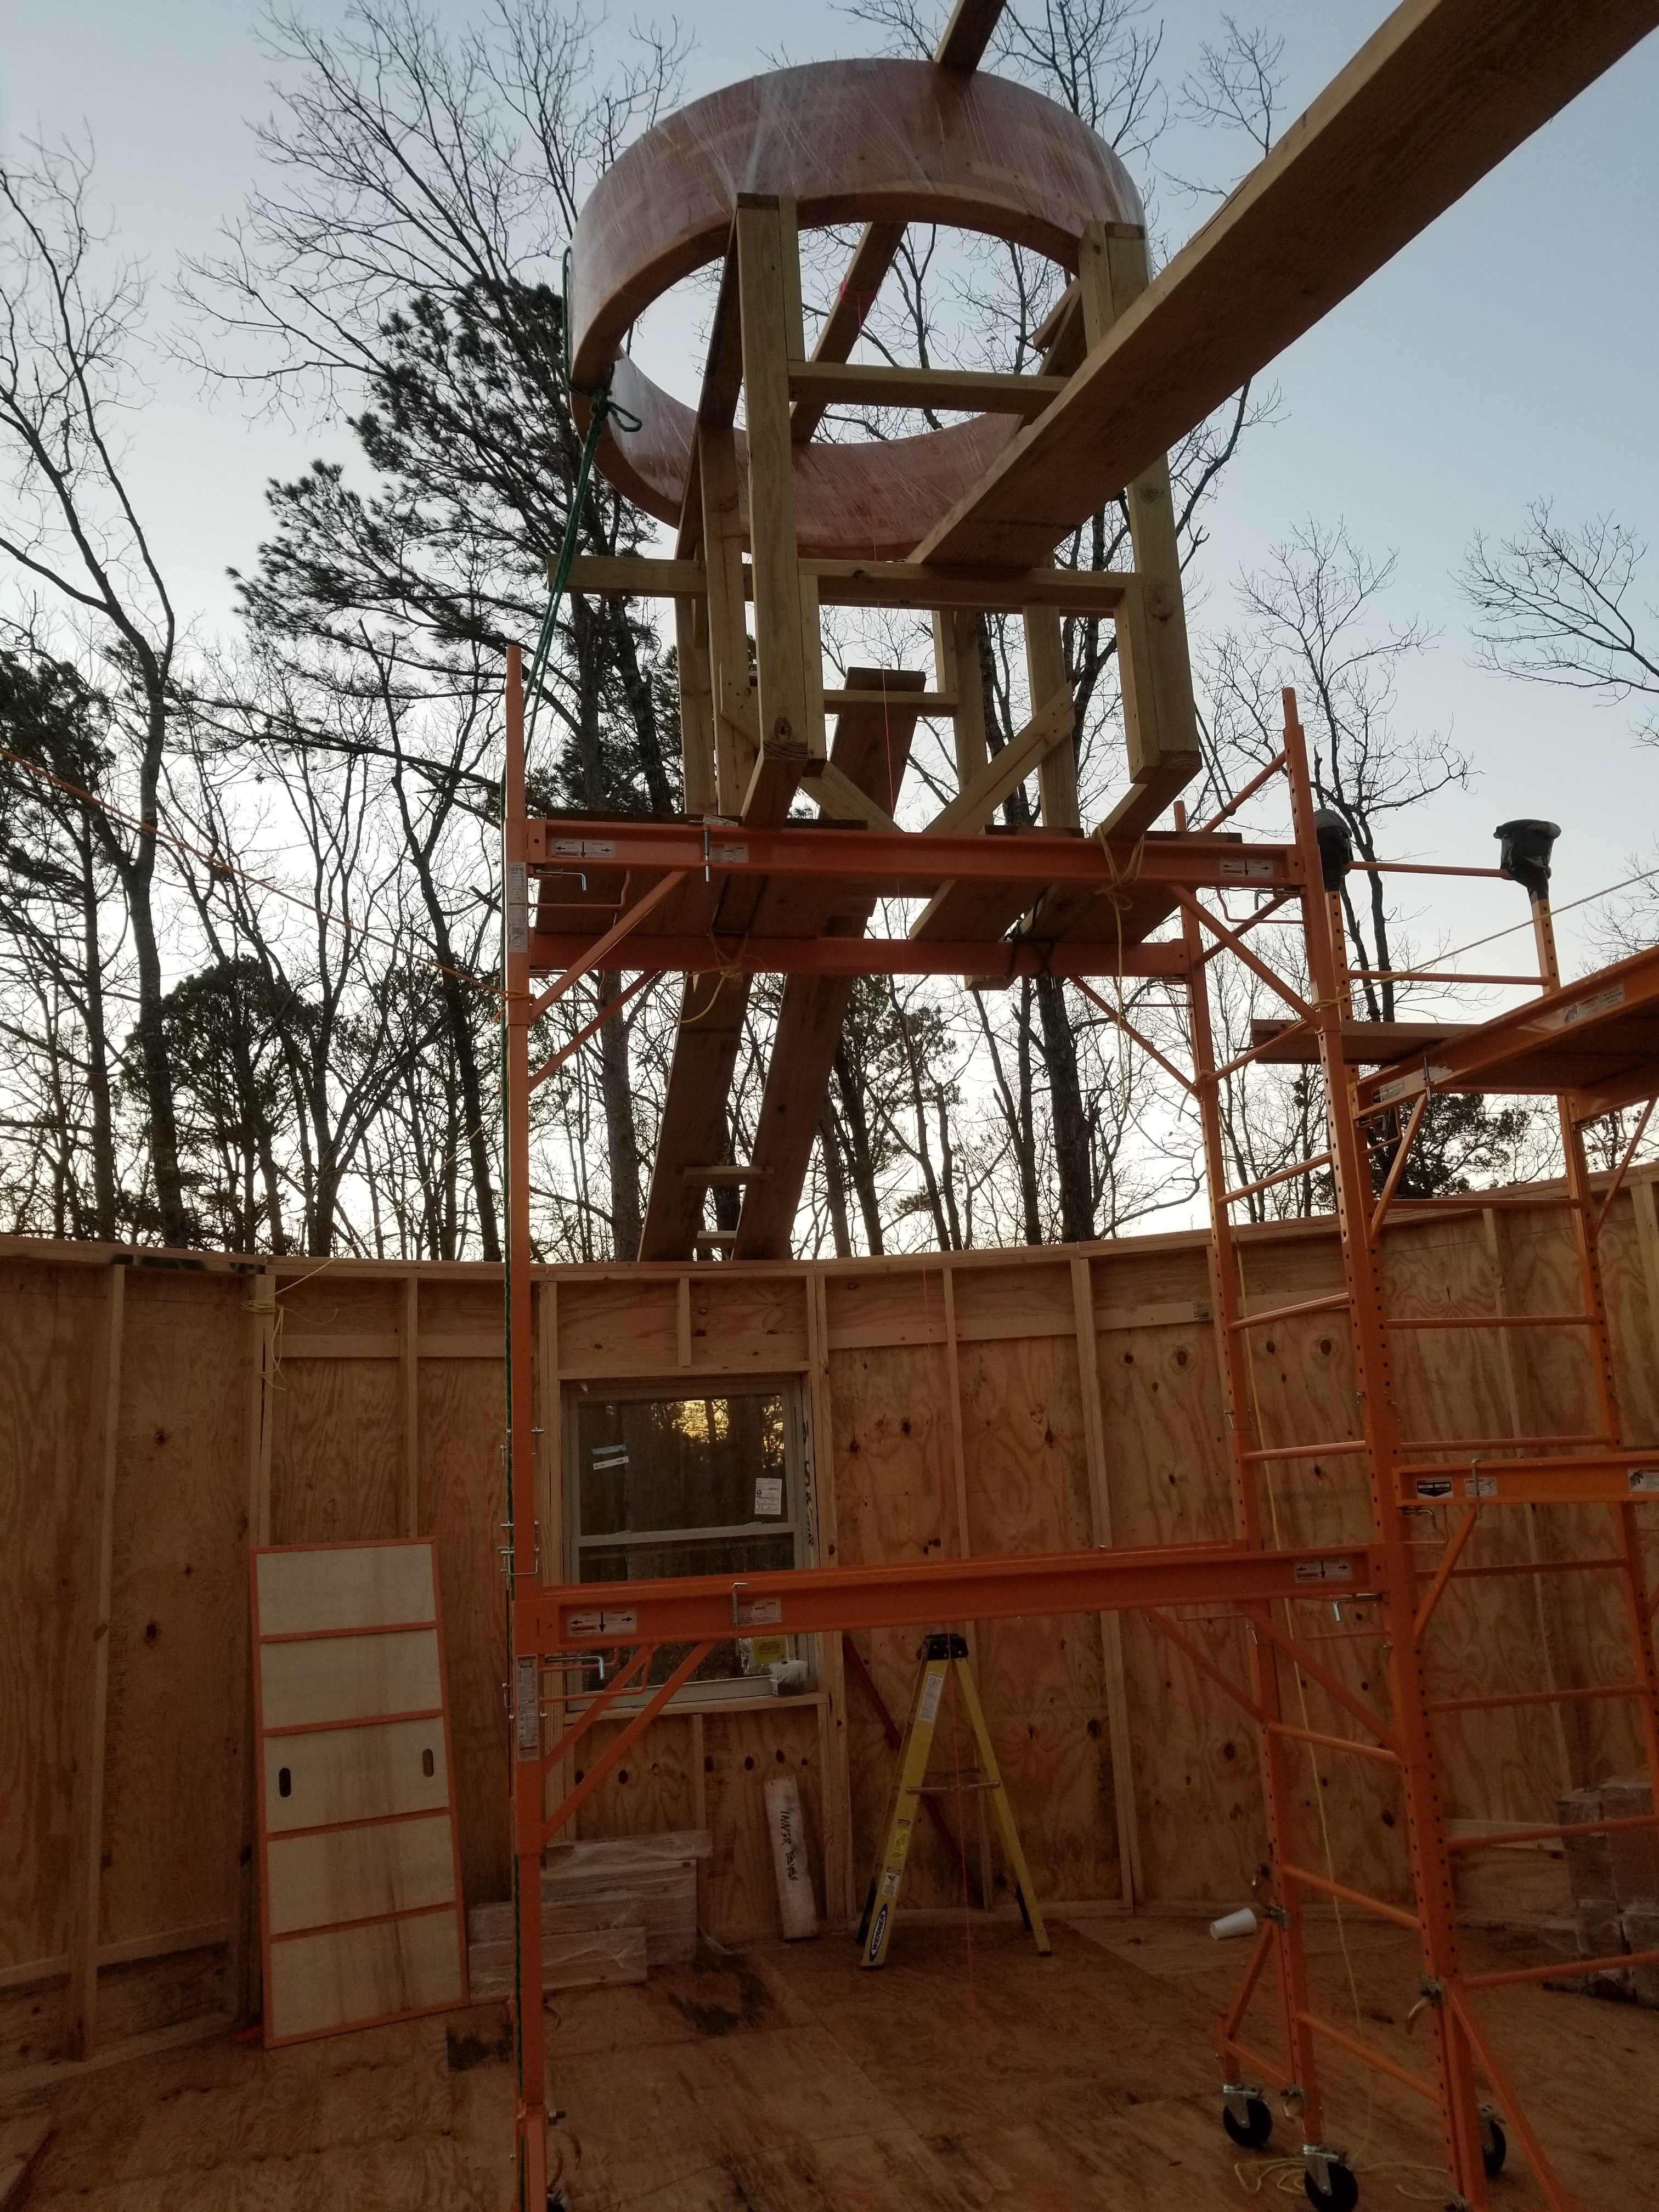
Initial rafters going in on Yurt 2.

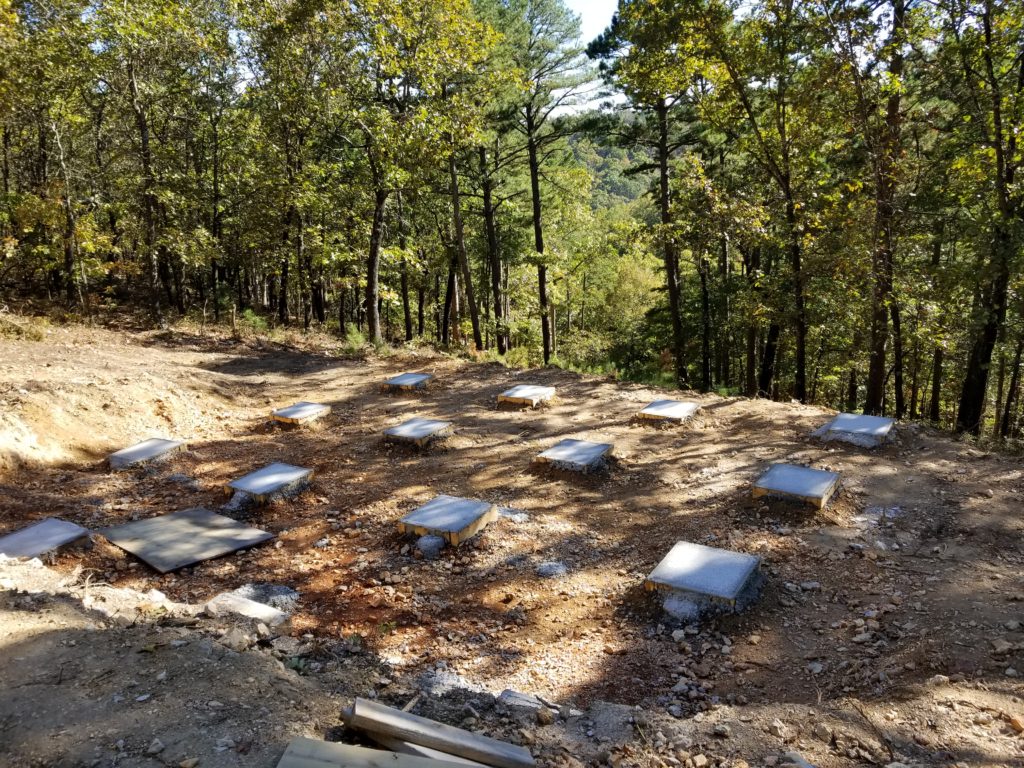
View from Yurt 2.
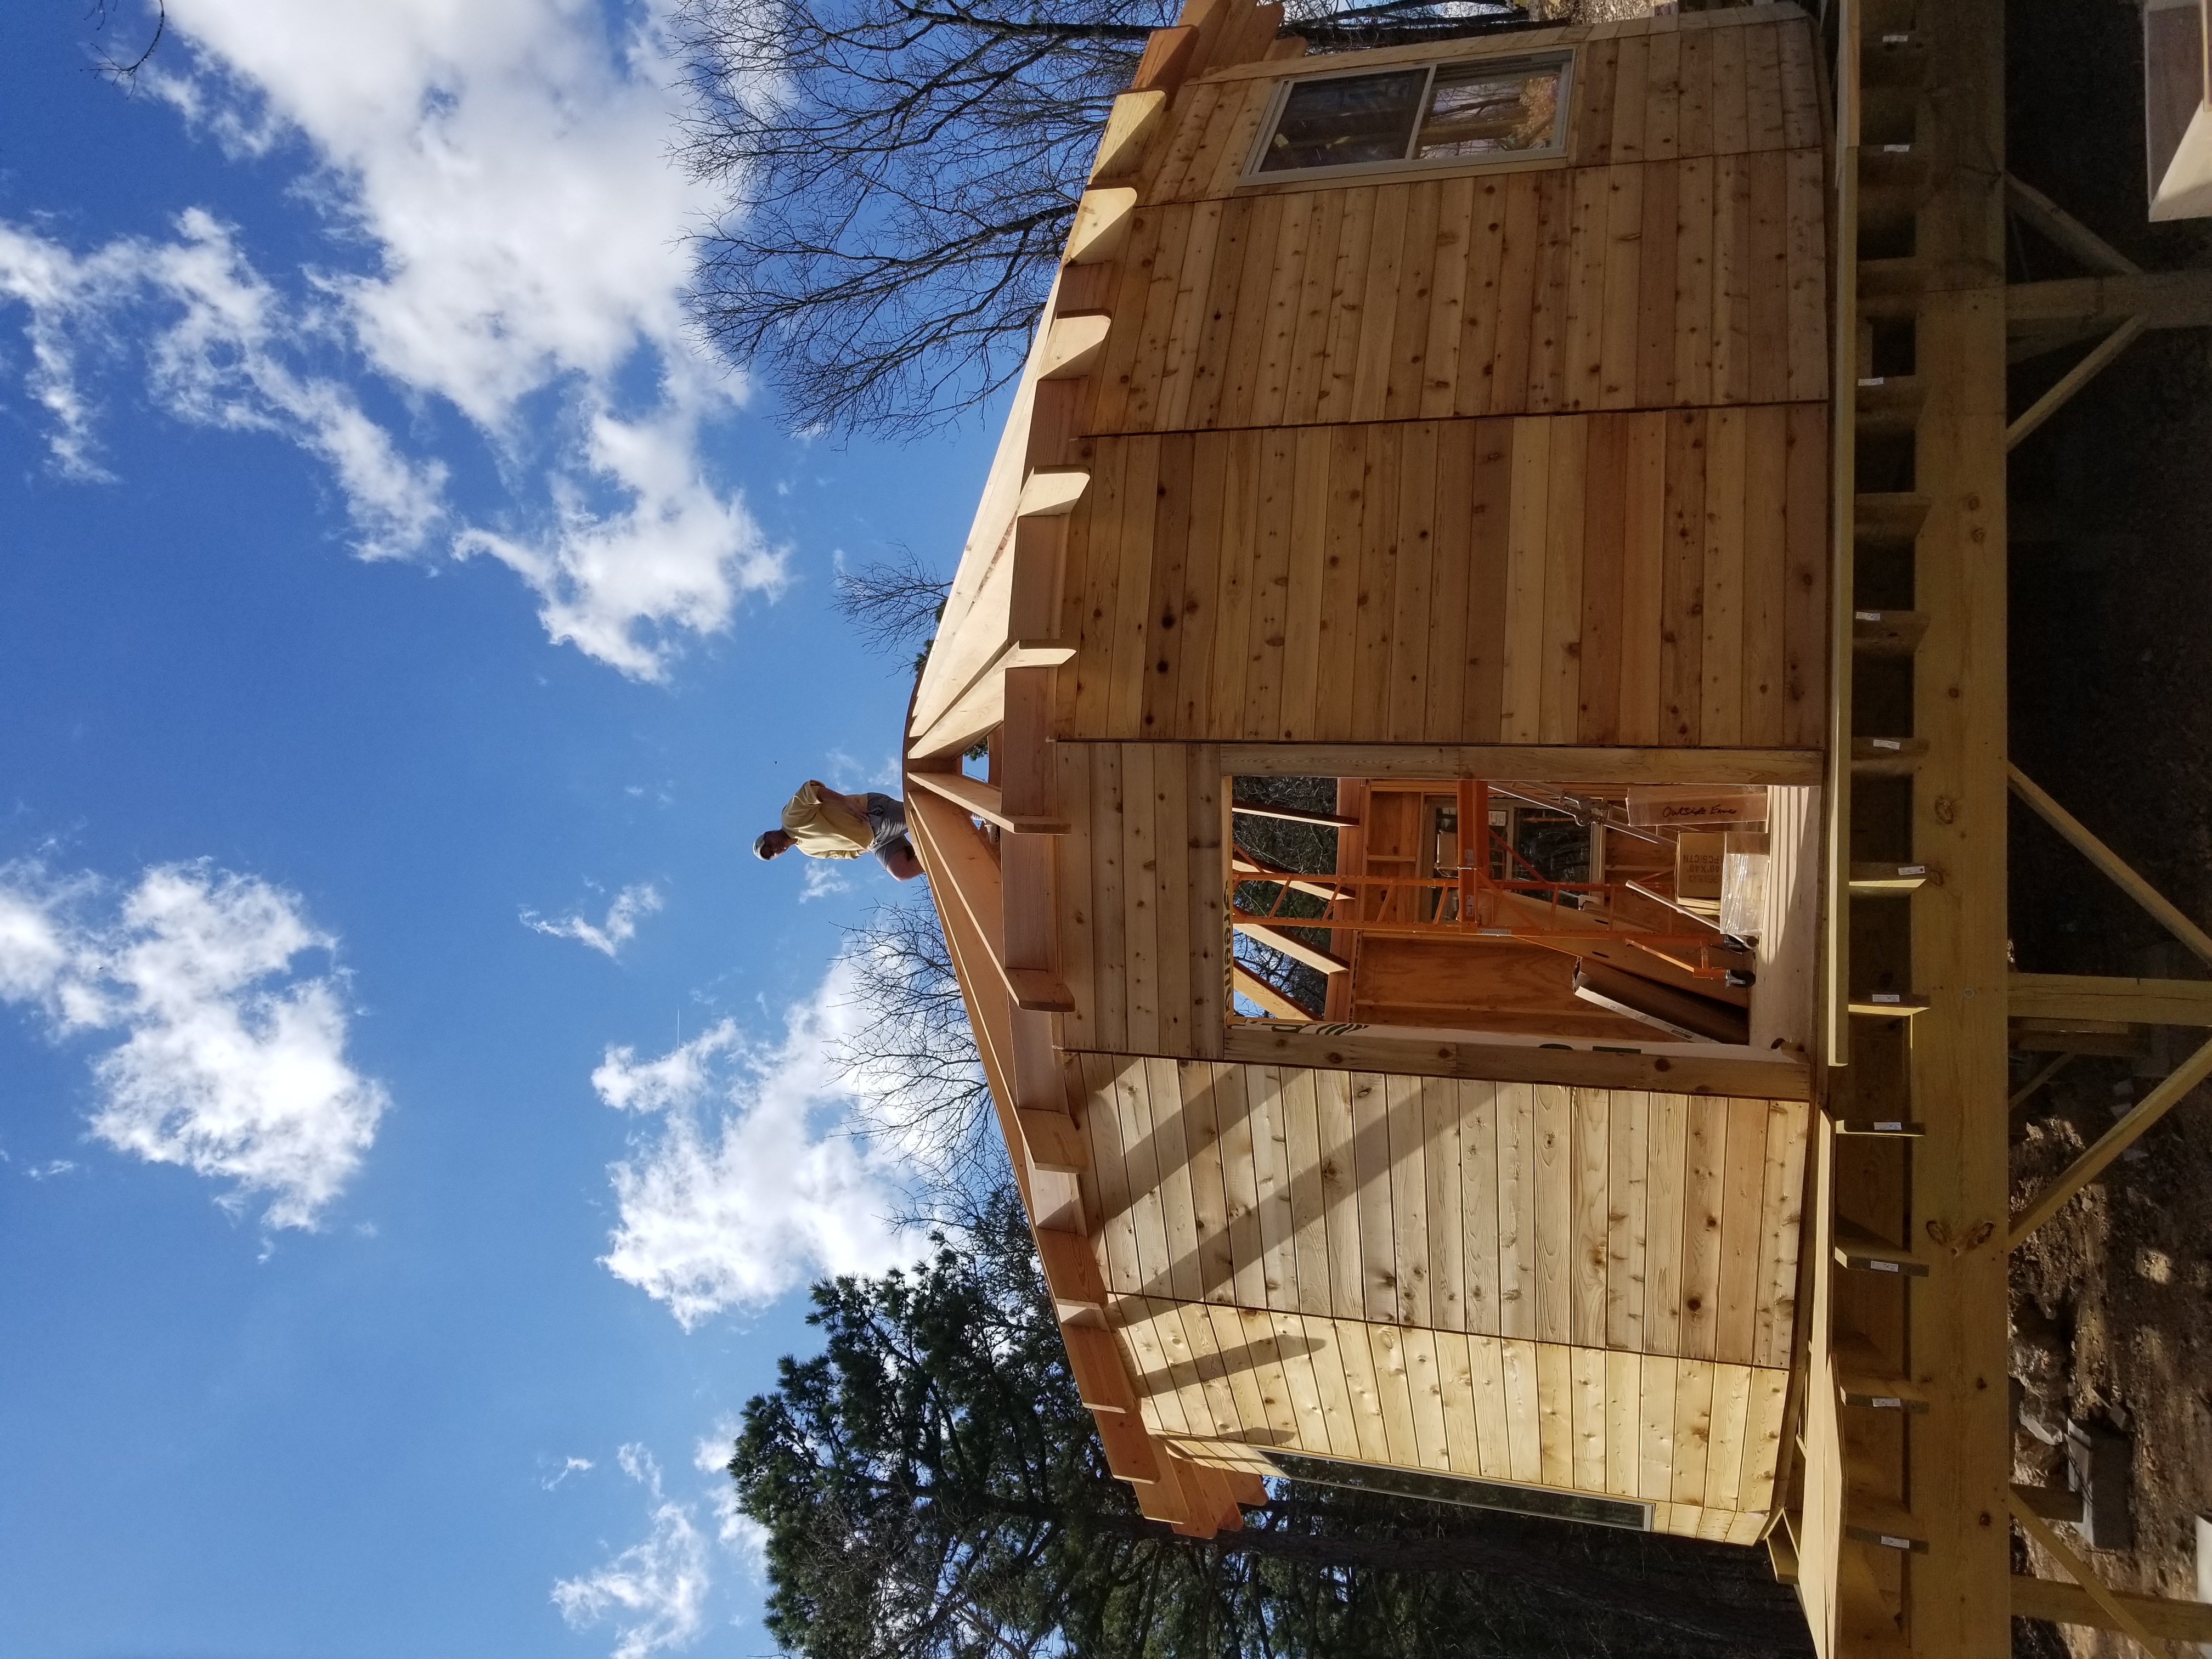
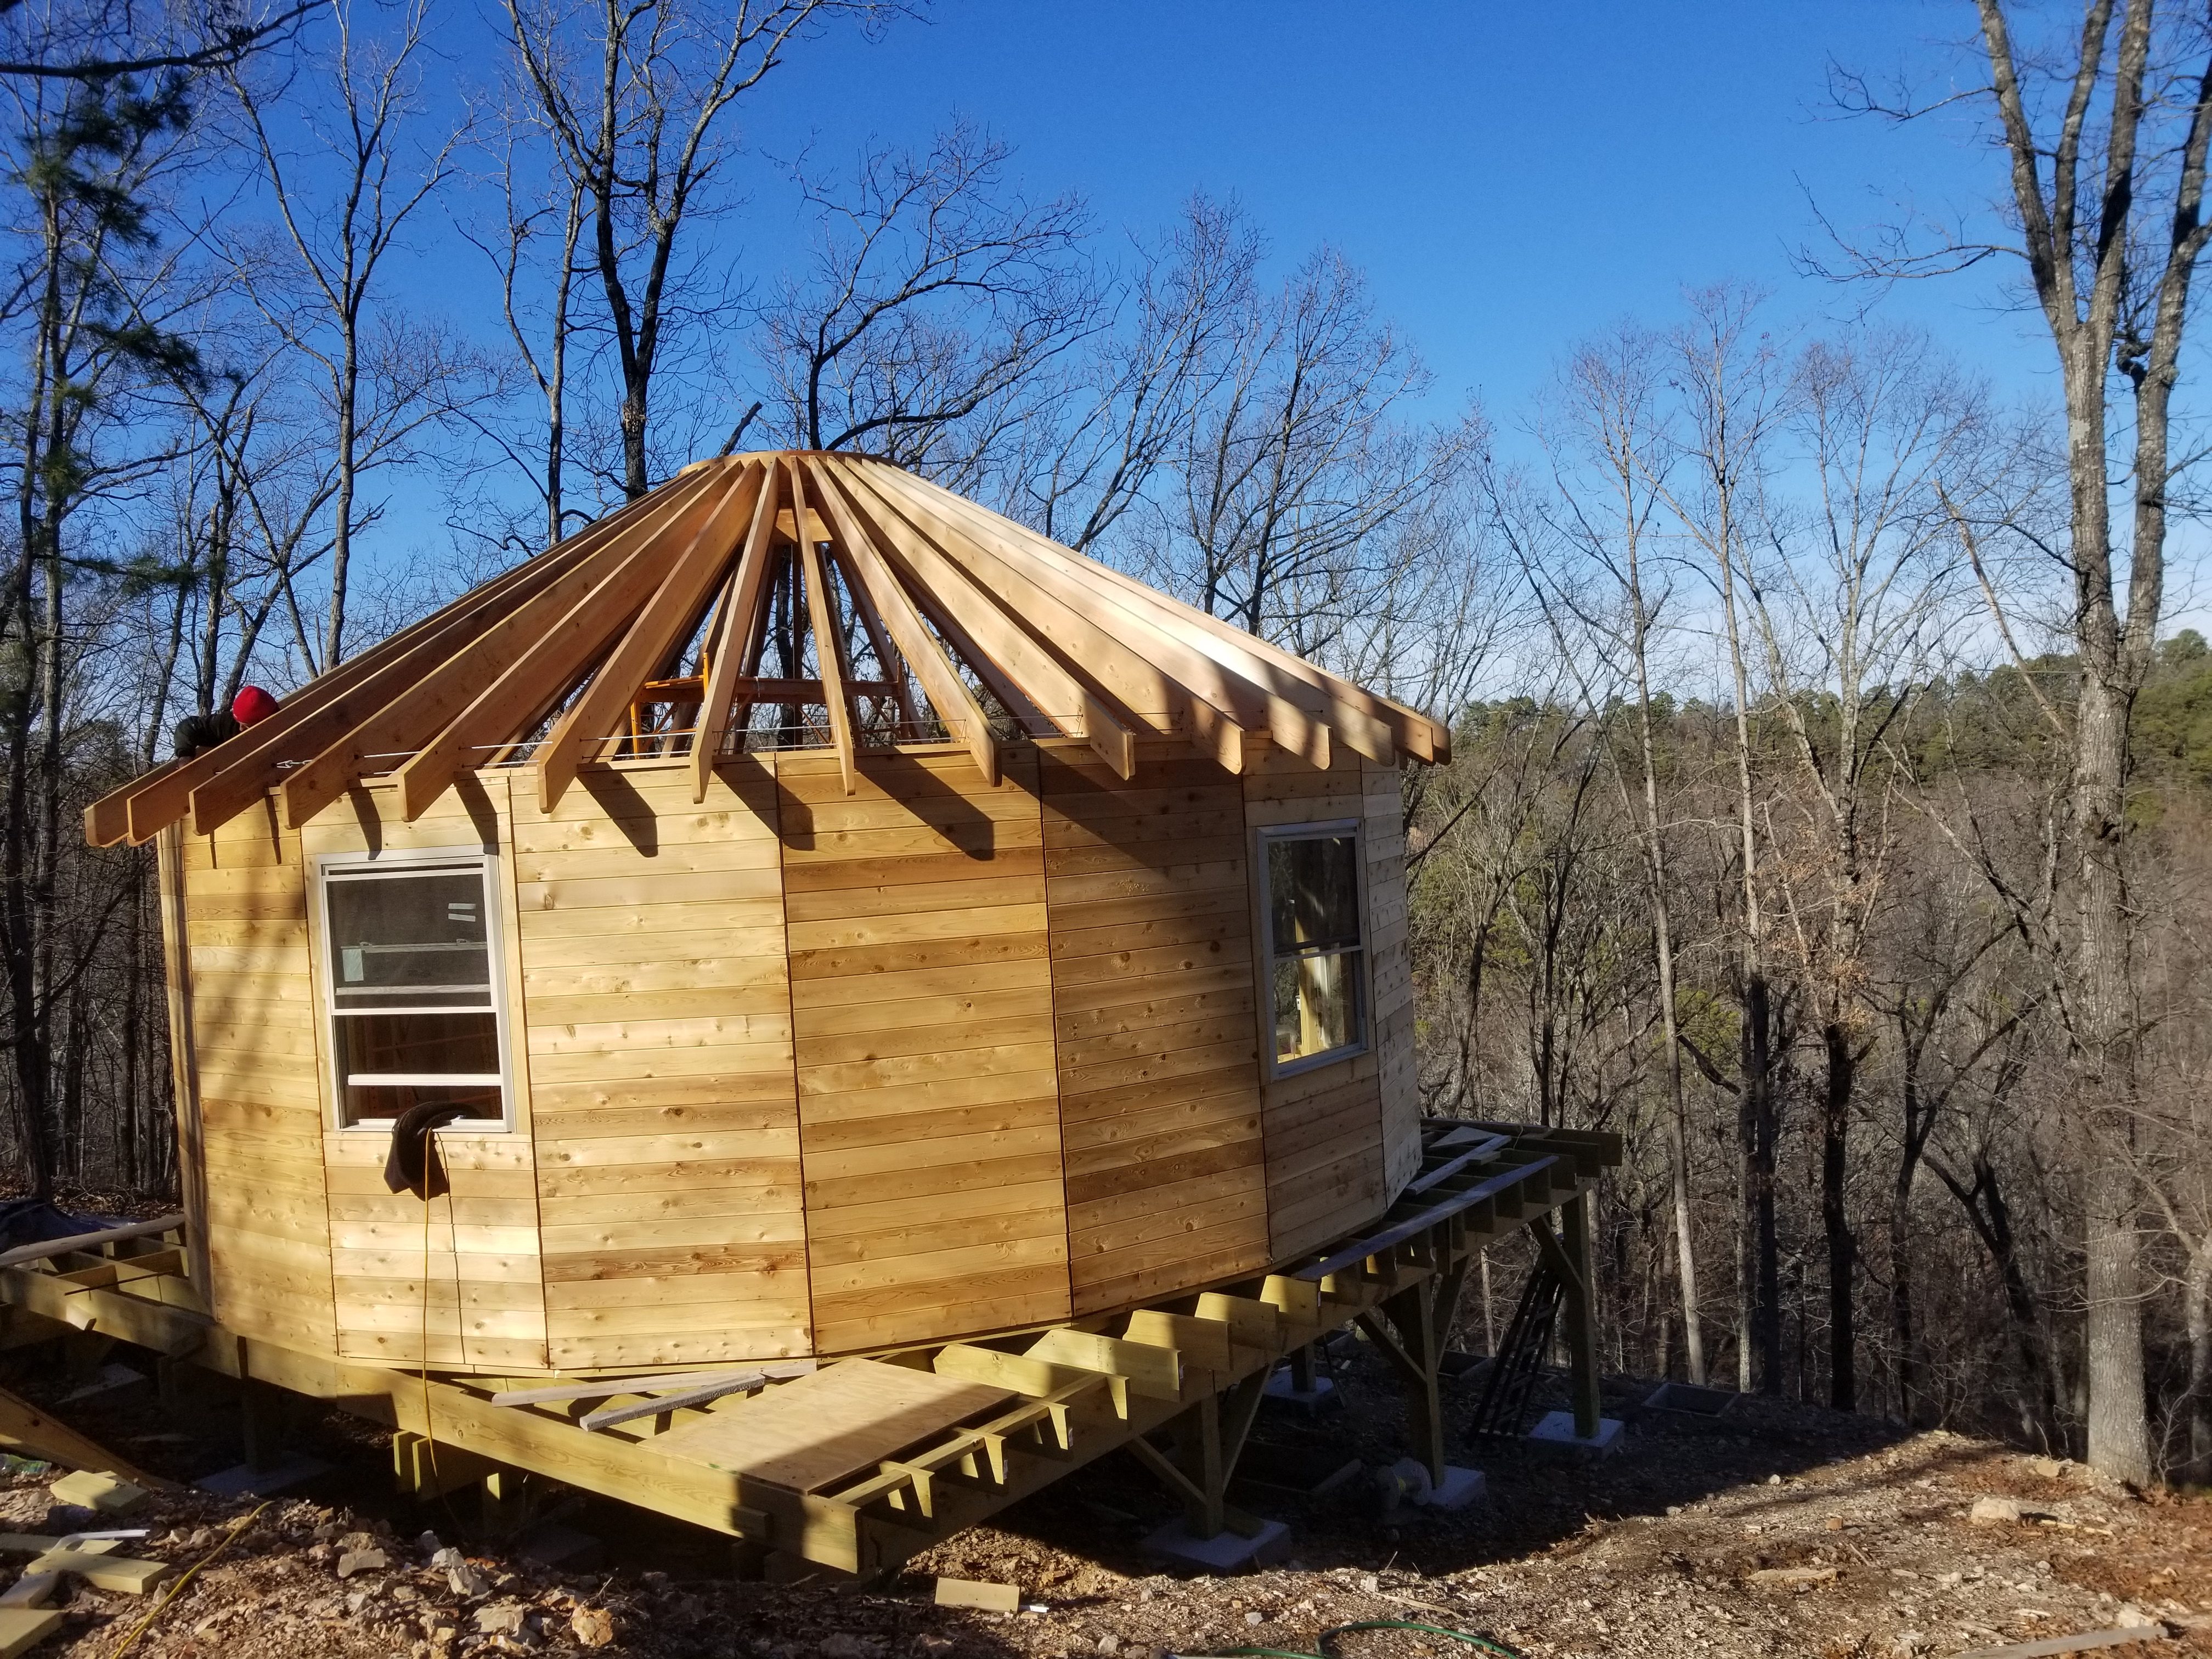
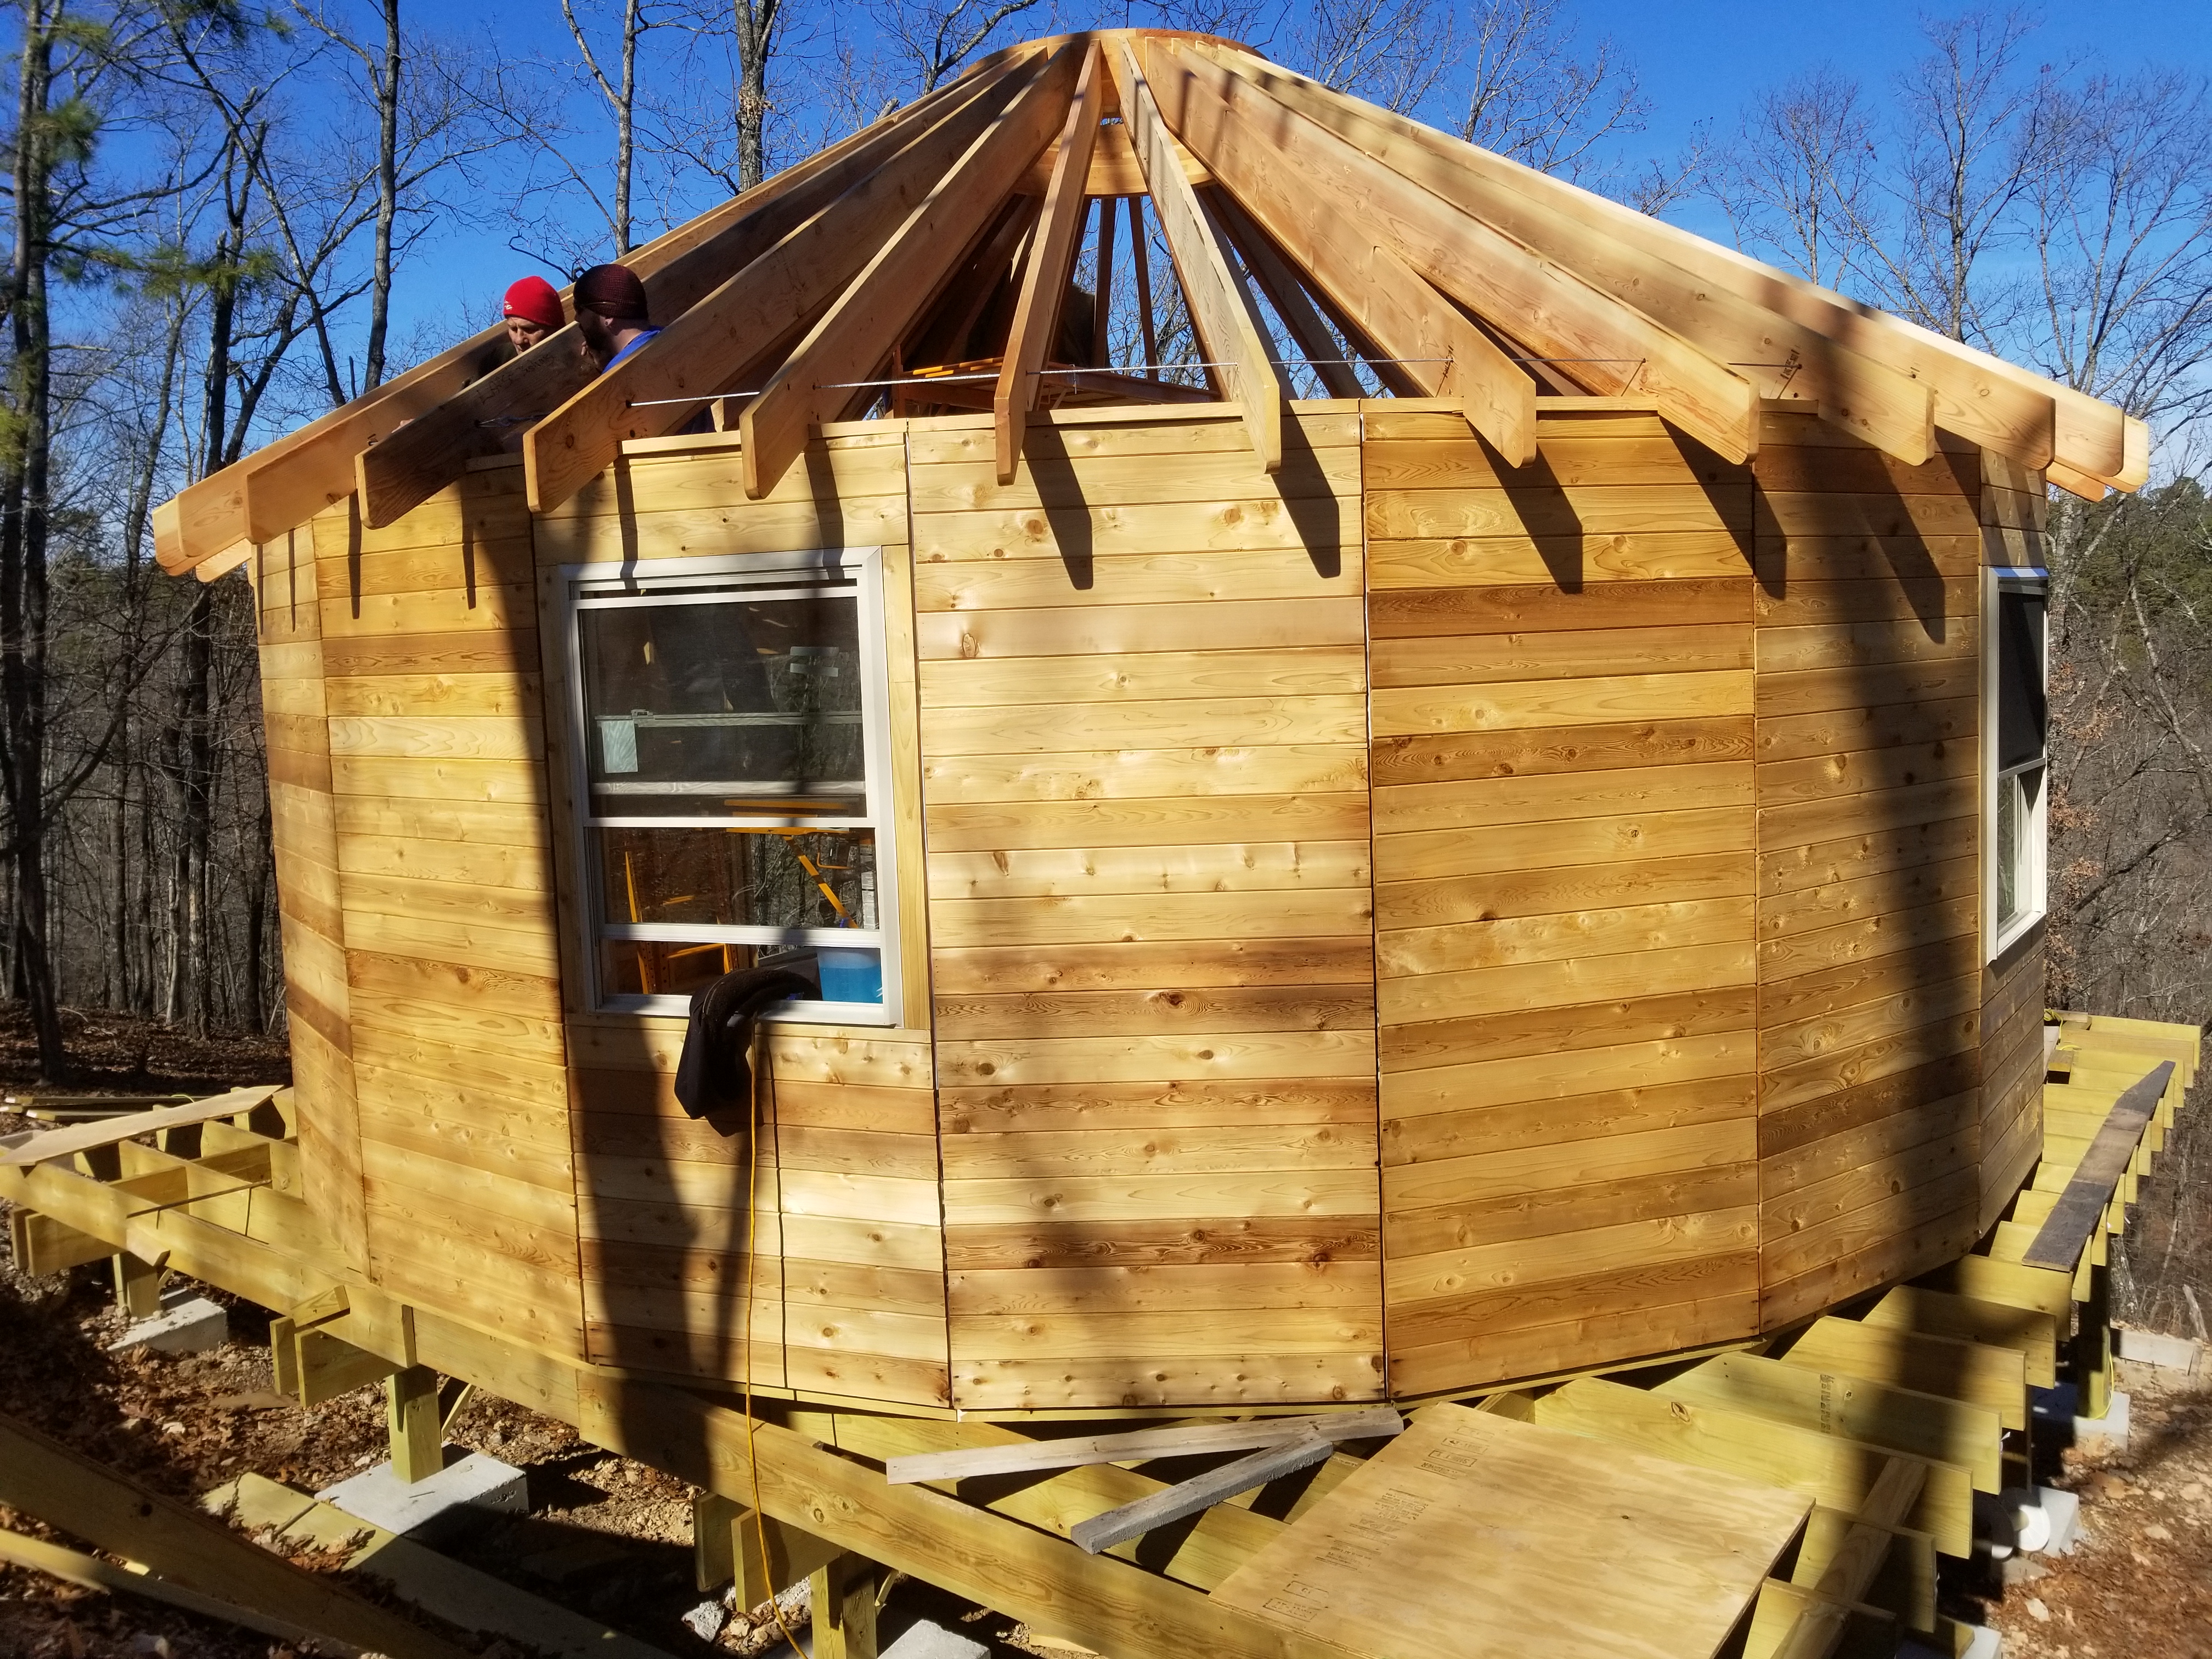
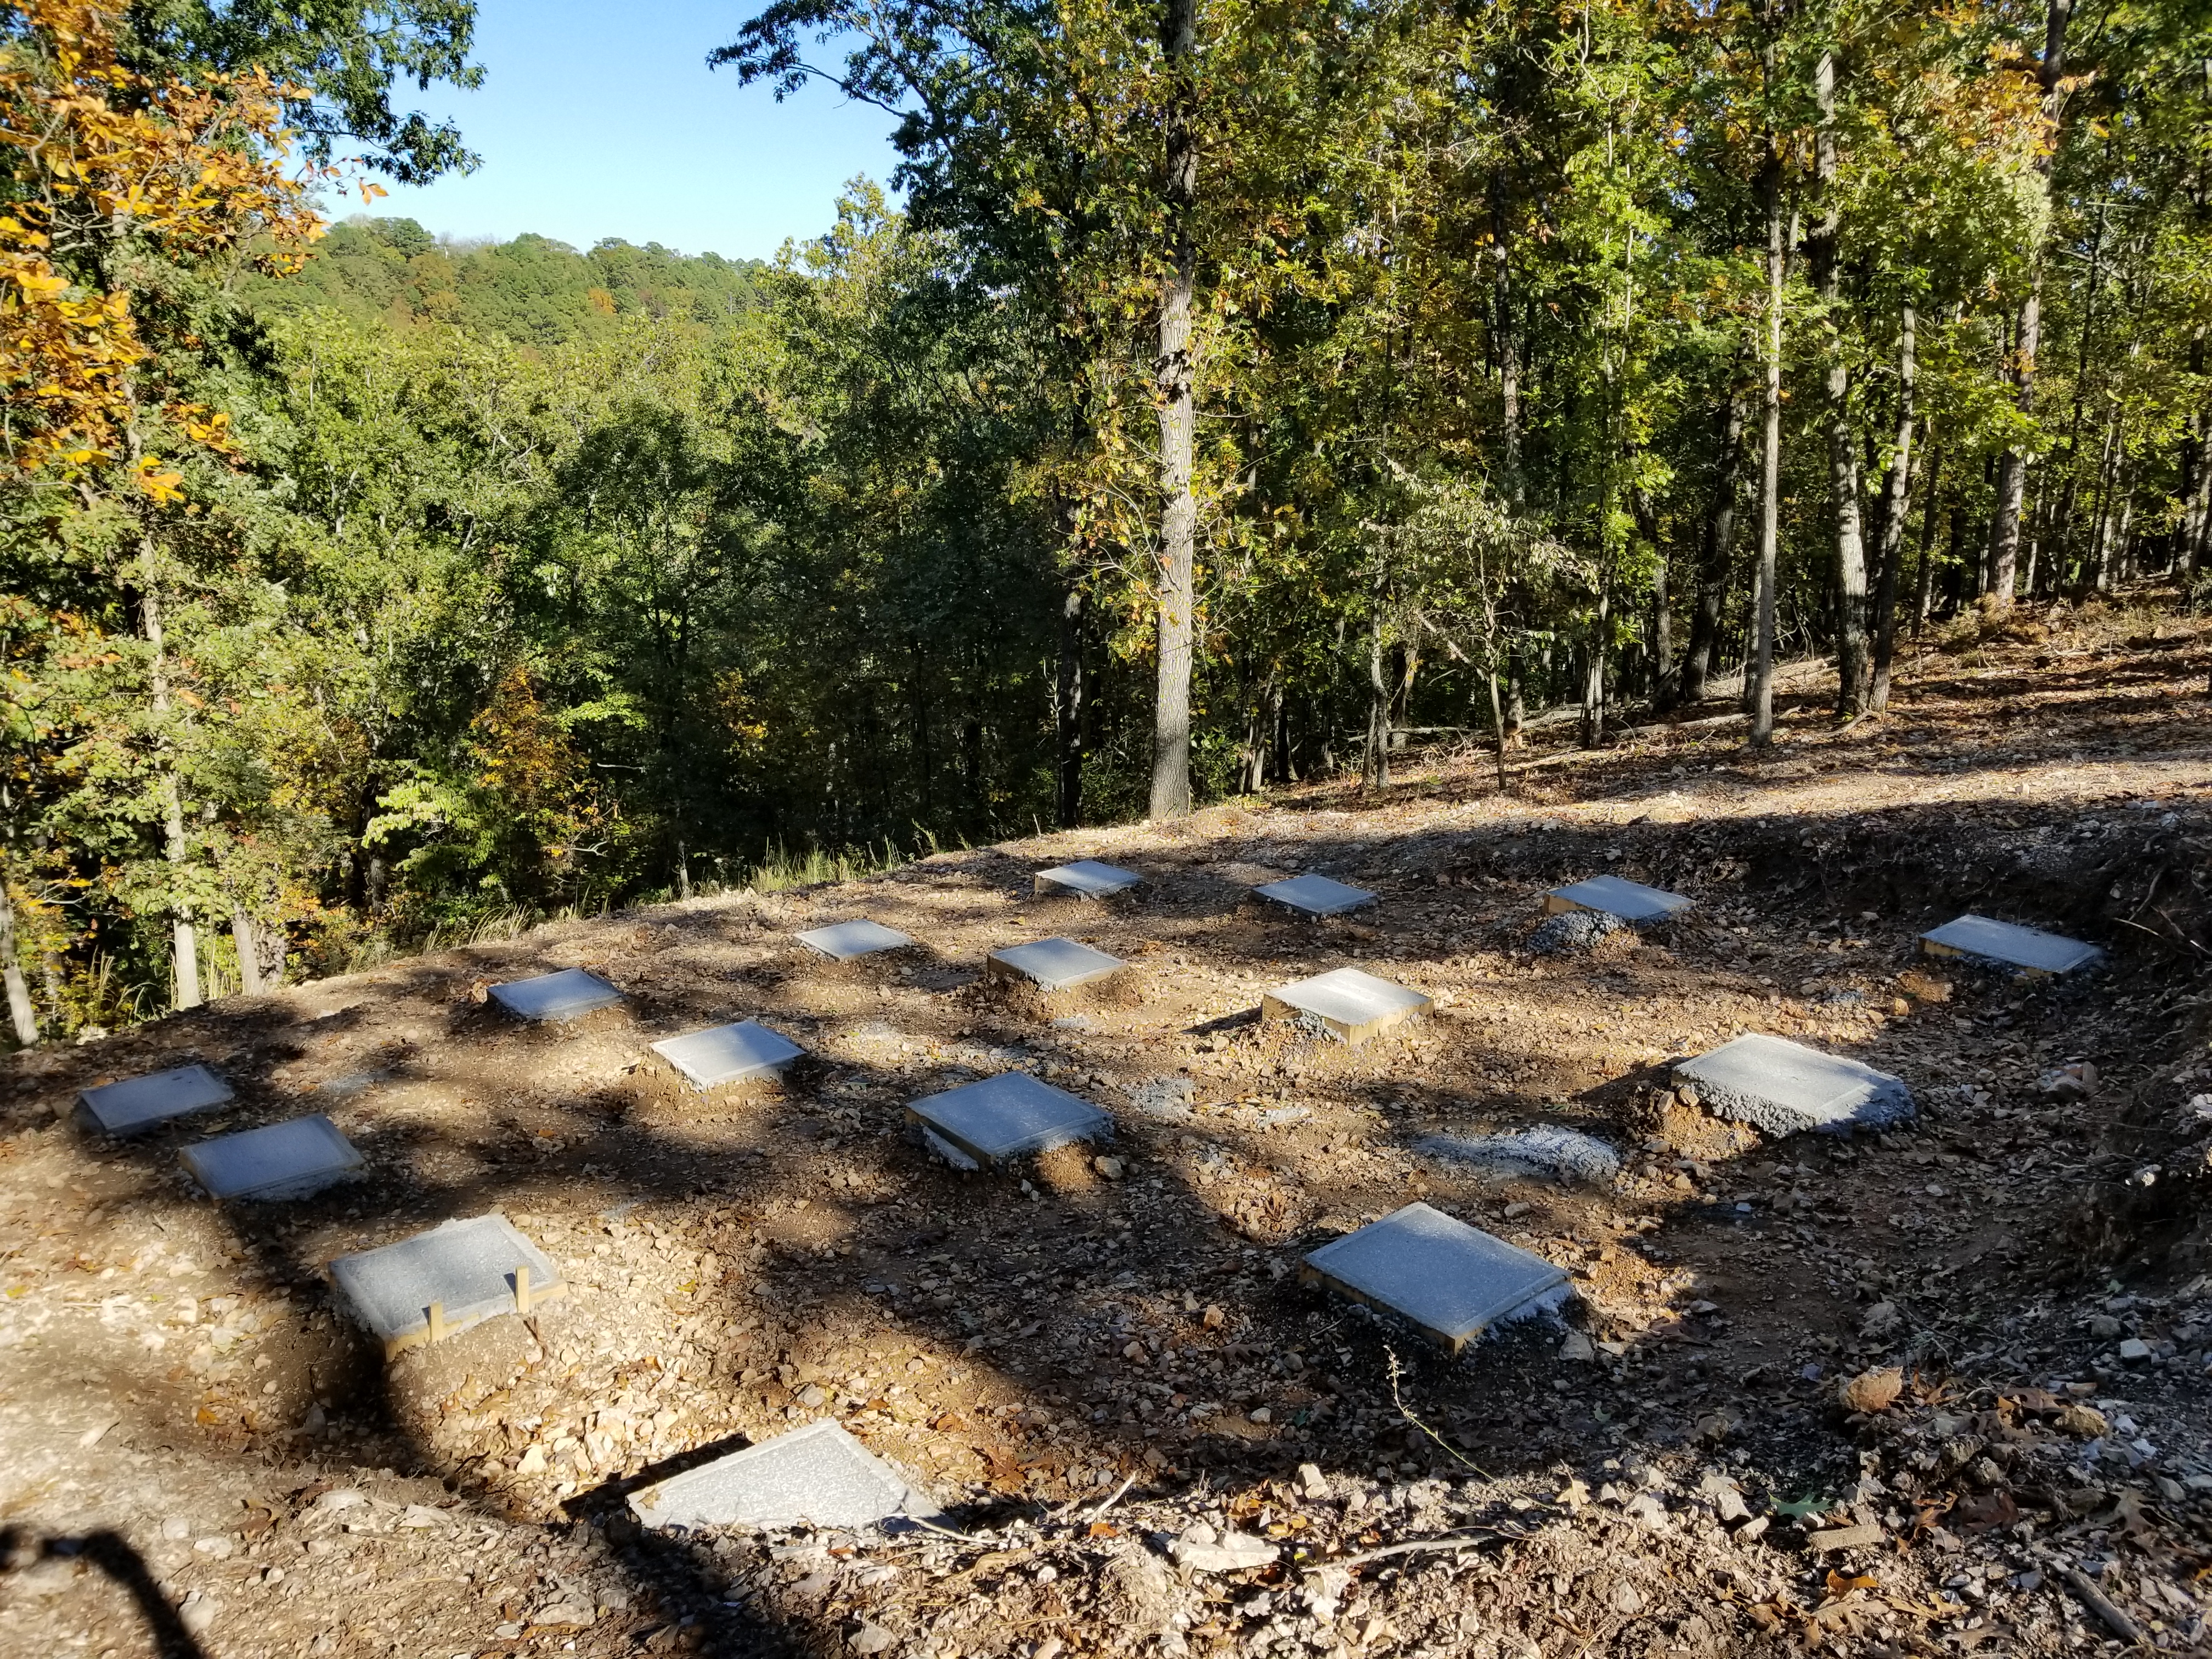
Finished framing.

Always a greeting when daddy comes home.
And in the end, we were pooped.
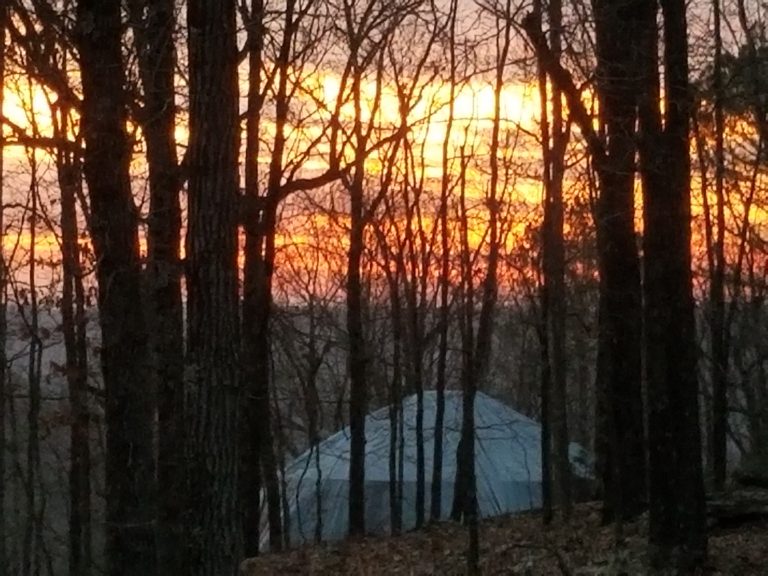
And the next morning, I was blessed with this view of a sunrise over Yurt 1. I interpreted this as:
Well done, good and faithful servant! (Matthew 25:23)