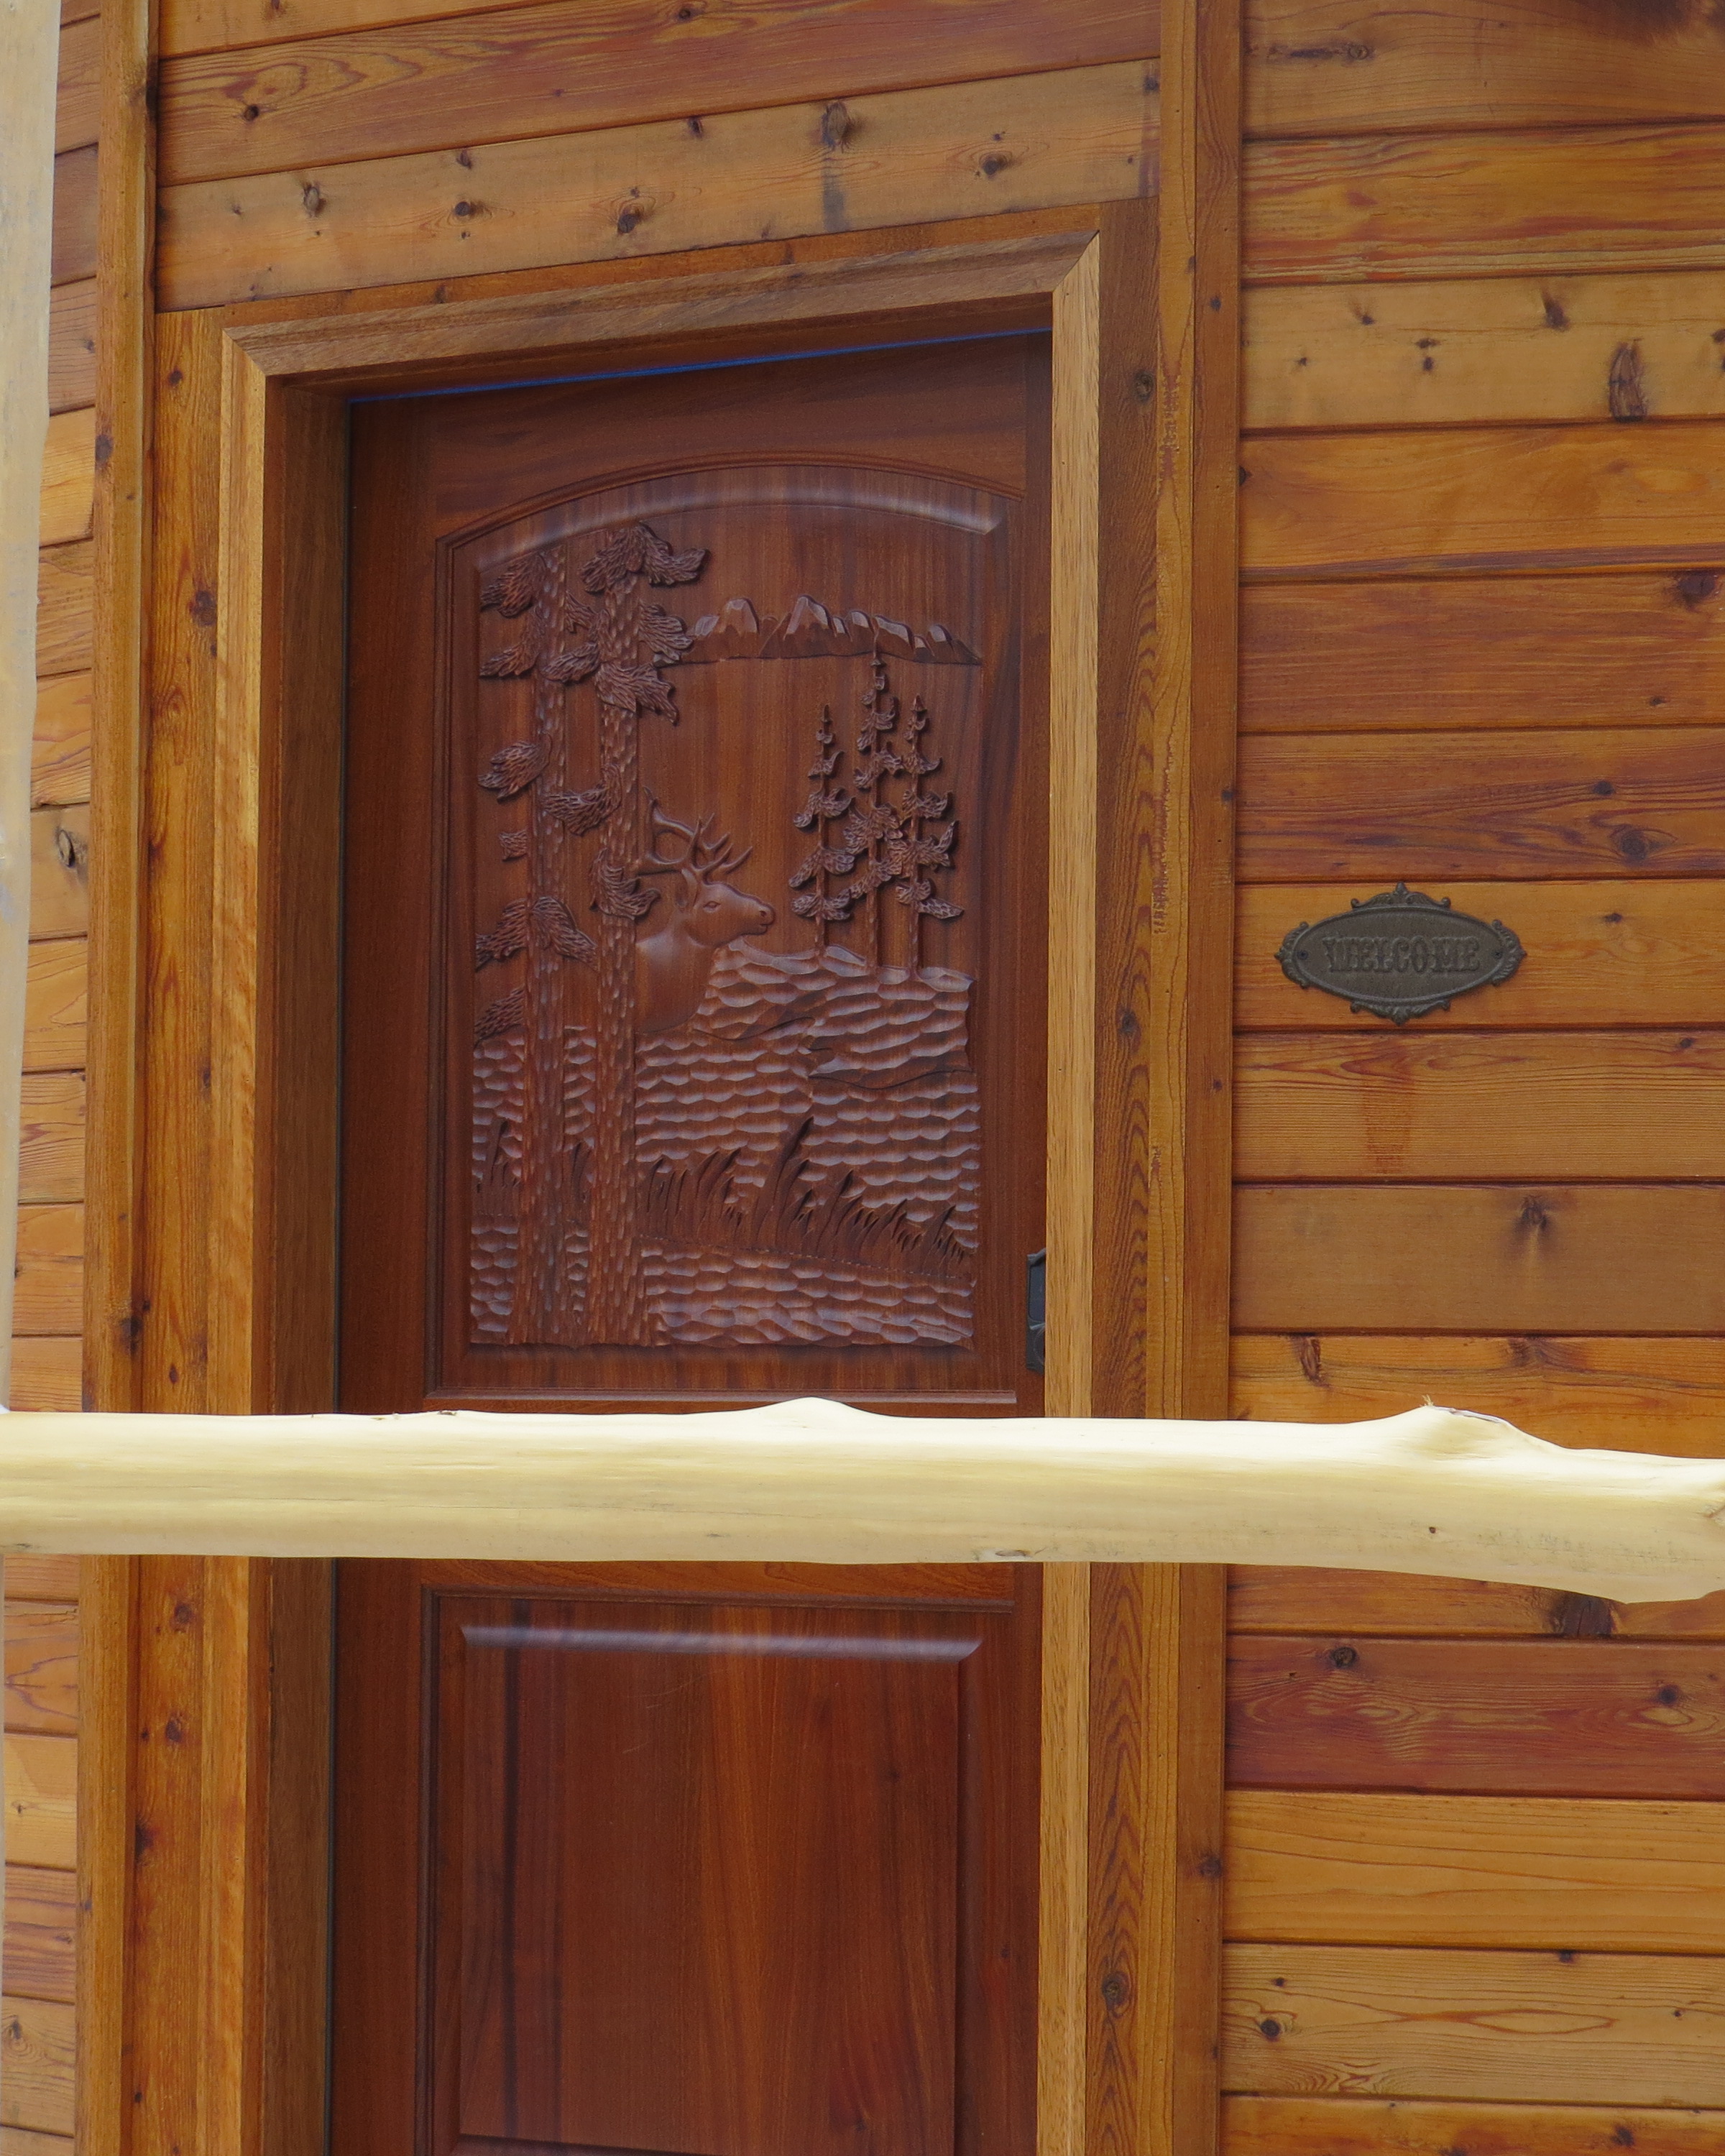
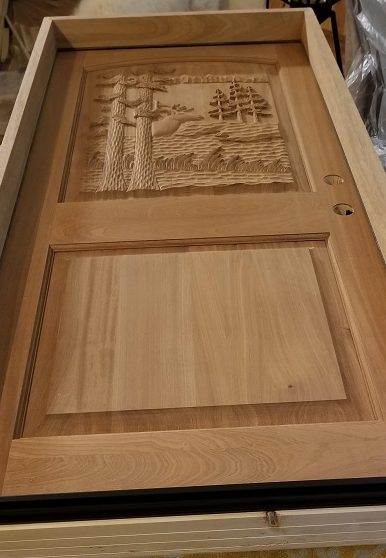
Front Door
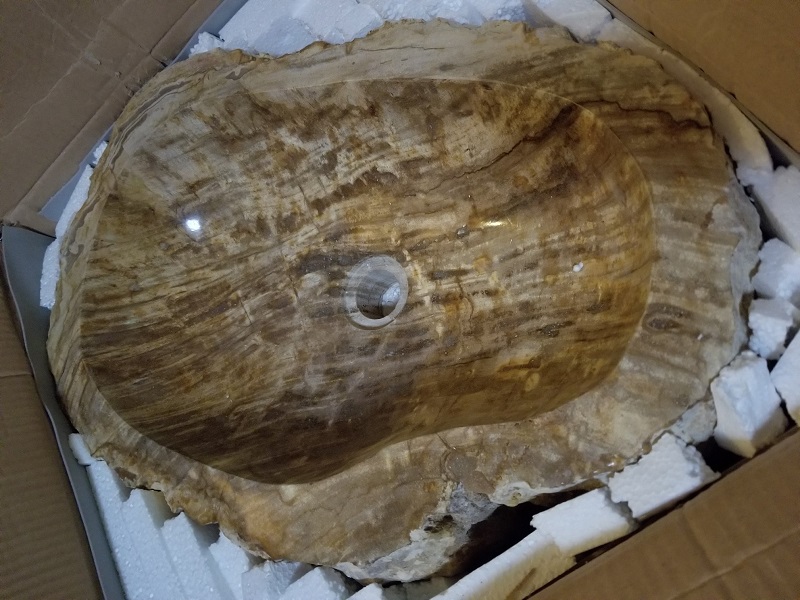
Petrified Wood Sink
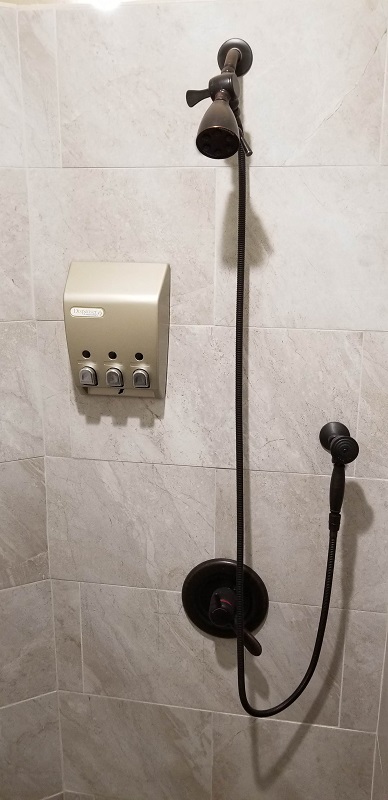
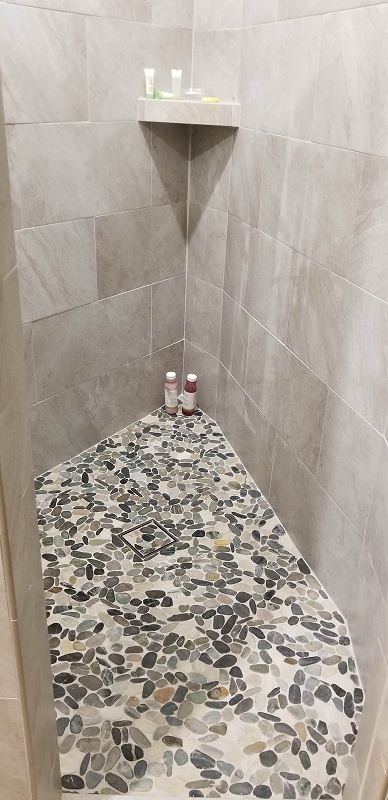
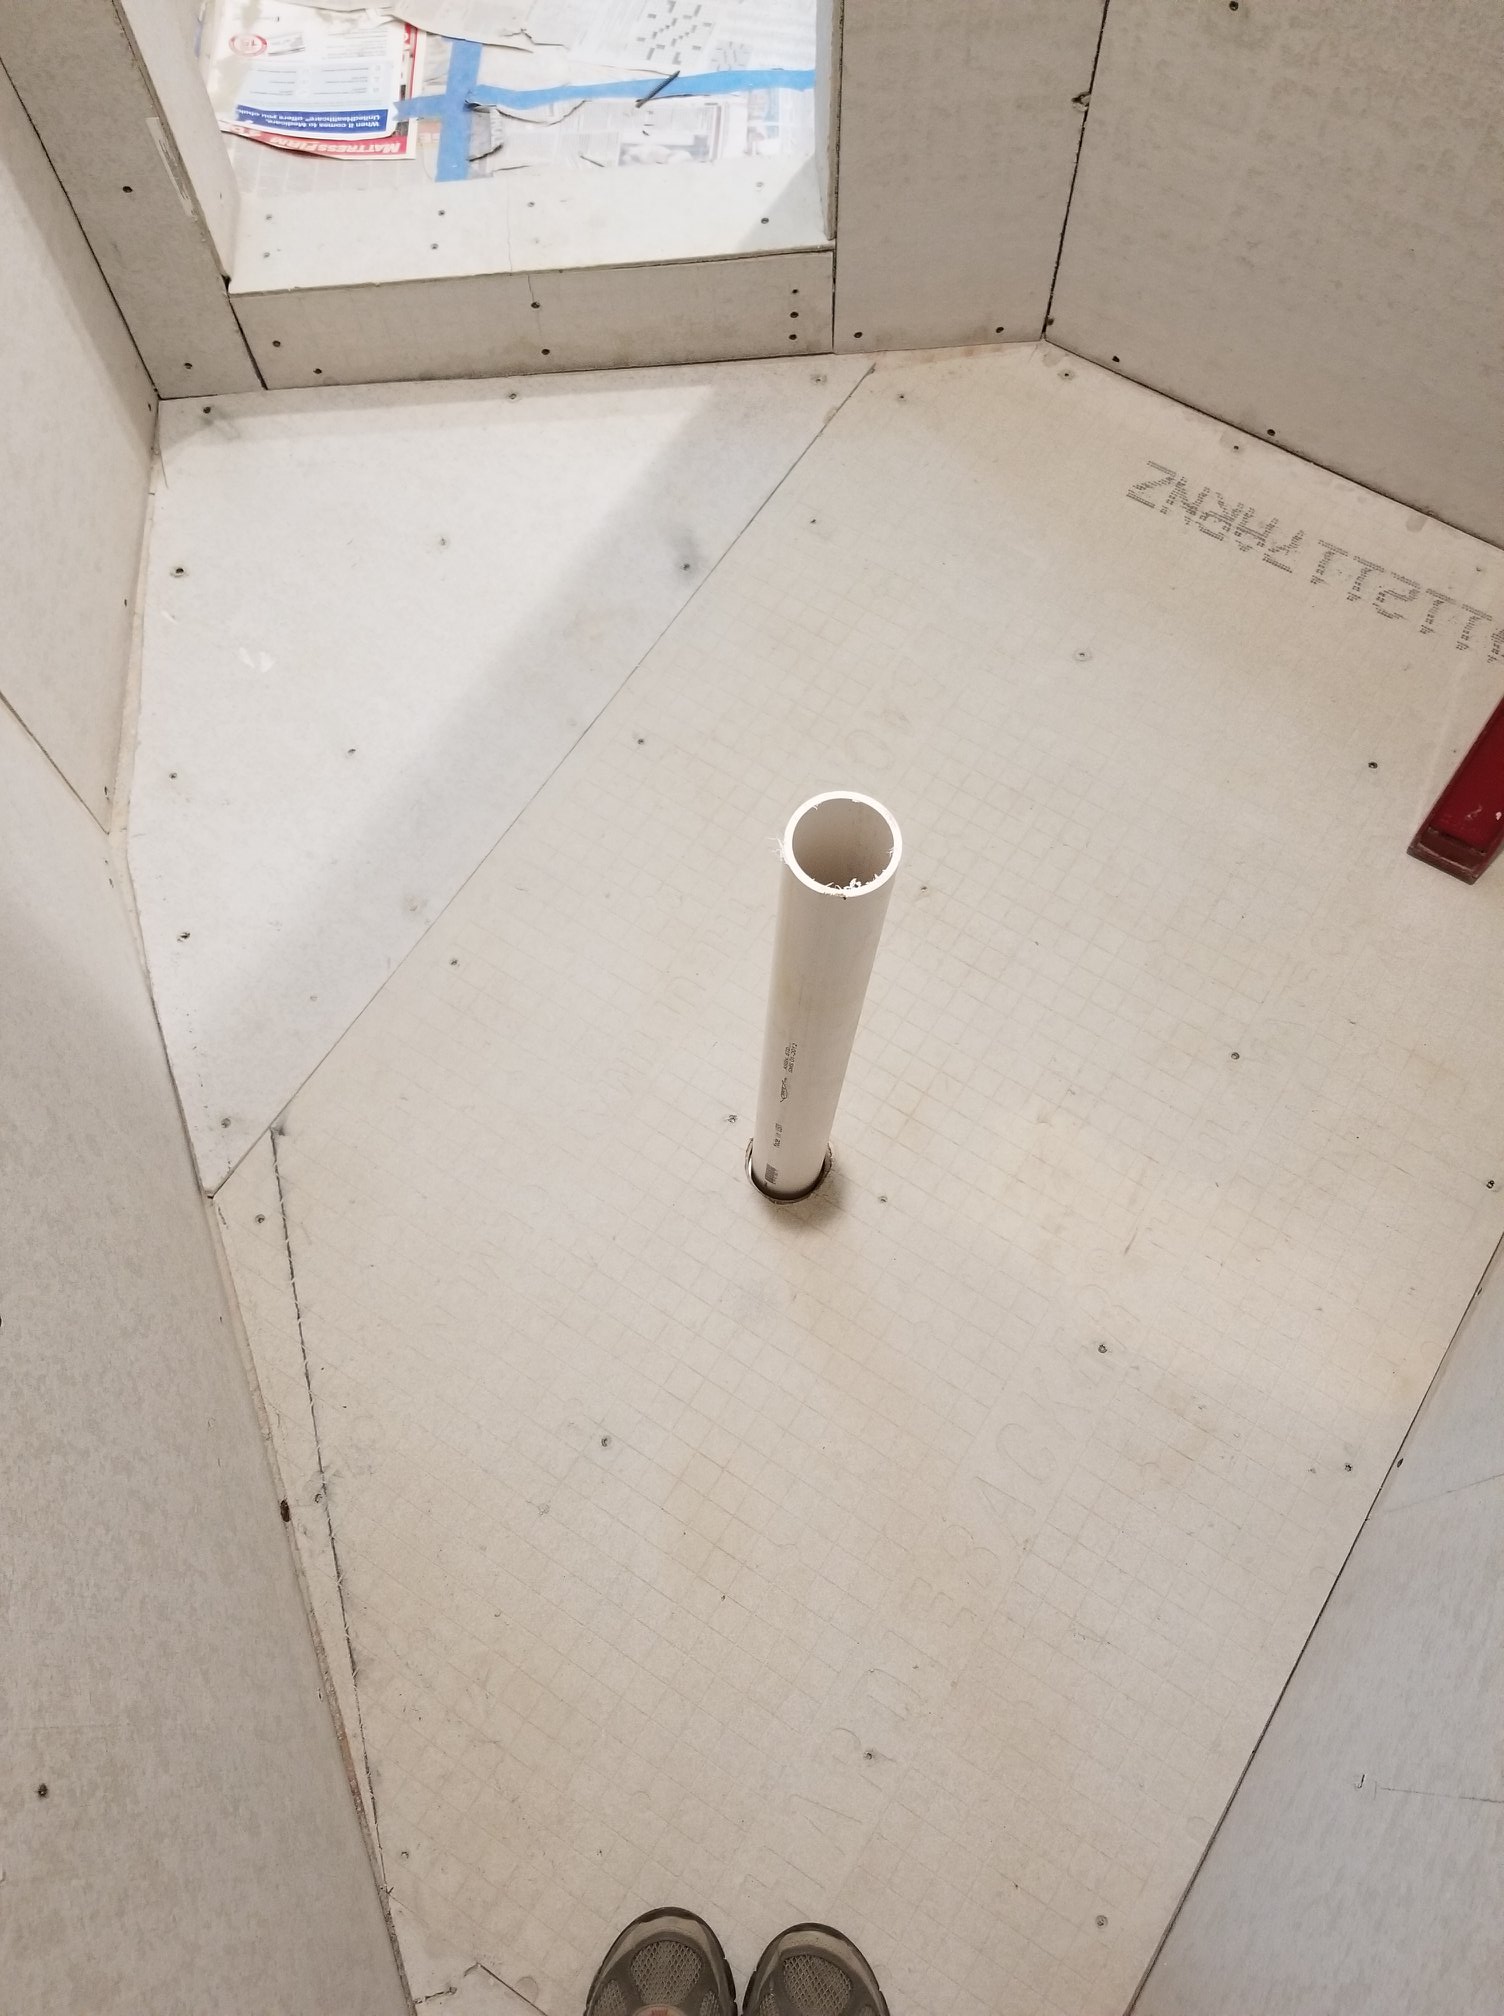
Shower
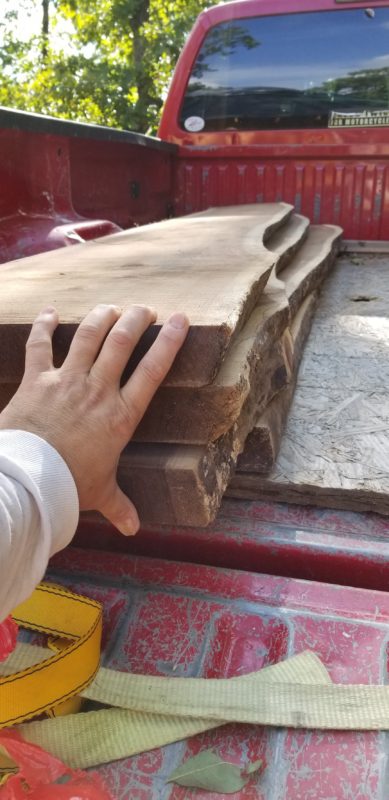
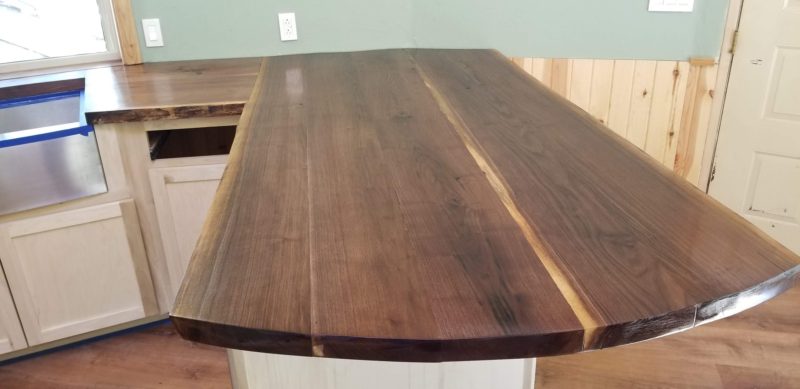
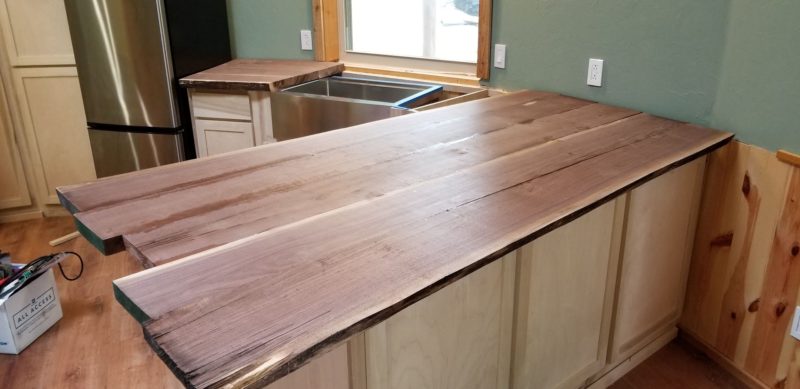
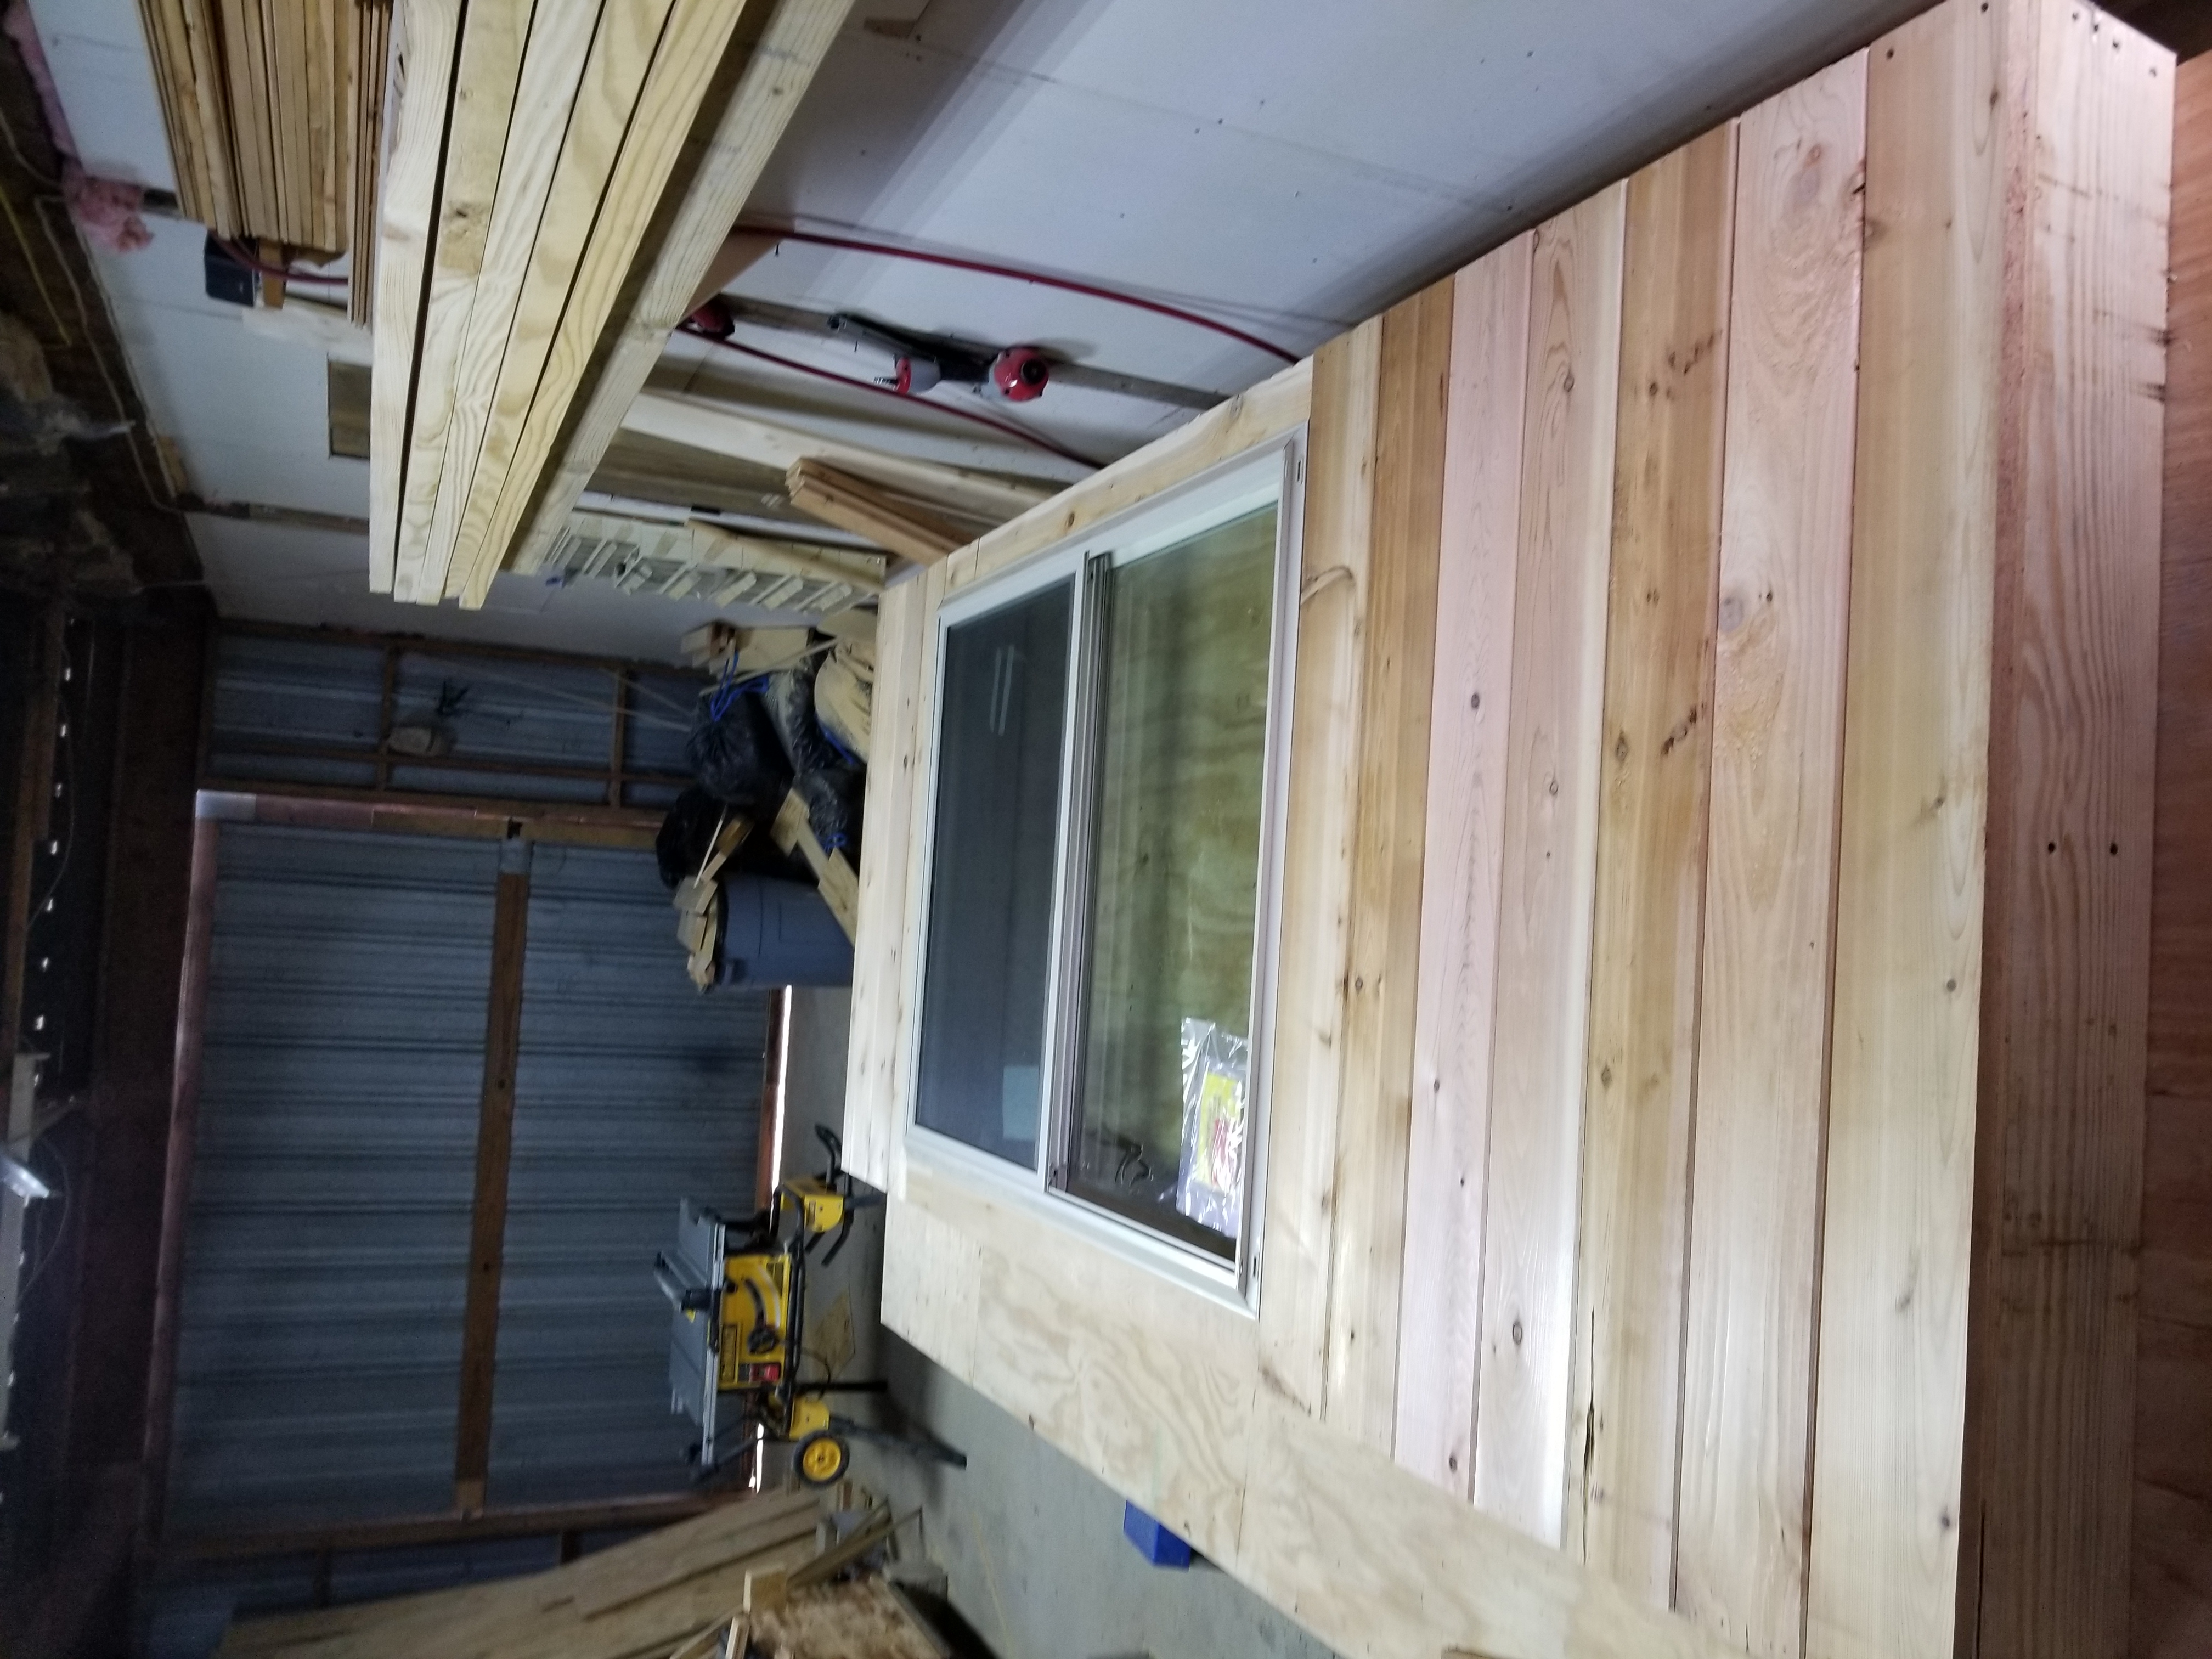
Locally sourced Black Walnut for the countertops.
Building Eureka Yurts and Cabins
Front Door
Petrified Wood Sink
Shower
Locally sourced Black Walnut for the countertops.
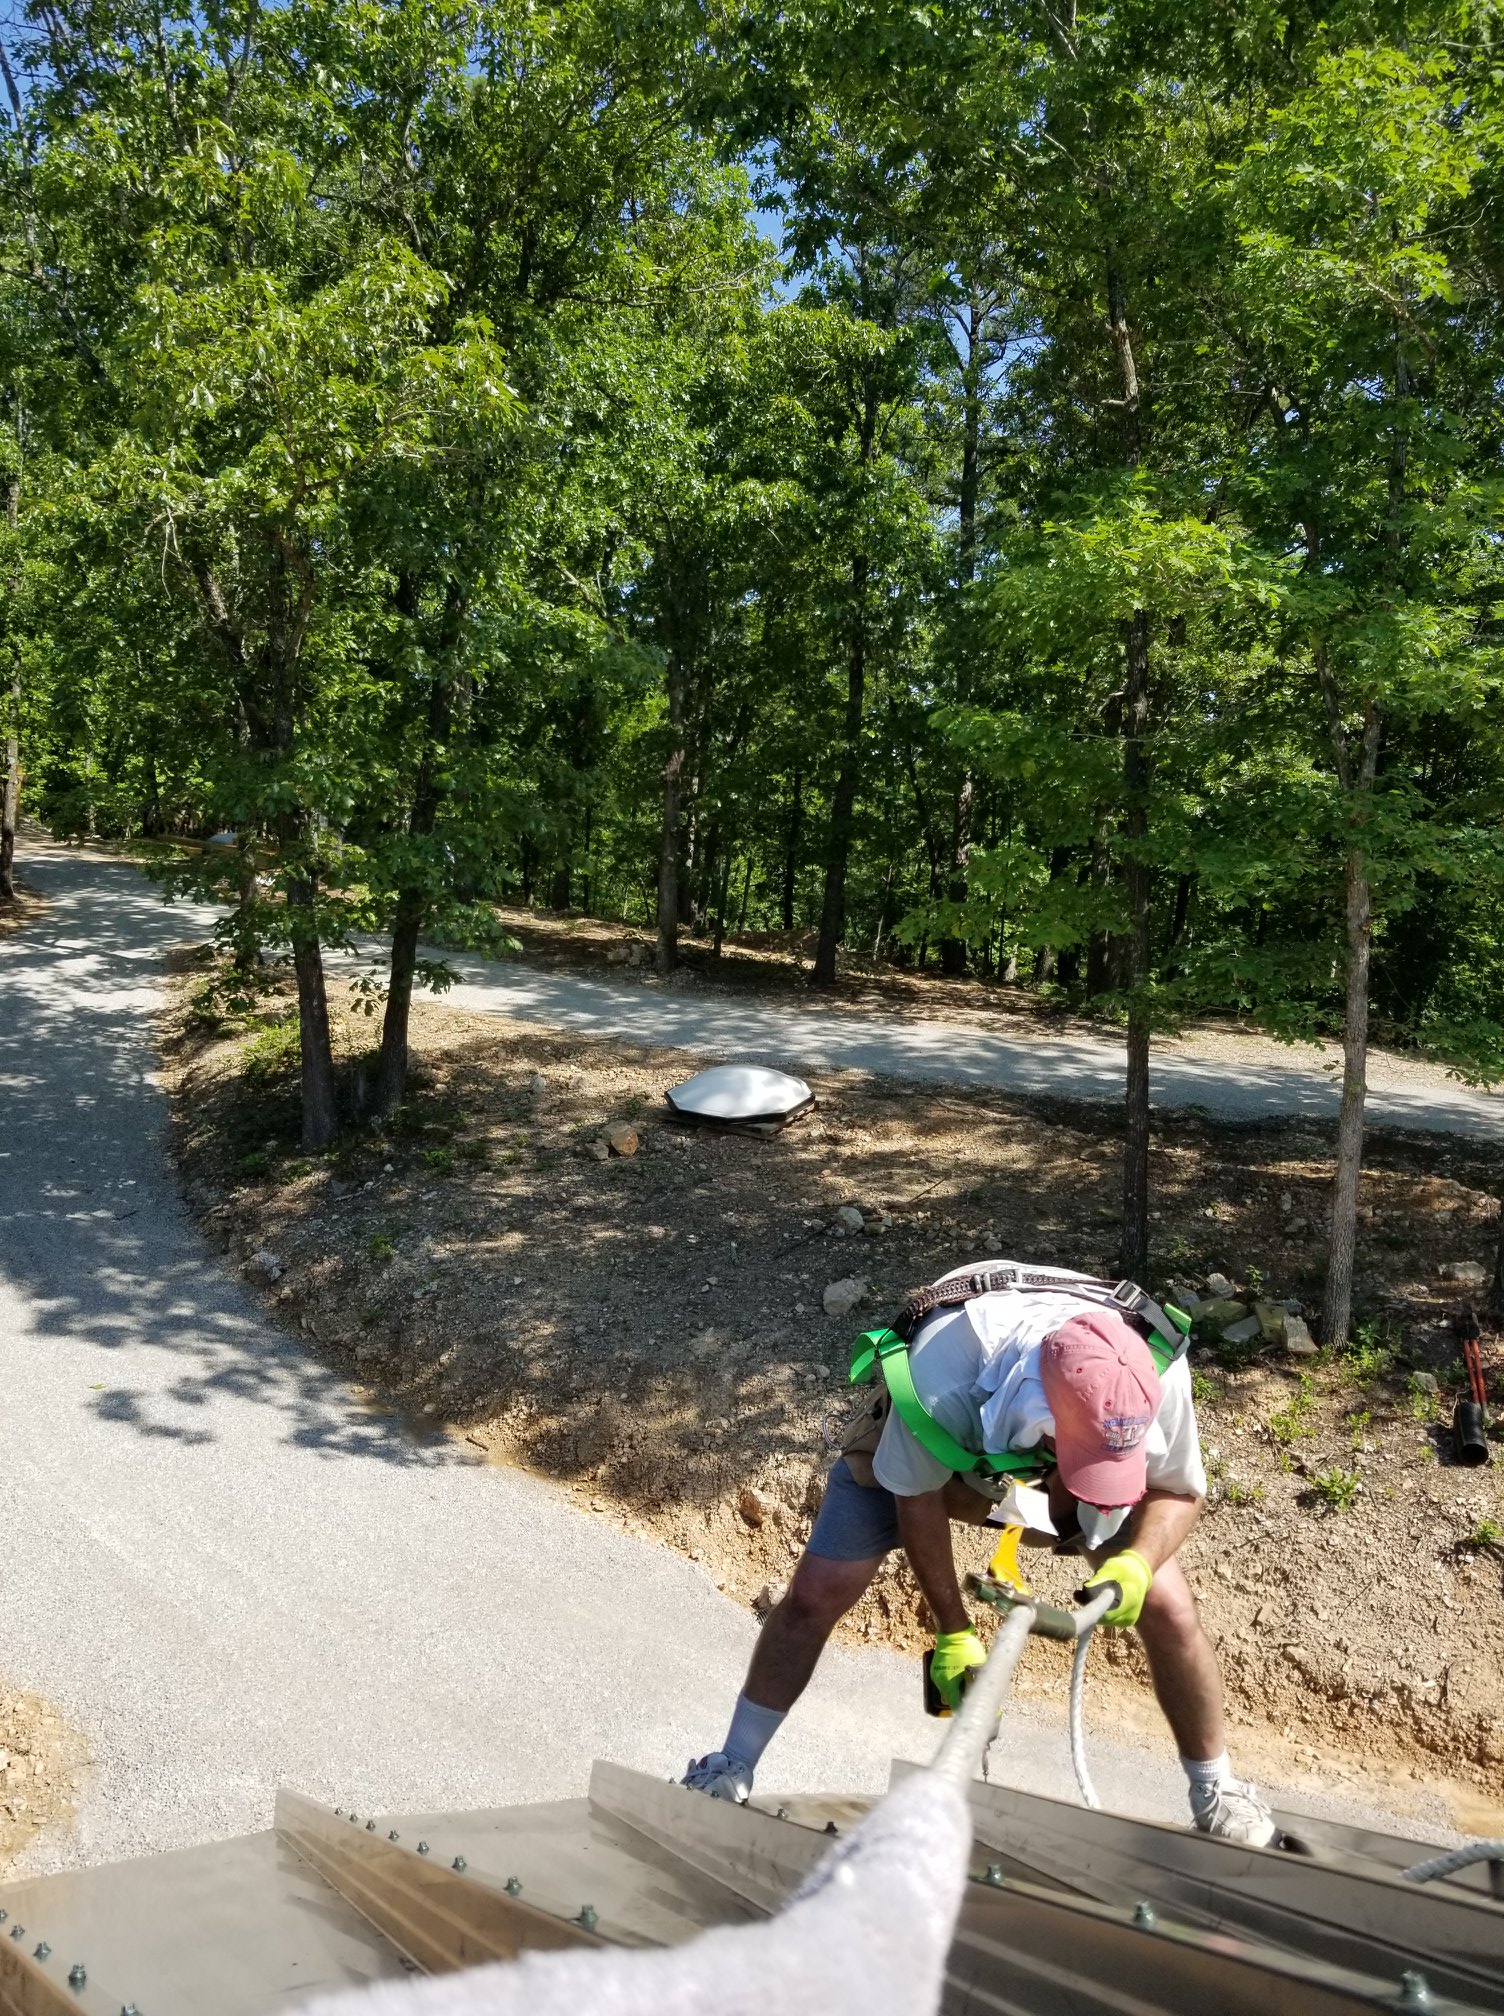
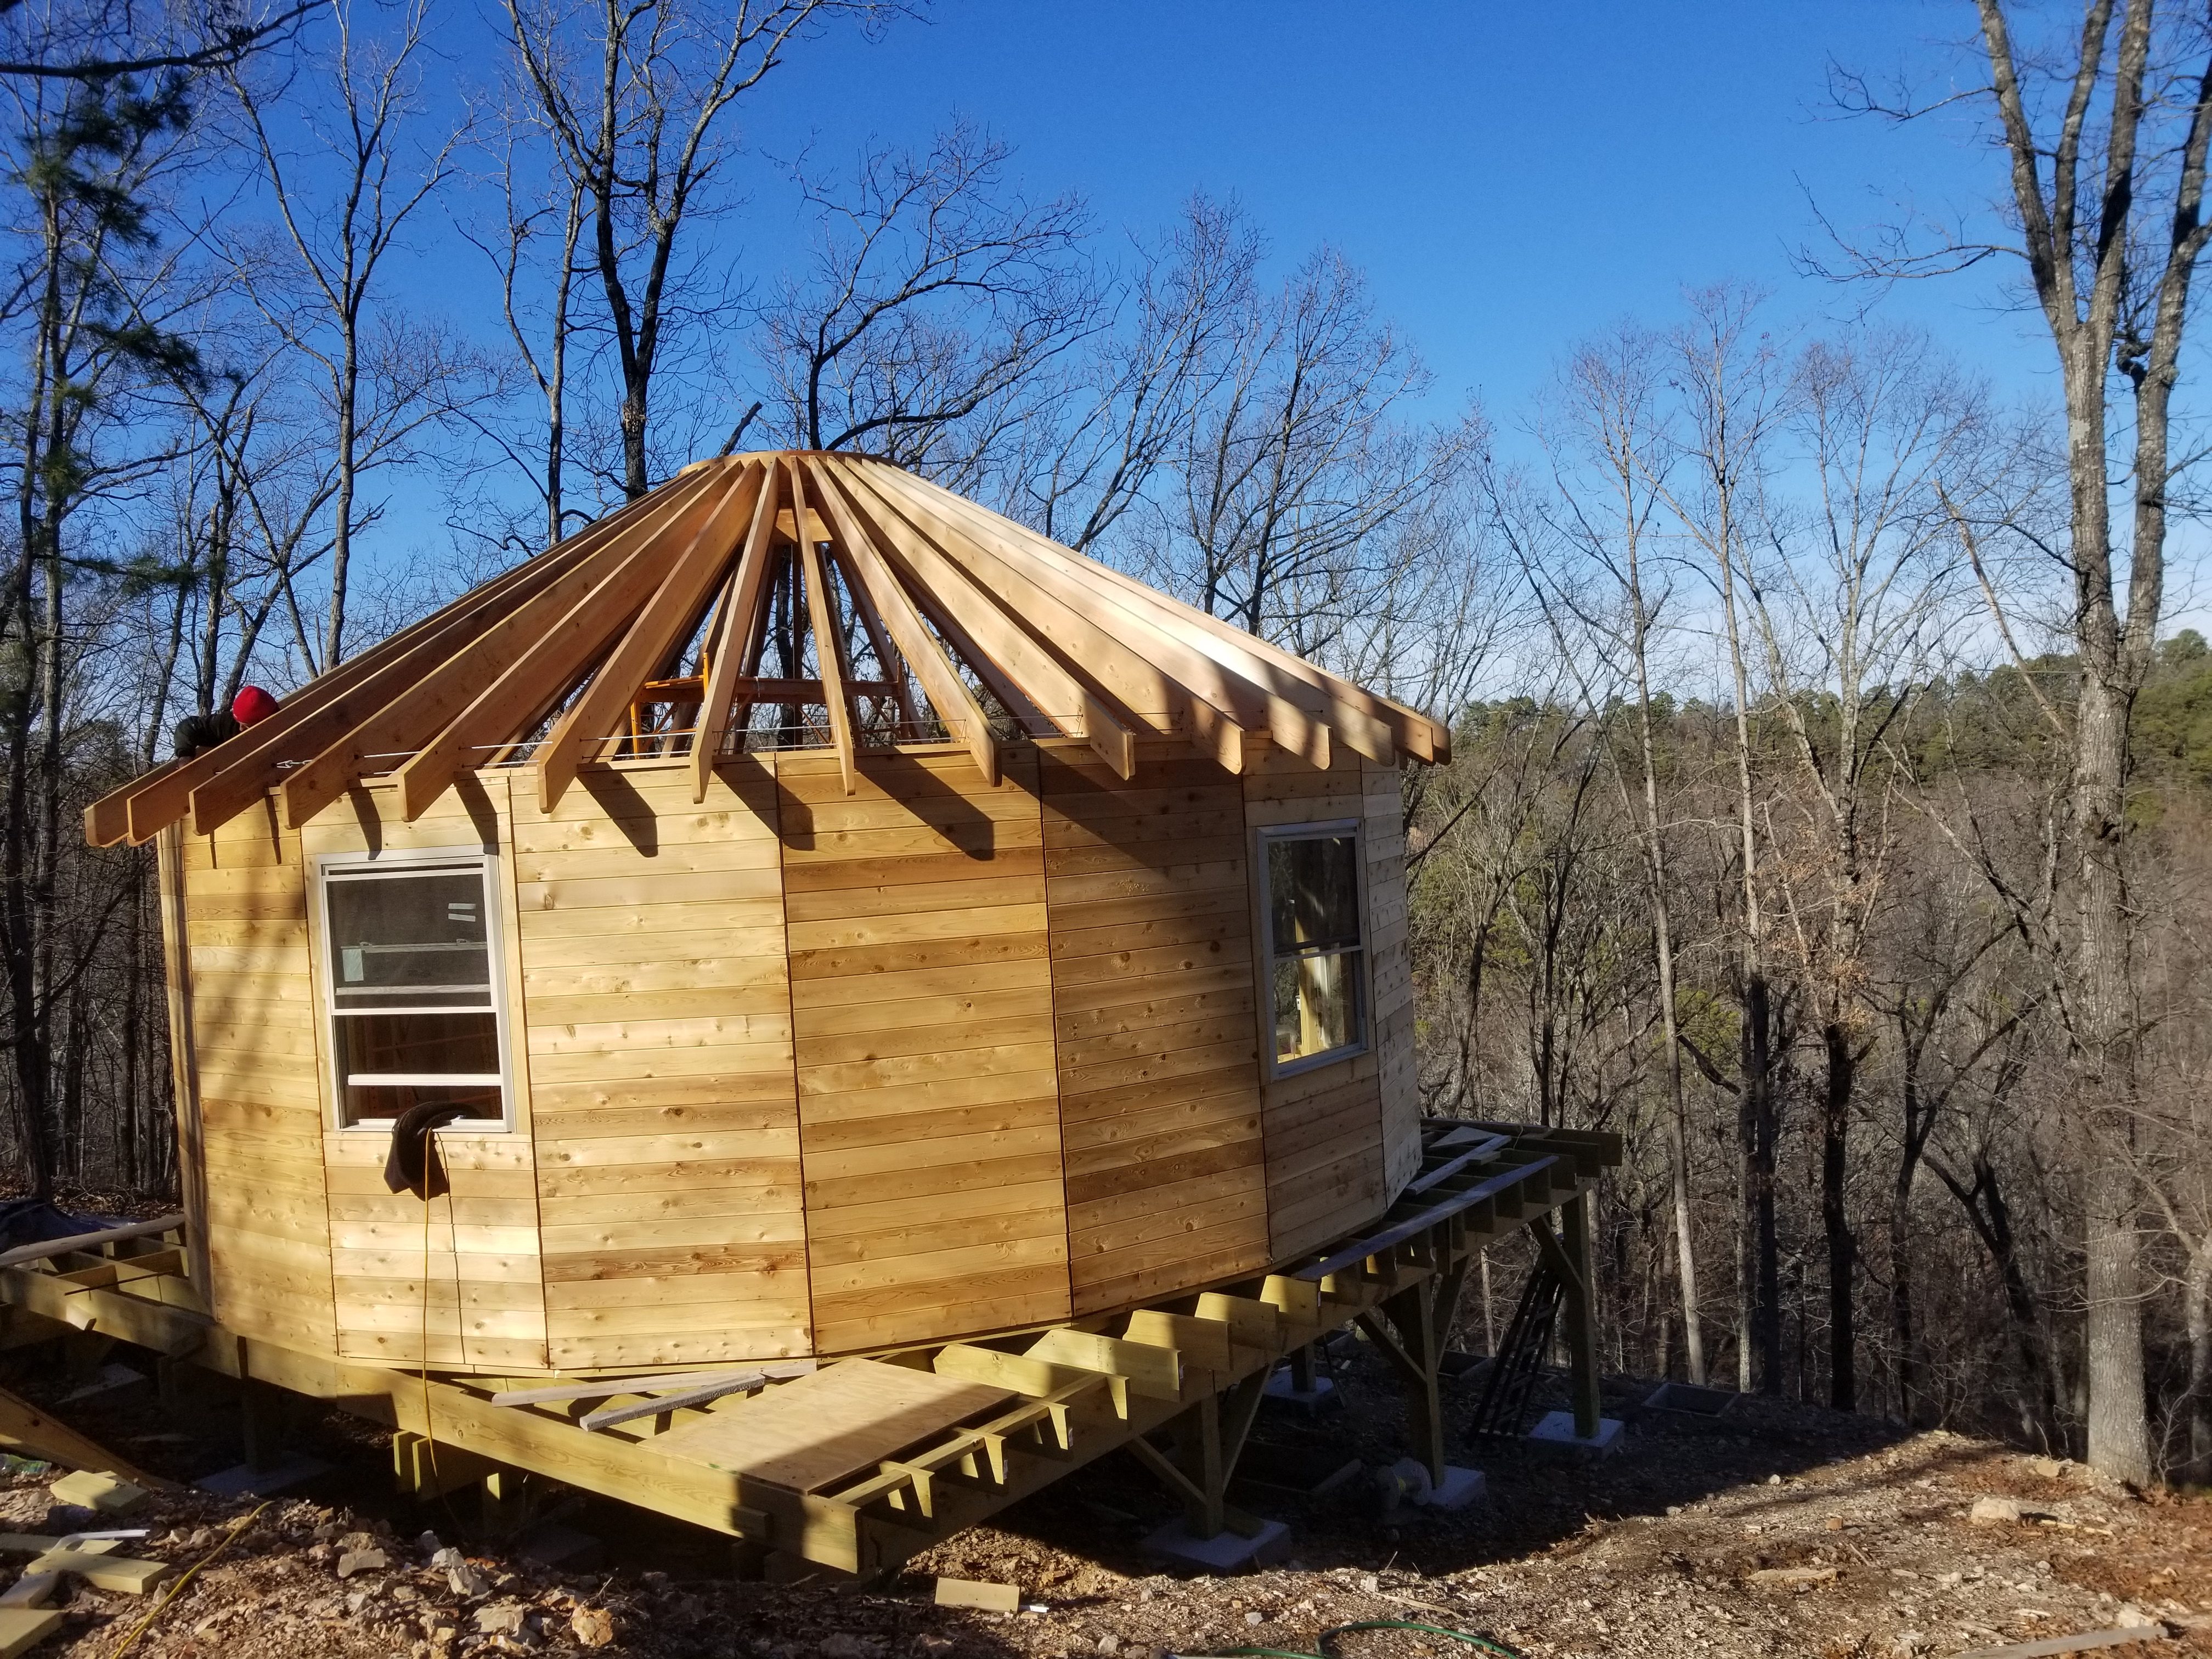
We now have the roof on. It was quite difficult because my harness was made to catch you in the event of a fall. The clip was designed to be in the back. Notice the belt on my back to hold the harness together. We had to retrofit it backwards so we could repel down the roof and pre-drill the holes and then screw it down. In order to do this you had to support your weight with one arm while you worked with the other.
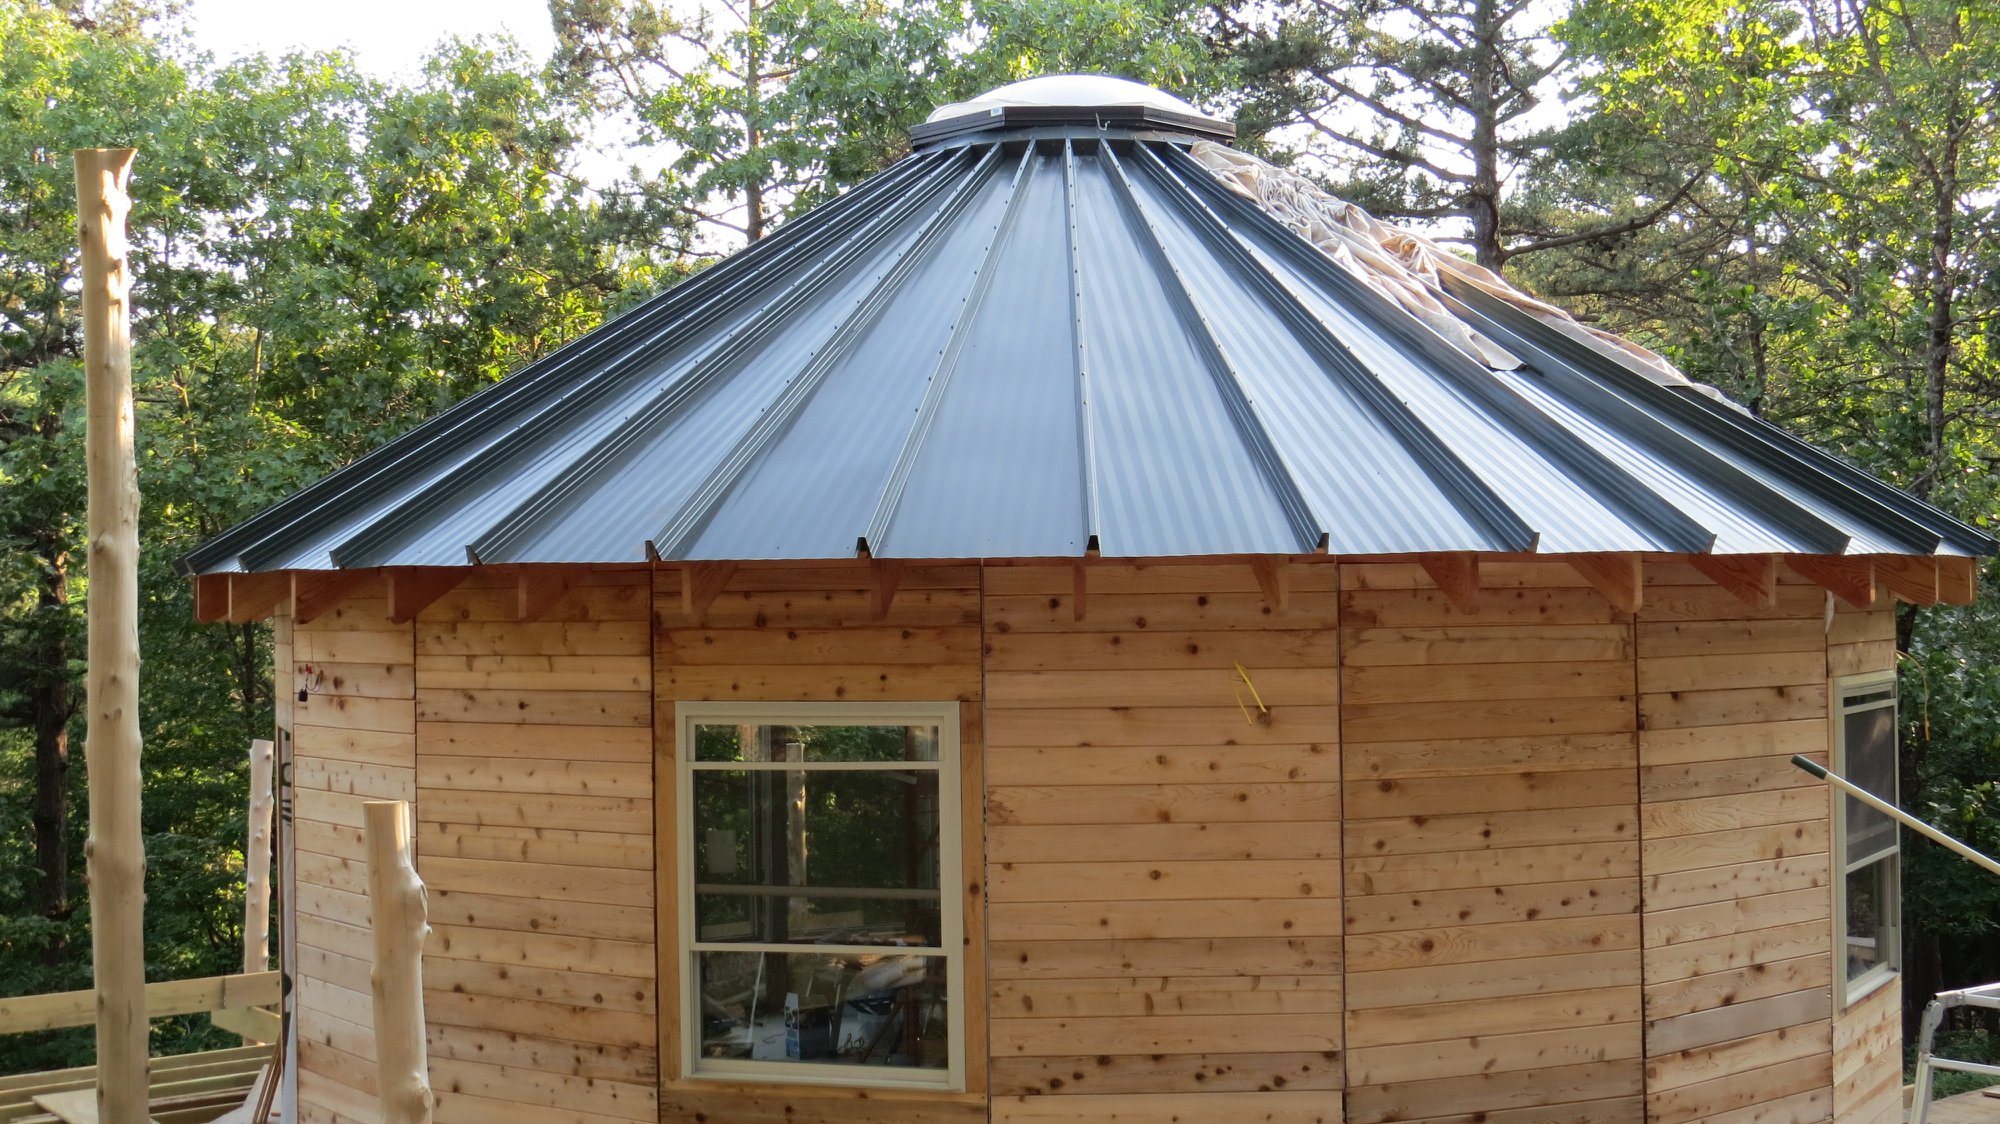
Skylight installed. I only cut my forearm once on the edge of the roof getting it to the top. #superglue
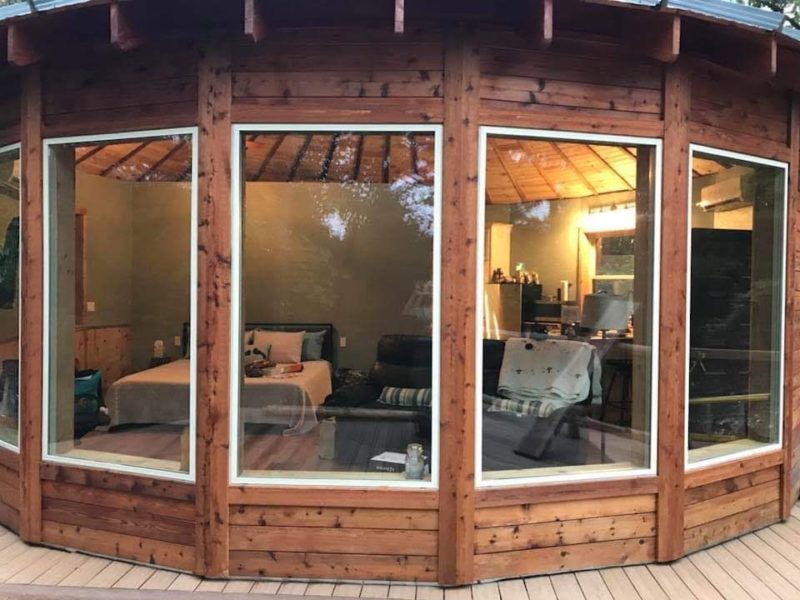
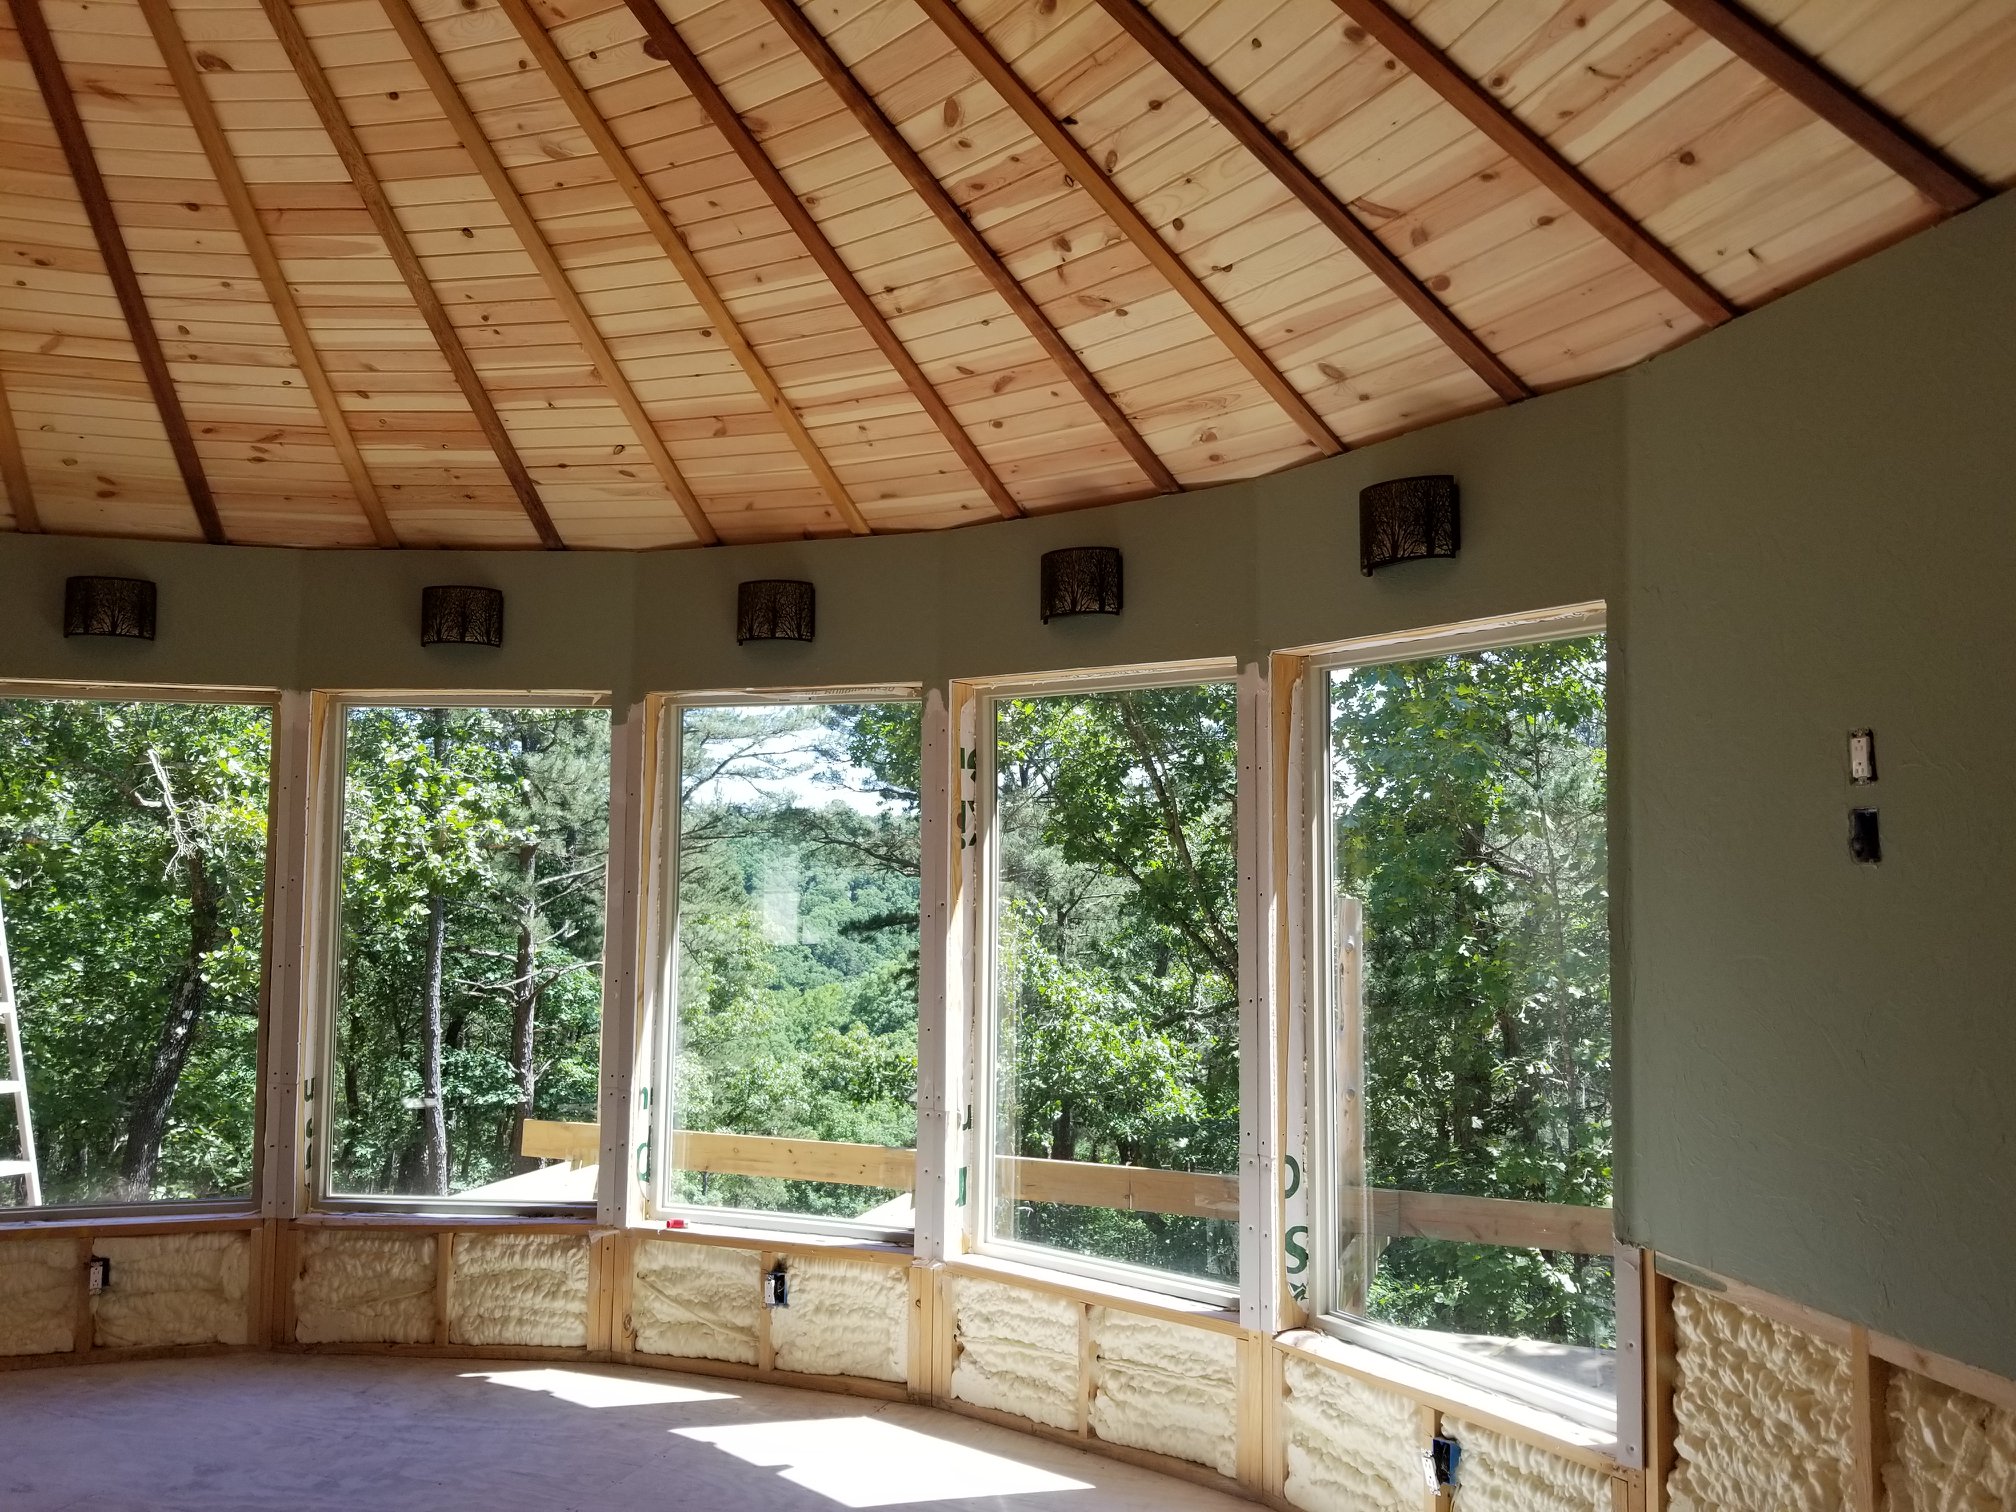
Interior after sheet rock, texture, paint, and fixtures.
Interior looking over the deck to the view.
Kitchen, Bar area, and front door.

This is a sink I found for the bathroom. It carved out of a petrified wood tree log. It is stunning.

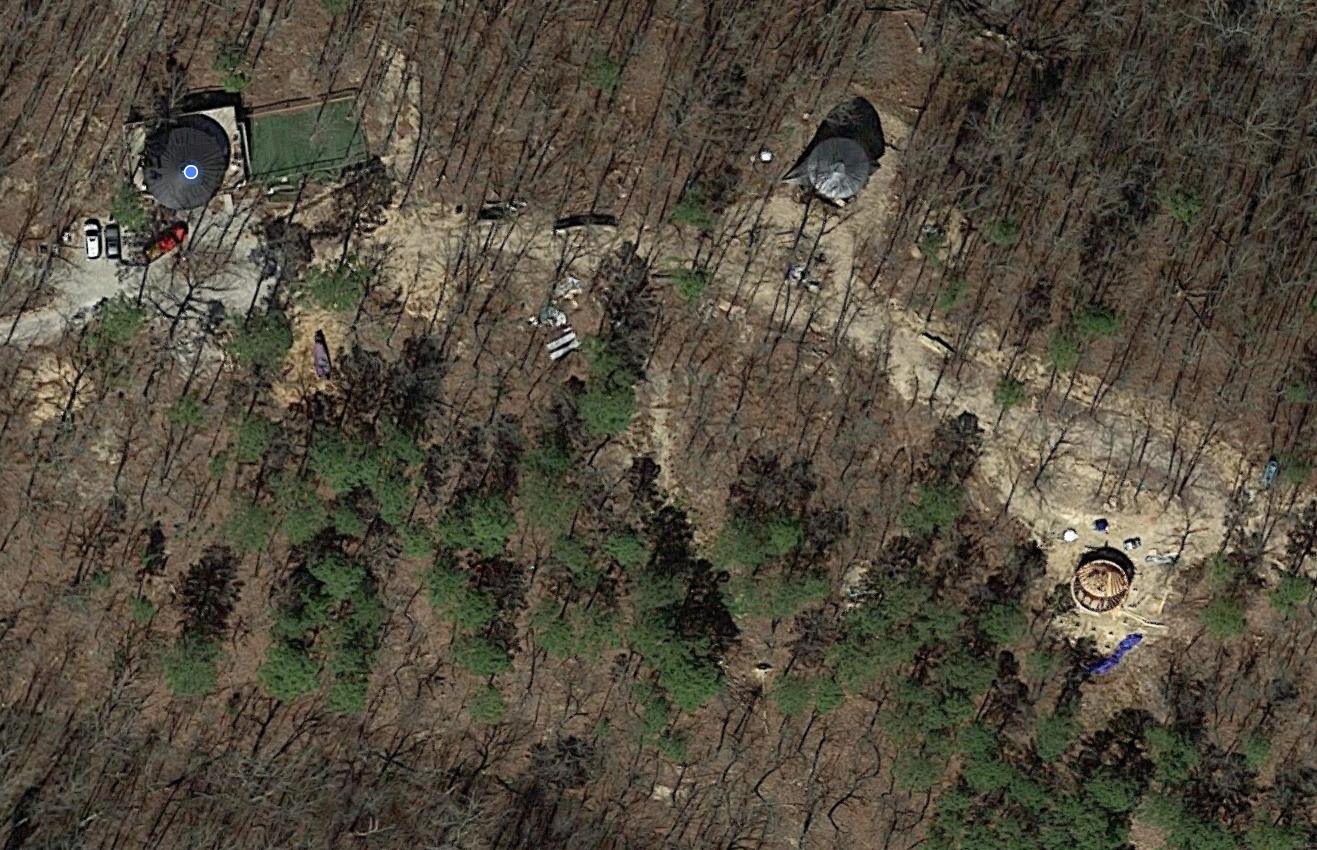
This a google earth photo of our property. The far left is our current house. In the middle is Yurt 1 (tarp on the roof) and bottom right is Yurt 2 (the one we are working to finish first). If you look real close you can see us working on the roof.
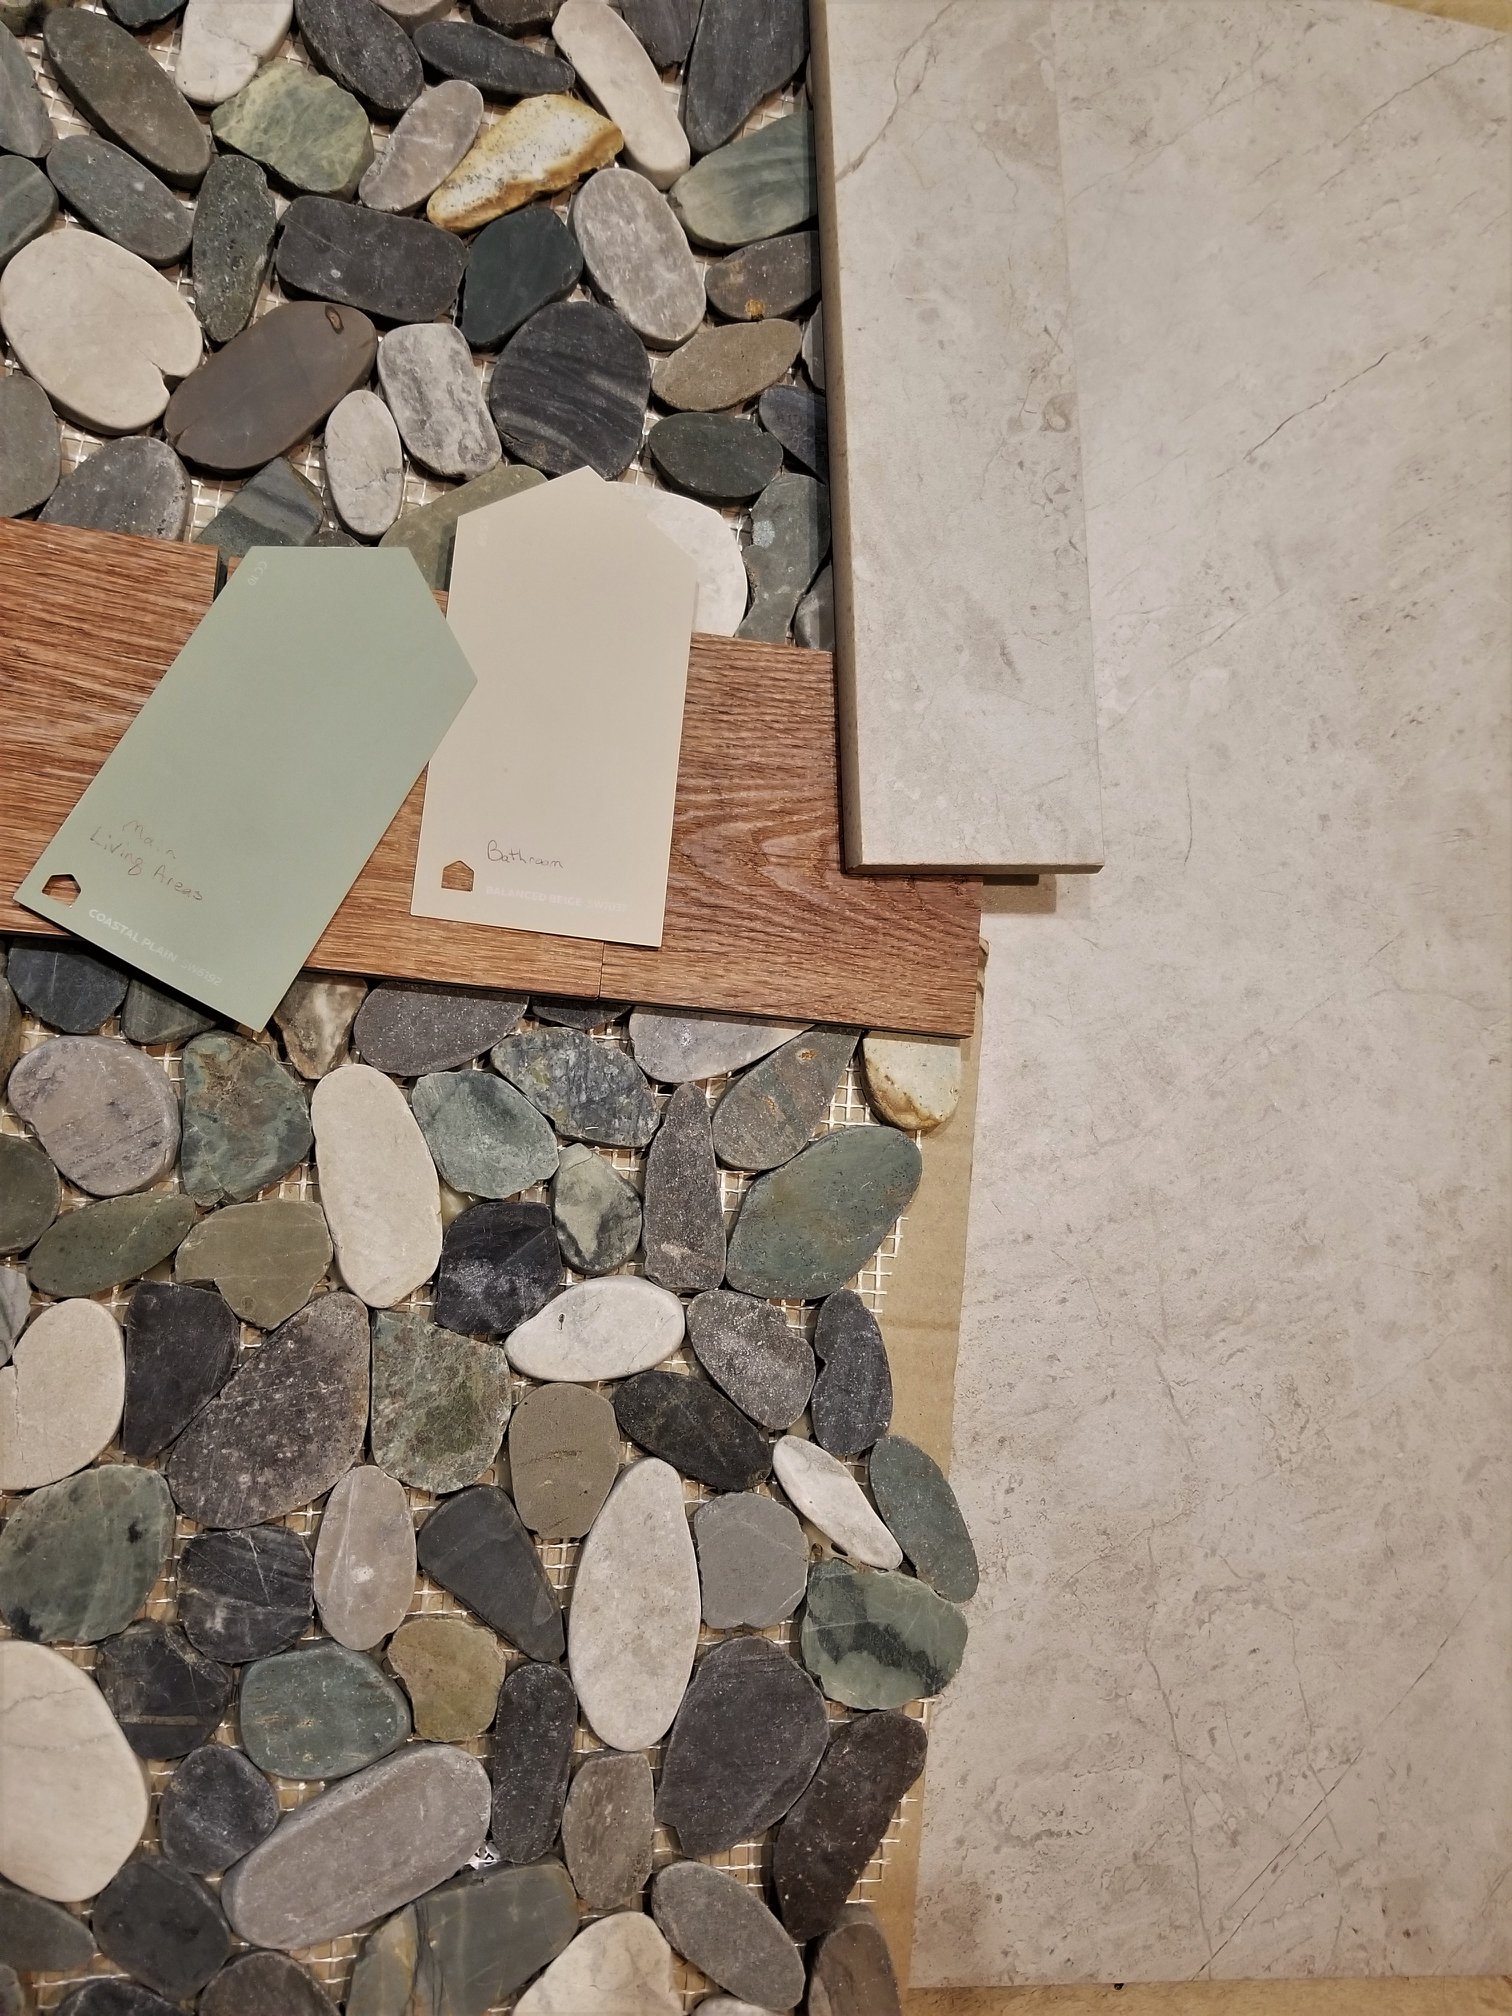
These are the materials that we have chosen for the finish out. Flat pebble rock shower floor, tile for the shower walls, bathroom and living room paint colors and high-end vinyl flooring (no grout lines and looks just as good as wood due to a lot of variations in the planks).
View from the road with the circular drive
Walkin shower rocked.
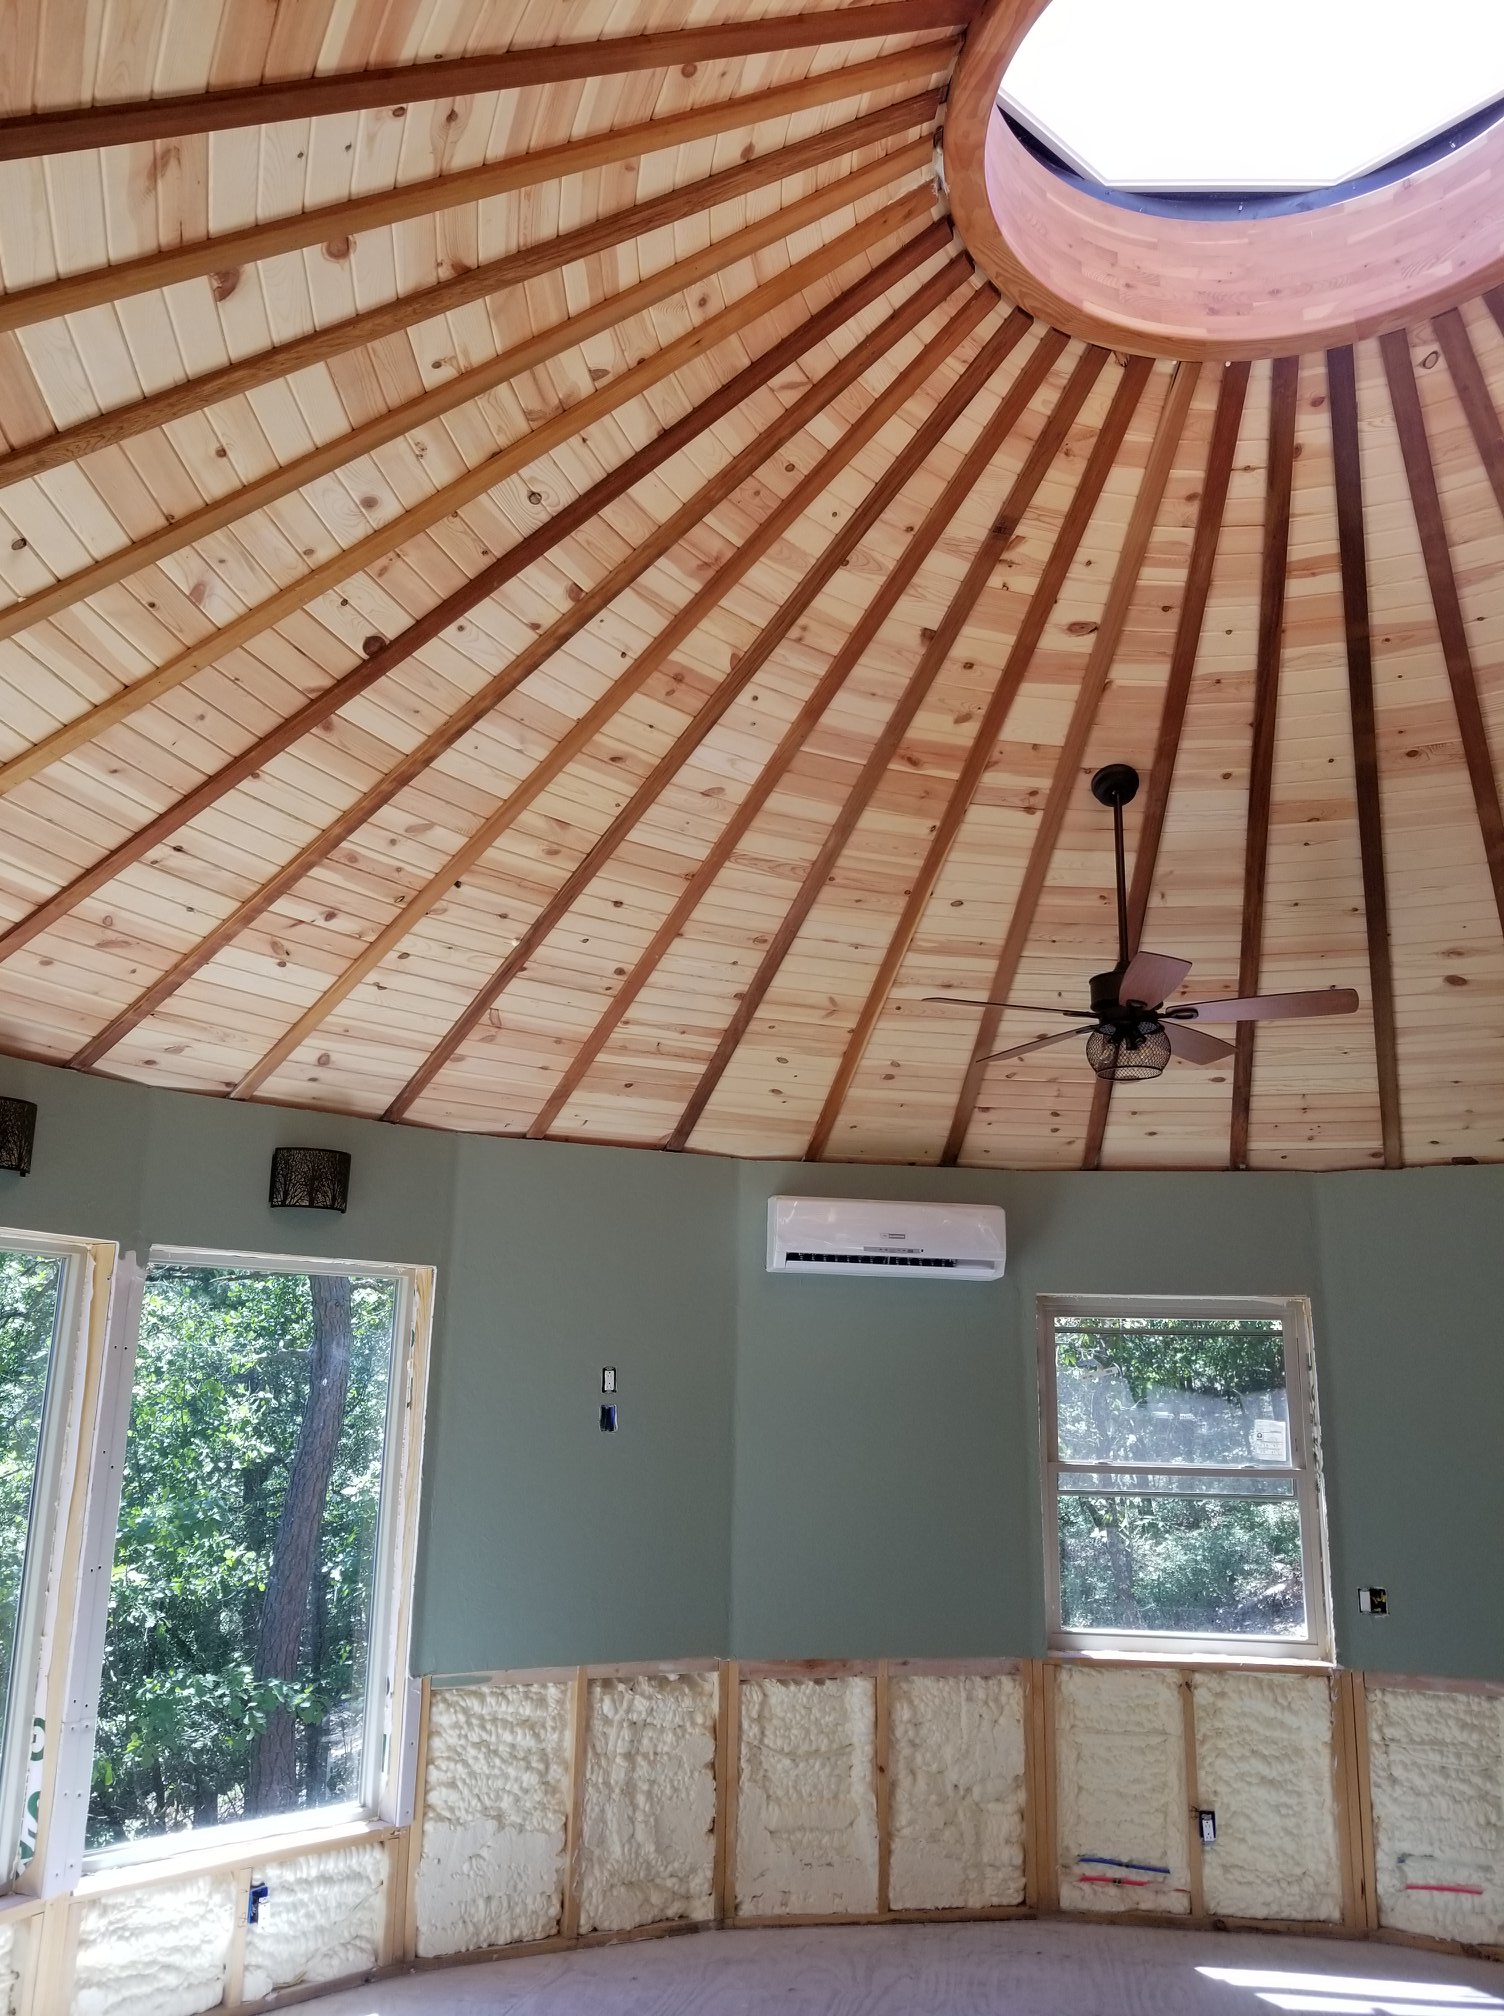
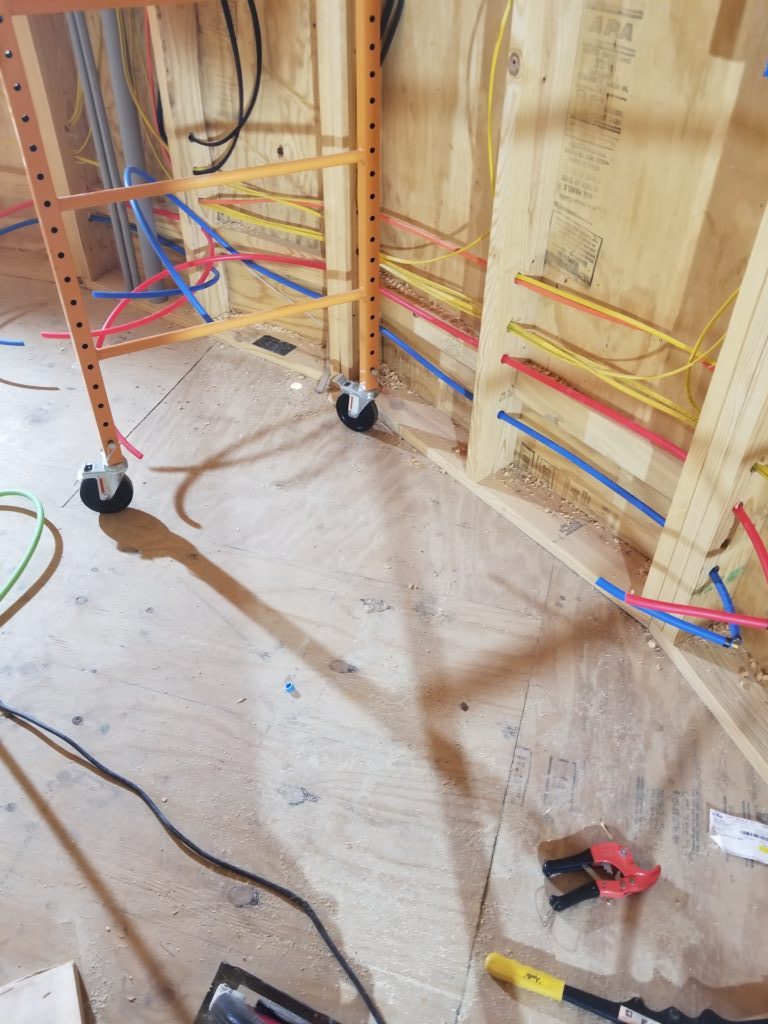
We have worked to get the electrical, plumbing and ceiling tongue and groove installed.
Framing of the huge back deck.
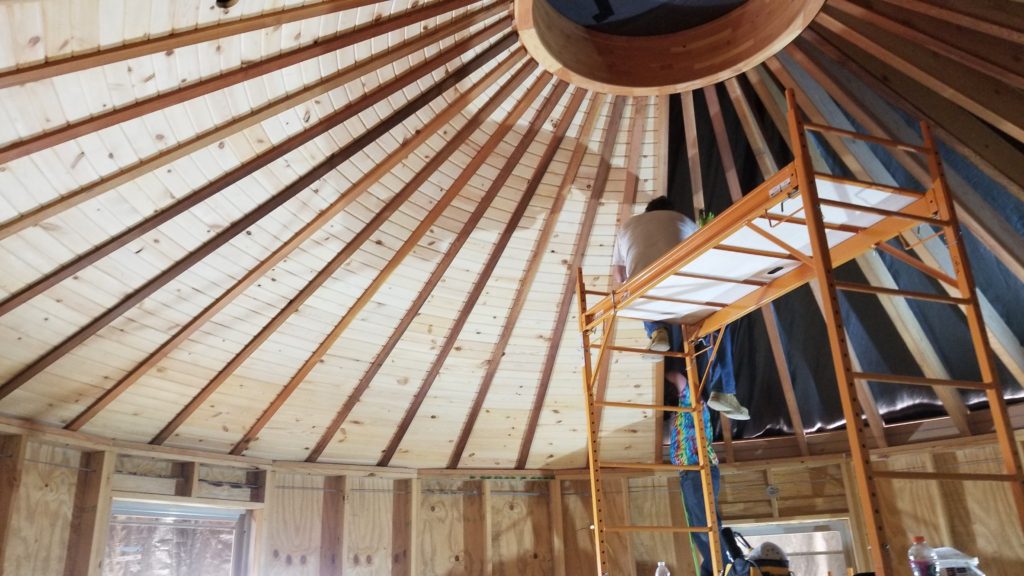
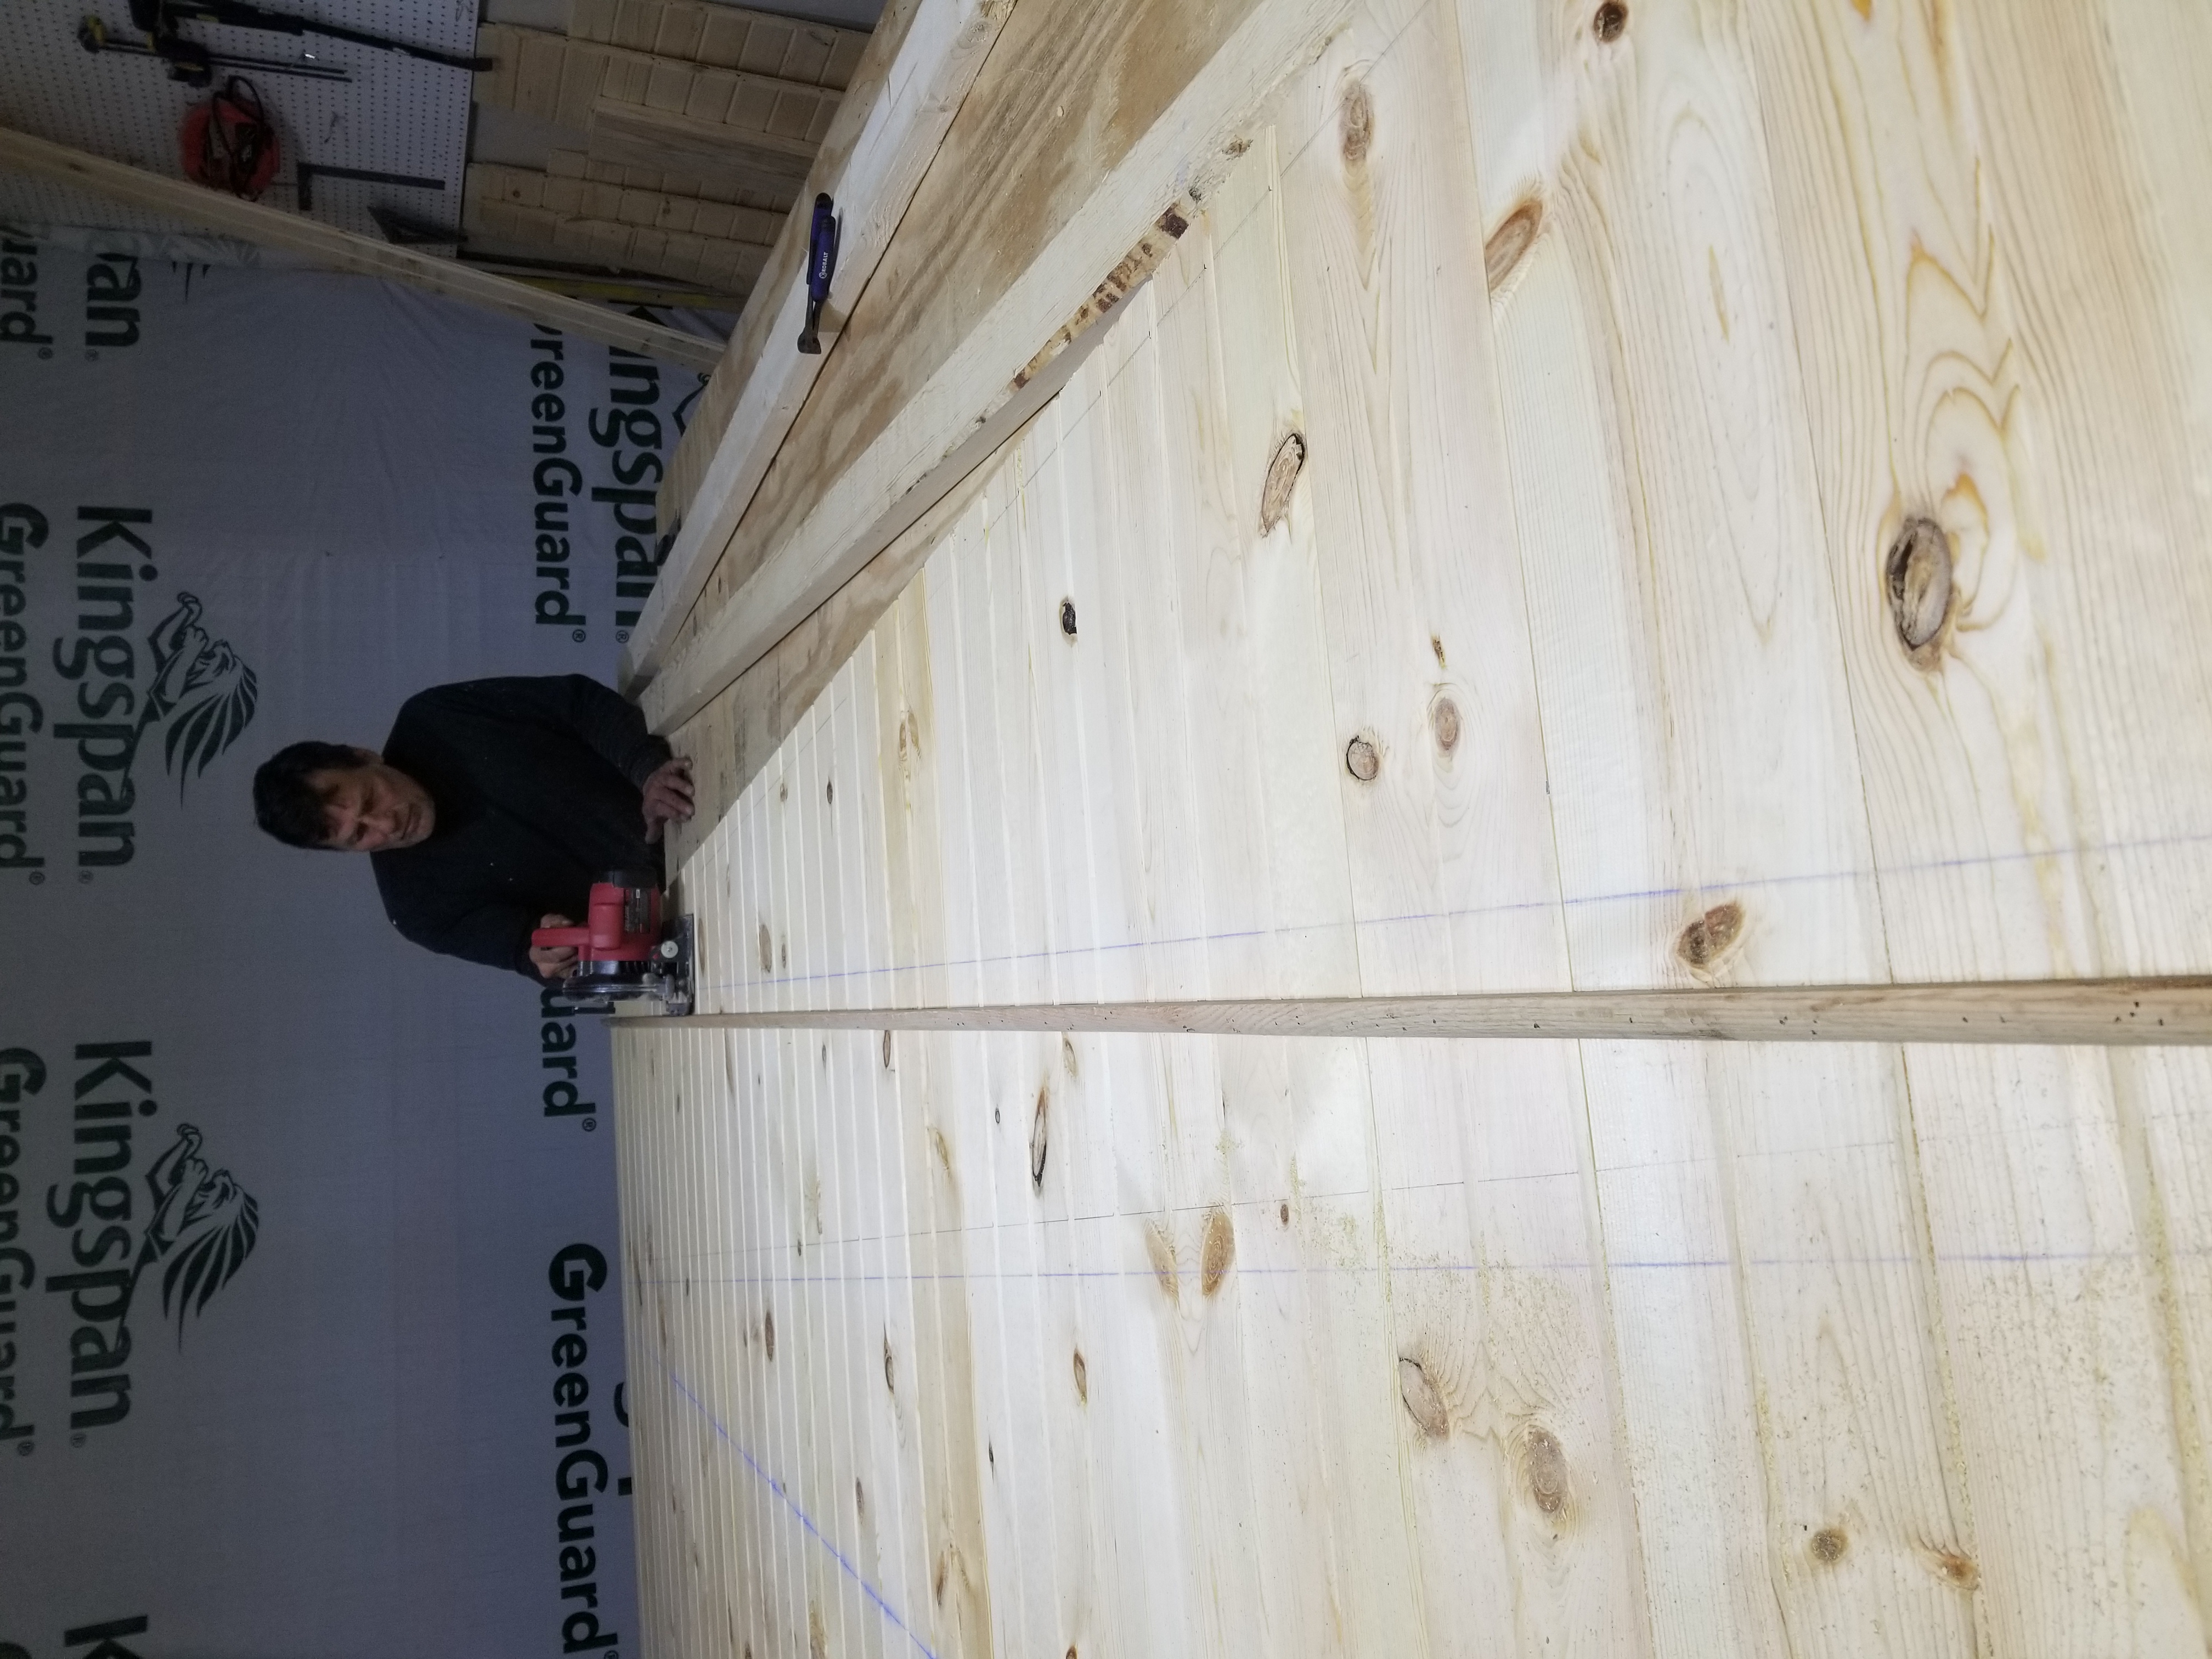
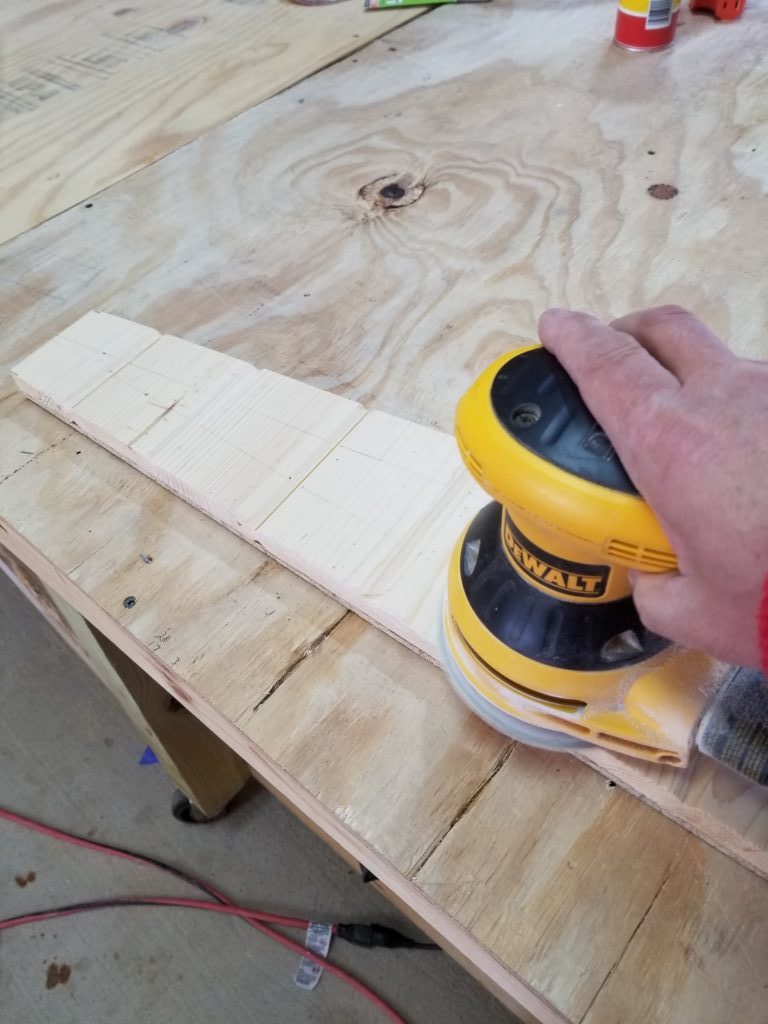
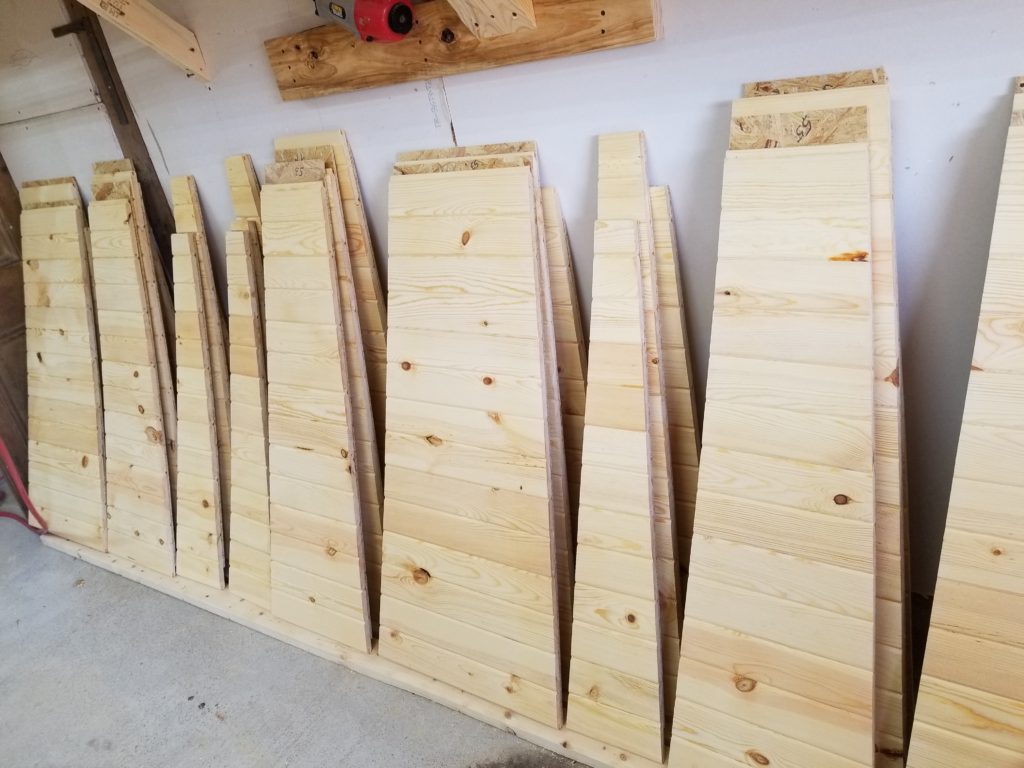
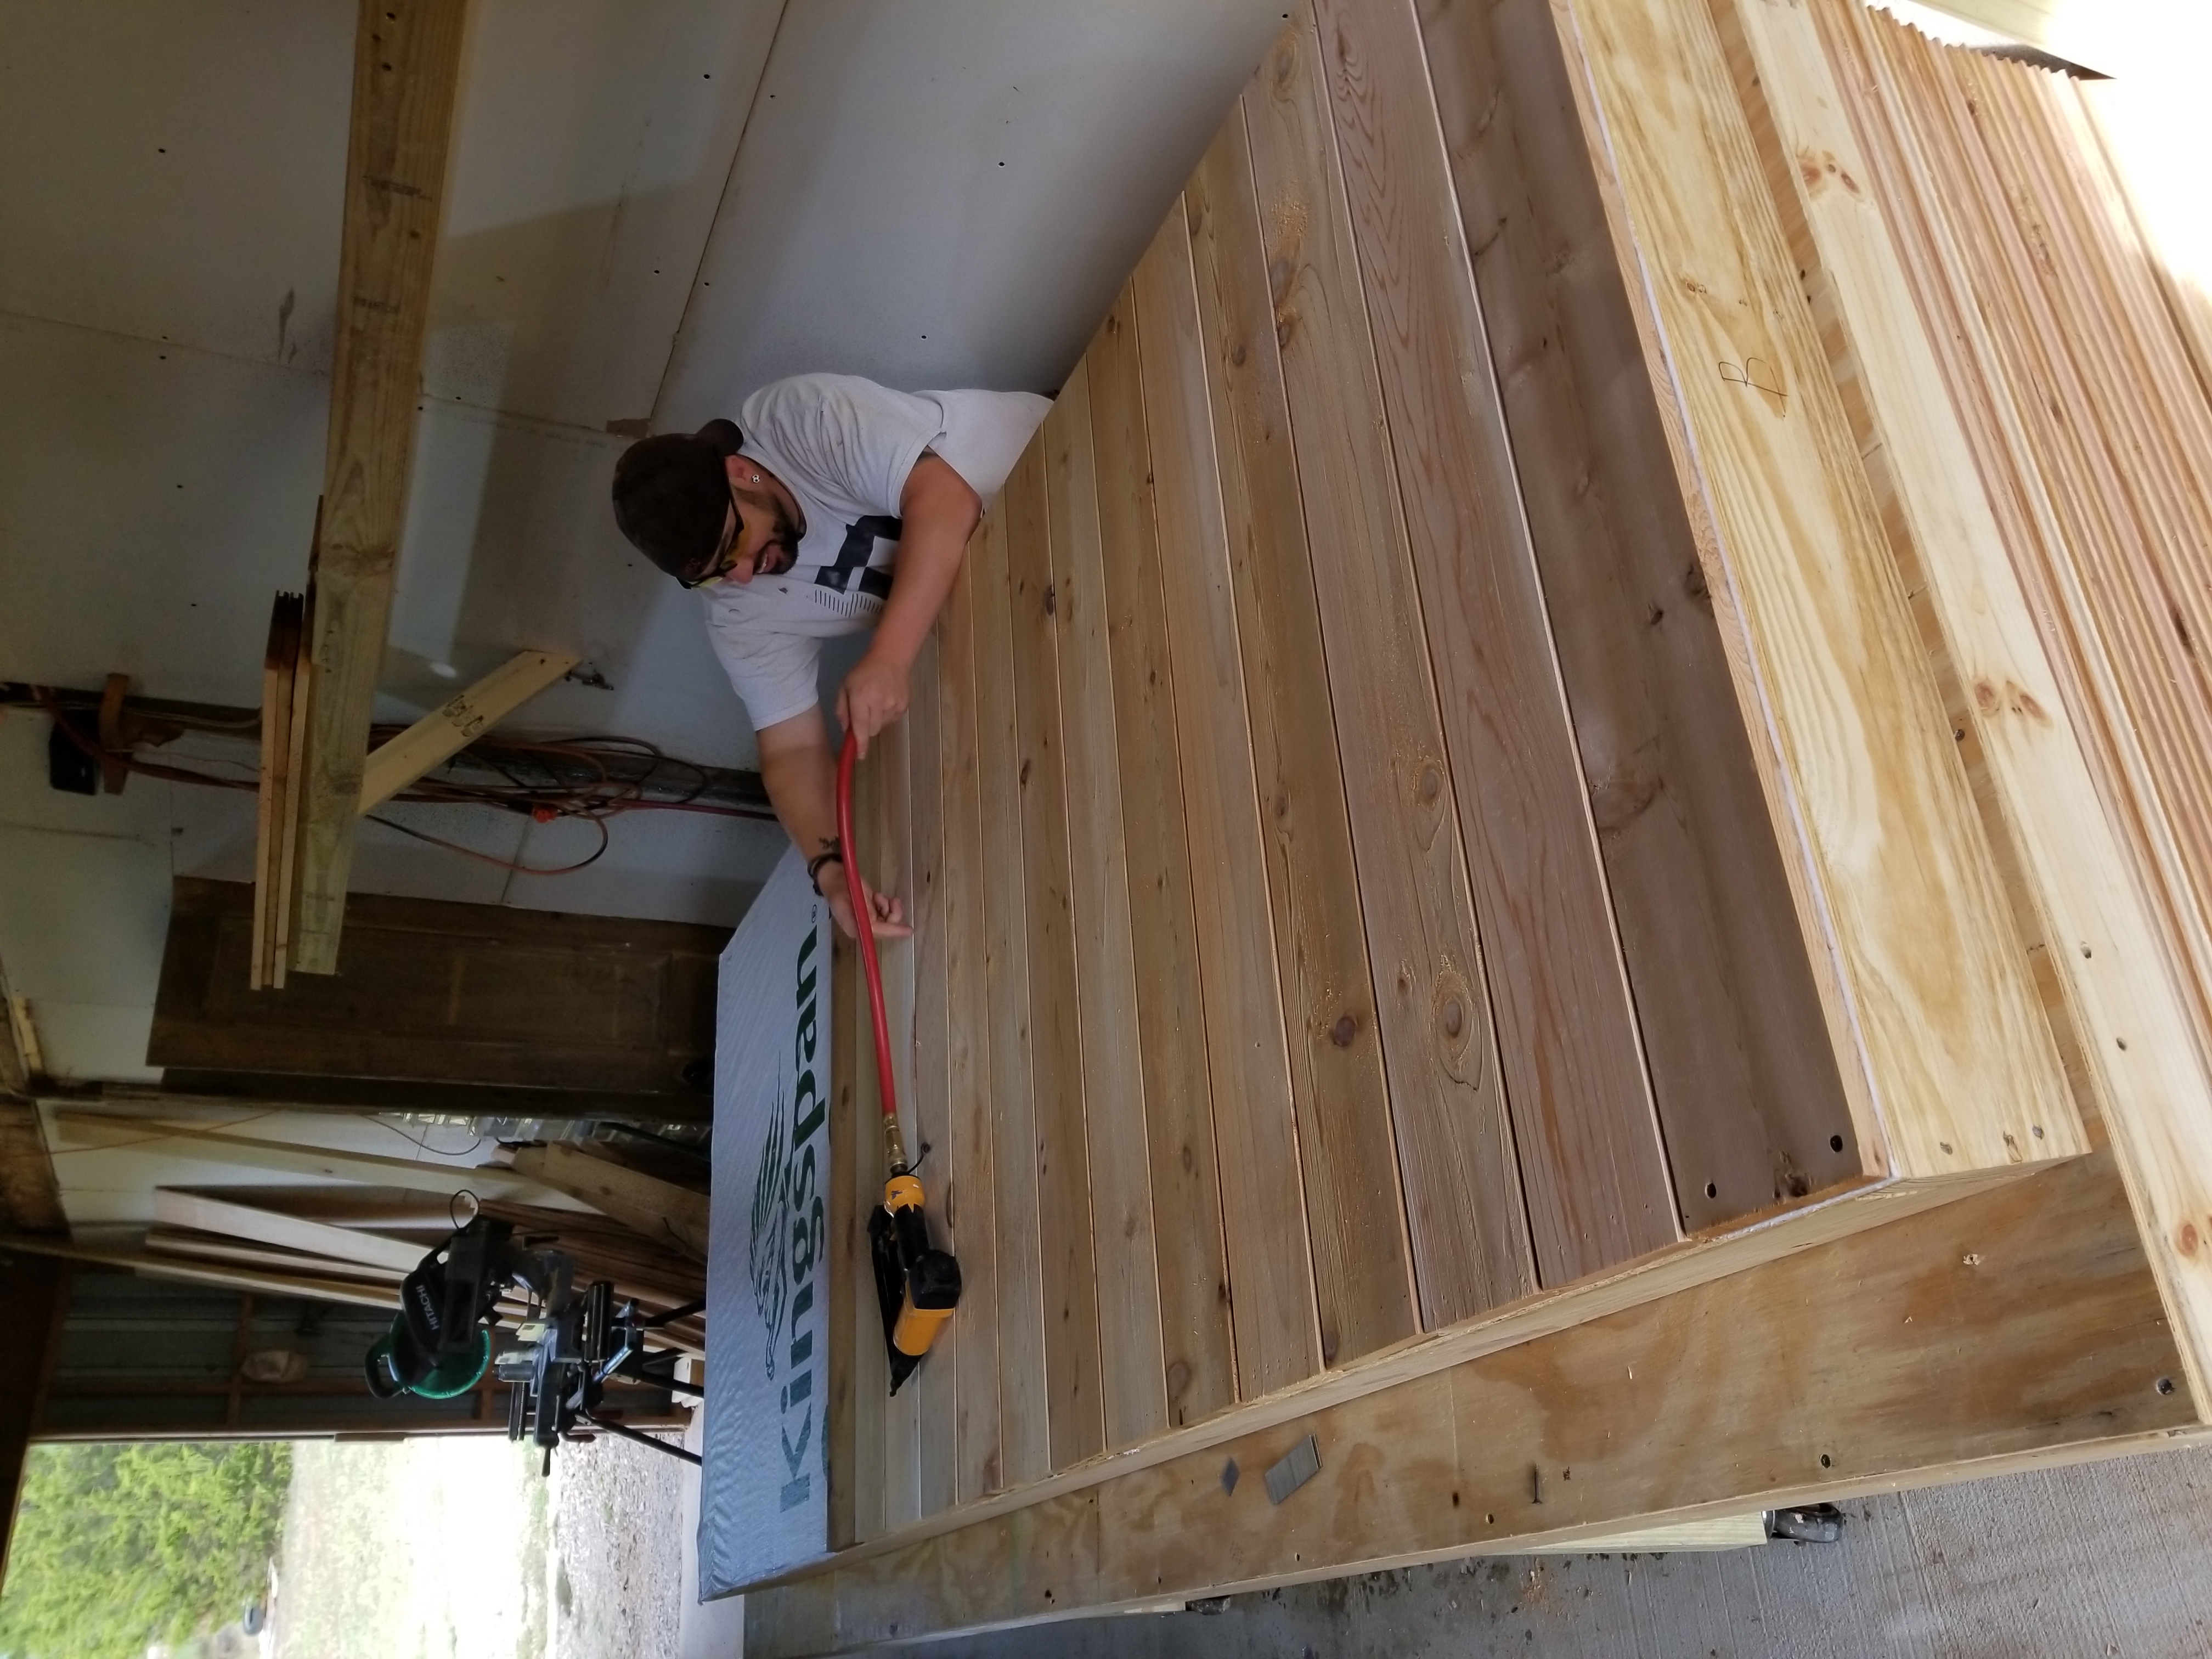
The last several weeks have been spend dealing with the tail end of winter and the nationwide flu epidemic. Fortunately, neither Melissa nor I were recipients of the viral gift. Most of the inclement days were spent putting together ceiling pies (as we call them). Our first cabin ceiling was constructed by measuring and cutting the 1 x 6 tongue and groove ceiling one piece at a time. It took 5 people 8 days to complete the ceiling. This time we purchased some 1/4″ OSB and attached the 1×8″ tongue and groove board to the sheets and cut wedges. This produced a wedge which was comprised of 3 sections for each opening in the rafters. We are in the process of lightly sanding the pies and applying a very light stain to seal the wood and bring out the natural grain of the wood.
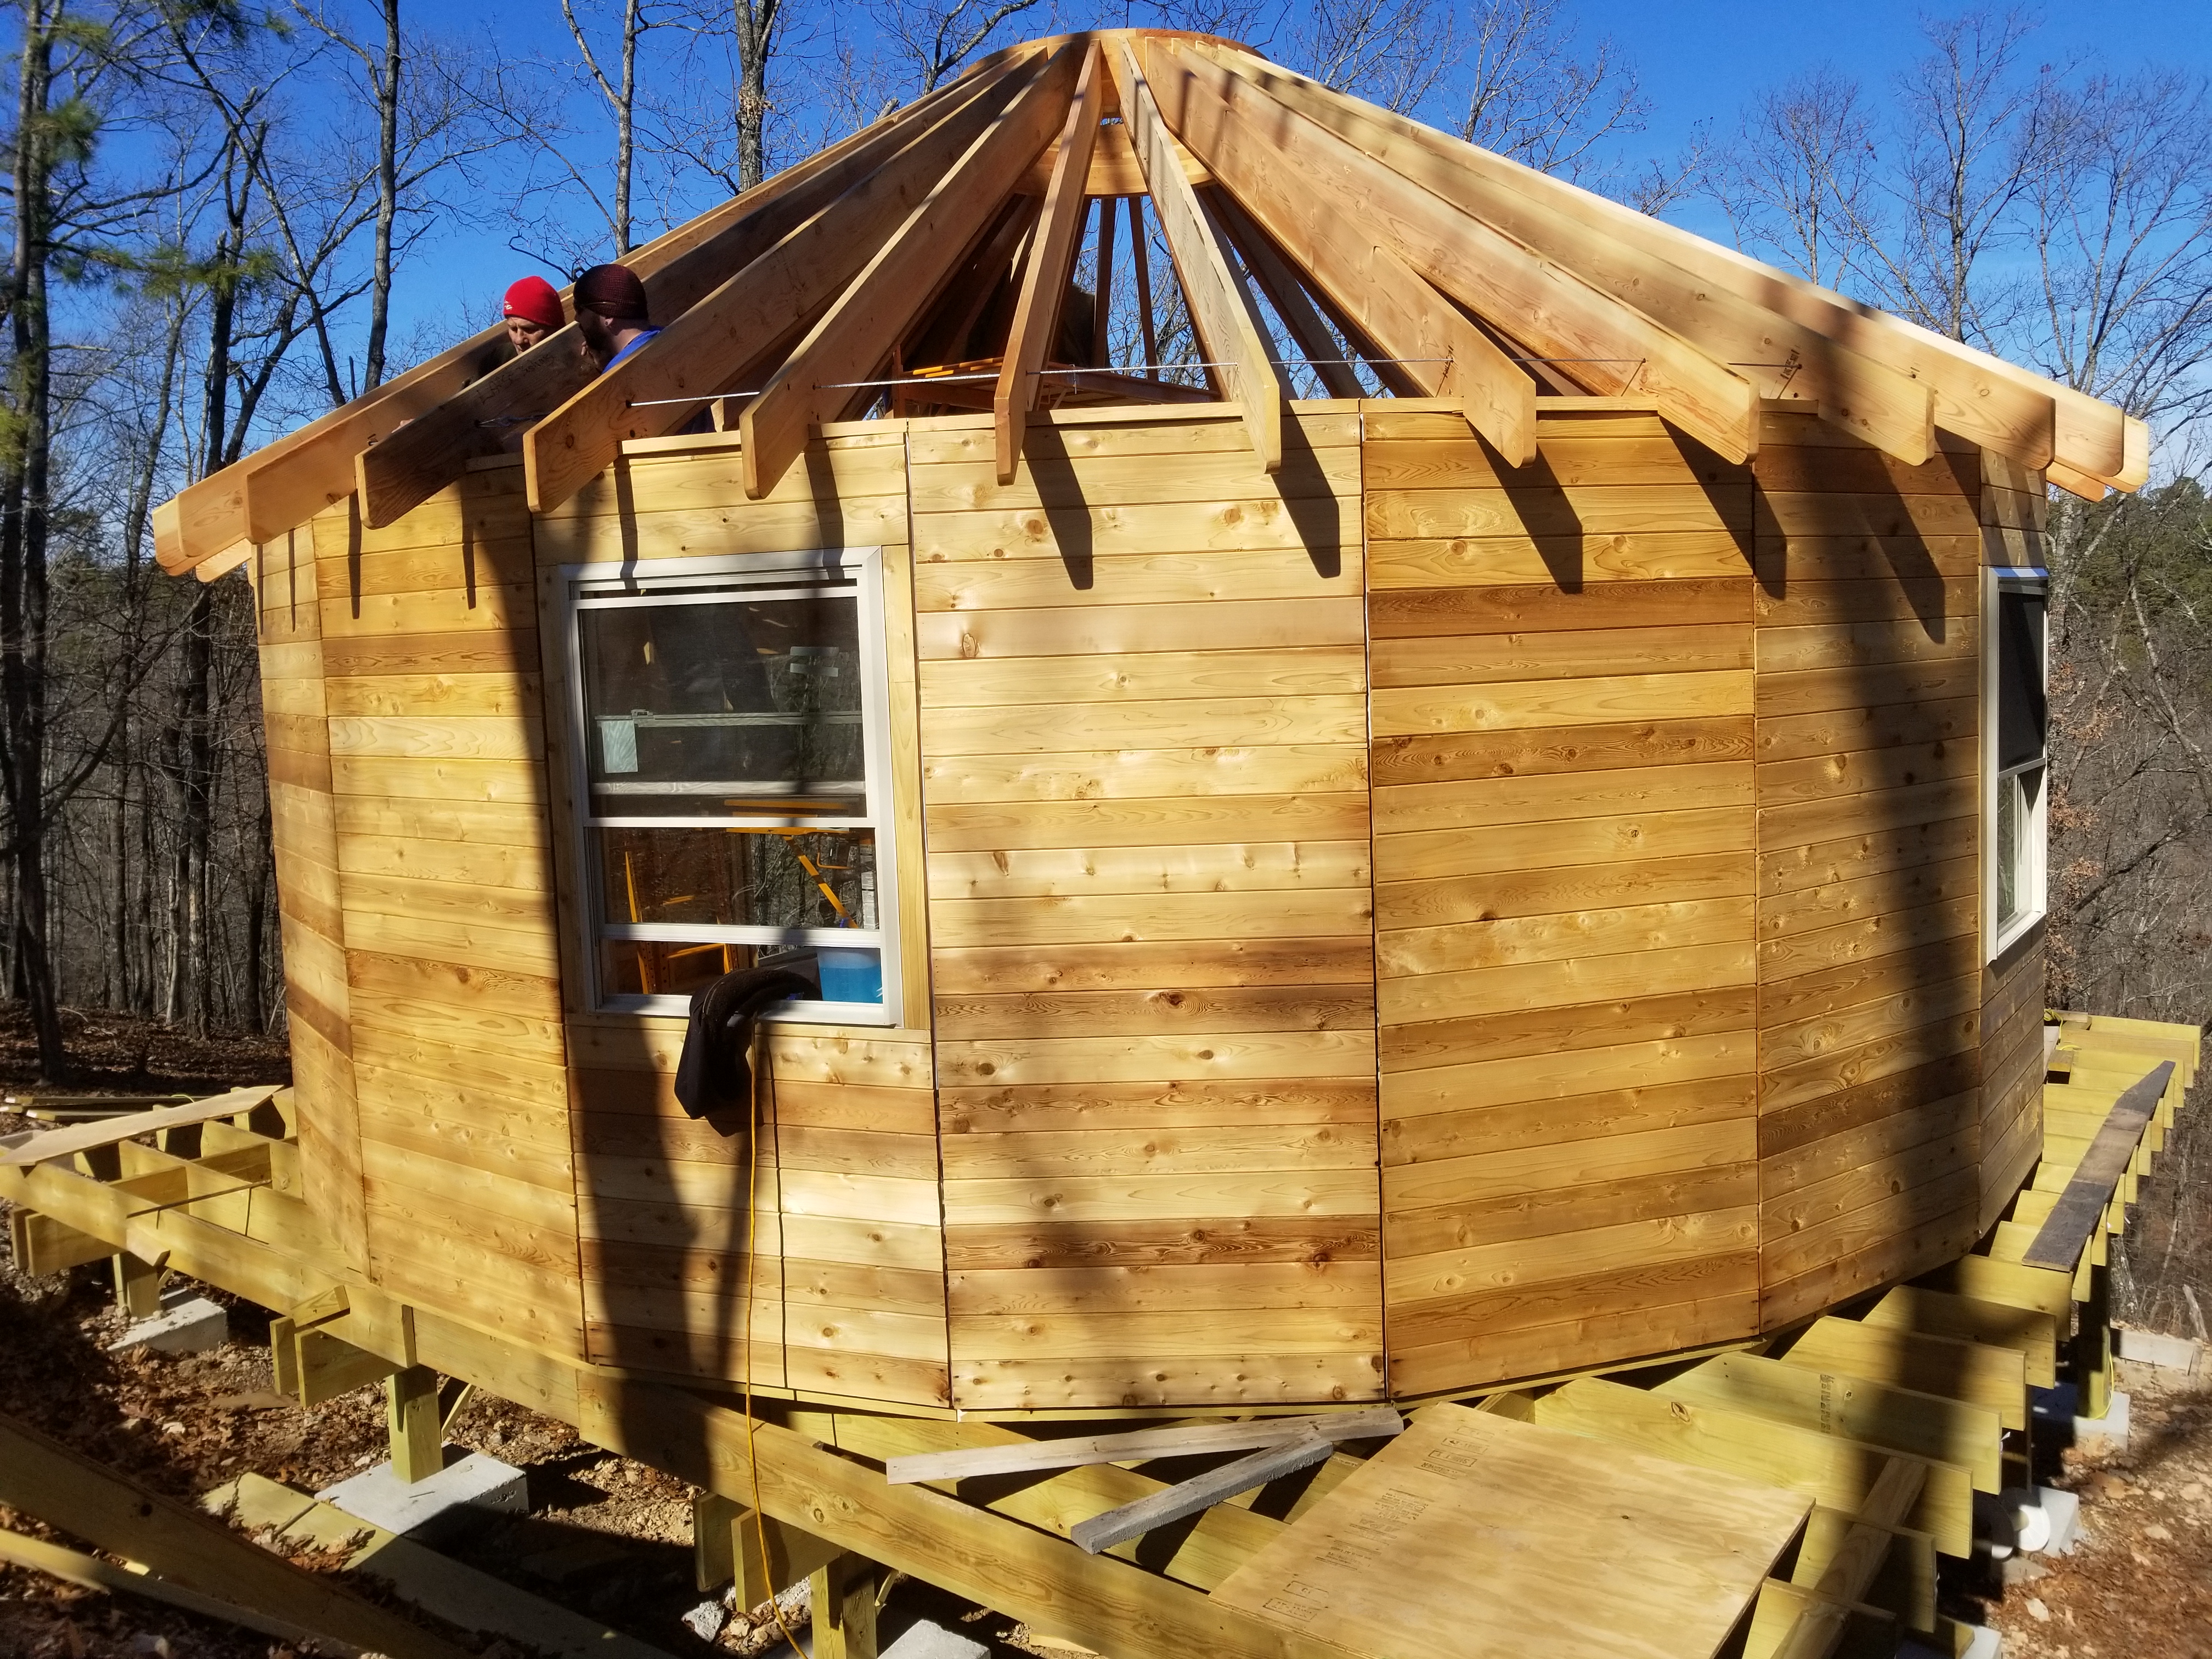
The rest of the days were spent erecting the ring and rafters on yurt 2 and installation of the septic tanks and trenching the electrical and water to both yurt 1 and 2.

After heavy rains, we found out we were building the worlds most elaborate rain water collection device.
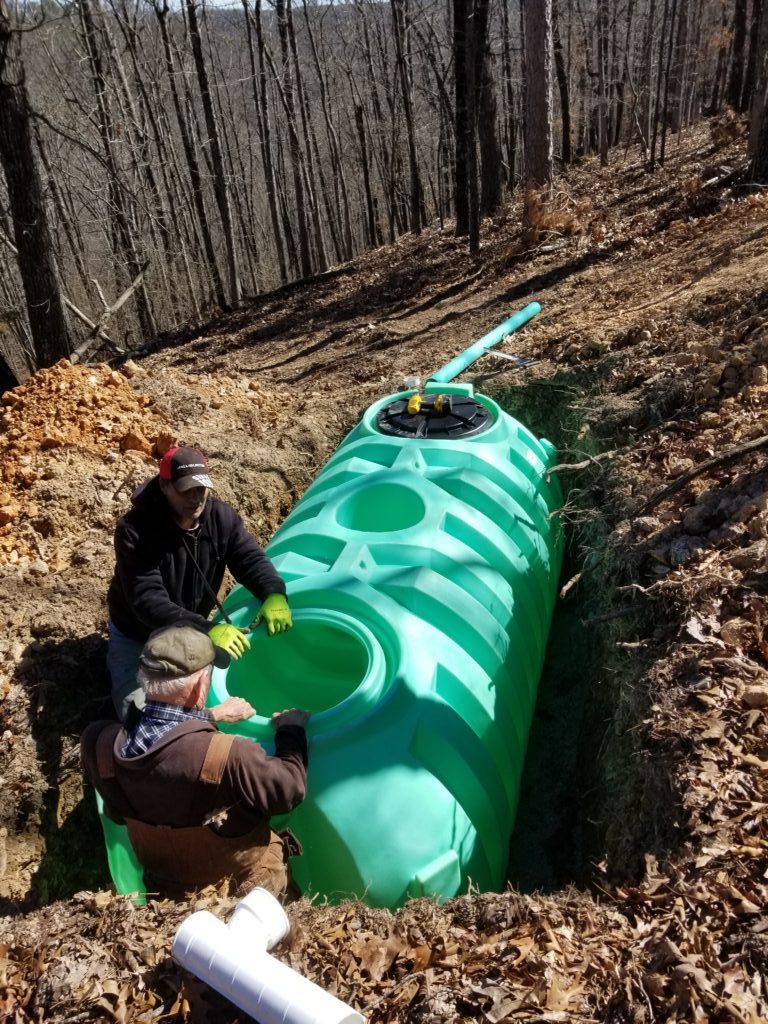
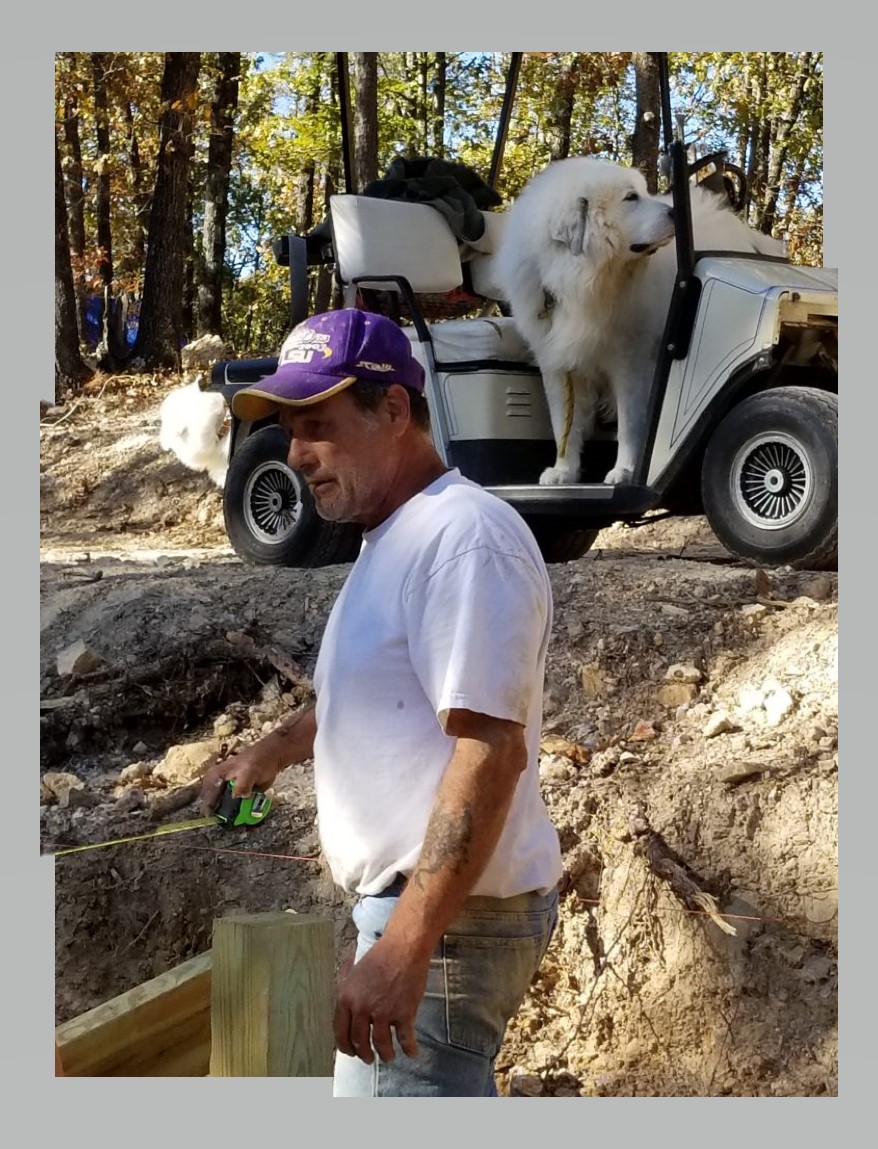
Gator and Buck (hardest working men in Eureka) installing one of 3 septic tanks.
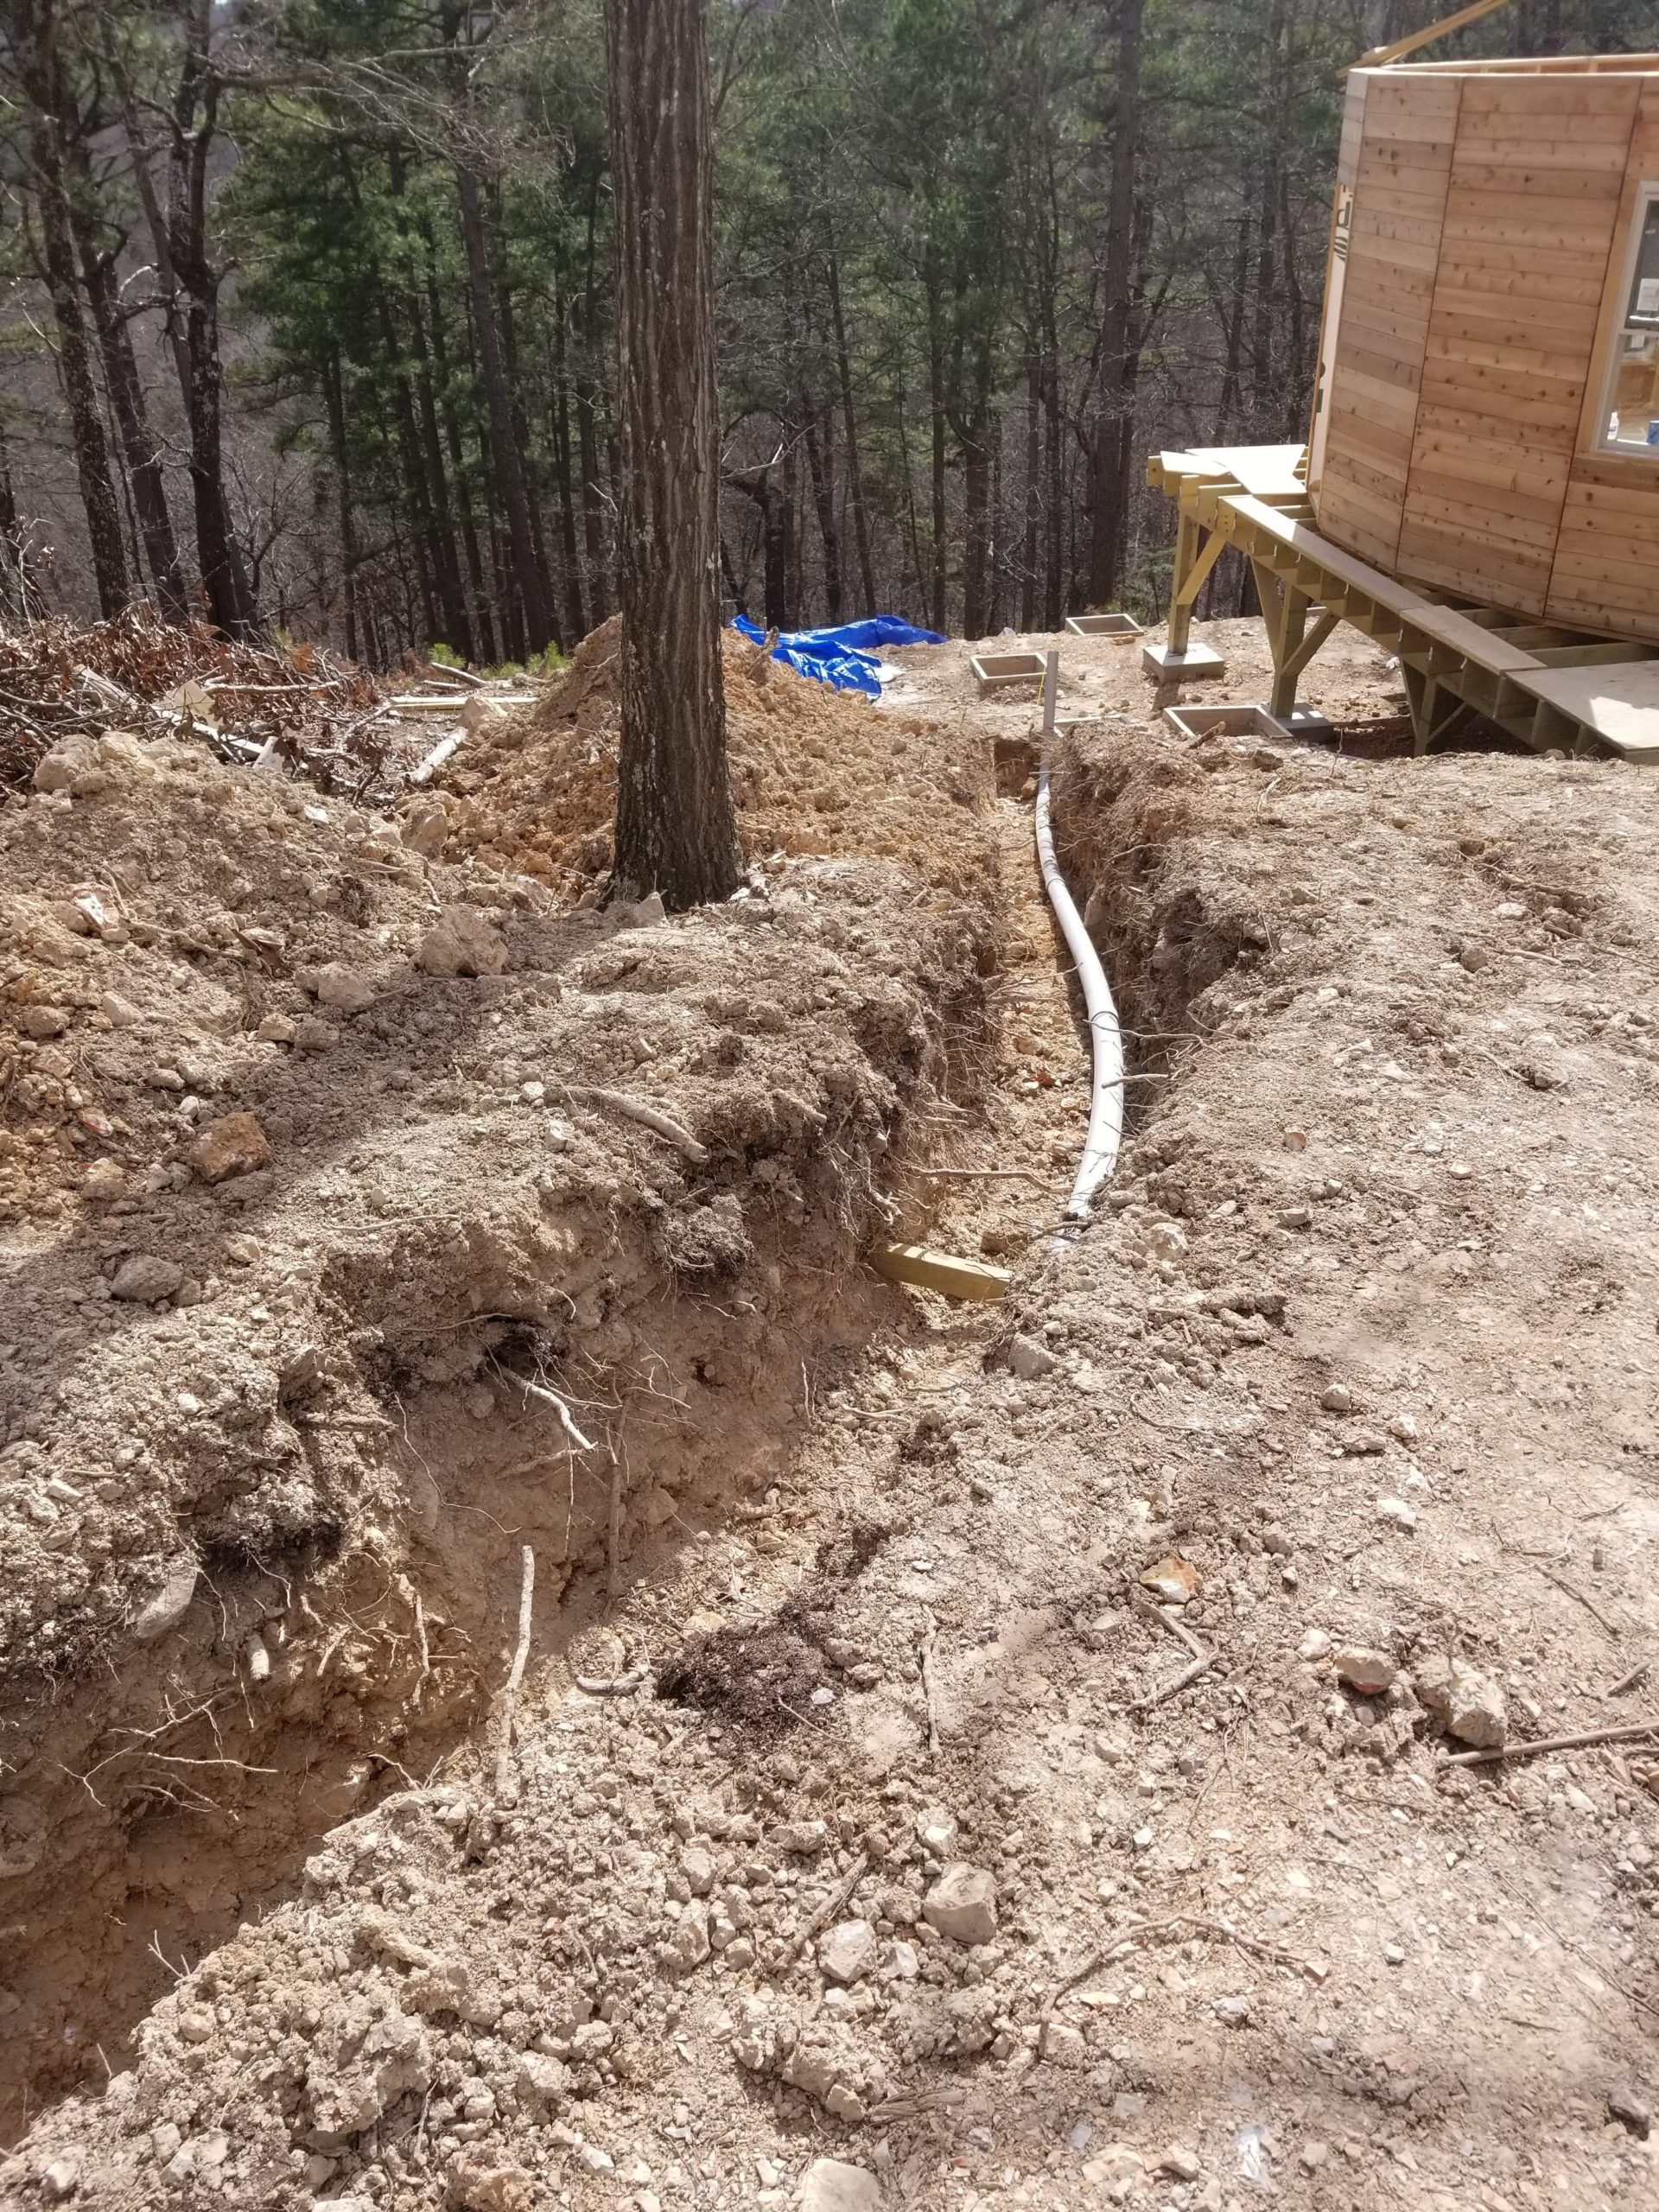
Electrical going to Yurt 2.

Initial rafters going in on Yurt 2.

View from Yurt 2.
Finished framing.

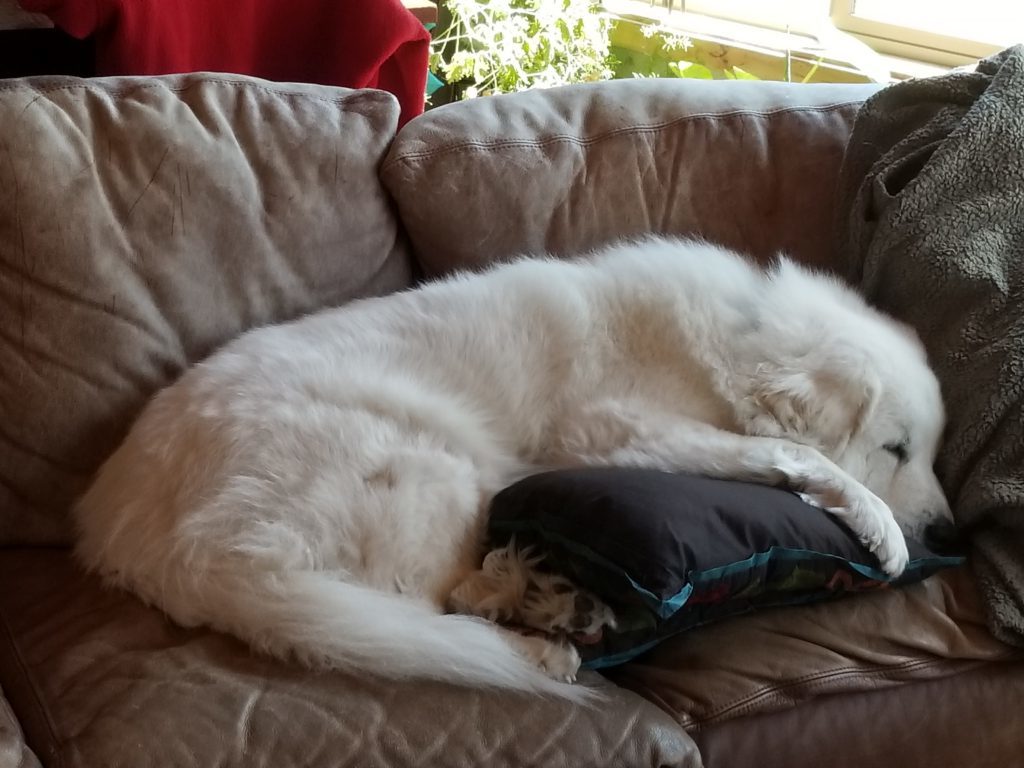
Always a greeting when daddy comes home.
And in the end, we were pooped.
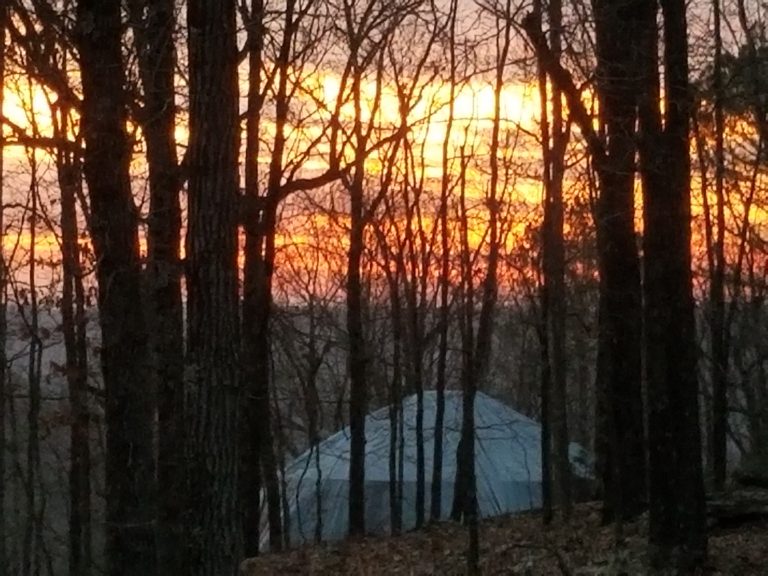
And the next morning, I was blessed with this view of a sunrise over Yurt 1. I interpreted this as:
Well done, good and faithful servant! (Matthew 25:23)
Winter has arrived. And with it comes the inevitable construction delays.
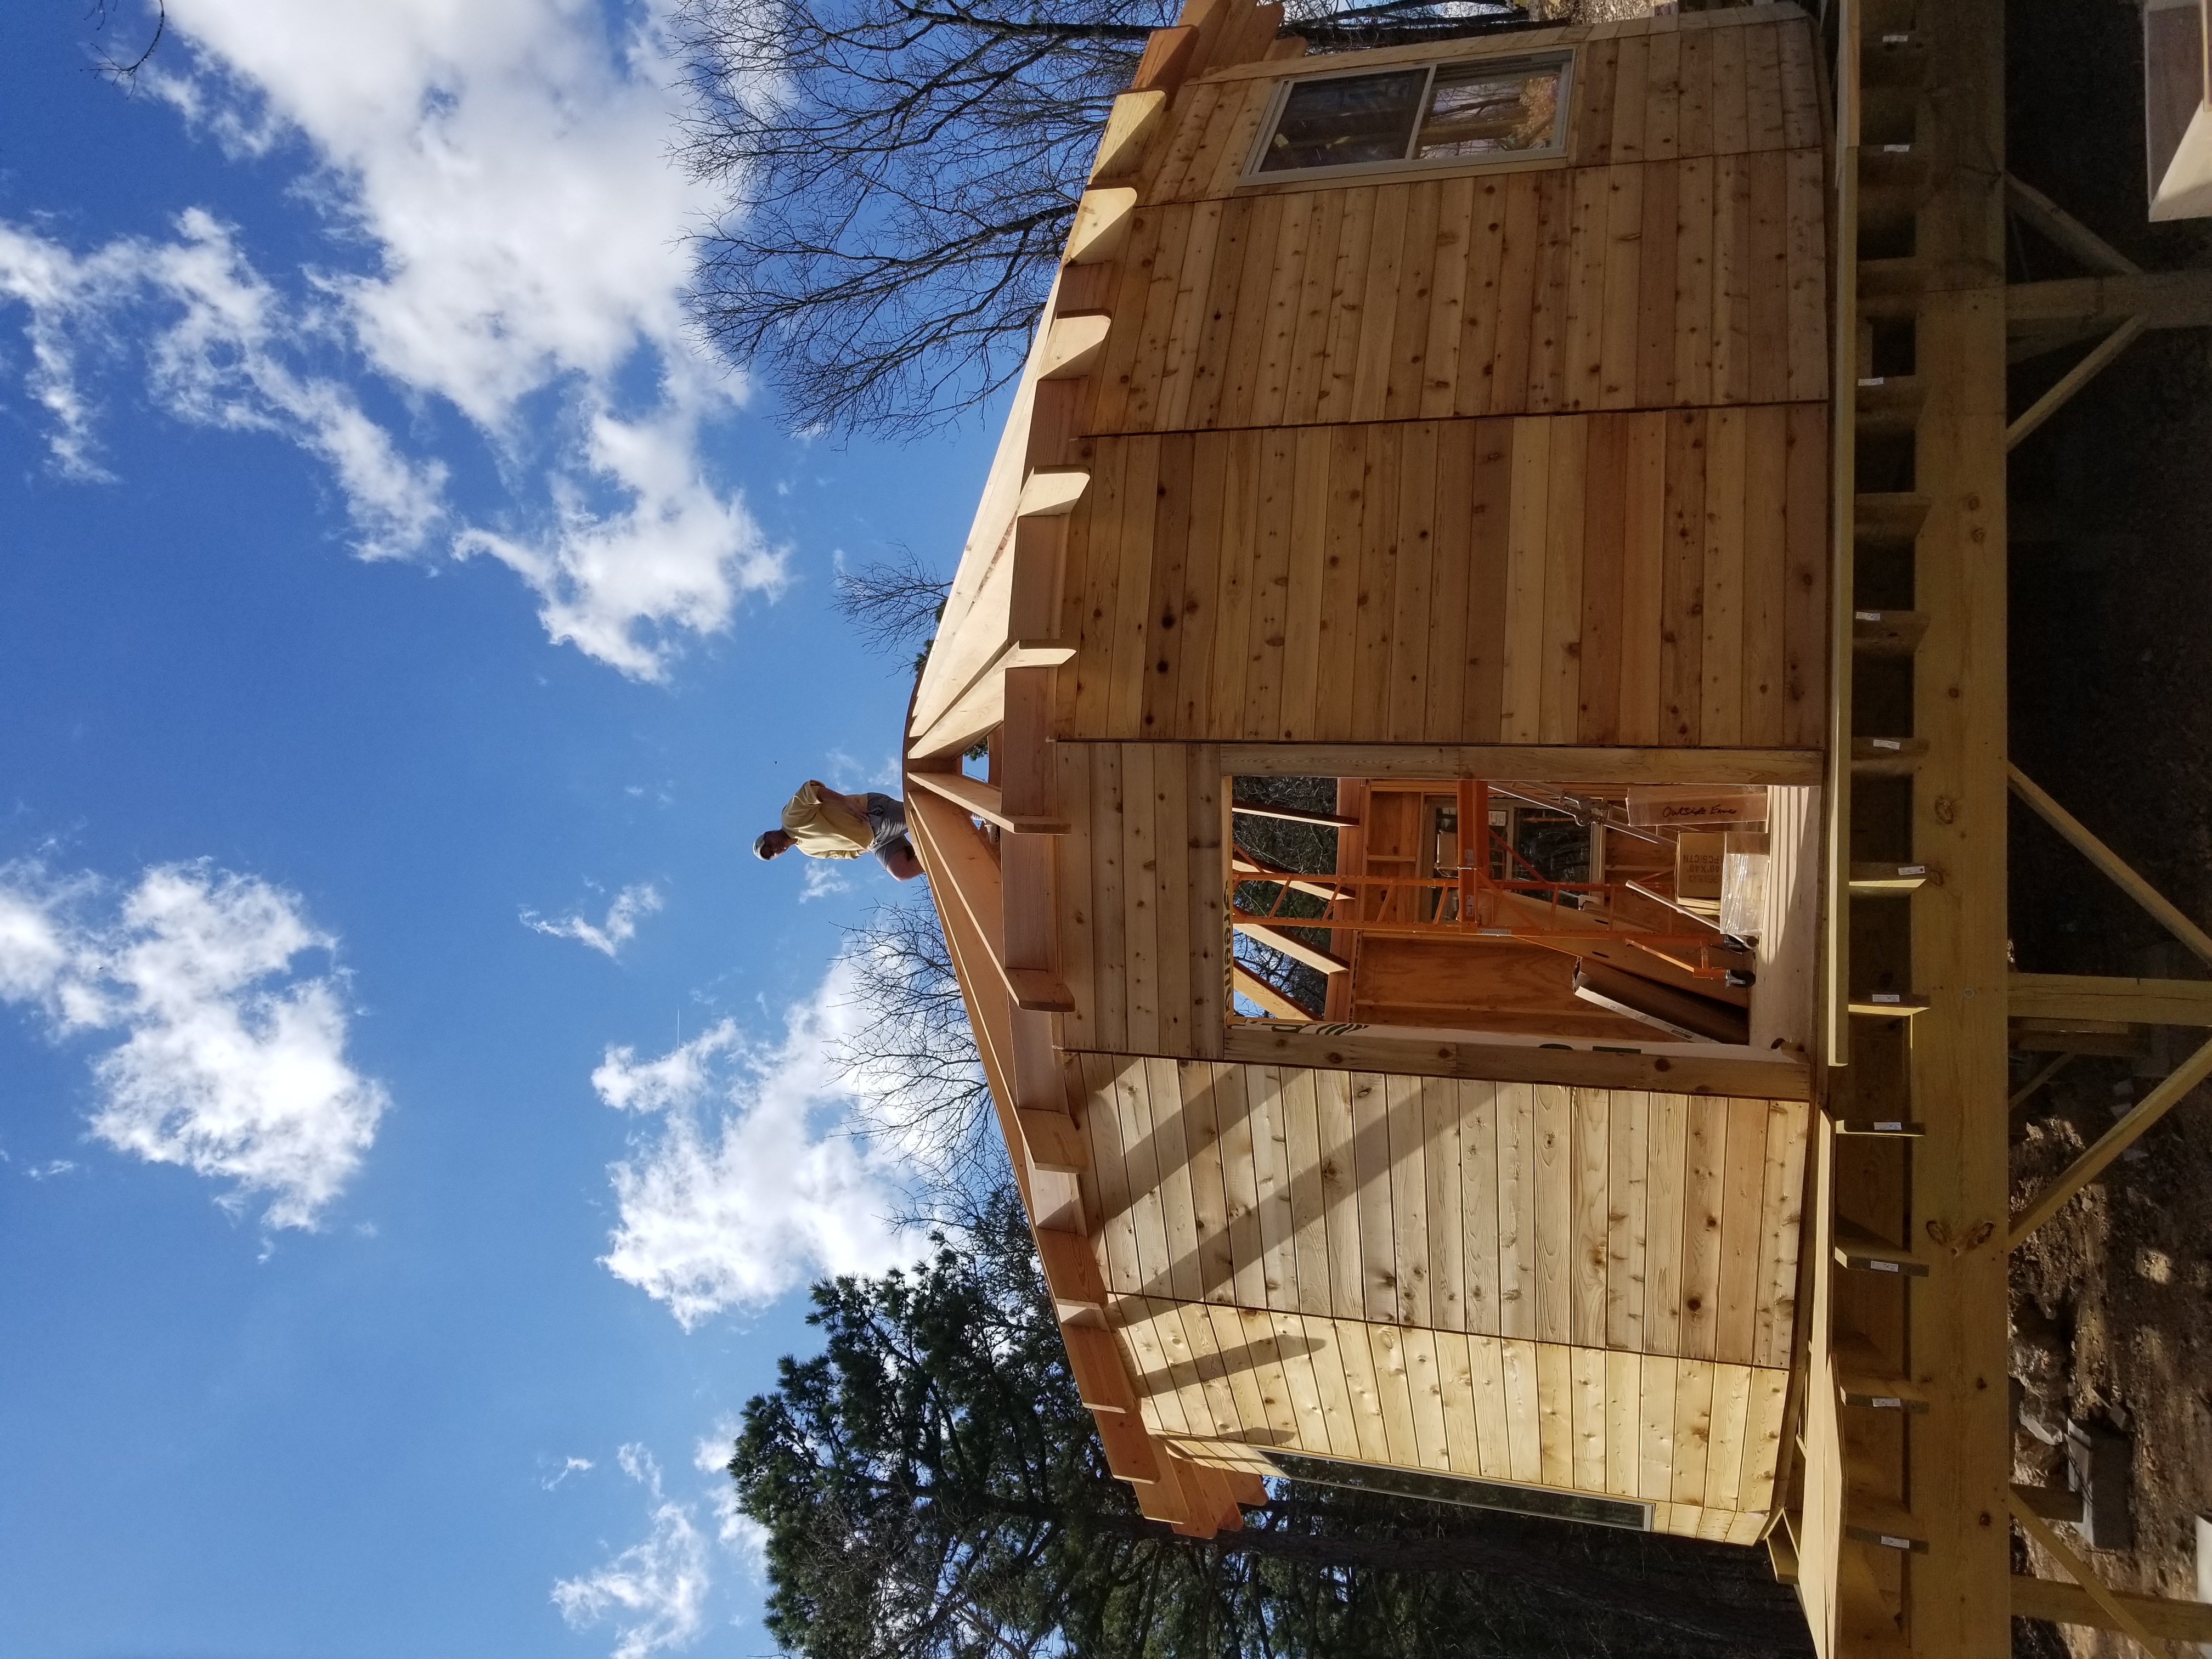
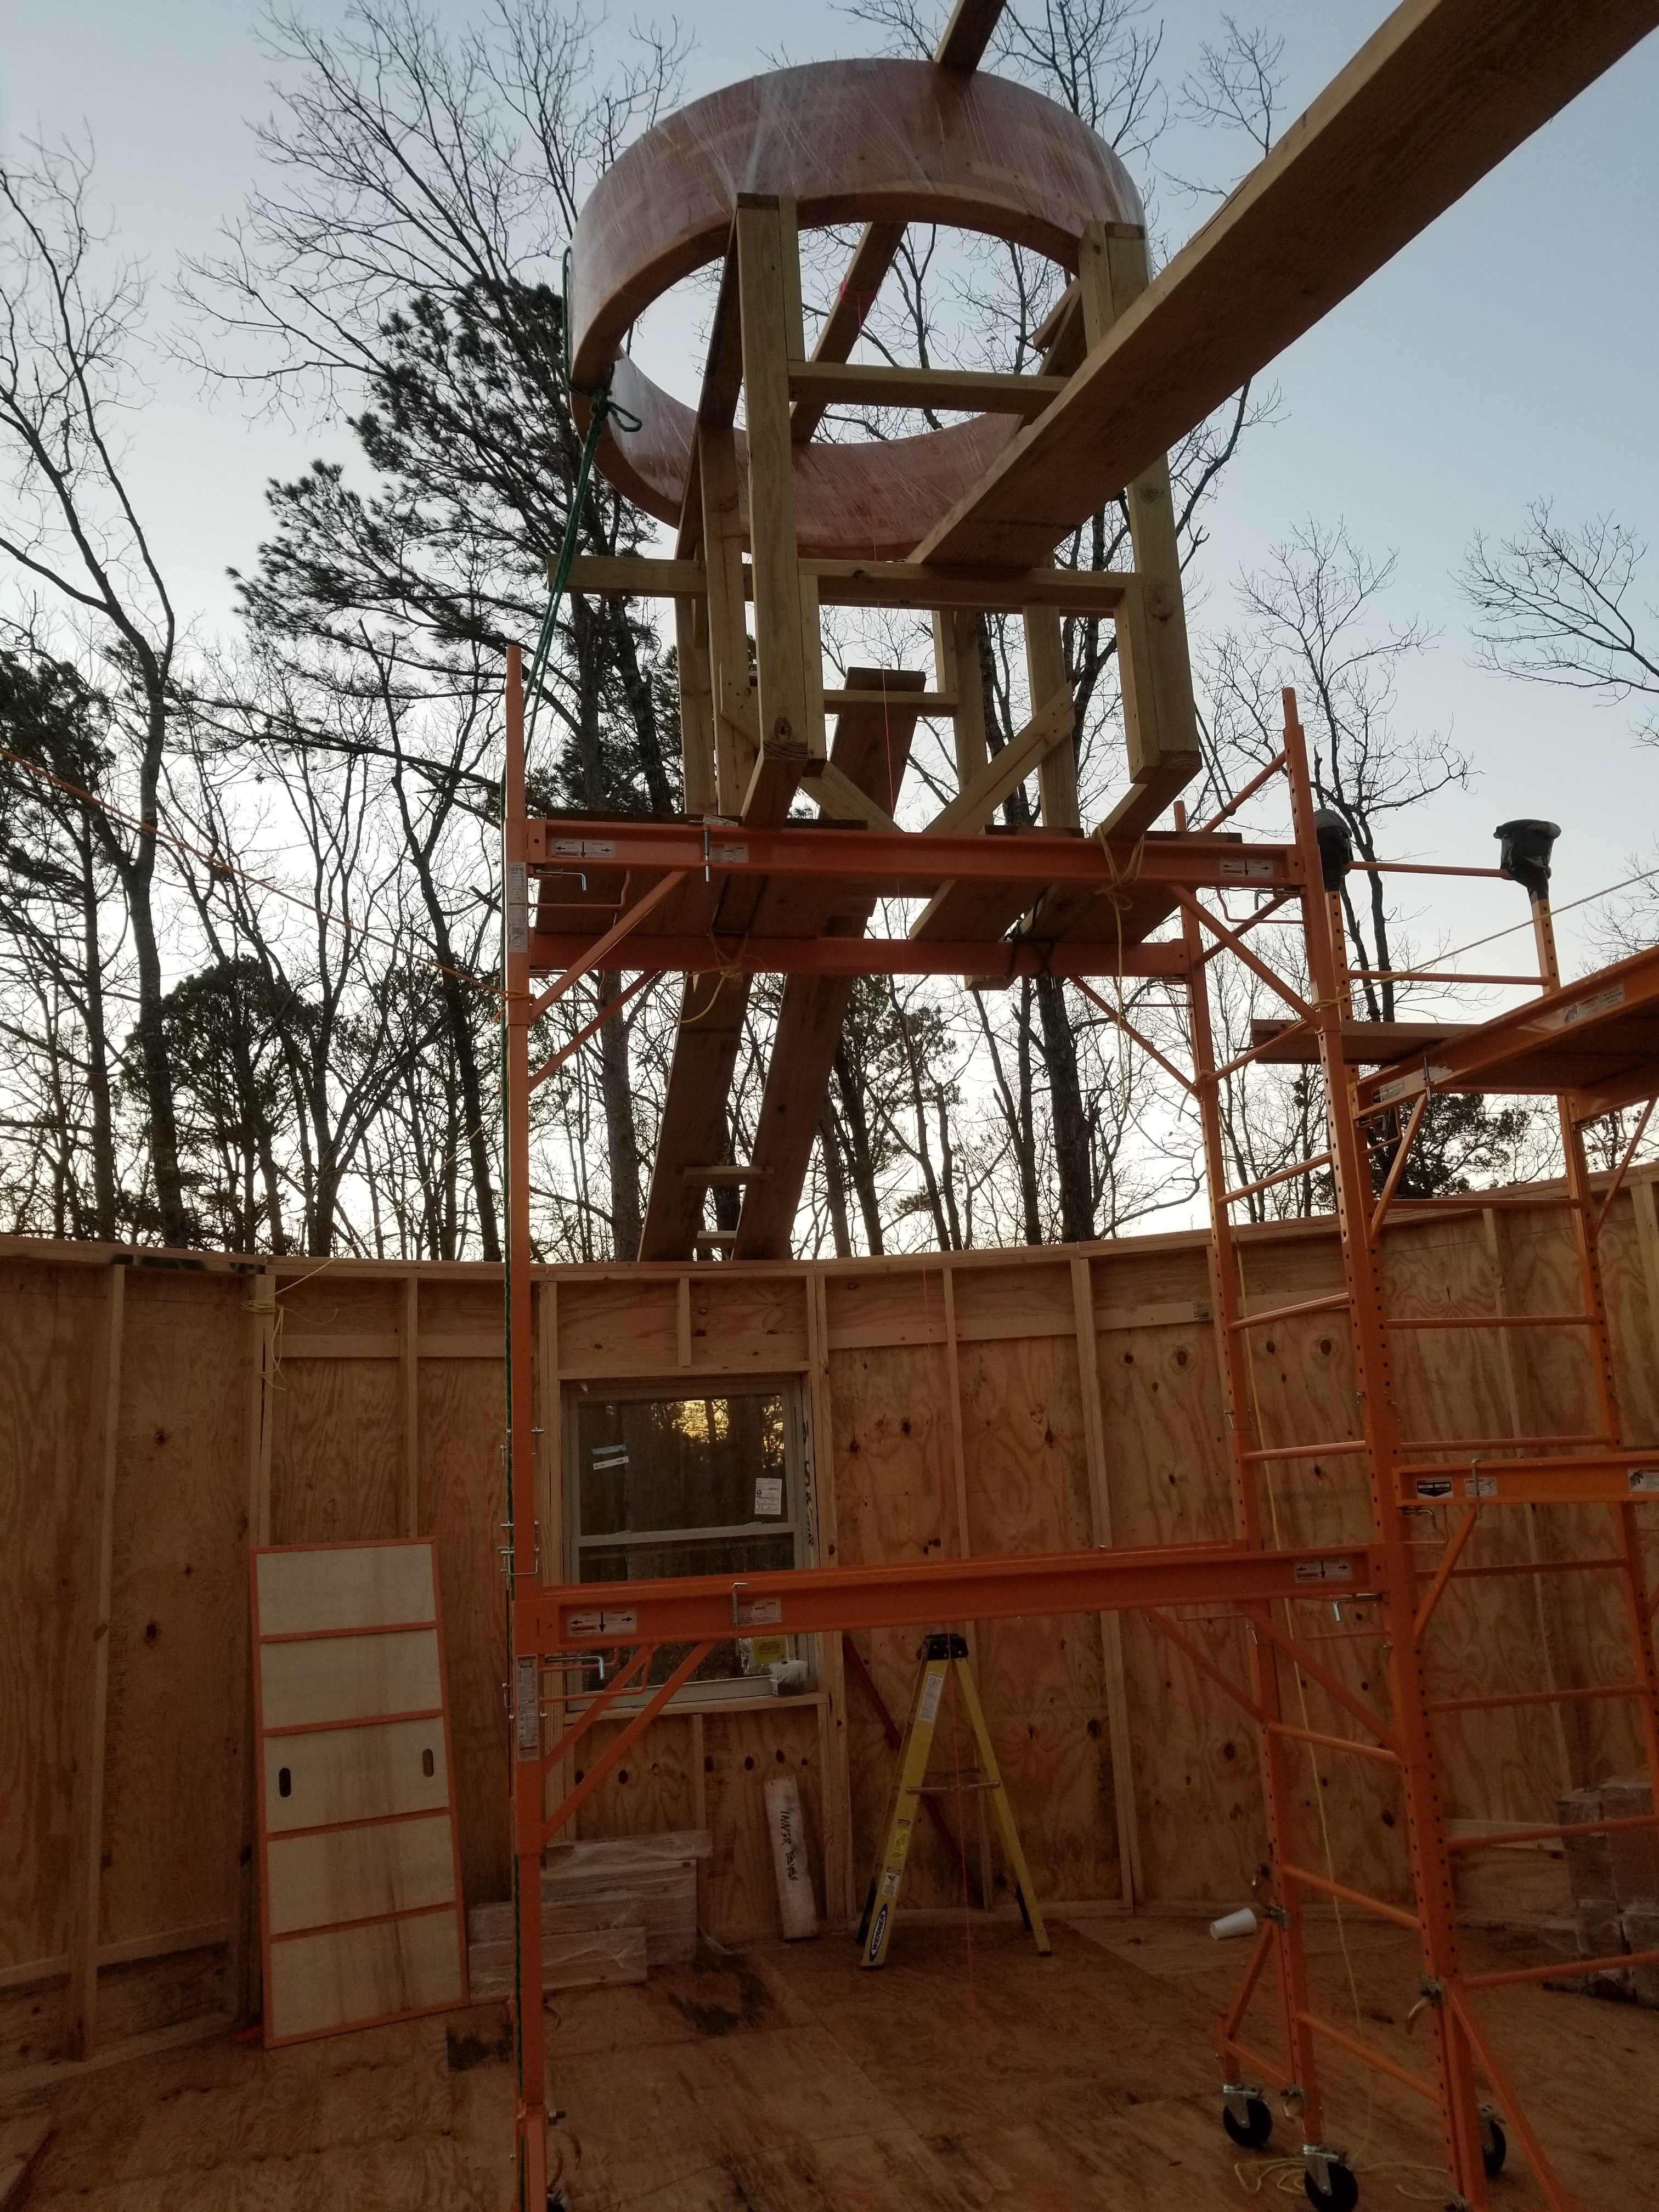
After the wall were erected on Yurt 1, it was time to raise the Roof. First step was to calculate the height and positioning of the center compression ring. Once the calculations were complete, checked and rechecked, it was time to construct the stand on which the compression ring would sit. After it was build, Gator and I had to figure out how to get the stand on top of the scaffolding. After a couple failed plans and near drops or falls, we finally succeeded.
Next we had to get the compression ring on top of the 14′ 7″ stand. HUM? For this we had to bring in some additional muscle. Much like the stand, several attempts were made using a pulley system to no avail. So, we decided on trying to build a ramp from the top of the wall to the stand. After a couple hours, the Eagle had landed.


The next task was to secure the roof rafters from the top of the walls to the compression ring. Some slight modifications had to be made to the rafters before we could install. After several hours of tweaking we finally had the first four rafters up. Then came the rain.
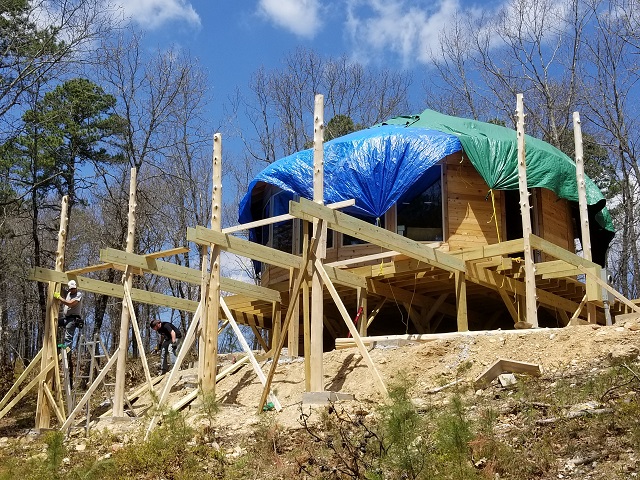
We tarped the yurt with a 6 mil 50 x 50 tarp. No easy feat on a rocky slope, I will let you know. We though we had the tarp tight enough to slope the water off the roof, but upon inspection the next day we had huge areas on top of the roof holding massive amounts of water. The tarp grommets had pulled free on several of the tie-downs. So, it looked like we had built an awesome rain water collection system. After several hours I got the water siphoned off the tarp and we reinforced the tie-downs.

Then came the snow. The dogs loved it, the production schedule hated it. I was pressing to try and get the rafters up before the weather set in so we would work inside on the ceiling panels, but it did not happen.

That is the update. Next up is getting the rafters up on Yurt 2, building and installing 80 ceiling sections, wiring the interior, plumbing stubbed out, AC lines installed, and finally having the outer ceiling, interior walls and exterior floor spary foamed with insulation, and metal roofing installed.


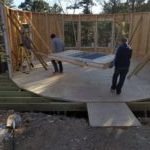
During the inclement days the 20 wall panels are being fabricated. The sides of each panel is cut at a 9 degree angle to account for the curvature of the yurt. We are doing 4 picture windows (3.5 feet by 6 feet tall) and a double hung window in the bedroom, bathroom and the kitchen. So we have 7 window panels, 1 door panel and 12 solid panels.


Notice the bottom cedar sheathing has 2 finish screws on each side. This is so that after the panels are set, the piece can be removed so flashing can be installed so water will not wick up the panels.


After the pads were poured and cured. An 8″ double galvanized pin was countersunk into the pad and the bottom of the treated 8×8 pier. These were plumbed and braced. Dual 2×12 runners were attached to the piers from front to back. Then the 2×10 floor joists were attached to the runners on 16 in centers.
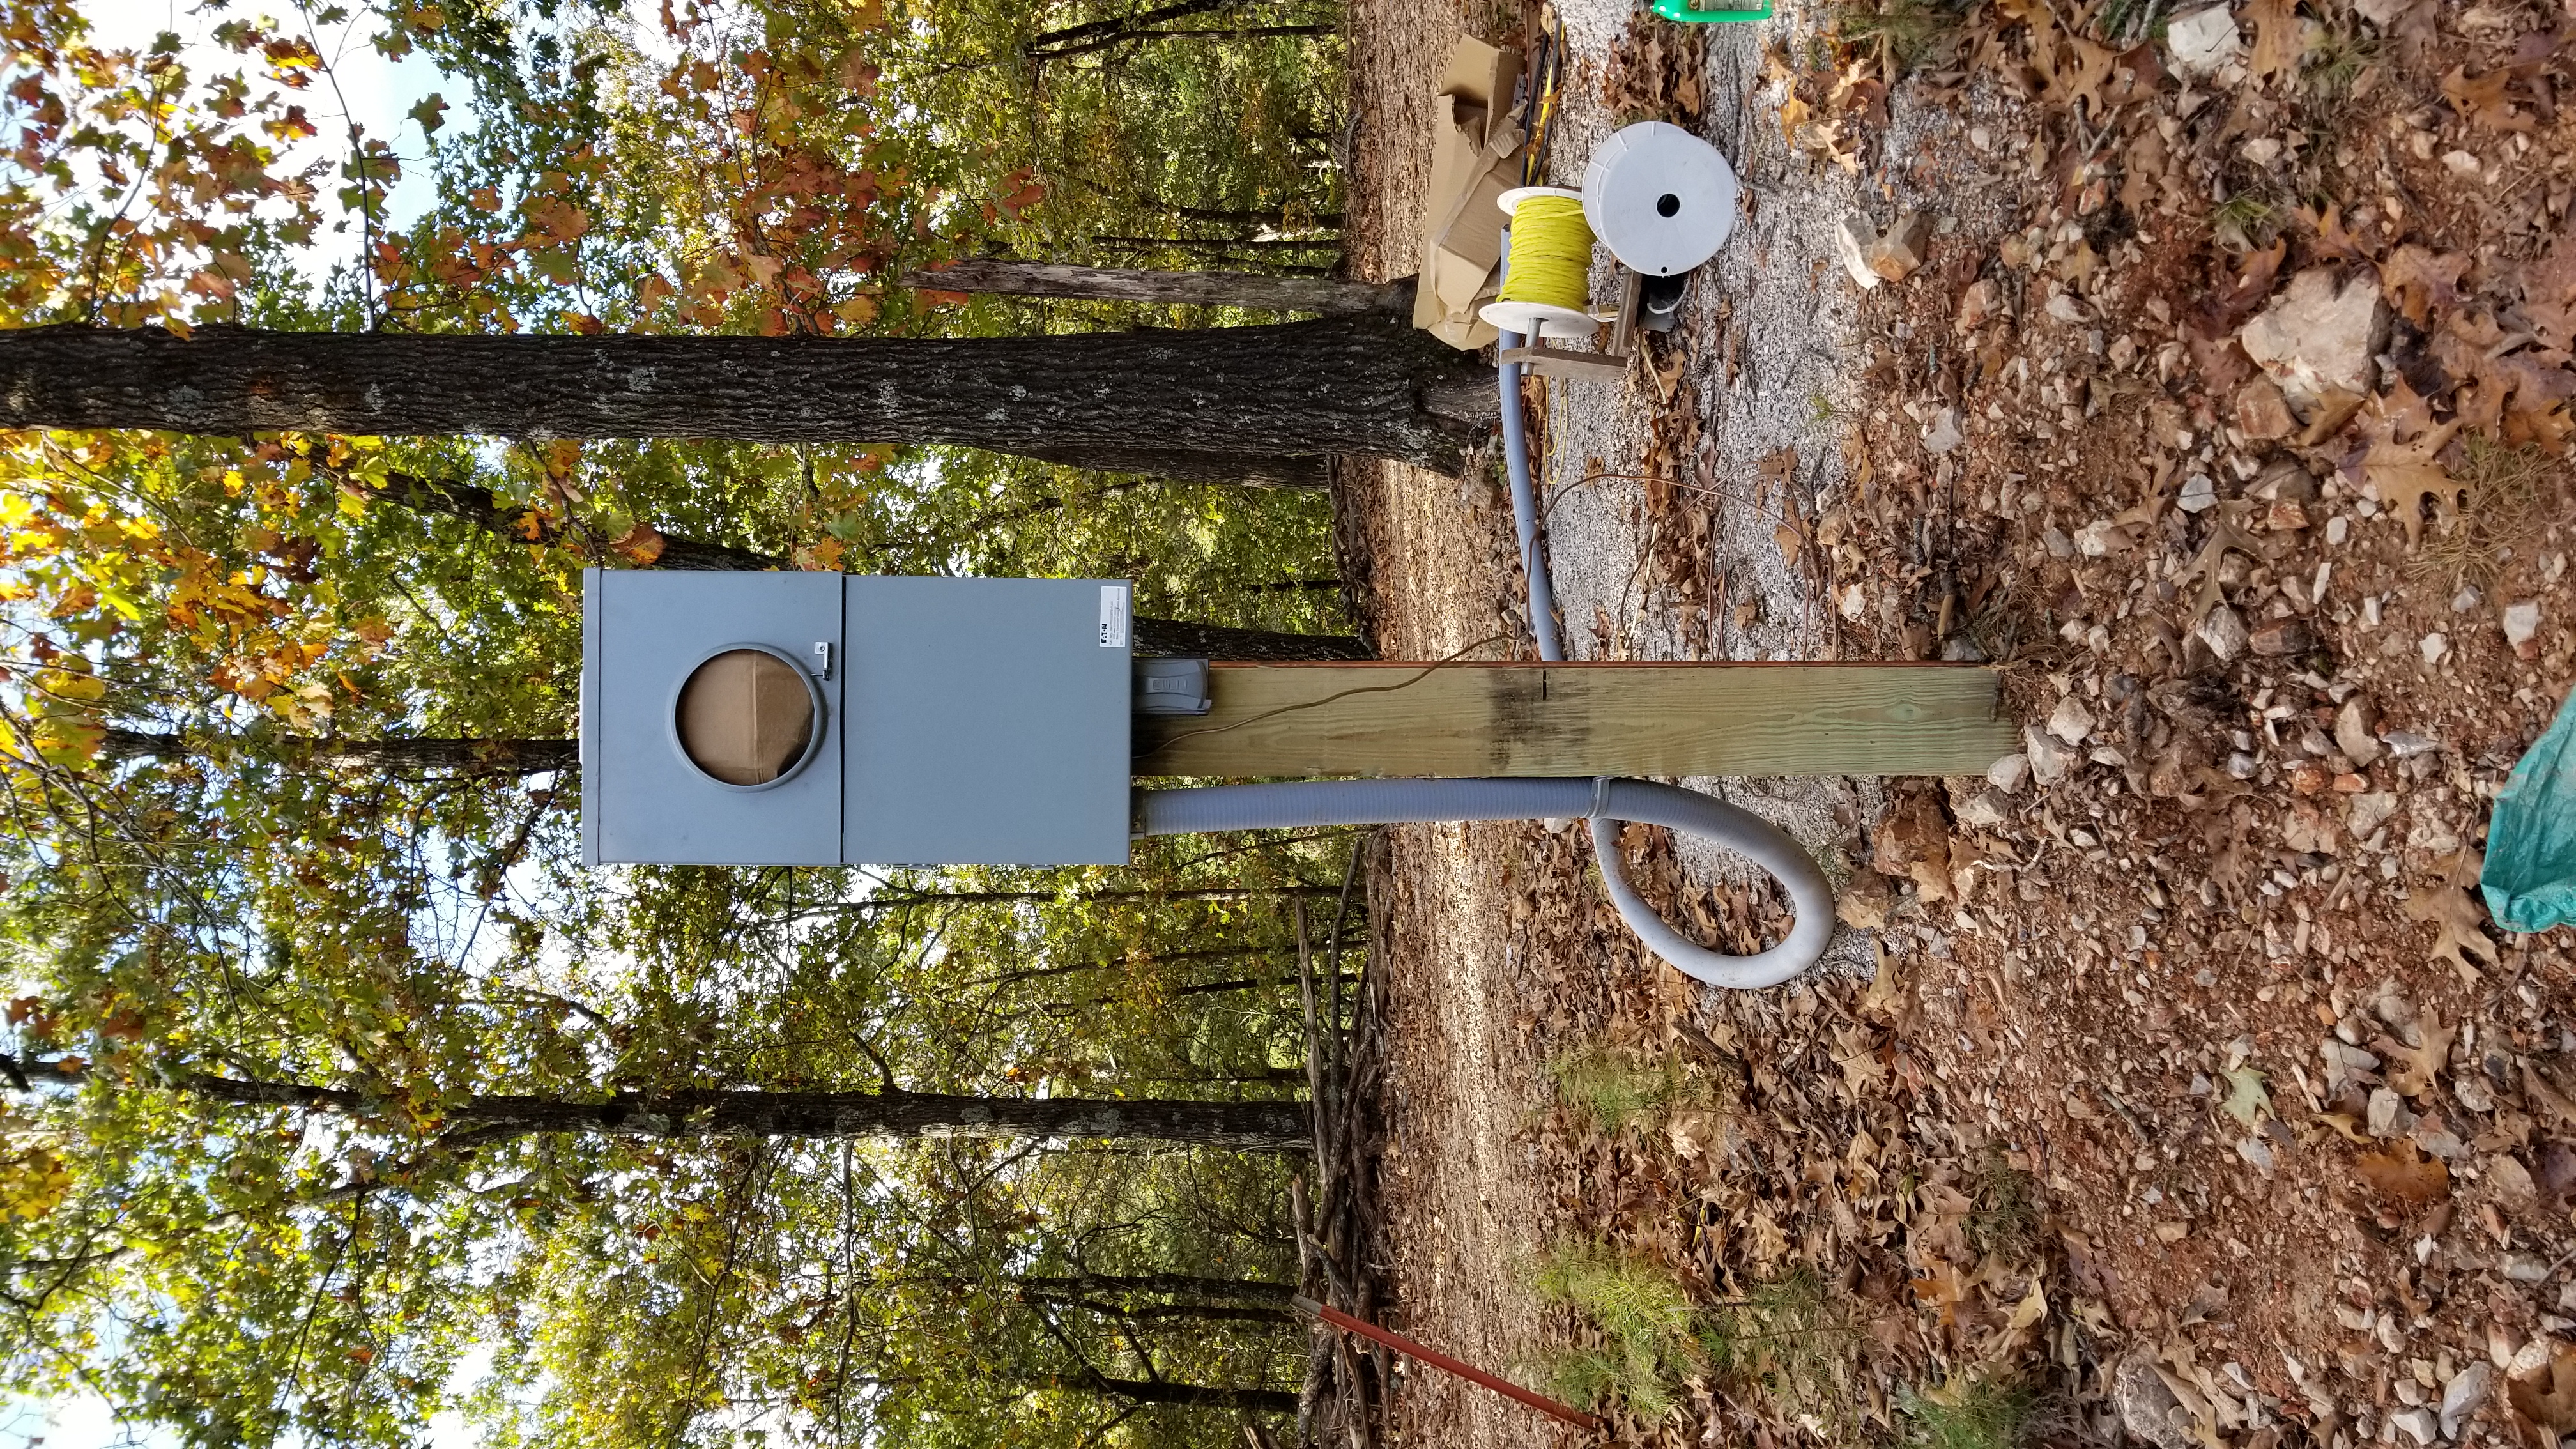
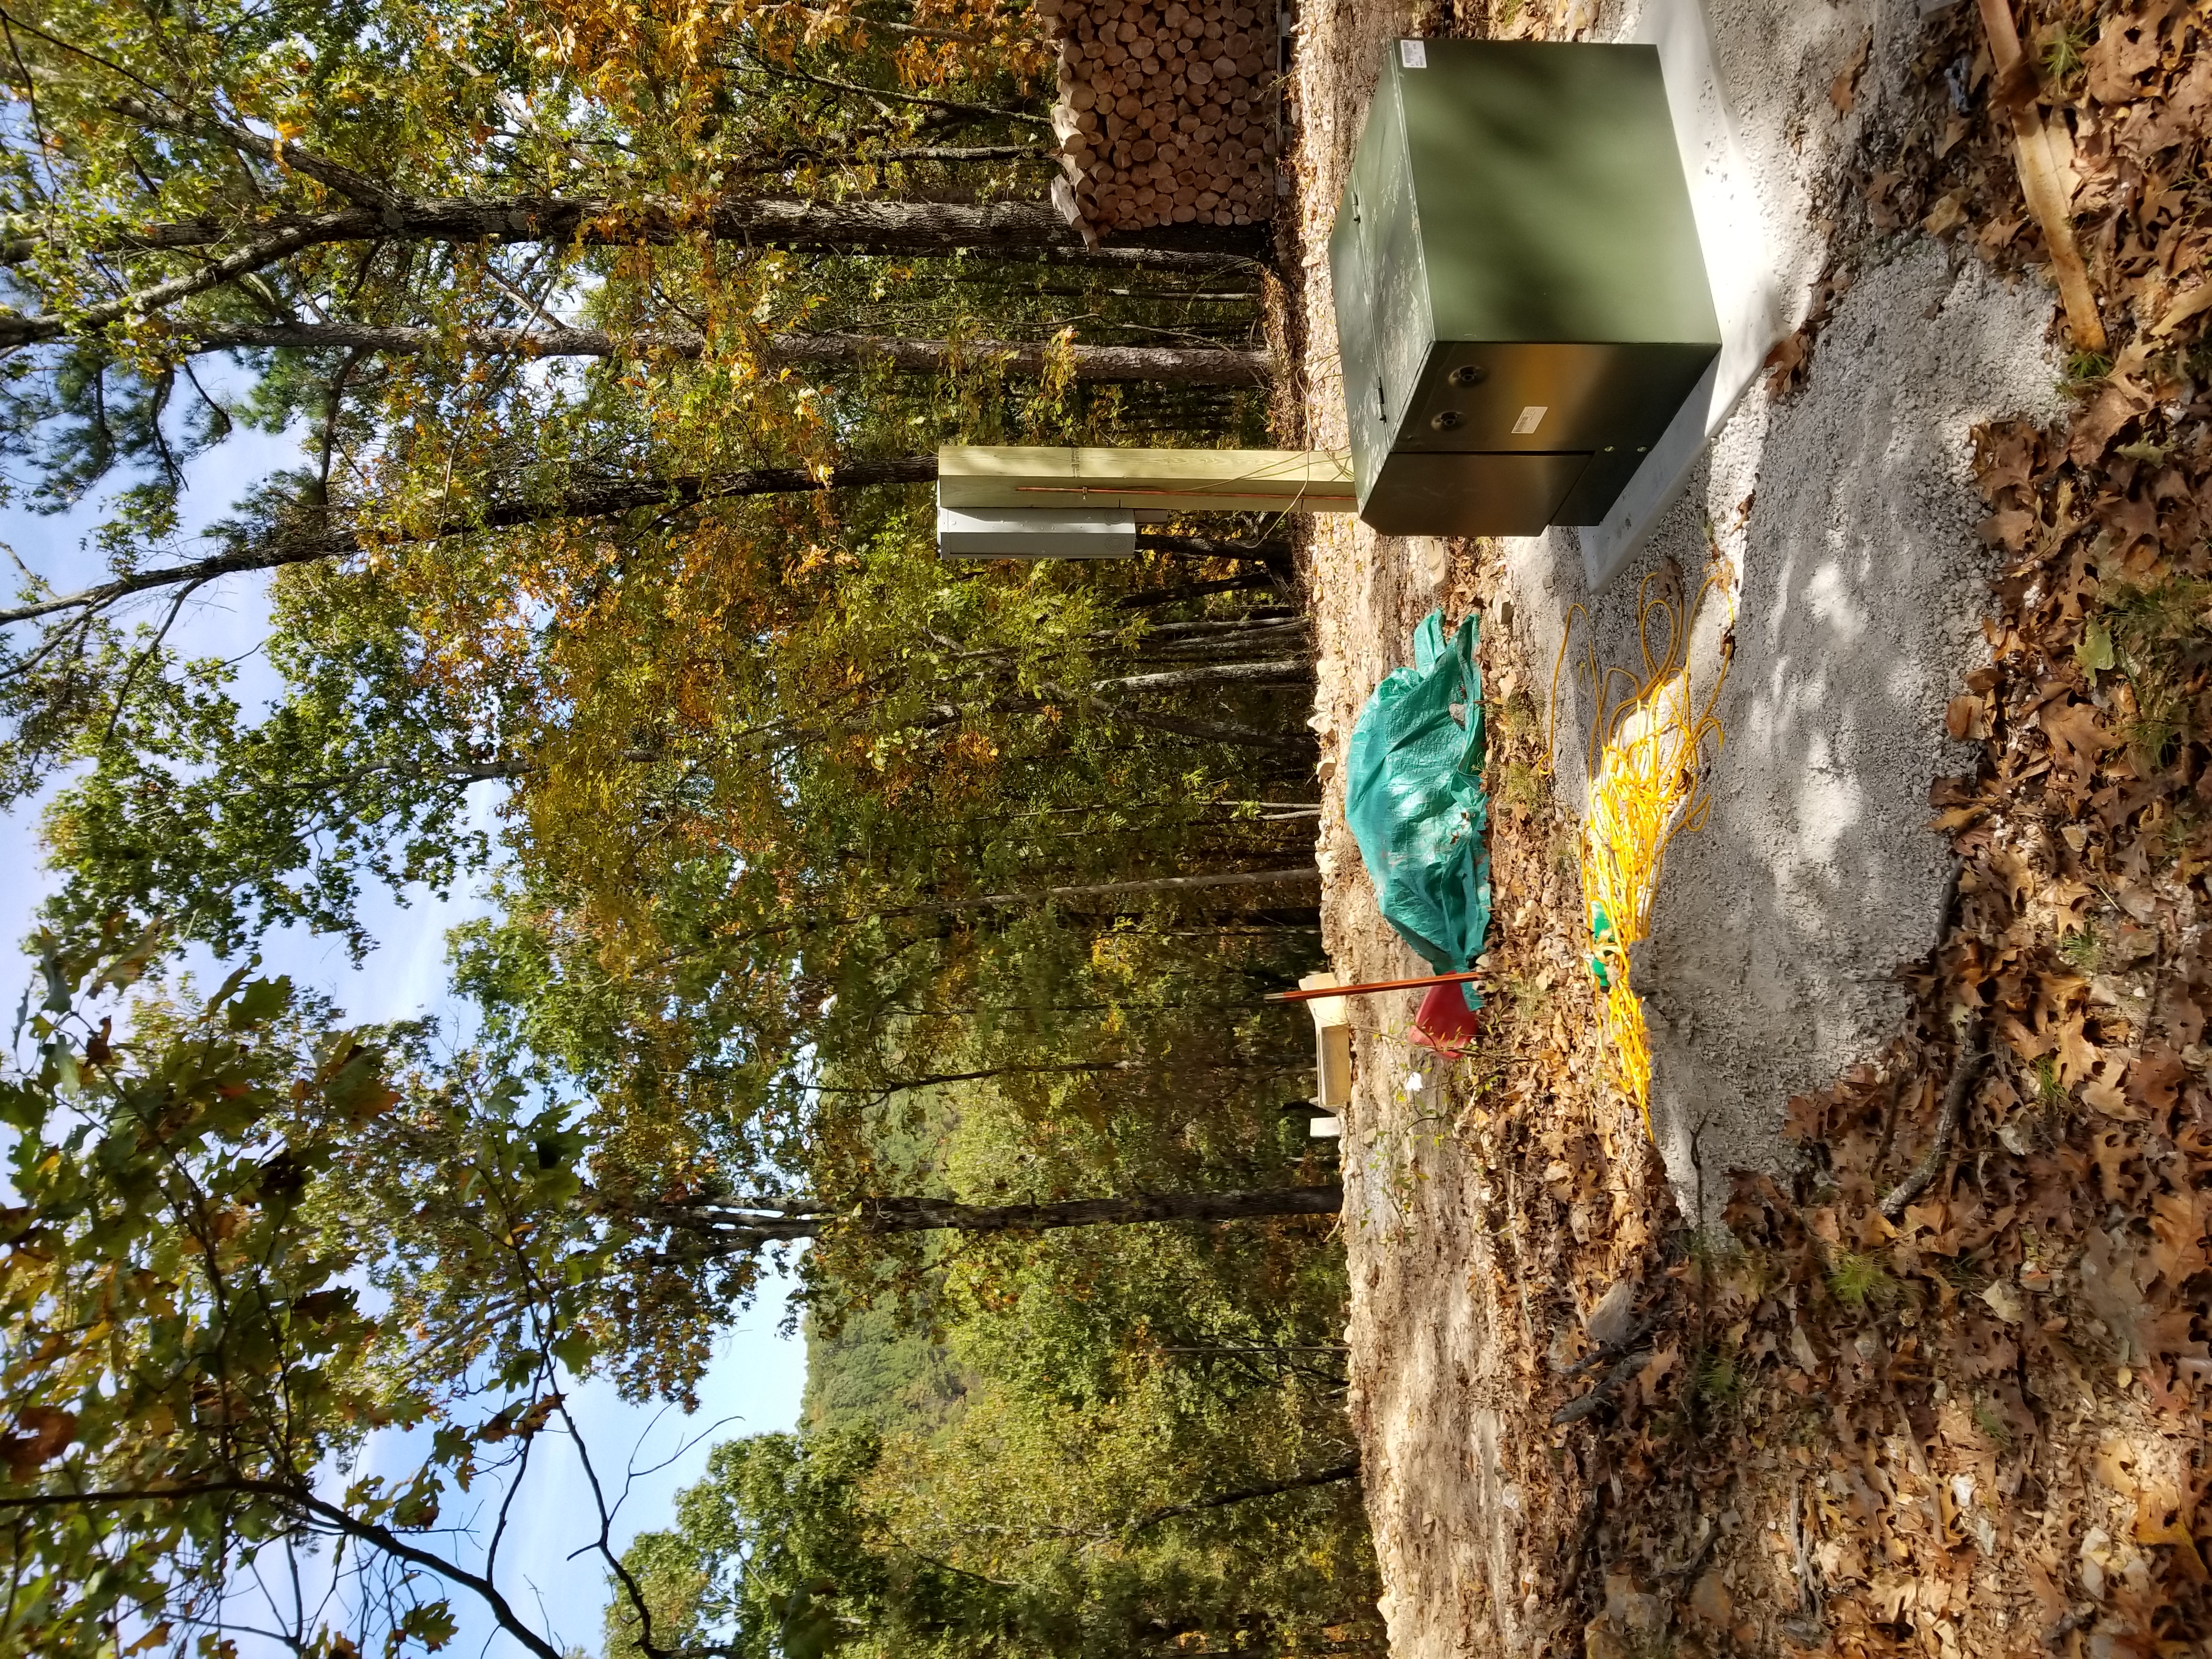
Transformer set and hot.Meter base wired and set. Ready for service.


During this time Buck trenched and set the conduit for the electrical and the water to the end of the ridge. Two more transformer pads were built for the future “family cabin”.
Finally, work has been done on building 2 new yurts. These yurts will be 25″ across and be about 475 sq feet of living space. This time around we decided to buy 2 roof kits as opposed to the complete kit. By purchasing on the roof kits only, we could get 2 delivered on one truck saving in shipping. Also, I had to buy 2 roof kits to get the roof metal in any color other than silver. We received the roof kits in April of this year. We then had to save up some “scratch” and wait for my helpers Gator and JT to free up from previous commitments.
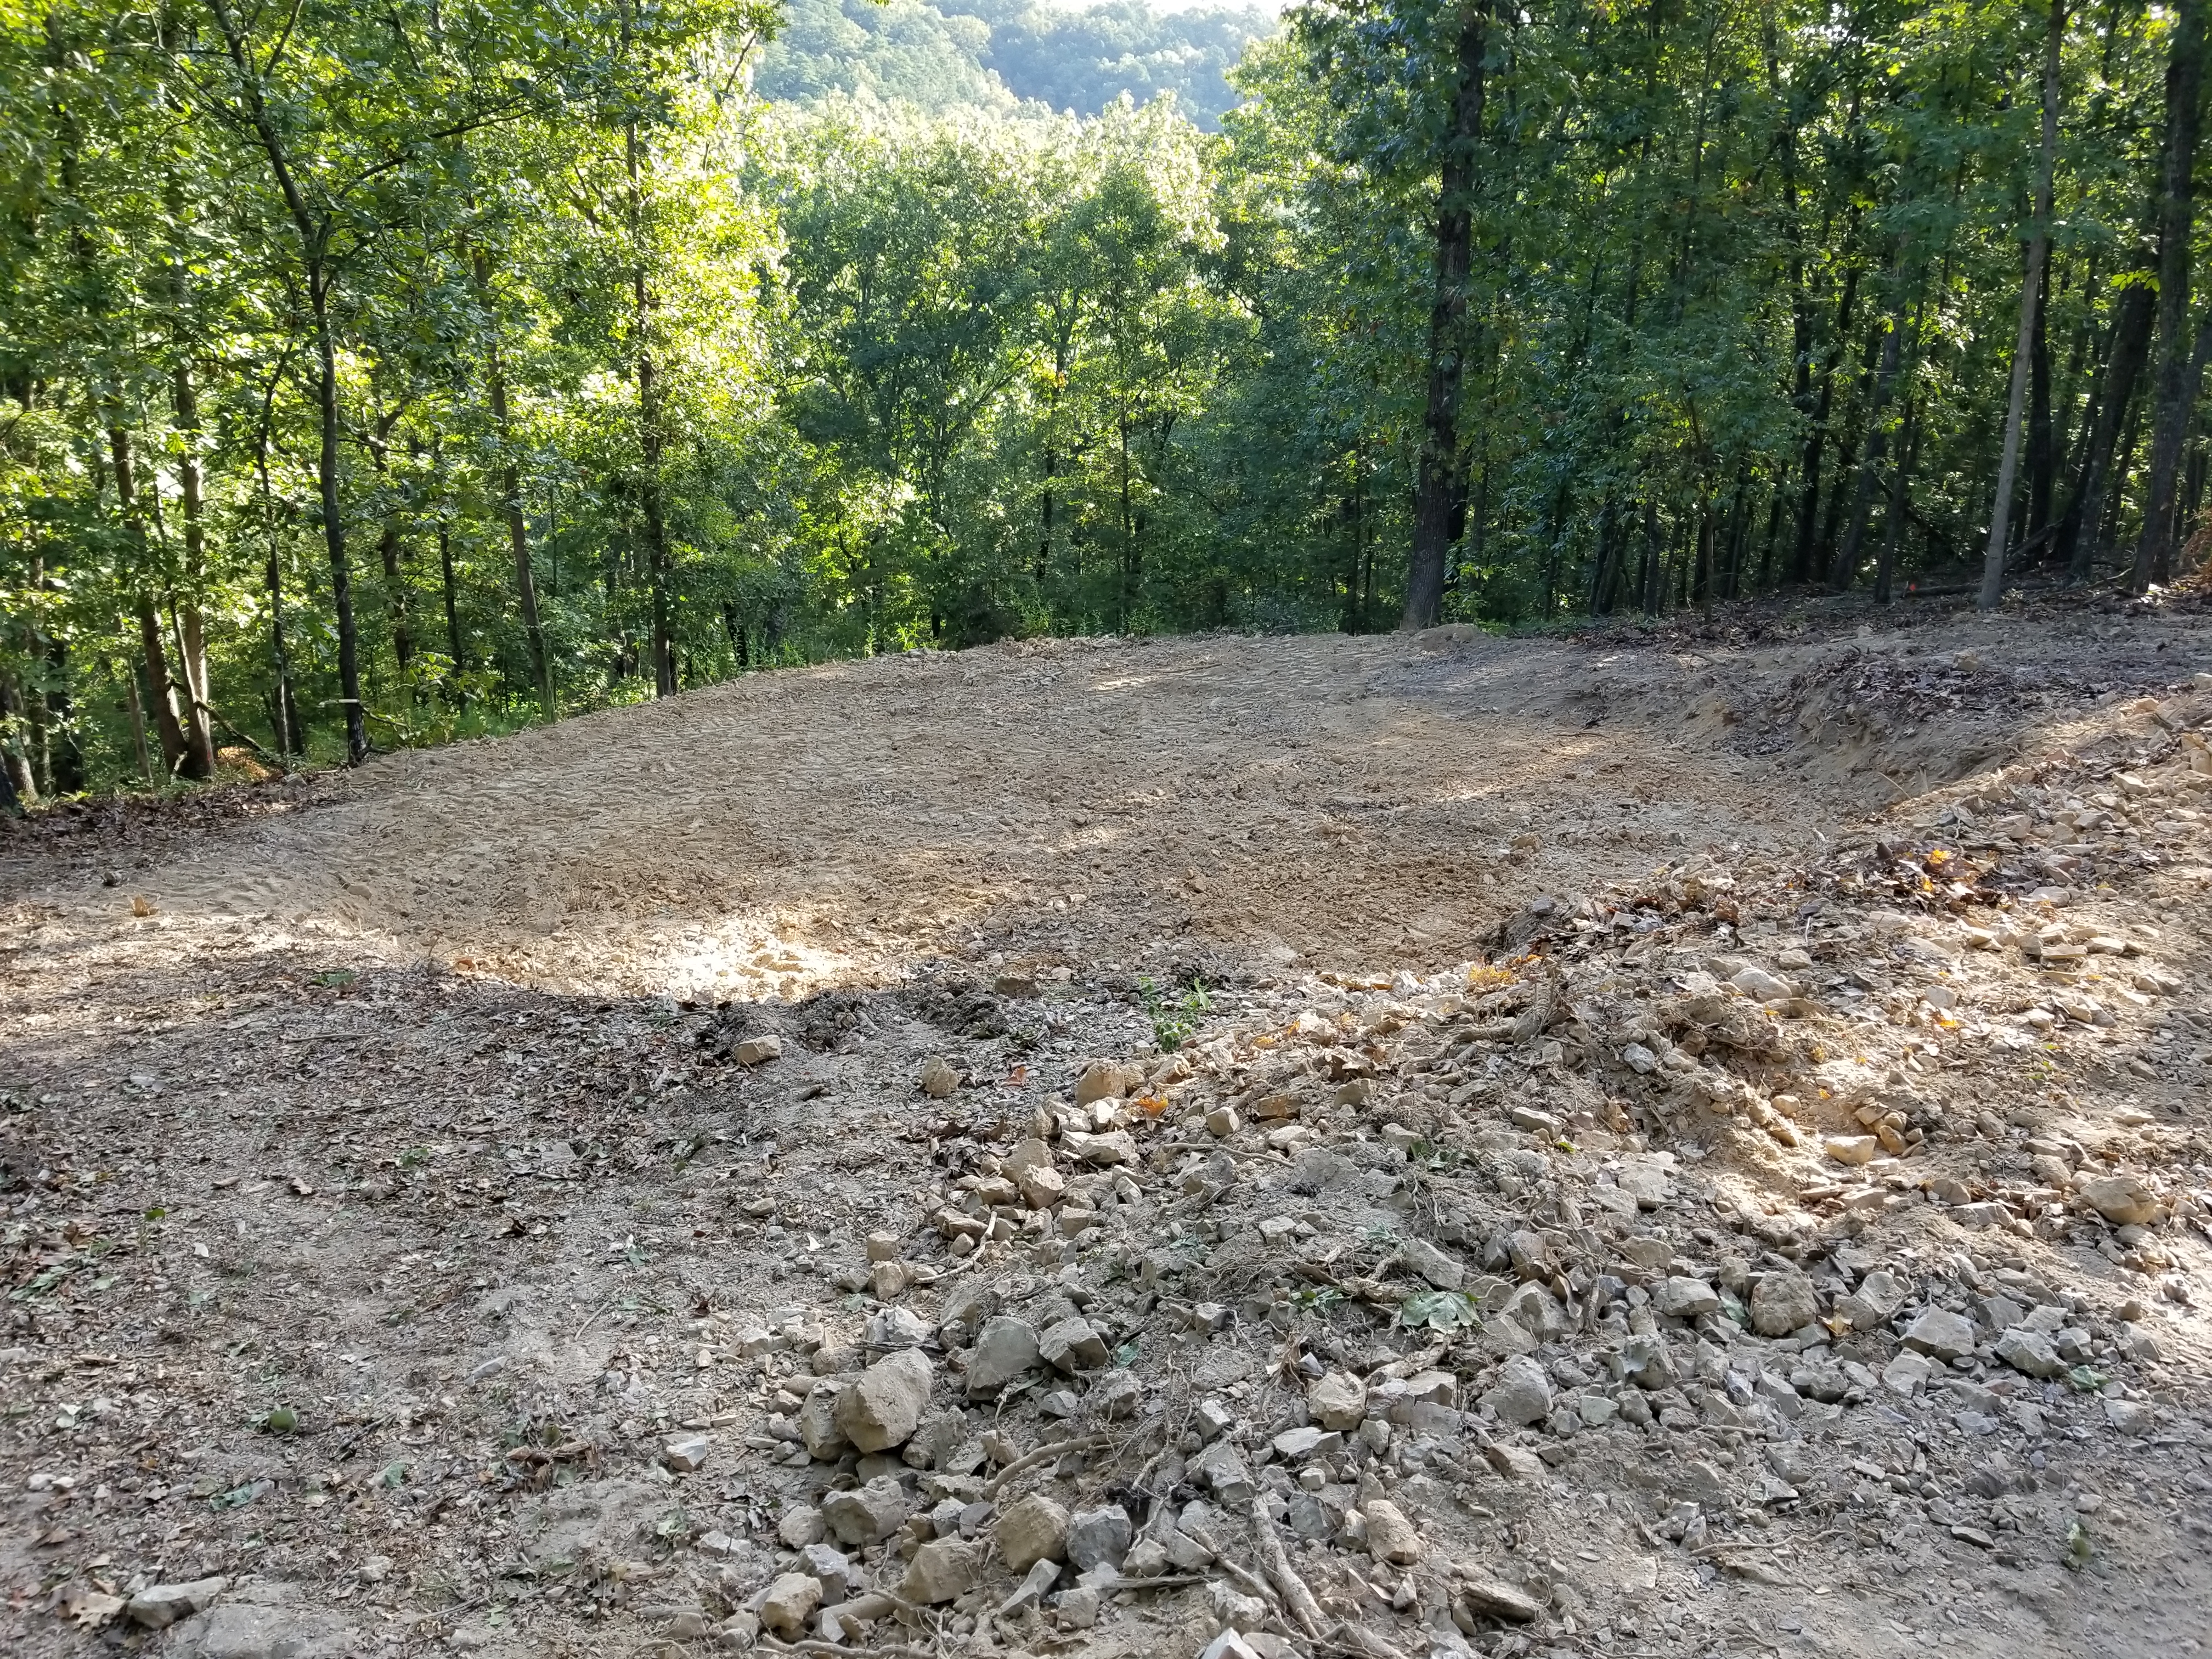
This is pad site 2 before any dirt work had been done.
I had Buck put in a circular drive and pad sites for both pad 1 and pad 2.

This is pad 1 when finished.
We then had to start laying out the pads for the piers and start the monumental task of drilling the piers. This lasted about 30 minutes…. Then the call went out to Buck to bring out his hammer to break up the limestone shelf so we could try to auger the holes.
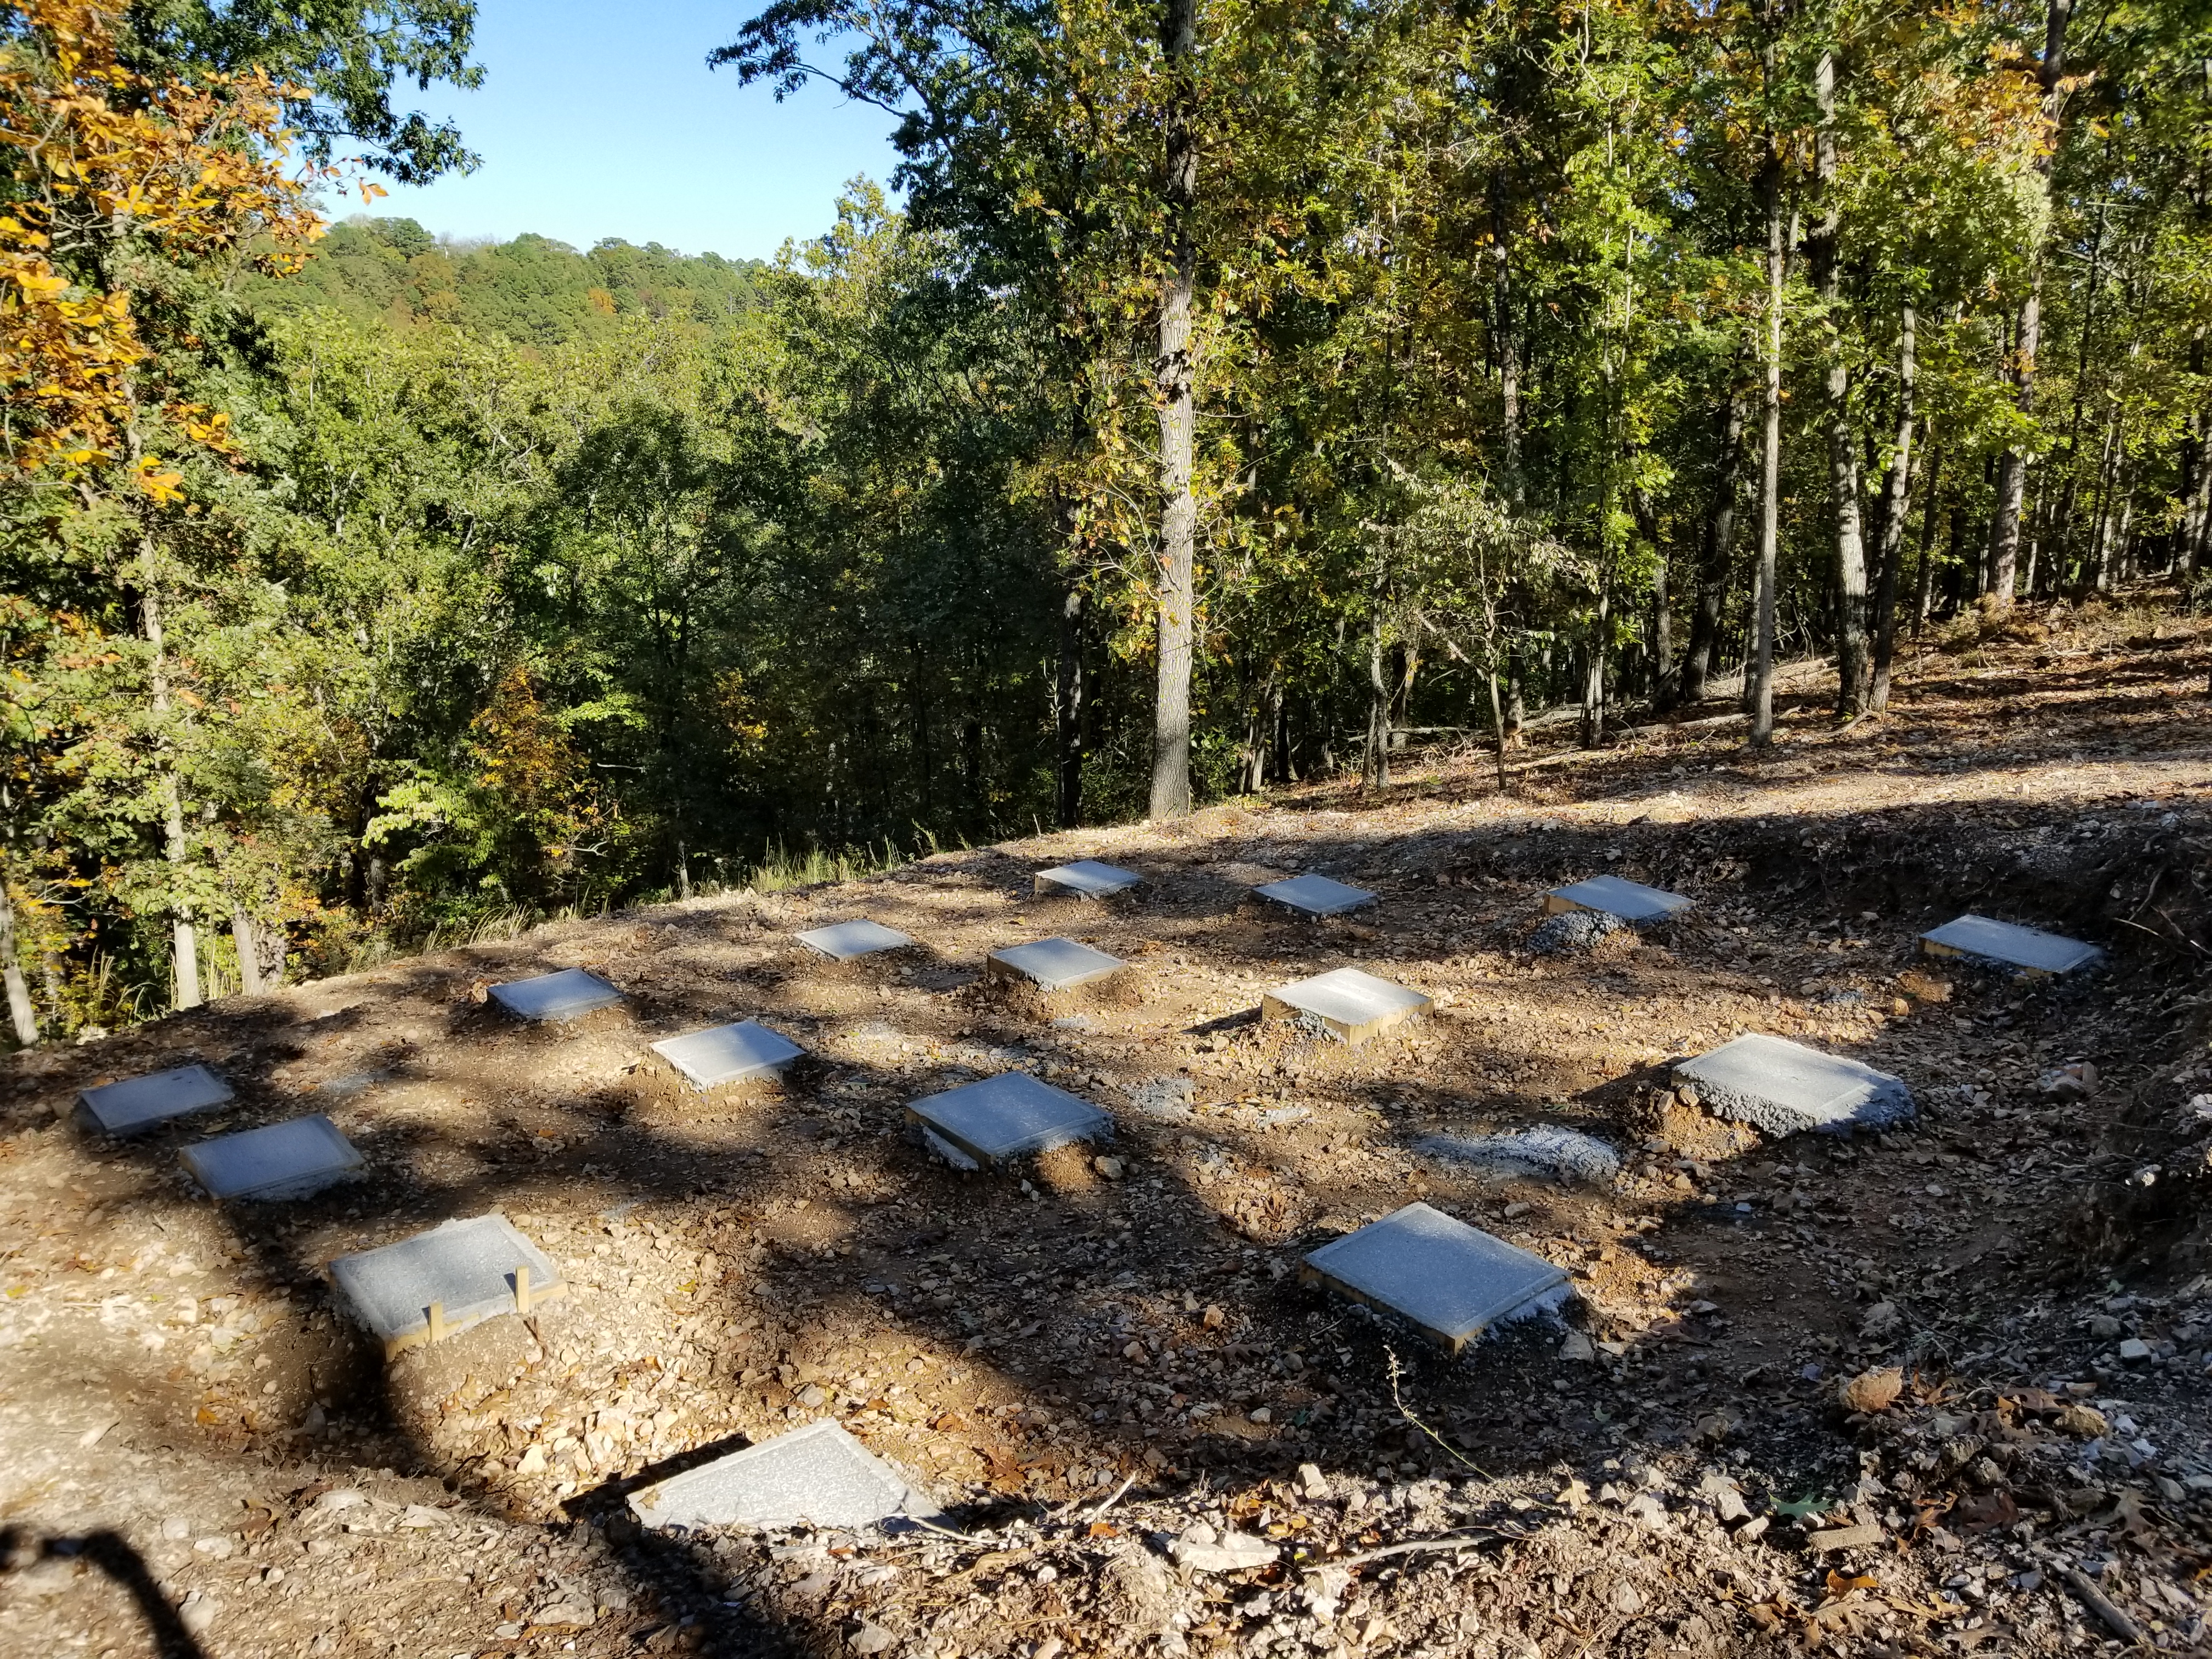
After the the holes were positioned and dug, forms were built, secured and leveled. This took about 2 weeks.
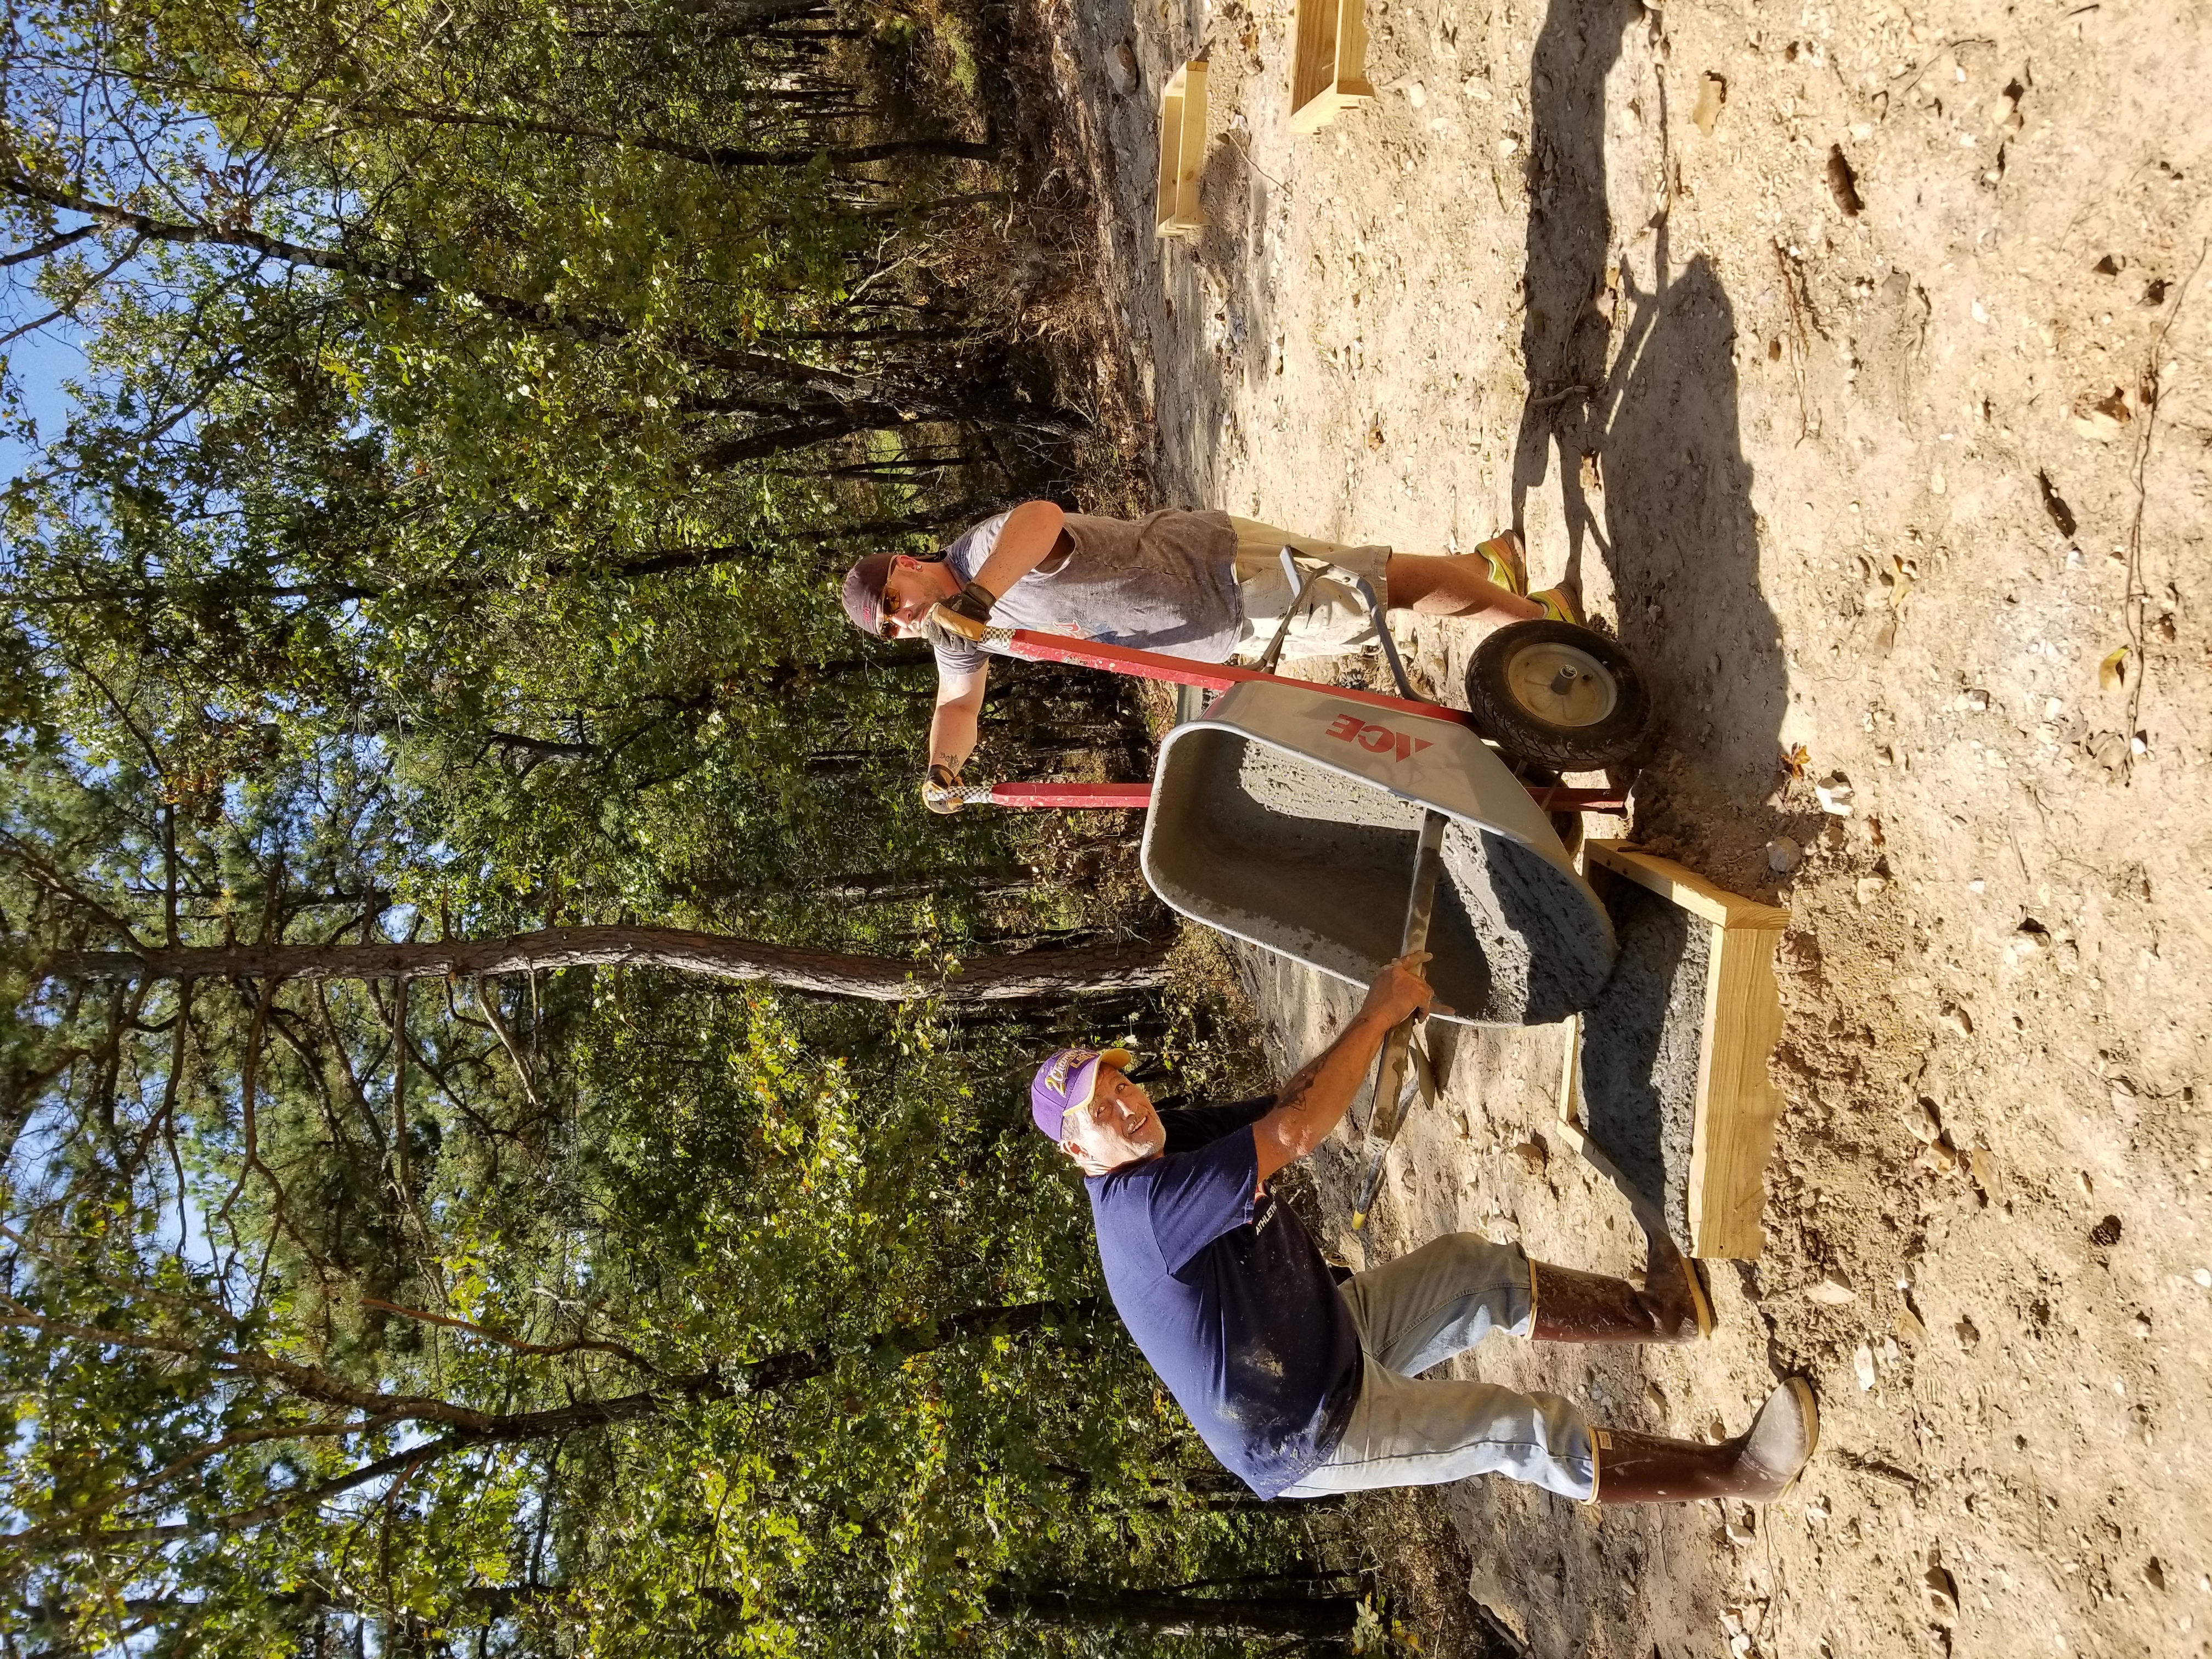
After the forms were in place we poured 8 yards of concrete. The truck could reach about 4 or 5 of forms. After that, it was on JT’s back (literally) to wheelbarrow the concrete from the truck to the forms. This was a long day!
Pad site 1
Pad Site 2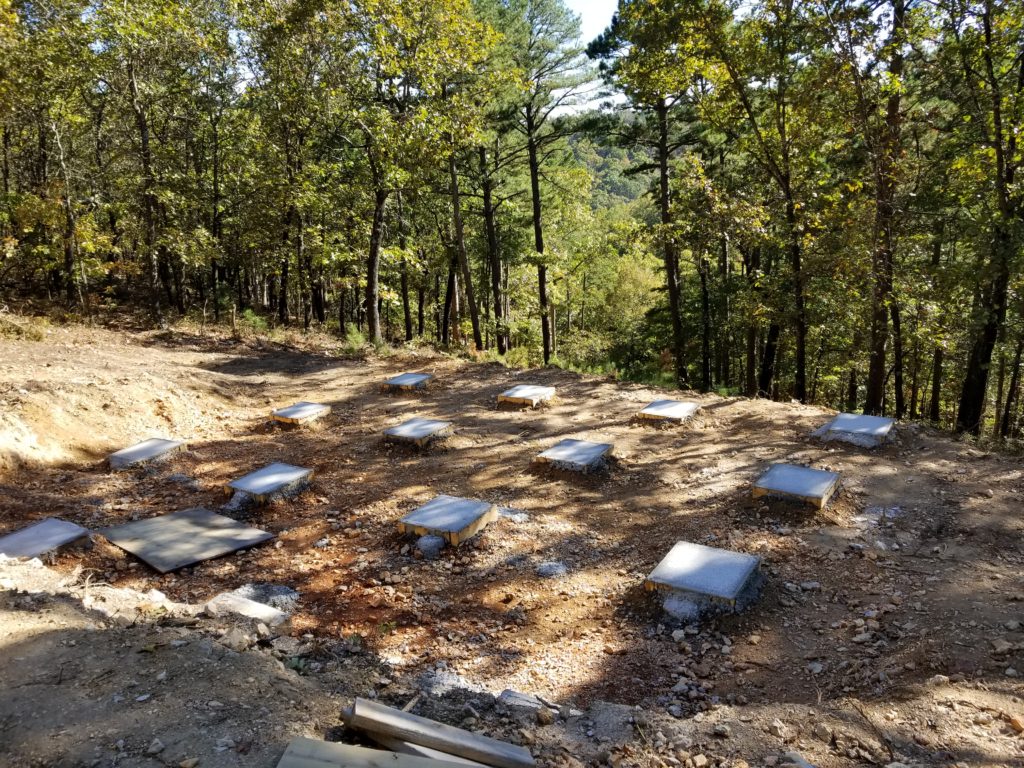
Last summer we purchased a large number of Eastern Cedar tree tops (about 140). We removed the limbs and used a high power pressure washer with an oscillating nozzle to remove the bark.

After the power washing was done, the logs were carefully cut to 16 inch length.

Then the larger logs were split to help speed up the drying process.

We then stacked the wood to dry. (About 9 cords)

