Research, Recommendations Needed

We are currently researching and need to buy the following.  If anyone has any input or recommendations please respond to this post.

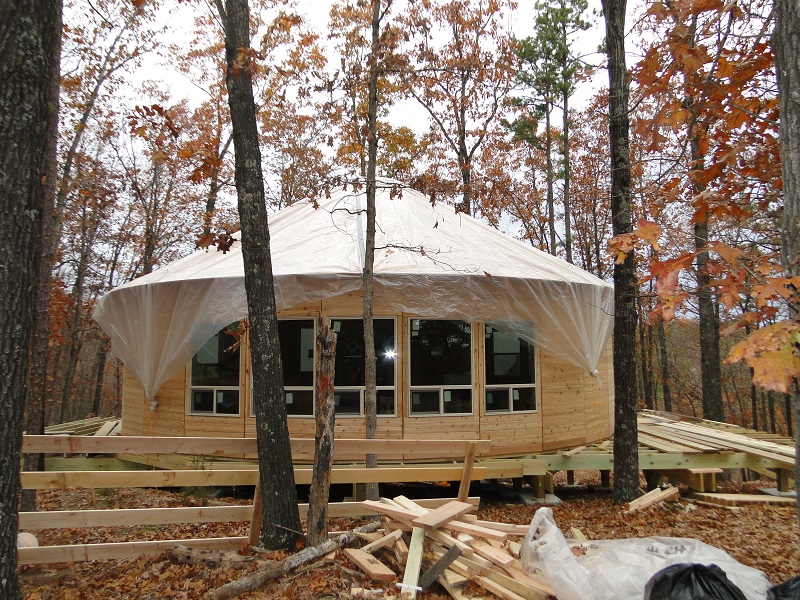
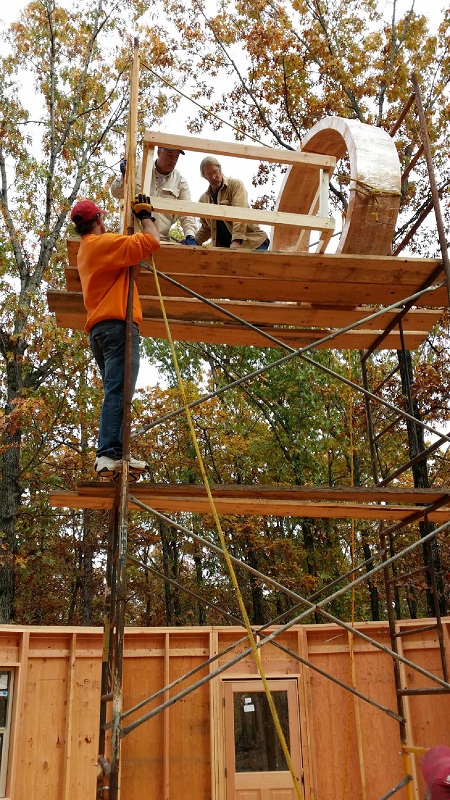
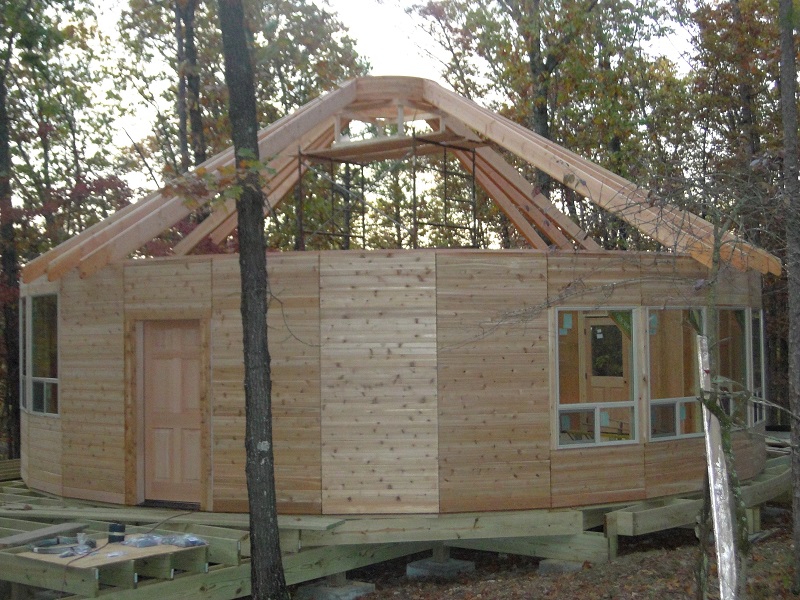
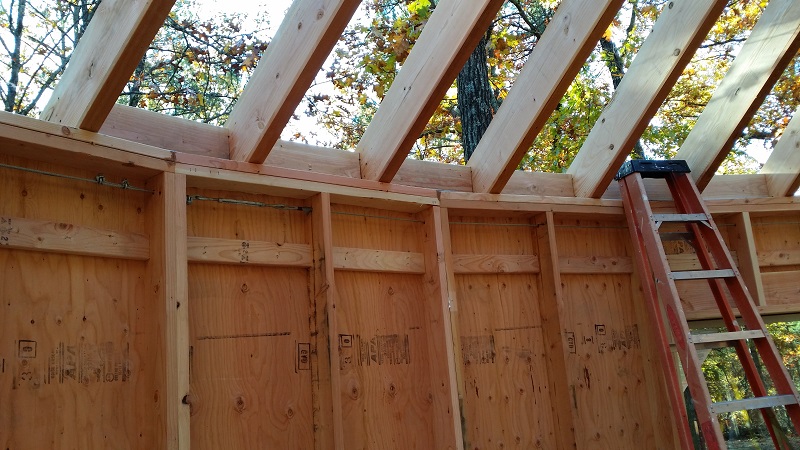
Mini Split Ductless AC / Heater / Heat Pump (Yurt is approx. 930 sq ft with 17 ft ceiling)

Thermocore
36000 btu 18.5 SEER  12k 12k 12k
2421.45
2542.45 free shipping
Stack-able Washer and Dryer
http://www.sears.com/lg-4.3-cu-ft-ultra-large-turbowash-washer/p-026CO77996612B
Induction Cooktop
http://www.ajmadison.com/cgi-bin/ajmadison/KICU500XBL.html
Large Convection Microwave

Roof Insulation – Open Cell Spray Foam

The day has come.  After acquiring bids, meeting with salesmen, comparing schedules, waiting on the arctic cold front to back off.  The Insulator is coming.  We have decided to do the insulation in 2 phases.  First, we will spray the insulation directly on the outside of the ceiling.  This required caulking all the edge joints in each piece of tongue and groove and putting metal air conditioning tape over the knots to prevent bleeding of the insulation through the ceiling.  We went over the ceiling twice to try to make sure there were no leaks.  But, In the end the foam show us where we missed…   We had about 6 or 7 bleeds.  But overall, the guy doing the spraying said it was remarkably prep-ed.

Foam Close up
Foam Close up
Fully Foamed
Fully Foamed
Foaming the Ceiling
Foaming the Ceiling

Ceiling Done

Well, the ceiling is finally done.  This week  has been absolutely UNBEARABLE.  14 degrees and a 7 – 10 MPH wind.  There was no flex in the schedule due to a very small window of temperate weather with no rain.  This was needed to schedule the foam insulation.  They can not work if the temperature is below 40 degrees.  Note to self, build in September, not in November.  In any case we got it done with the help of Jose and Vincente.  The Yurt was tarped Friday 1 hour before the rain and snow began to fall.  Now we wait for Wednesday when the forecast is for 0% chance of rain and a high of 55…..


Fully Complete Roof
Fully Complete Roof
Fully Tarped Yurt
Fully Tarped Yurt


Ceiling (Not Included)

Starting the 5th of 40 rings between 54 rafters

One teensy weensy over site on my part was the fact that the beautiful ceilings on most of the yurts in the gallery on smiling woods yurts is not included.  On further inspection, it is stated on the website and in the manual… I have no idea how I could have missed that.  As a result, we were scrambling to come up with suitable wood for the ceiling.  After about 2 days we found a hardware store that had enough supply and would deliver.  Once the wood is delivered, we have the joy of making about 5000 cuts and painstakingly fitting, tacking and caulking each piece.

End Of Day one (of 6)

Construction Continues – Rafters and Eves

Well, the walls are up.  It took a full day, but they are up, and I am feeling good about the progress and the quality.  Next step, the most intimidating step so far, float the compression ring and install the rafters.  In order to “float” the compression ring, we had to make some calculations for the height of the compression  ring.  Once done, we used several stories of scaffolding and built a stand for the compression ring to rest.  Then we used a rope to hoist the extremely heavy ring to the top of the scaffolding.  Once the ring was in place, we started attaching the rafters one at a time in opposing locations to compress the ring in opposite directions.

Terry Preping the Scaffold
Completing The Ring Stand
Scaffolding Erection
Preparing to lift the compression ring
After Ring Hoist. Positioning the Ring Stand


End Of First Day Of Rafters
Bob Attaching The Rafters
Most of the Rafters
Most of the Rafters
Adding The Bird-Block
Adding the Eves
Adding the Eves
Rafter Tention Cable
Rafters Bird-Block and Eves Complete

Initial Construction

Over the weekend, two of my life-long friends (J.B. Conant and Terry “T-Man” Wilson) joined me, Bob (GC) and Luis (Bob’s Assistant) in Eureka Springs to help on the initial contruction phase.  Over the next 5 days we poured over the construction manual and pictures.  Below is a progression of the build.

Adding the decking
Adding the decking
Attaching the first wall
5 Walls
More Walls
More Walls
Finishing The 5 Windows In The Living RoomFinishing The 5 Windows In The Living Room
Finishing The 5 Windows In The Living Room
Taking A Break In The Skylight
All 27 Walls
All 27 Walls
First Rafters Going Up
More Rafters
More Rafters
Eureka Yurts and Cabins